2003 BMW 3.0i ROADSTER snow chains
[x] Cancel search: snow chainsPage 5 of 106
At a glance
Controls
Driving tips
Mobility
Reference
Everything under control
47Odometer
47Tachometer
47Fuel gauge
47Coolant temperature gauge
48Service interval display
48Outside temperature
48Clock
49Computer*
Technology for safety and driving
convenience
51Dynamic Stability Control DSC
52Brake Force Display
53Antilock Brake System ABS
53Flat Tire Monitor
Controlling the climate for pleasant
driving
55Air conditioning
57Automatic climate control*
Interior conveniences
60Glove compartment
60Storage compartments
61Beverage holder
61Preparations for the cellular phone*
61Ashtray*
Special operating instructions
64Break-in procedures
65Driving notes
65Brake system
66Cargo loading
67Hardtop preparation*
Refueling
70Fuel filler door
70Fuel specifications
Wheels and tires
71Tire inflation pressure
73Tire condition
73Tire replacement
74Wheel and tire combinations
75Run Flat tires
76Winter tires
76Snow chains*
In the engine compartment
77Hood
78Engine compartment
79Washer fluids for washer systems
79Engine oil
80Coolant
81Brake fluid
Maintenance
82The BMW Maintenance System
82Care
Laws and regulations
83California Proposition 65 warning
83OBD interface socket
Replacement procedures
84Onboard tool kit
84Windshield wiper blades
84Lamps and bulbs
87Changing a wheel
87Battery
Giving and receiving assistance
89Warning triangle*
89First-aid kit*
89Jump-starting
90Towing and tow-starting the vehicle
Technical data
94Engine data
94Weights
95Dimensions
96Capacities
Everything from A - Z
97Index
Page 52 of 106
Technology for safety and driving convenience
52 For more information on the various
systems, refer to the "Technology"
brochure.<
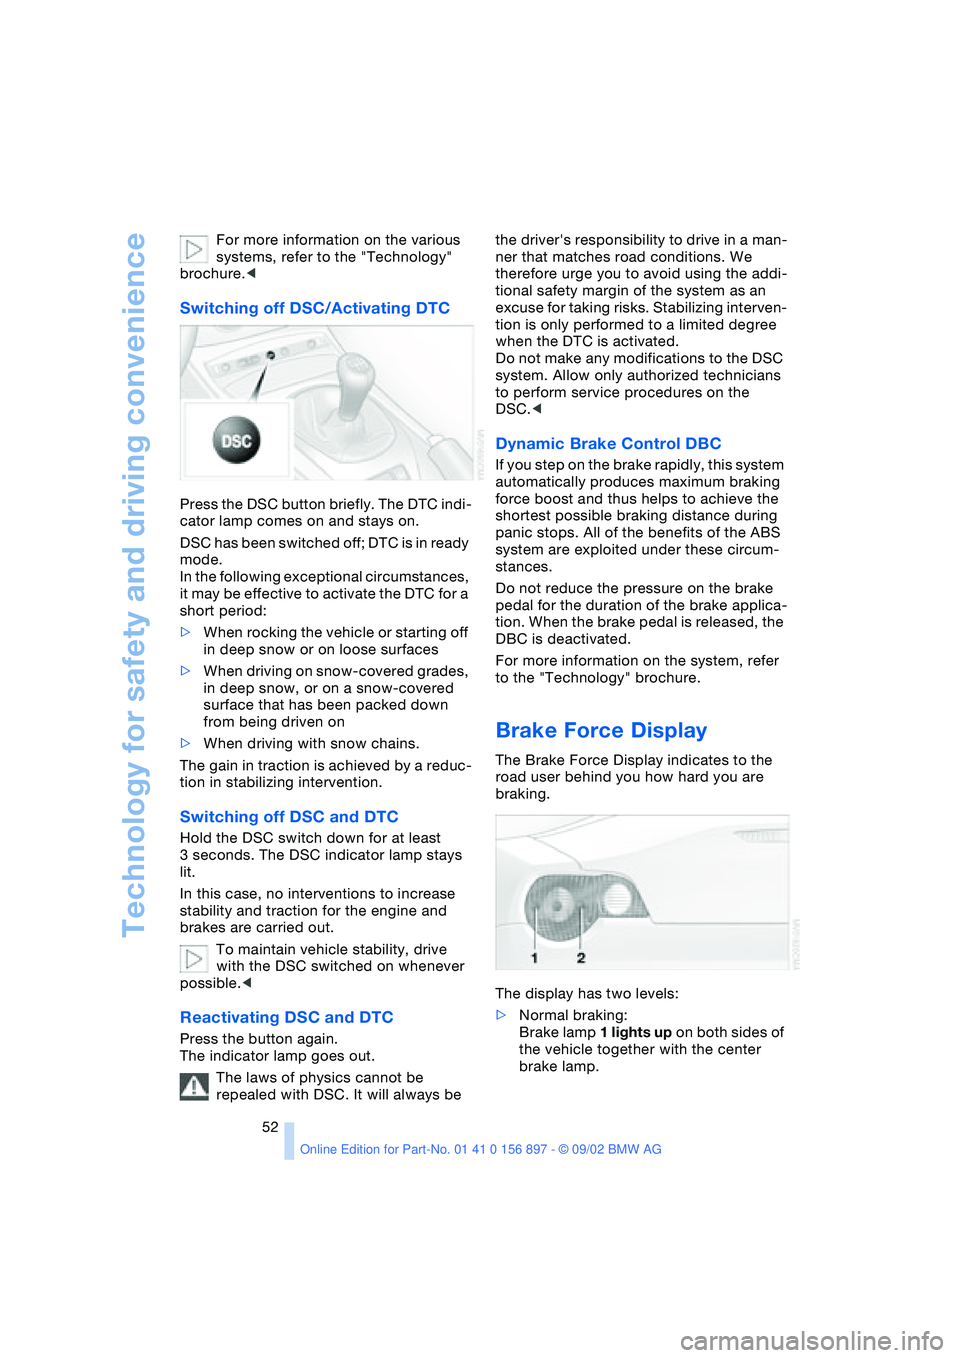
Switching off DSC/Activating DTC
Press the DSC button briefly. The DTC indi-
cator lamp comes on and stays on.
DSC has been switched off; DTC is in ready
mode.
In the following exceptional circumstances,
it may be effective to activate the DTC for a
short period:
>When rocking the vehicle or starting off
in deep snow or on loose surfaces
>When driving on snow-covered grades,
in deep snow, or on a snow-covered
surface that has been packed down
from being driven on
>When driving with snow chains.
The gain in traction is achieved by a reduc-
tion in stabilizing intervention.
Switching off DSC and DTC
Hold the DSC switch down for at least
3 seconds. The DSC indicator lamp stays
lit.
In this case, no interventions to increase
stability and traction for the engine and
brakes are carried out.
To maintain vehicle stability, drive
with the DSC switched on whenever
possible.<
Reactivating DSC and DTC
Press the button again.
The indicator lamp goes out.
The laws of physics cannot be
repealed with DSC. It will always be the driver's responsibility to drive in a man-
ner that matches road conditions. We
therefore urge you to avoid using the addi-
tional safety margin of the system as an
excuse for taking risks. Stabilizing interven-
tion is only performed to a limited degree
when the DTC is activated.
Do not make any modifications to the DSC
system. Allow only authorized technicians
to perform service procedures on the
DSC.<
Dynamic Brake Control DBC
If you step on the brake rapidly, this system
automatically produces maximum braking
force boost and thus helps to achieve the
shortest possible braking distance during
panic stops. All of the benefits of the ABS
system are exploited under these circum-
stances.
Do not reduce the pressure on the brake
pedal for the duration of the brake applica-
tion. When the brake pedal is released, the
DBC is deactivated.
For more information on the system, refer
to the "Technology" brochure.
Brake Force Display
The Brake Force Display indicates to the
road user behind you how hard you are
braking.
The display has two levels:
>Normal braking:
Brake lamp 1 lights up on both sides of
the vehicle together with the center
brake lamp.
Page 54 of 106
Technology for safety and driving convenience
54
System malfunction
The indicator lamp lights up yellow:
There is a malfunction or fault in the
Flat Tire Monitor.
In the event of this, please contact your
BMW center.
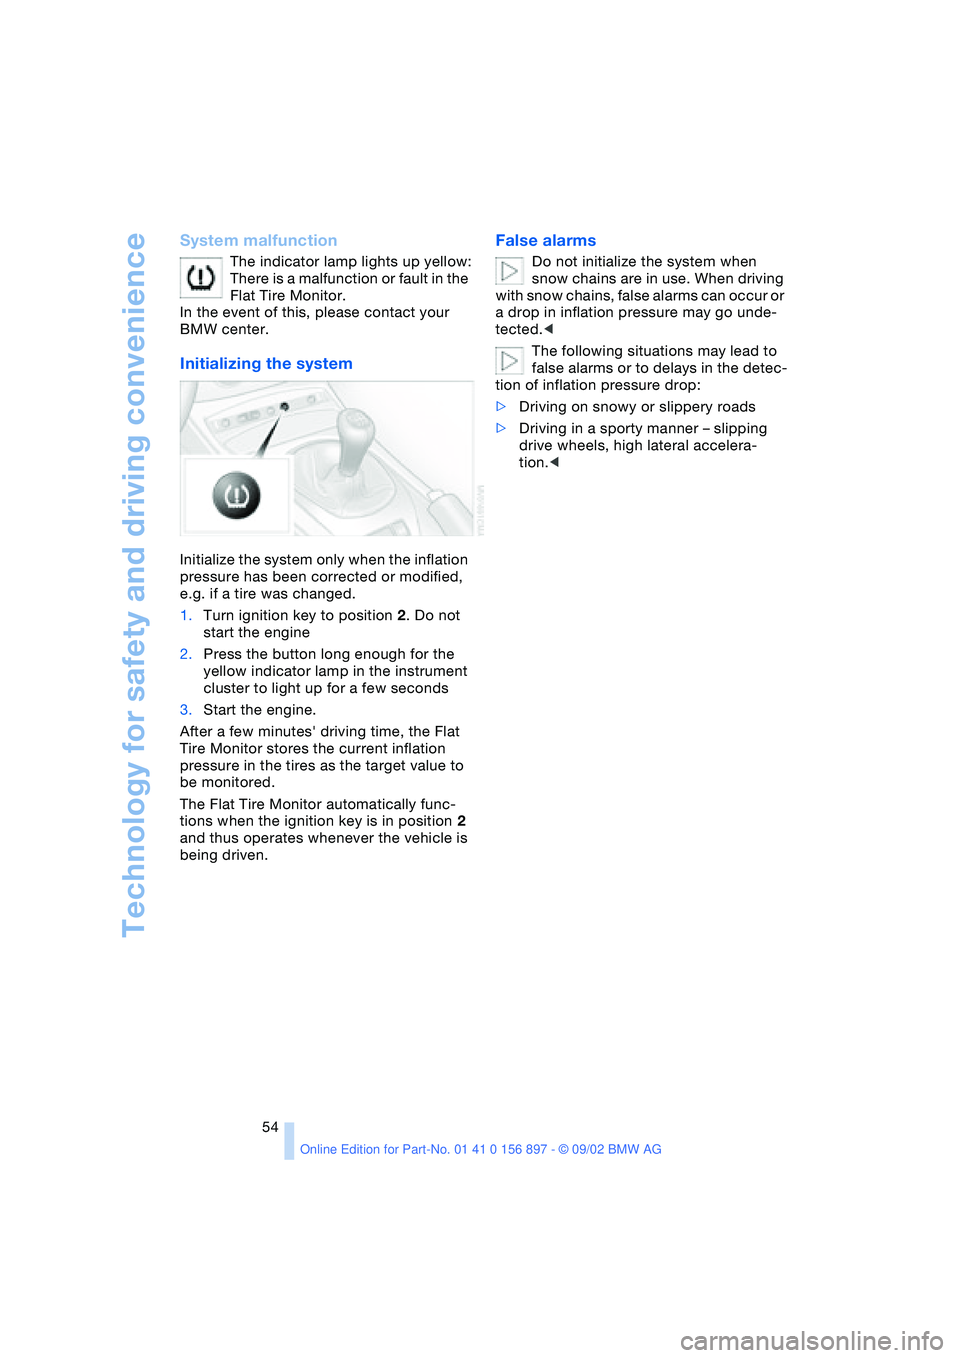
Initializing the system
Initialize the system only when the inflation
pressure has been corrected or modified,
e.g. if a tire was changed.
1.Turn ignition key to position 2. Do not
start the engine
2.Press the button long enough for the
yellow indicator lamp in the instrument
cluster to light up for a few seconds
3.Start the engine.
After a few minutes' driving time, the Flat
Tire Monitor stores the current inflation
pressure in the tires as the target value to
be monitored.
The Flat Tire Monitor automatically func-
tions when the ignition key is in position 2
and thus operates whenever the vehicle is
being driven.
False alarms
Do not initialize the system when
snow chains are in use. When driving
with snow chains, false alarms can occur or
a drop in inflation pressure may go unde-
tected.<
The following situations may lead to
false alarms or to delays in the detec-
tion of inflation pressure drop:
>Driving on snowy or slippery roads
>Driving in a sporty manner – slipping
drive wheels, high lateral accelera-
tion.<
Page 76 of 106
Wheels and tires
76
Winter tires
Choosing the right tire
BMW recommends Run Flat winter tires –
M+S – for operation under inclement winter
driving conditions. While all-season tires
with the M+S identification mark do indeed
possess better winter traction than summer
tires that have the H, V, W, Y and ZR speed
ratings, they generally do not provide the
same levels of performance as true winter
tires.
In the interests of sure tracking and safe
steering response, mount winter tires
which are made by the same manufacturer
and which have the same tread configura-
tion on all four wheels.
Your BMW is equipped with Run Flat tires.
Please consult your BMW center if you
wish to replace the tires of your BMW or
change from summer to winter tires, or vice
versa.
When replacing tires or changing from
summer to winter tires – or vice versa –
use only Run Flat tires since a spare tire will
not be available in the event of a flat tire.<
Comply with recommended speed
Never exceed the maximum speed for
which the winter tires are rated.
Unprofessional attempts by laymen to ser-
vice tires can lead to damage and acci-
dents.
Have this work performed by skilled pro-
fessionals only. Any BMW center has the
required technical knowledge and the
proper equipment and will be happy to
assist you.<
Tire condition, tire pressure
Once the tire wears to below 3/16 in /
4 mm, winter tires display a perceptible
decrease in their ability to cope with winter
driving conditions, and should be replaced
in the interest of safety.
Comply with the specified tire inflation
pressures – and be sure to have the wheel
and tire assemblies balanced every time
you change the tires.
Storage
Store tires in a cool, dry place, protecting
them against light whenever possible. Pro-
tect the tires from contact with oil, grease
and fuel.
Snow chains*
Only certain types of snow chains have
been tested by BMW, classified as road-
safe and approved. Consult your BMW
center for more information. BMW recom-
mends using only approved fine-link snow
chains.
Their use is only permitted in pairs on the
winter tires on the rear wheels. Comply
with all manufacturer's safety precautions
when mounting the chains.
You cannot mount snow chains on the fol-
lowing tires:
245/40 R 17
255/35 R 18
Do not exceed a speed of 30 mph /
50 km/h when using snow chains.<
Do not initialize the Flat Tire Monitor
after snow chains have been
mounted.
When driving with snow chains, it may be
useful to deactivate the DSC briefly. Refer
to page 51.<
Page 101 of 106
At a glance
Controls
Driving tips
Mobility
Reference
101
N
Navigation system, refer to
the separate Owner's
Manual
Nets 60
O
OBD socket 83
Odometer 47
Oil 79
– additives 80
– capacity 96
– quality 80
Oil change interval, refer to
the Service and Warranty
Information Booklet for
US models/Warranty and
Service Guide Booklet for
Canadian models
Oil consumption 79
Oil dipstick 79
Oil filter change 96
Oil level 79
– checking 79
– indicator lamp 14
Oil pressure 79
– indicator lamp 14
Oil sensor 79
– indicator lamp 14
OIL SERVICE 48
Oil types 80
Onboard computer, refer to
Computer or to the sepa-
rate Owner's Manual for
Onboard Computer
Onboard tool kit 84
Operating elements 12
Outlets, refer to
Ventilation 56, 59
Output 94
Outside air mode
– air conditioning 56
Outside temperature
display 48
– changing units 49
– in computer 49
P
Paintwork, refer to the Car-
ing for your vehicle bro-
chure
Panel lighting 46
Panic mode 19
Parking brake 39
– indicator lamp 14
Parking lamps 45
Particle filter
– automatic climate
control 56
Passenger airbags
– activation/deactivation 34
Pollen, refer to
– Microfilter/activated-
charcoal filter 59
– Particle filter 56
Power seat 30
Power steering, electric 42
Power windows 22
Preparations for the cellular
phone 61
Pressure monitor, tires 53
Pressure, tires 71
R
Radiator 96
Radio, refer to the Owner's
Manual for Radio
Rain sensor 43
Reading lamps 46
Rear lamps 86
– bulb replacement 86
Rear window defroster
– air conditioning 56
– automatic climate
control 59
Rearview mirror 32
Recirculated air mode
– air conditioning 56
– automatic climate
control 58
Refueling 70
Remote control 18
– interior motion sensor 19
– luggage compartment
lid 19
– malfunction 19Remote control keys 18
Replacement key 18
Replacement of tires 73
Reserve tank indicator
lamp 47
Restraint systems 34
Reverse 40
Run Flat tires 73, 75, 87
– flat tire 75
S
Safety belts 31
Safety defects 8
Seat adjustment
– storing 30
Seat heating 31
Seat memory 30
Seats 29
– adjustment,
mechanical 29
– adjustment, power 30
Securing loads 66
Securing, locking the
vehicle 19
Selector lever
– automatic
transmission 40
– position, automatic
transmission 40
Service 48
Service and warranty 7
Service and Warranty Infor-
mation Booklet 82
Service Engine Soon 83
– indicator lamp 14
Service interval
display 48, 82
Shiftlock 40
Side airbags 33
Snow chains 76
Socket
– for Onboard
Diagnostics 83
– refer to Cigarette lighter
socket 61
Spare fuses 88
Spare key 18
Special oils 80
Speed control, refer to
Cruise control 44