Page 16 of 258
3
1. Headlight and turn signal switch
2. Wiper and washer switch
3. Rear window defogger switch
4. Trip meter reset button
5. Emergency flasher switch
6. Multi−information display
7. Switching km/h MPH button
8. Security indicator light
9. Clock
10. Car audio 11. Air conditioning controls
12. Auxiliary box
13. Power outlet
14. Ignition switch
15. Cruise control switch
16. Power rear view mirror control switch
17. Instrument panel light control dial
11p001g
Page 44 of 258
31
21p024a
To open the trunk lid from the outside,
insert the key and turn it clockwise.
See “Luggage stowage precautions” on
page 156 in Section 3 for precautions to
observe in loading luggage.
To close the trunk lid, lower it and press
down on it. After closing the trunk lid, try
pulling it up to make sure it is securely
closed.
CAUTION
Keep the trunk lid closed while driv-
ing. This not only keeps the luggage
from being thrown out, but also pre-
vents exhaust gases from entering
the vehicle.
�Always lock the trunk lid and all
doors, and keep away the vehicle
keys out of children’s reaches.
�Never leave children unattended in
the vehicle. Unsupervised children
may lock themselves in the vehicle
or trunk and suffer serious injuries
or death.
21p025a
To open the trunk lid from the driver’s
seat, pull up on the lock release lever.
Trunk lid——Lock release lever
Page 45 of 258
32
21p042
After closing the trunk lid, insert the
master key and turn it counterclockwise
to deactivate the lock release lever.
After closing the trunk lid, try pulling it up
to make sure it is securely locked.
—Internal trunk release handle
21p033c
If a person is locked in the trunk, he
or she can pull down the phosphores-
cent handle on the inside of trunk lid
in case of emergency to open the trunk
lid.
The phosphorescent (glow−in −the −dark)
handle will continue to glow for a time
after the trunk lid is closed. Exposing the
handle to stronger light will cause it to
glow longer.
21p026a
To open the hood:
1. Pull the hood lock release lever. The hood will spring up slightly.
CAUTION
Before driving, be sure that the hood
is closed and securely locked. Other-
wise, the hood may open unexpected-
ly while driving and an accident may
occur.
—Lock release lever
cancelling system Hood
Page 49 of 258

36
CAUTION
�Do not smoke, cause spark or allow
open flames when refueling. The
fumes are flammable.
�When opening the cap, do not re-
move the cap quickly. In hot weath-
er, fuel under pressure could cause
injury by spraying out the filler
neck if the cap is suddenly re-
moved.
�Insert the fuel nozzle fully, or fuel
may splash out.
21p031c
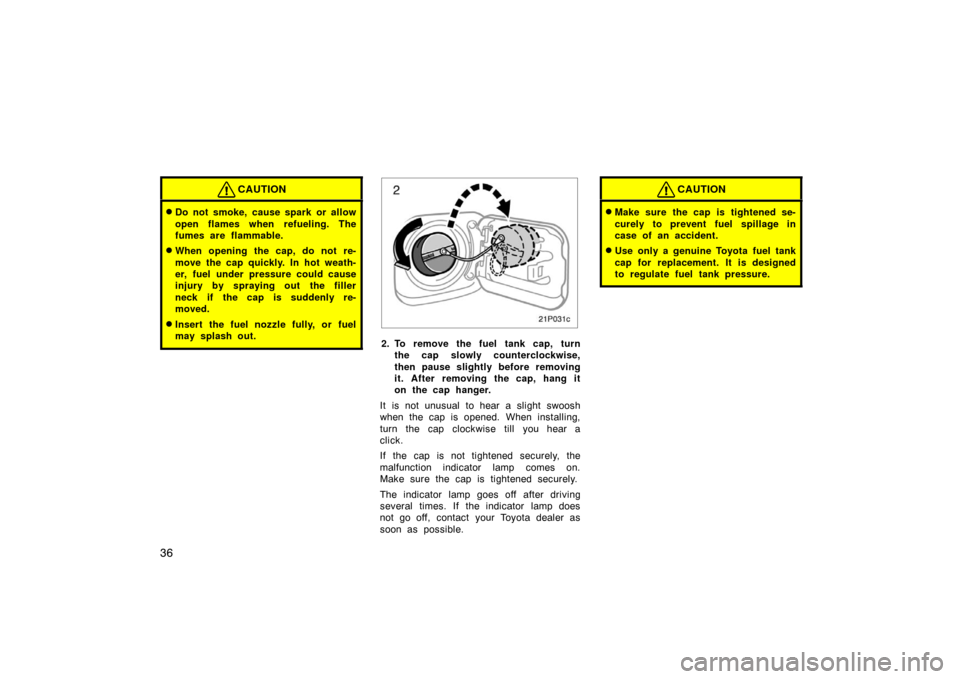
2. To remove the fuel tank cap, turnthe cap slowly counterclockwise,
then pause slightly before removing
it. After removing the cap, hang it
on the cap hanger.
It is not unusual to hear a slight swoosh
when the cap is opened. When installing,
turn the cap clockwise till you hear a
click.
If the cap is not tightened securely, the
malfunction indicator lamp comes on.
Make sure the cap is tightened securely.
The indicator lamp goes off after driving
several times. If the indicator lamp does
not go off, contact your Toyota dealer as
soon as possible.
CAUTION
�Make sure the cap is tightened se-
curely to prevent fuel sp illage in
case of an accident.
�Use only a genuine Toyota fuel tank
cap for replacement. It is designed
to regulate fuel tank pressure.
Page 132 of 258

11 9
This section describes some of the basic
features on Toyota audio systems. Some
information may not pertain to your sys-
tem.
Your audio system works when the ignition
key is in the “ACC” or “ON” position.
TURNING THE SYSTEM ON AND OFF
Push “PWR” to turn the audio system on
and off.
Push “AUDIO” to display switches for au-
dio system.
Push “AM”, “FM” or “TAPE” to turn on that
function without pushing “PWR”.
You can turn on each player by inserting
a cassette tape.
You can turn off each player by ejecting
the cassette tape. If the audio system was
previously off, then the entire audio sys-
tem will be turned off when you eject the
cassette tape. If another function was pre-
viously playing, it will come on again.
SWITCHING BETWEEN FUNCTIONS
Push “AM”, “FM” or “TAPE” if the system
is already on but you want to switch from
one function to another.VOLUME CONTROL
To adjust the volume, turn the “VOL”.
YOUR RADIO ANTENNA
To remove an antenna on the roof, care-
fully turn it counterclockwise.
NOTICE
To prevent damage to the antenna,
make sure to remove it before driving
your Toyota through an automatic car
wash.
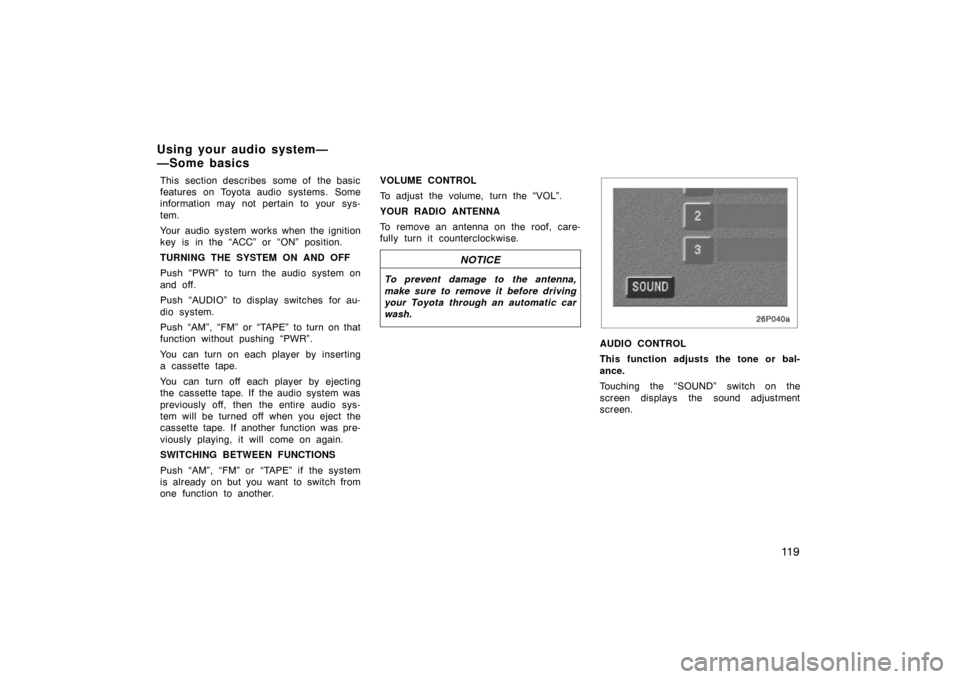
26p040a
AUDIO CONTROL
This function adjusts the tone or bal-
ance.
Touching the “SOUND” switch on the
screen displays the sound adjustment
screen.
Using your audio system—
—Some basics
Page 152 of 258
139
OPERATION OF INSTRUMENTS AND
CONTROLS
Other equipment
Clock140
. . . . . . . . . . . . . . . . . . . . . . . . . . . . . . . . . . . . .\
. . . . . . . . . . . . . . . . .
Power outlett 140
. . . . . . . . . . . . . . . . . . . . . . . . . . . . . . . . . . . . \
. . . . . . . . . .
Rear console box 141
. . . . . . . . . . . . . . . . . . . . . . . . . . . . . . . . . . . . \
. . . . . . .
Glove box 141
. . . . . . . . . . . . . . . . . . . . . . . . . . . . . . . . . . . . \
. . . . . . . . . . . . . .
Auxiliary boxes 141
. . . . . . . . . . . . . . . . . . . . . . . . . . . . . . . . . . . . \
. . . . . . . . .
Cup holders 142
. . . . . . . . . . . . . . . . . . . . . . . . . . . . . . . . . . . . \
. . . . . . . . . . . .
Floor mat 143
. . . . . . . . . . . . . . . . . . . . . . . . . . . . . . . . . . . . \
. . . . . . . . . . . . . .
SECTION 2– 9
Page 153 of 258

140
Clock
28p009c
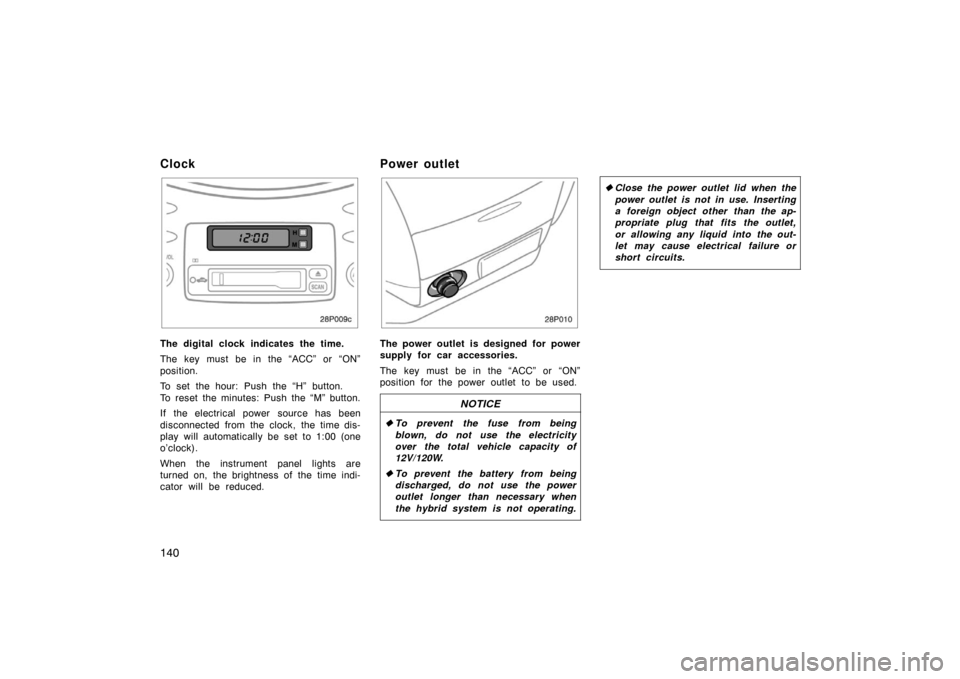
The digital clock indicates the time.
The key must be in the “ACC” or “ON”
position.
To set the hour: Push the “H” button.
To reset the minutes: Push the “M” button.
If the electrical power source has been
disconnected from the clock, the time dis-
play will automatically be set to 1:00 (one
o’clock).
When the instrument panel lights are
turned on, the brightness of the time indi-
cator will be reduced.
Power outlet
28p010
The power outlet is designed for power
supply for car accessories.
The key must be in the “ACC” or “ON”
position for the power outlet to be used.
NOTICE
�To prevent the fuse from being
blown, do not use the electricity
over the total vehicle capacity of
12V/120W.
� To prevent the battery from being
discharged, do not use the power
outlet longer than necessary when
the hybrid system is not operating.
�Close the power outlet lid when the
power outlet is not in use. Inserting
a foreign object other than the ap-
propriate plug that fits the outlet,
or allowing any liquid into the out-
let may cause electrical failure or
short circuits.
Page 189 of 258

176
50p010d
To remove the spare tire:1. Raise the luggage compartment floor.
2. Loosen the bolt with spacer and re- move it.
Then take the spare tire out of the ve-
hicle.
When storing the spare tire, put it in place
with the outer side of the wheel facing up.
Then secure the tire by repeating the
above removal steps in reverse order to
prevent it from flying forward during a
collision or s udden braking.
50p011a
2. Block the wheel diagonally opposite
the flat tire to keep the vehicle from
rolling when it is j acked up.
When chocking the wheel, place a wheel
block from the front for the front wheels
or from the rear for the rear wheels.
50p013a
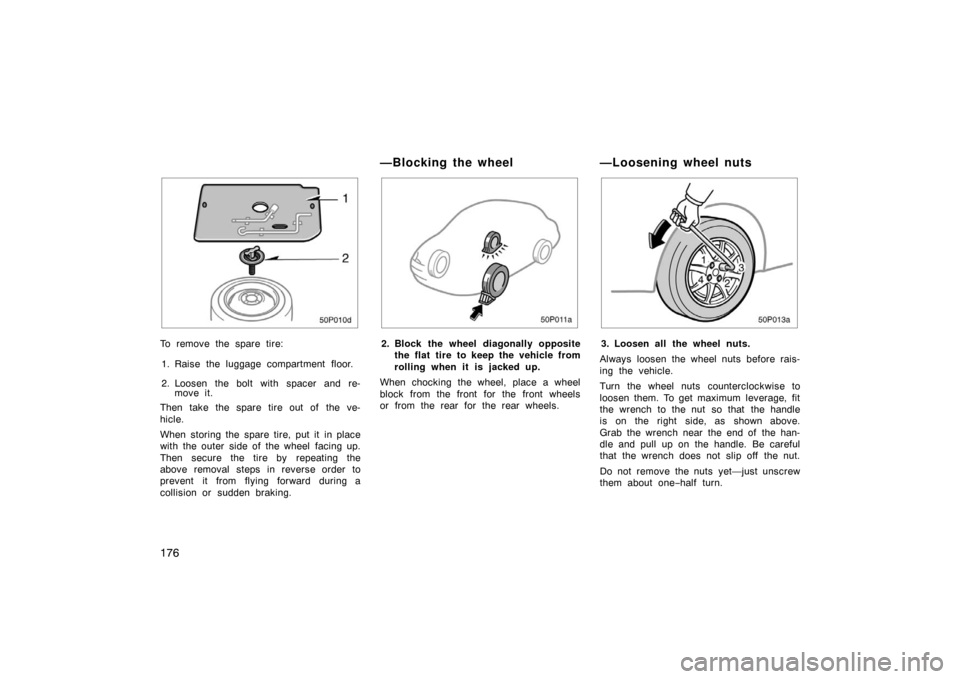
3. Loosen all the wheel nuts.
Always loosen the wheel nuts before rais-
ing the vehicle.
Turn the wheel nuts counterclockwise to
loosen them. To get maximum leverage, fit
the wrench to the nut so that the handle
is on the right side, as shown above.
Grab the wrench near the end of the han-
dle and pull up on the handle. Be careful
that the wrench does not slip off the nut.
Do not remove the nuts yet—just unscrew
them about one− half turn.
—Blocking the wheel —Loosening wheel nuts