2002 NISSAN QUEST lock
[x] Cancel search: lockPage 164 of 294

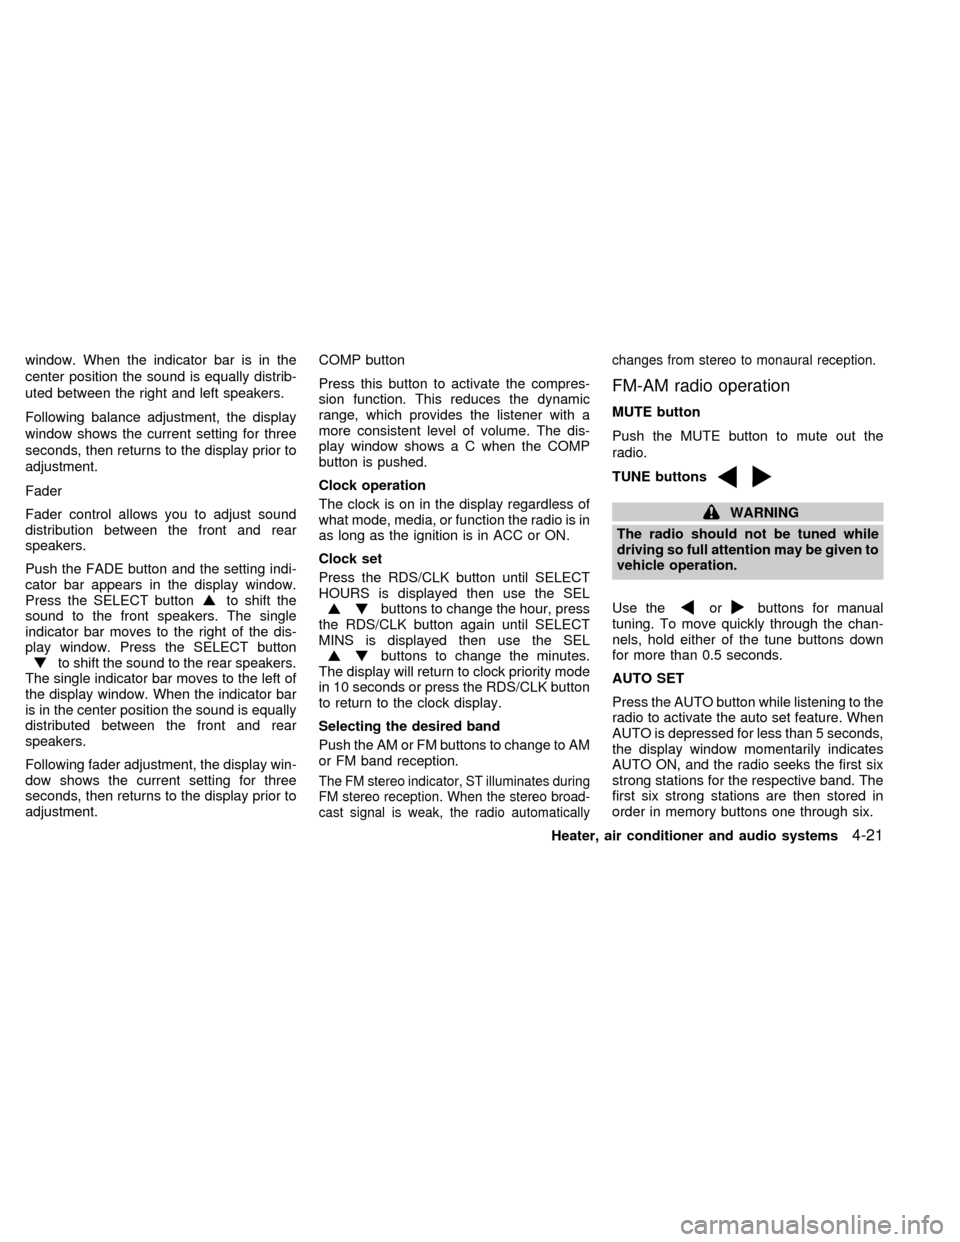
window. When the indicator bar is in the
center position the sound is equally distrib-
uted between the right and left speakers.
Following balance adjustment, the display
window shows the current setting for three
seconds, then returns to the display prior to
adjustment.
Fader
Fader control allows you to adjust sound
distribution between the front and rear
speakers.
Push the FADE button and the setting indi-
cator bar appears in the display window.
Press the SELECT button
to shift the
sound to the front speakers. The single
indicator bar moves to the right of the dis-
play window. Press the SELECT button
to shift the sound to the rear speakers.
The single indicator bar moves to the left of
the display window. When the indicator bar
is in the center position the sound is equally
distributed between the front and rear
speakers.
Following fader adjustment, the display win-
dow shows the current setting for three
seconds, then returns to the display prior to
adjustment.COMP button
Press this button to activate the compres-
sion function. This reduces the dynamic
range, which provides the listener with a
more consistent level of volume. The dis-
play window shows a C when the COMP
button is pushed.
Clock operation
The clock is on in the display regardless of
what mode, media, or function the radio is in
as long as the ignition is in ACC or ON.
Clock set
Press the RDS/CLK button until SELECT
HOURS is displayed then use the SEL
buttons to change the hour, press
the RDS/CLK button again until SELECT
MINS is displayed then use the SEL
buttons to change the minutes.
The display will return to clock priority mode
in 10 seconds or press the RDS/CLK button
to return to the clock display.
Selecting the desired band
Push the AM or FM buttons to change to AM
or FM band reception.
The FM stereo indicator, ST illuminates during
FM stereo reception. When the stereo broad-
cast signal is weak, the radio automaticallychanges from stereo to monaural reception.
FM-AM radio operation
MUTE button
Push the MUTE button to mute out the
radio.
TUNE buttons
WARNING
The radio should not be tuned while
driving so full attention may be given to
vehicle operation.
Use the
orbuttons for manual
tuning. To move quickly through the chan-
nels, hold either of the tune buttons down
for more than 0.5 seconds.
AUTO SET
Press the AUTO button while listening to the
radio to activate the auto set feature. When
AUTO is depressed for less than 5 seconds,
the display window momentarily indicates
AUTO ON, and the radio seeks the first six
strong stations for the respective band. The
first six strong stations are then stored in
order in memory buttons one through six.
Heater, air conditioner and audio systems
4-21
ZX
Page 168 of 294

1. VOLUME - ON/OFF control
2. CD eject button
3. MUTE button
4. Tape eject button
5. TAPE/CD select button
6. AUTO SET button (if so equipped)
7. CLOCK button
8. BALANCE/FADE select button
9. SHUFFLE/station memory #6 button
10. COMPRESSION/station memory #5
button
11. BASS/TREBLE/BALANCE/FADE/control
button
12. Dolby/station memory #4 button
13. Tape reverse/station memory #3 button
14. BASS/TREBLE select button
15. FAST FORWARD/station memory #2
button
16. REWIND/station memory #1 button
17. SCAN button
18. TUNE button
19. SEEK button
20. AM/FM select button
WHA0139
Heater, air conditioner and audio systems4-25
ZX
Page 170 of 294

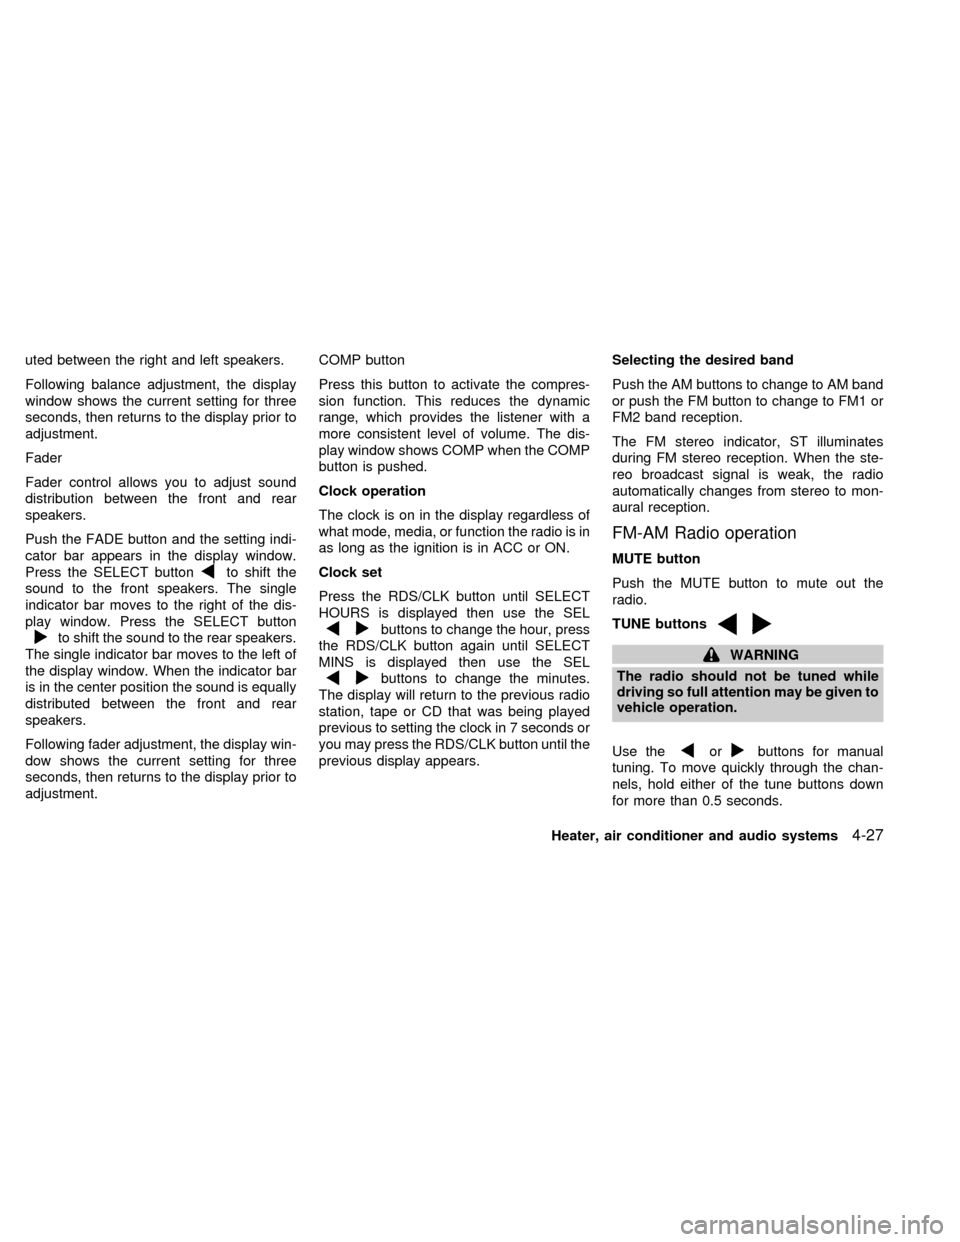
uted between the right and left speakers.
Following balance adjustment, the display
window shows the current setting for three
seconds, then returns to the display prior to
adjustment.
Fader
Fader control allows you to adjust sound
distribution between the front and rear
speakers.
Push the FADE button and the setting indi-
cator bar appears in the display window.
Press the SELECT button
to shift the
sound to the front speakers. The single
indicator bar moves to the right of the dis-
play window. Press the SELECT button
to shift the sound to the rear speakers.
The single indicator bar moves to the left of
the display window. When the indicator bar
is in the center position the sound is equally
distributed between the front and rear
speakers.
Following fader adjustment, the display win-
dow shows the current setting for three
seconds, then returns to the display prior to
adjustment.COMP button
Press this button to activate the compres-
sion function. This reduces the dynamic
range, which provides the listener with a
more consistent level of volume. The dis-
play window shows COMP when the COMP
button is pushed.
Clock operation
The clock is on in the display regardless of
what mode, media, or function the radio is in
as long as the ignition is in ACC or ON.
Clock set
Press the RDS/CLK button until SELECT
HOURS is displayed then use the SELbuttons to change the hour, press
the RDS/CLK button again until SELECT
MINS is displayed then use the SEL
buttons to change the minutes.
The display will return to the previous radio
station, tape or CD that was being played
previous to setting the clock in 7 seconds or
you may press the RDS/CLK button until the
previous display appears.Selecting the desired band
Push the AM buttons to change to AM band
or push the FM button to change to FM1 or
FM2 band reception.
The FM stereo indicator, ST illuminates
during FM stereo reception. When the ste-
reo broadcast signal is weak, the radio
automatically changes from stereo to mon-
aural reception.
FM-AM Radio operation
MUTE button
Push the MUTE button to mute out the
radio.
TUNE buttons
WARNING
The radio should not be tuned while
driving so full attention may be given to
vehicle operation.
Use the
orbuttons for manual
tuning. To move quickly through the chan-
nels, hold either of the tune buttons down
for more than 0.5 seconds.
Heater, air conditioner and audio systems
4-27
ZX
Page 180 of 294

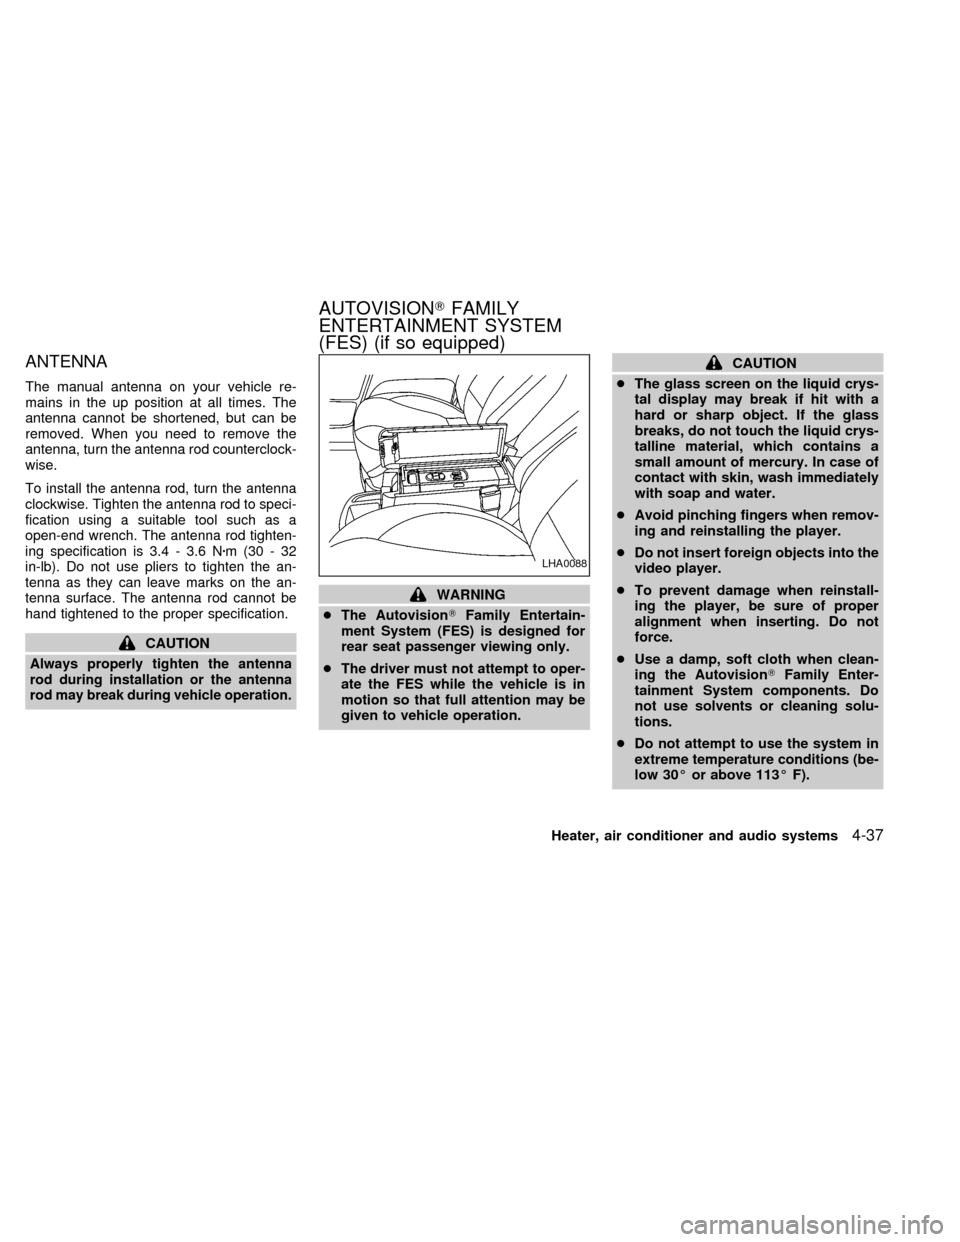
ANTENNA
The manual antenna on your vehicle re-
mains in the up position at all times. The
antenna cannot be shortened, but can be
removed. When you need to remove the
antenna, turn the antenna rod counterclock-
wise.
To install the antenna rod, turn the antenna
clockwise. Tighten the antenna rod to speci-
fication using a suitable tool such as a
open-end wrench. The antenna rod tighten-
ing specification is 3.4 - 3.6 Nzm(30-32
in-lb). Do not use pliers to tighten the an-
tenna as they can leave marks on the an-
tenna surface. The antenna rod cannot be
hand tightened to the proper specification.
CAUTION
Always properly tighten the antenna
rod during installation or the antenna
rod may break during vehicle operation.
WARNING
cThe AutovisionTFamily Entertain-
ment System (FES) is designed for
rear seat passenger viewing only.
cThe driver must not attempt to oper-
ate the FES while the vehicle is in
motion so that full attention may be
given to vehicle operation.
CAUTION
cThe glass screen on the liquid crys-
tal display may break if hit with a
hard or sharp object. If the glass
breaks, do not touch the liquid crys-
talline material, which contains a
small amount of mercury. In case of
contact with skin, wash immediately
with soap and water.
cAvoid pinching fingers when remov-
ing and reinstalling the player.
cDo not insert foreign objects into the
video player.
cTo prevent damage when reinstall-
ing the player, be sure of proper
alignment when inserting. Do not
force.
cUse a damp, soft cloth when clean-
ing the AutovisionTFamily Enter-
tainment System components. Do
not use solvents or cleaning solu-
tions.
cDo not attempt to use the system in
extreme temperature conditions (be-
low 30É or above 113É F).
LHA0088
AUTOVISIONTFAMILY
ENTERTAINMENT SYSTEM
(FES) (if so equipped)
Heater, air conditioner and audio systems4-37
ZX
Page 190 of 294

5 Starting and driving
Precautions when starting and driving ...................5-2
Exhaust gas (carbon monoxide) .......................5-2
Three-way catalyst ............................................5-2
Avoiding collision and rollover ...........................5-3
Drinking alcohol/drugs and driving ....................5-3
Ignition switch .........................................................5-4
Key positions .....................................................5-4
Before starting the engine ......................................5-5
Starting the engine .................................................5-5
Driving the vehicle ..................................................5-6
Parking brake .........................................................5-9
Cruise control .......................................................5-10
Precautions on cruise control ..........................5-10
Cruise control operations ................................5-10
Break-in schedule ................................................5-11Increasing fuel economy ......................................5-12
Parking/parking on hills ........................................5-13
Power steering .....................................................5-14
Brake system........................................................5-14
Braking precautions .........................................5-14
Anti-lock brake system (ABS) .........................5-14
Cold weather driving ............................................5-16
Freeing a frozen door lock ..............................5-16
Anti-freeze .......................................................5-16
Battery .............................................................5-16
Draining of coolant water ................................5-16
Tire equipment.................................................5-16
Special winter equipment ................................5-17
Driving on snow or ice.....................................5-17
Engine block heater (if so equipped) ..............5-18
ZX
Page 193 of 294

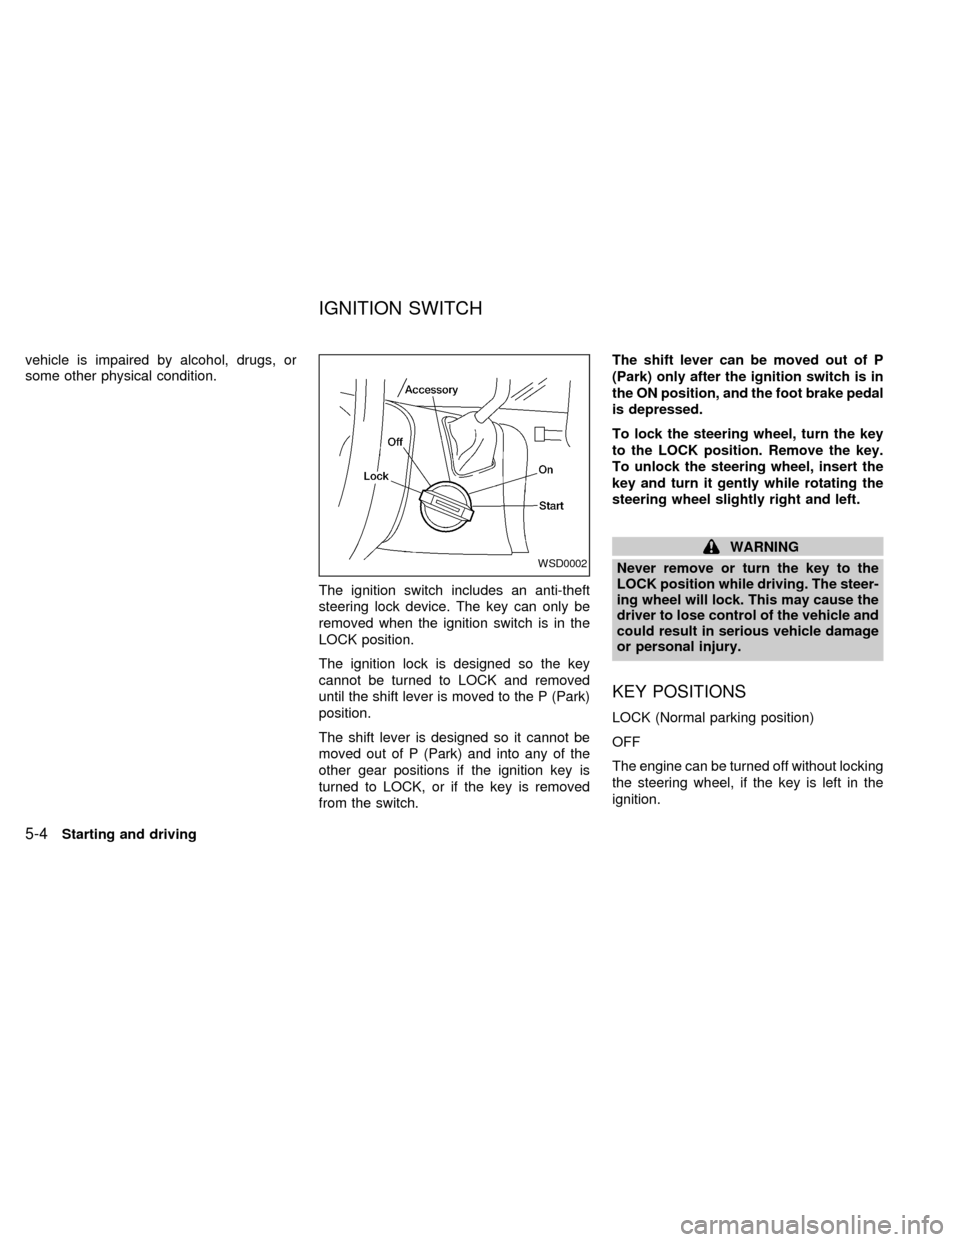
vehicle is impaired by alcohol, drugs, or
some other physical condition.
The ignition switch includes an anti-theft
steering lock device. The key can only be
removed when the ignition switch is in the
LOCK position.
The ignition lock is designed so the key
cannot be turned to LOCK and removed
until the shift lever is moved to the P (Park)
position.
The shift lever is designed so it cannot be
moved out of P (Park) and into any of the
other gear positions if the ignition key is
turned to LOCK, or if the key is removed
from the switch.The shift lever can be moved out of P
(Park) only after the ignition switch is in
the ON position, and the foot brake pedal
is depressed.
To lock the steering wheel, turn the key
to the LOCK position. Remove the key.
To unlock the steering wheel, insert the
key and turn it gently while rotating the
steering wheel slightly right and left.
WARNING
Never remove or turn the key to the
LOCK position while driving. The steer-
ing wheel will lock. This may cause the
driver to lose control of the vehicle and
could result in serious vehicle damage
or personal injury.
KEY POSITIONS
LOCK (Normal parking position)
OFF
The engine can be turned off without locking
the steering wheel, if the key is left in the
ignition.
WSD0002
IGNITION SWITCH
5-4Starting and driving
ZX
Page 194 of 294

ACC (Accessories)
This position activates electrical accesso-
ries such as the radio when the engine is
not running.
ON (Normal operating position)
This position turns on the ignition system
and the electrical accessories.
START
This position activates the starter motor,
which starts the engine.cMake sure the area around the vehicle is
clear.
cMaintenance items listed here should be
checked periodically (for example, each
time you check engine oil).
cCheck that all windows and lights are
clean.
cVisually inspect tires for their appearance
and condition. Also check tires for proper
inflation.
cLock all doors.
cPosition seat and adjust head restraints.
cAdjust inside and outside mirrors.
cFasten seat belts and ask all passengers
to do likewise.
cCheck the operation of warning lights
when key is turned to the ON position.
See ``Warning/Indicator lights and audible
reminders'' in the ``Instrument and con-
trols'' section.
1. Apply the parking brake.
2. Move the selector lever to P (Park) or N
(Neutral) (P is recommended).
The shift selector lever cannot be
moved out of P and into any of the
other gear positions under the follow-
ing conditions:
cThe ignition key is turned to the
LOCK position.
cThe ignition key is turned to the ON
position without depressing the
foot brake pedal.
The starter will not operate if the shift
selector lever is in one of the driving
positions.
3. Crank the enginewith your foot off the
accelerator pedalby turning the ignition
key to START. Release the key when the
engine starts. If the engine starts, but
fails to run, repeat the above procedure.
Ð If the engine is very hard to start in
extremely cold or hot weather, de-
press the accelerator pedal to the
floor and hold it to help start the
engine.
BEFORE STARTING THE
ENGINESTARTING THE ENGINE
Starting and driving5-5
ZX
Page 196 of 294

The selector lever cannot be moved out
of P (Park) and into any of the other gear
positions if the ignition key is turned to
LOCK, or if the key is removed from the
switch.
The shift lever can be moved if the igni-
tion switch is in the ACC position. This
allows the vehicle to be moved if the
battery is discharged.
1. Keep the brake pedal depressed and
shift into a driving gear.
2. Release the parking brake and brake
pedal, then gradually start the vehicle in
motion.
Shifting
P (Park):
Use this selector position when the vehicle
is parked or when starting the engine. Al-
ways be sure the vehicle is at a complete
stop. For maximum safety, depress the
brake pedal, pull the lever toward you, and
move the lever to the P (Park) position.
Apply the parking brake. When parking on a
hill, apply the parking brake first, then shift
the lever into the P (Park) position.Shifting from P (Park)
If the ignition switch is in the ON position
and the foot brake pedal is depressed, but
the shift lever still cannot be moved out of P
(Park), follow these instructions:
1. Shut the engine off and remove the key.
2. Apply the parking brake.
3. Reinsert the ignition key and turn it clock-
wise to the first position (ACC).
4. Depress the brake pedal, move the gear-
shift lever to N (Neutral).
5. Start the engine.
R (Reverse):
Use this position to back up. Always be sure
the vehicle is completely stopped. Depress
the brake pedal, then pull the shift lever
toward you and move it to the R (Reverse)
position.
ASD0552
Starting and driving5-7
ZX