2002 NISSAN QUEST warning
[x] Cancel search: warningPage 86 of 294
shoulder harness retractor is in the emer-
gency locking mode.
WARNING
The automatic locking mode (child re-
straint mode) must be reactivated each
time you place a child in the integrated
child safety seats.
In addition to the automatic locking retrac-
tors, the integrated child safety seat shoul-
der harnesses are equipped with emer-
gency locking retractors. The automatic
locking mode is best to use, especially for
children who need help staying properly
positioned in the seat and its harnesses (for
example, children who are younger and
smaller), because the belts are always
locked. In the emergency locking mode, the
shoulder belts only lock in a sudden stop or
accident, allowing a child more freedom of
movement. Use the emergency locking
mode only if you judge your child able to
remain properly positioned in the integrated
child safety seat.
Removing the child
1. Release the chest clip.
2. Release the left and right shoulder har-ness tongues from the belt buckle by
pressing the red belt buckle button.
3. Move the left and right shoulder har-
nesses aside and assist the child from
the integrated child safety seat.
Storing the Integrated Child Safety
Seat
1. Be sure the shoulder harnesses are fully
retracted and resting inside the inte-
grated child safety seat recess. It is not
necessary to reconnect the shoulder har-
nesses and belt buckle prior to storing
the integrated child safety seat.
2. While holding onto, but not pulling, the
cushion release strap, rotate the cushion
upward until it fits flush with the second
row seat back cushion and locks into
position.
3. Be sure the integrated child safety seat is
locked in the stowed position by grasping
the safety seat cushion and attempting to
lower it without pulling the cushion re-
lease strap. If the integrated child safety
seat is not locked in the stowed position,
repeat steps one through three.
Integrated Child Safety Seat main-
tenance
cTo clean the shoulder harnesses and belt
buckle webbing, apply a mild soap solu-
tion or any solution recommended for
cleaning upholstery or carpets. Then
brush the webbing, wipe it with a cloth
and allow it to dry in the shade. Do not
allow the shoulder harnesses to retract
until they are completely dry.
cThe integrated child safety seats cloth
removable pads may be cleaned with
mild soap and water. The cloth remov-
able pads are attached to the seats with
fastener strips, and may be easily re-
moved. The pads are machine washable.
Fo best results, machine wash in cold
water in the gentle cycle. Tumble dry on
low heat. Do not use chlorine bleach, and
do not dry clean.
CAUTION
Failure to follow the washing instruc-
tions provided on the cloth removable
pads may result in premature wear or
damage.
Seats, restraints and supplemental air bag systems
1-79
ZX
Page 89 of 294

2 Instruments and controls
Meters and gauges ................................................2-4
Speedometer and odometer .............................2-5
Tachometer........................................................2-5
Engine coolant temperature gauge ...................2-6
Fuel gauge ........................................................2-6
Message center (if so equipped) ...........................2-7
Warning/indicator lights and audible
reminders................................................................2-8
Checking bulbs ..................................................2-8
Warning lights ....................................................2-8
Indicator lights .................................................2-10
Audible reminders............................................2-12
Vehicle security system (if so equipped) .............2-12
Windshield wiper and washer switch ...................2-15
Rear window wiper and washer switches ............2-16
Rear window defogger switch ..............................2-16
Headlight and turn signal switch ..........................2-16
Headlight control switch ..................................2-16
Autolamp switch (if so equipped) ....................2-18
Turn signal switch............................................2-19
Cornering light .................................................2-19
Hazard warning flasher switch .............................2-19Horn ......................................................................2-20
Heated seats (if so equipped) ..............................2-20
Rear power socket ...............................................2-22
Cigarette lighter and ashtray (accessory) ............2-23
Storage .................................................................2-24
Map pockets ....................................................2-24
Conversation mirror .........................................2-24
Cup holders .....................................................2-25
Glove box ........................................................2-26
Cargo net .........................................................2-27
Parcel shelf (if so equipped) ...........................2-28
Luggage rack ...................................................2-30
Windows ...............................................................2-30
Power windows................................................2-30
Power vent windows (if so equipped) .............2-32
Manual vent windows ......................................2-32
Sunroof (if so equipped).......................................2-33
Interior lights .........................................................2-34
Luggage ...........................................................2-34
Personal reading light ..........................................2-34
Map lights .............................................................2-35
Illuminated entry system ......................................2-35
ZX
Page 92 of 294

1. Horn
2. Meters/gauges
3. Gear shift selector lever
4. Hazard warning flasher switch
5. Rear window washer switch
6. Rear window wiper switch
7. Rear window defogger switch
8. Security light
9. Center ventilators
10. Passenger supplemental air bag
11. Side ventilator
12. Glove box
13. FM-AM radio with cassette player
14. FM-AM radio with cassette player and
CD player
15. Map pocket (if so equipped)
16. Heater/air conditioner controls
17. Storage compartment
18. Cup holders
19. CD changer (if so equipped)20. Cigarette lighter (accessory)
21. Audio controls
22. Ignition switch/steering lock
23. Driver supplemental air bag
24. Tilt steering lock lever
25. Parking brake
26. Hood release lever
27. Fuse box cover
28. Cruise control main and set switch
29. Front fog light switch
30. Windshield wiper/turn signal/high beam
switch
31. Headlight control switch
32. Instrument brightness control
Instruments and controls
2-3
ZX
Page 95 of 294
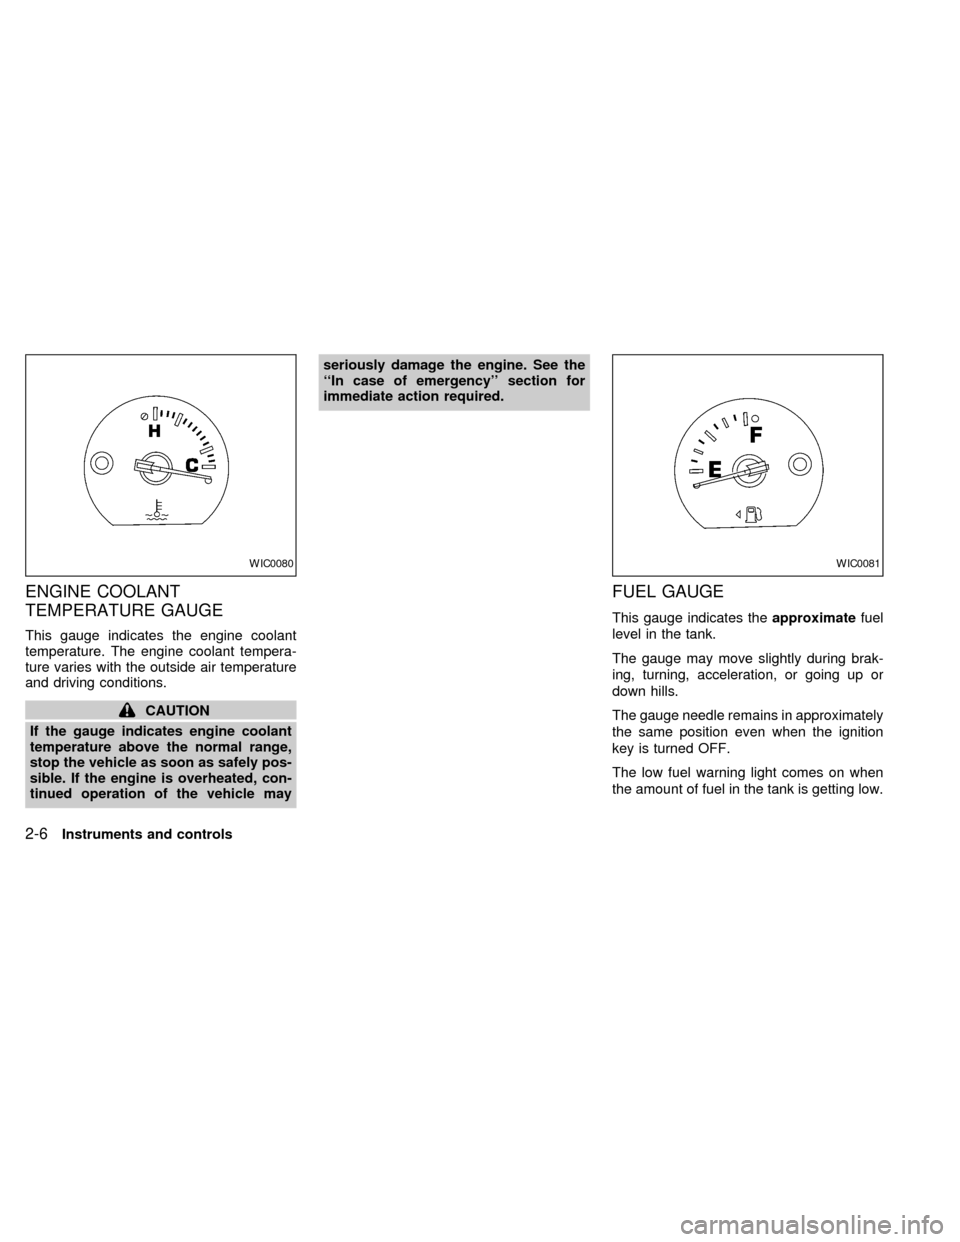
ENGINE COOLANT
TEMPERATURE GAUGE
This gauge indicates the engine coolant
temperature. The engine coolant tempera-
ture varies with the outside air temperature
and driving conditions.
CAUTION
If the gauge indicates engine coolant
temperature above the normal range,
stop the vehicle as soon as safely pos-
sible. If the engine is overheated, con-
tinued operation of the vehicle mayseriously damage the engine. See the
``In case of emergency'' section for
immediate action required.
FUEL GAUGE
This gauge indicates theapproximatefuel
level in the tank.
The gauge may move slightly during brak-
ing, turning, acceleration, or going up or
down hills.
The gauge needle remains in approximately
the same position even when the ignition
key is turned OFF.
The low fuel warning light comes on when
the amount of fuel in the tank is getting low.
WIC0080WIC0081
2-6Instruments and controls
ZX
Page 97 of 294
Turn signal/hazard indicator lightsCharge warning lightOverdrive off indicator light
(automatic transmission only)
Brake warning lightLow fuel warning lightMalfunction indicator lamp (MIL)
High beam indicator lightLow washer fluid warning lightAnti-lock brake warning light
Seat belt WARNING light and chimeCRUISE main switch indicator lightSupplemental air bag warning light
Engine oil pressure warning lightCruise SET switch indicator lightDoor open warning light
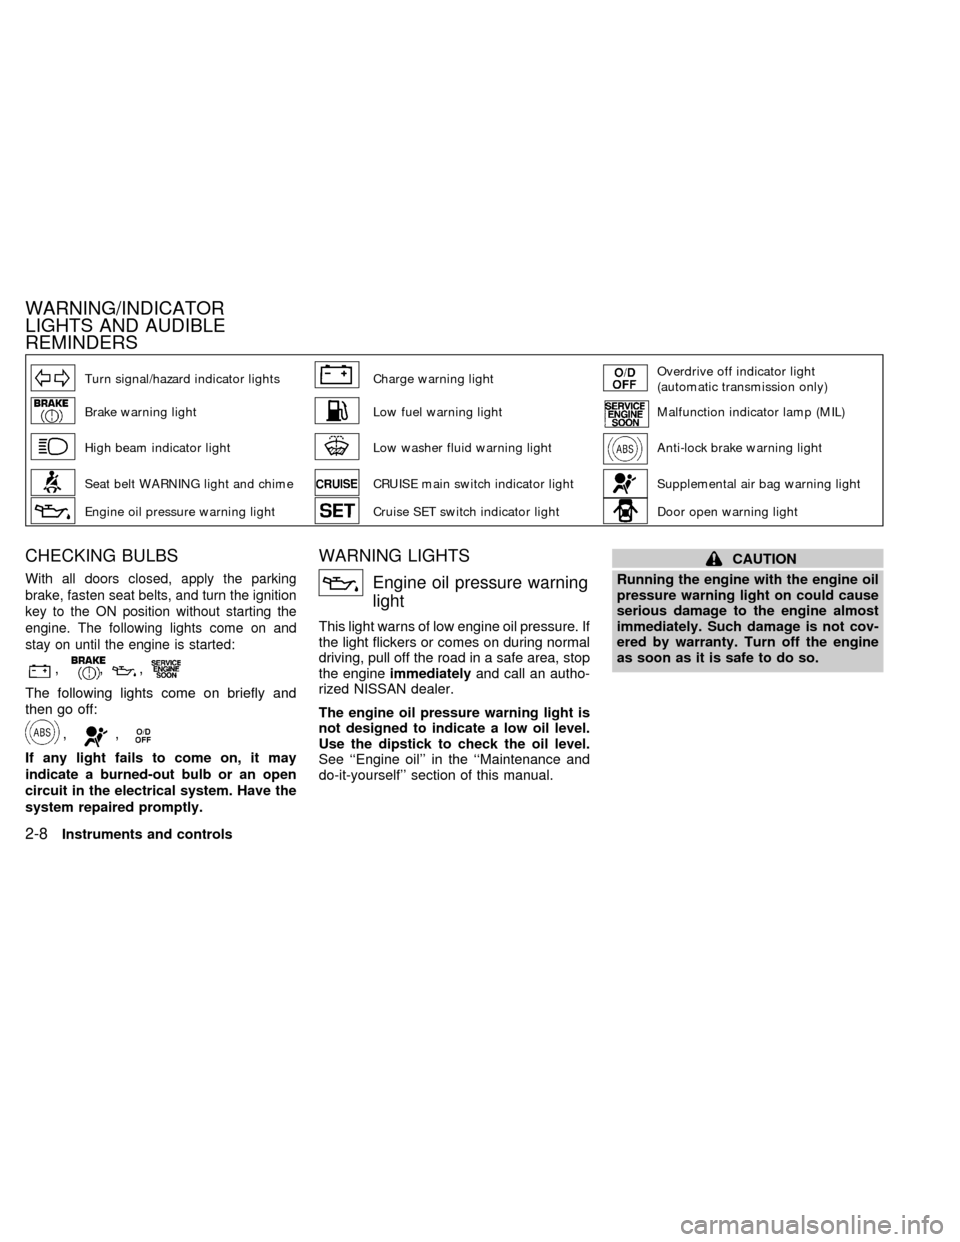
CHECKING BULBS
With all doors closed, apply the parking
brake, fasten seat belts, and turn the ignition
key to the ON position without starting the
engine. The following lights come on and
stay on until the engine is started:
,,,
The following lights come on briefly and
then go off:
,,
If any light fails to come on, it may
indicate a burned-out bulb or an open
circuit in the electrical system. Have the
system repaired promptly.
WARNING LIGHTS
Engine oil pressure warning
light
This light warns of low engine oil pressure. If
the light flickers or comes on during normal
driving, pull off the road in a safe area, stop
the engineimmediatelyand call an autho-
rized NISSAN dealer.
The engine oil pressure warning light is
not designed to indicate a low oil level.
Use the dipstick to check the oil level.
See ``Engine oil'' in the ``Maintenance and
do-it-yourself'' section of this manual.
CAUTION
Running the engine with the engine oil
pressure warning light on could cause
serious damage to the engine almost
immediately. Such damage is not cov-
ered by warranty. Turn off the engine
as soon as it is safe to do so.
WARNING/INDICATOR
LIGHTS AND AUDIBLE
REMINDERS
2-8Instruments and controls
ZX
Page 98 of 294
Charge warning light
If the light comes on while the engine is
running, it may indicate the charging system
is not functioning properly. Turn the engine
off and check the generator belt. If the belt is
loose, broken, missing, or if the light re-
mains on, see an authorized NISSAN
dealer immediately.
CAUTION
Do not continue driving if the belt is
loose, broken or missing.
Door open warning light
This light comes on when any of the doors
are not closed securely while the ignition
key is ON.
Seat belt warning light and
chime
The light and chime remind you to fasten
your seat belts. If the driver's seat belt is
NOT securely fastened when the ignition
key is turned to ON or START, the chime
sounds for approximately 6 seconds and
the light illuminates.Refer to ``Seat belts'' in the ``Seats, re-
straints and supplemental air bag systems''
section of this manual for precautions on
seat belt usage.
Supplemental air bag
warning light
When the ignition key is in the ON or START
position, the supplemental air bag warning
light illuminates for about 7 seconds and then
turns off. This means the Air Bag Supple-
mental Restraint System is operational.
If any of the following conditions occur, the
supplemental air bag and pre-tensioner
seat belt systems need servicing and your
vehicle should be taken to an authorized
NISSAN dealer:
cThe supplemental air bag warning light
remains on after approximately 7 sec-
onds.
cThe supplemental air bag warning light
flashes intermittently.
cThe supplemental air bag warning light
does not come on at all.
Under these conditions, the air bag supple-
mental restraint system and/or pre-tensioner
seat belts may not function properly. Foradditional details, see ``Supplemental re-
straint system'' in the ``Seats, restraints and
supplemental air bag systems'' section of
this manual.
WARNING
If the supplemental air bag warning
light is on, it could mean that the
supplemental air bag will not operate in
an accident.
Low washer fluid warning
light
This light comes on when the washer fluid is
at a low level. Add washer fluid as neces-
sary. See the ``Maintenance and do-it-
yourself'' section of this manual.
Brake warning light
This light functions for both the parking
brake and the foot brake systems.
When the ignition key is in the ON position,
the light comes on when the parking brake
is applied, and also warns of a low brake
fluid level. If the light comes on while the
engine is running with the parking brake not
Instruments and controls
2-9
ZX
Page 99 of 294
applied, stop the vehicle and perform the
following:
1.
Check the brake fluid level. Add brake fluid
as necessary. See ``Brake fluid'' in the
``Maintenance and do-it-yourself'' section
of this manual.
2. If the brake fluid level is correct, have the
warning system checked by an autho-
rized NISSAN dealer.
WARNING
cYour brake system may not be work-
ing properly if the warning light is
on. Driving could be dangerous. If
you judge it to be safe, drive care-
fully to the nearest service station
for repairs. Otherwise, have your ve-
hicle towed because driving it could
be dangerous.
cPressing the brake pedal with the
engine stopped and/or low brake
fluid level may increase your stop-
ping distance and braking will re-
quire greater pedal effort as well as
pedal travel.cIf the brake fluid level is below the
MINIMUM or MIN mark on the brake-
fluid reservoir, do not drive until the
brake system has been checked at a
NISSAN dealer.
Anti-lock brake warning light
If the light comes on while the engine is
running, it may indicate the anti-lock portion
of the brake system is not functioning prop-
erly. Have the system checked by an autho-
rized NISSAN dealer.
If a malfunction occurs in the system, the
anti-lock function turns off, but the brakes
continue to operate normally.
If the light comes on while you are driv-
ing, contact an authorized NISSAN
dealer for repair.
Low fuel warning light
This light comes on when the fuel level in
the fuel tank is getting low. Refuel as soon
as it is convenient, preferably before the fuel
gauge reaches E (Empty).There will be a
small reserve of fuel in the tank when the
fuel gauge needle reaches E (Empty).
INDICATOR LIGHTS
Overdrive off indicator light
This light comes on during driving when the
overdrive switch is pressed to prevent over-
drive operation (4th gear).
The O/D OFF indicator light comes on for
two seconds each time the ignition key is
turned ON. This shows the light is function-
ing properly.
If the O/D OFF indicator light blinks for
approximately 8 seconds after coming on for
2 seconds, have an authorized NISSAN
dealer check the transmission and repair it if
necessary.
The automatic transmission is equipped
with an electronic Fail-Safe mode. This sys-
tem allows the vehicle to be driven even in
the event of damage to the electrical cir-
cuits. If this occurs, the transmission may
default to third gear in drive range.
NOTE: See ``Fail-safe'' in the ``Starting and
driving'' section of this manual before visit-
ing an authorized NISSAN dealer.
2-10Instruments and controls
ZX
Page 101 of 294
CAUTION
Continued vehicle operation without
having the emission control system
checked and repaired as necessary
could lead to poor driveability, reduced
fuel economy, and possible damage to
the emission control system.
AUDIBLE REMINDERS
Key reminder chime
The chime sounds if the driver's door is
opened while the key is left in the ignition
switch. Remove the key and take it with you
when leaving the vehicle.
Light reminder chime
A chime sounds when the driver's door is
opened with the headlight control switch on
(ignition switch is turned OFF).
The chime will not sound when the Auto-
lamp (if so equipped) shut-off delay is acti-
vated. Refer to the ``Autolamp Switch'' in-
structions later in this section.
Turn the headlight control switch to OFF
when you leave the vehicle.
Brake pad wear warning
The disc brake pads have audible wear
warnings. When a brake pad requires re-
placement, it makes a high pitched scraping
sound when the vehicle is in motion whether
or not the brake pedal is depressed. Have
the brakes checked as soon as possible if
the warning sound is heard.
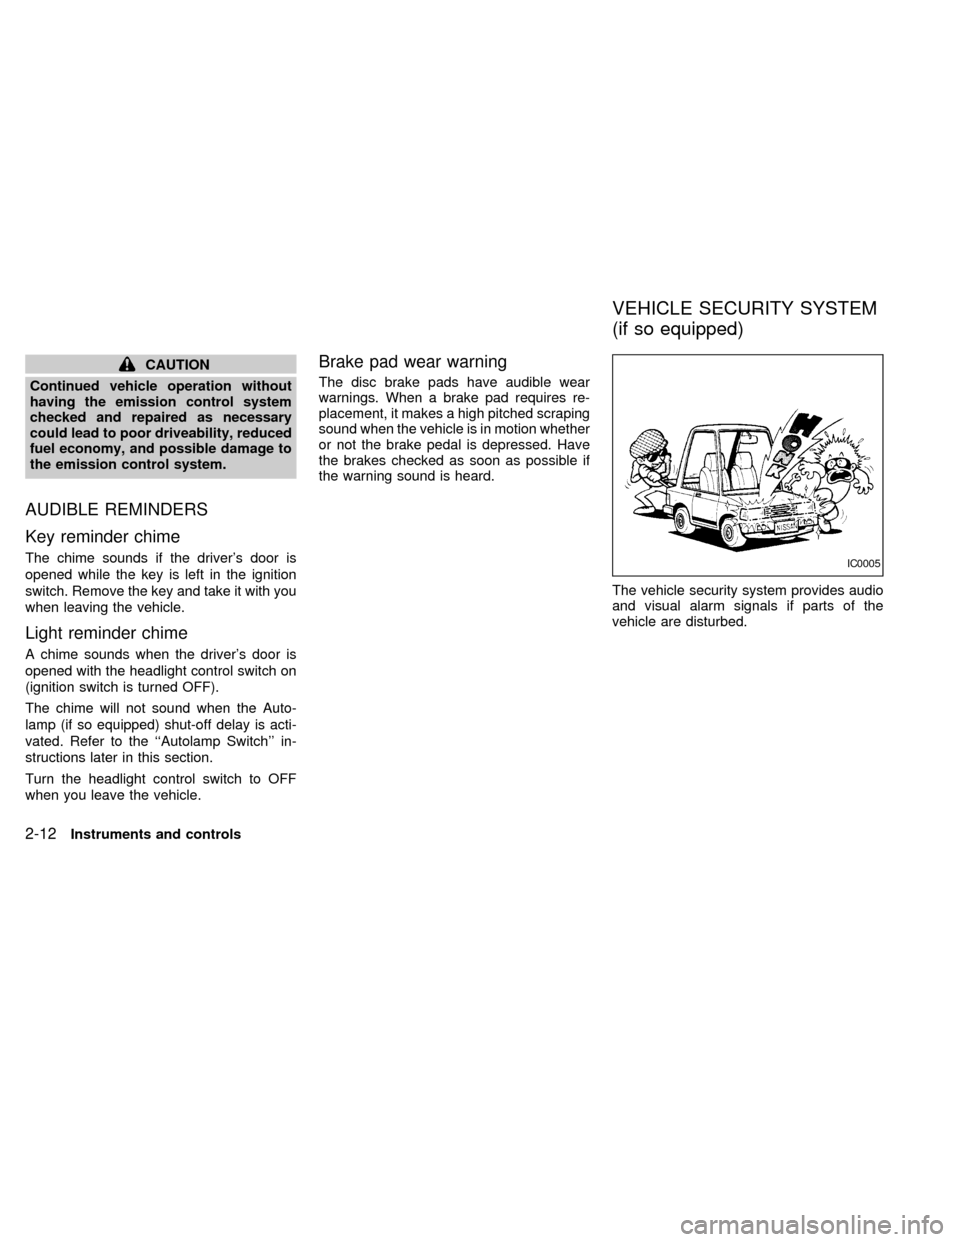
The vehicle security system provides audio
and visual alarm signals if parts of the
vehicle are disturbed.
IC0005
VEHICLE SECURITY SYSTEM
(if so equipped)
2-12Instruments and controls
ZX