2002 NISSAN PATHFINDER ESP
[x] Cancel search: ESPPage 129 of 288

from a station transmitter, the signals will tend
to fade and/or drift.
Static and flutter: During signal interference
from buildings, large hills or due to antenna
position, usually in conjunction with increased
distance from the station transmitter, static or
flutter can be heard. This can be reduced by
adjusting the treble control counterclockwise
to reduce treble response.
Multipath reception: Because of the reflective
characteristics of FM signals, direct and re-
flected signals reach the receiver at the same
time. The signals may cancel each other,
resulting in momentary flutter or loss of sound.
The radio has an FM Diversity reception sys-
tem, which employs two antennas if so
equipped. One is a rod type antenna; the other
is an antenna printed on the window. This
system automatically switches to the antenna
which is receiving less noise.
For additional information, see ªAntennaº later
in this section.AM RADIO RECEPTIONAM signals, because of their low frequency,
can bend around objects and skip along the
ground. In addition, the signals can be
bounced off the ionosphere and bent back to
earth. Because of these characteristics. AMsignals are also subject to interference as they
travel from transmitter to receiver.
Fading: Occurs while the vehicle is passing
through freeway underpasses or in areas with
many tall buildings. It can also occur for sev-
eral seconds during ionospheric turbulence
even in areas where no obstacles exist.
Static: Caused by thunderstorms, electrical
power lines, electric signs and even traffic
lights.
AUDIO OPERATION
PRECAUTIONS
Cassette playerITo maintain good quality sound,
NISSAN recommends using cassette
tapes of 60 minutes or shorter in length.
ICassette tapes should be removed from
the player when not in use. Store cas-
settes in their protective cases and away
from direct sunlight, heat, dust, mois-
ture and magnetic sources.
IDirect sunlight can cause the cassette to
become deformed. The use of deformed
cassettes may cause the cassette to jam
in the player.
IDo not use cassettes with labels whichare peeling and loose. If used, the label
could jam in the player.
IIf a cassette has loose tape, insert a
pencil through one of the cassette hubs
and rewind the tape firmly around the
hubs. Loose tape may cause tape jam-
ming and wavering sound quality.
IOver a period of time, the playback
head, capstan and pinch roller may col-
lect a tape coating residue as the tape is
played. This residue accumulation can
cause weak or wavering sound, and
should be removed periodically with a
head cleaning tape. If the residue is not
removed periodically, the player may
need to be disassembled for cleaning.
4-12
Heater, air conditioner and audio systems
Z
01.9.21/R50-D/V5
X
Page 147 of 288

ªMODEº select switchPush the mode select switch to change the
mode in the sequence of AM, FM1, FM2, CD
player, CD autochanger and Tape.Volume control switchesPush the upper or lower side switch to in-
crease or decrease the volume.
Tuning
Memory change (radio):
Push the tuning switch
or
for lessthan 1.5 seconds to change the preset radio
channels.
Seek tuning (radio):
Push the tuning switch
or
for more
than 1.5 seconds to seek the next or previous
radio station.
APS (Automatic Program Search) FF, APS
REW (tape or CD changer):
Push the tuning switch
or
for less
1.5 seconds to return to the beginning of the
present program or skip to the next program.
Push several times to skip back or skip
through programs.
This system searches for the blank intervals
between selections. If there is a blank interval
within one program or there is no interval
between programs, the system may not stop in
the desired or expected location.
FF REW (tape or CD changer):
Push the tuning switch
or
for more
than 1.5 seconds to rewind or fast forward the
tape or to change the playing disc up or down.
In CD player operation, pushing the tuning
switch changes the track up or down.
To stop the FF or REW function, press the
or
button for more than 1.5 sec-
onds again.
SAA0464
STEERING WHEEL SWITCH FOR
AUDIO CONTROL (if so equipped)4-30
Heater, air conditioner and audio systems
Z
01.9.21/R50-D/V5
X
Page 148 of 288
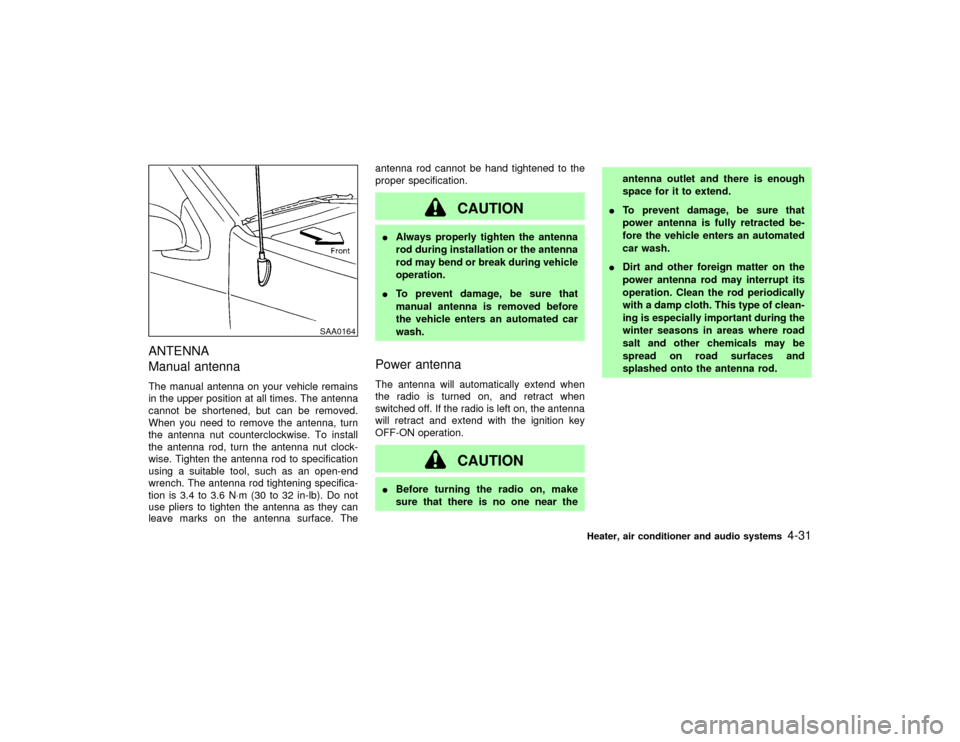
ANTENNA
Manual antennaThe manual antenna on your vehicle remains
in the upper position at all times. The antenna
cannot be shortened, but can be removed.
When you need to remove the antenna, turn
the antenna nut counterclockwise. To install
the antenna rod, turn the antenna nut clock-
wise. Tighten the antenna rod to specification
using a suitable tool, such as an open-end
wrench. The antenna rod tightening specifica-
tion is 3.4 to 3.6 N×m (30 to 32 in-lb). Do not
use pliers to tighten the antenna as they can
leave marks on the antenna surface. Theantenna rod cannot be hand tightened to the
proper specification.
CAUTION
IAlways properly tighten the antenna
rod during installation or the antenna
rod may bend or break during vehicle
operation.
ITo prevent damage, be sure that
manual antenna is removed before
the vehicle enters an automated car
wash.Power antennaThe antenna will automatically extend when
the radio is turned on, and retract when
switched off. If the radio is left on, the antenna
will retract and extend with the ignition key
OFF-ON operation.
CAUTION
IBefore turning the radio on, make
sure that there is no one near theantenna outlet and there is enough
space for it to extend.
ITo prevent damage, be sure that
power antenna is fully retracted be-
fore the vehicle enters an automated
car wash.
IDirt and other foreign matter on the
power antenna rod may interrupt its
operation. Clean the rod periodically
with a damp cloth. This type of clean-
ing is especially important during the
winter seasons in areas where road
salt and other chemicals may be
spread on road surfaces and
splashed onto the antenna rod.
SAA0164
Heater, air conditioner and audio systems
4-31
Z
01.9.21/R50-D/V5
X
Page 158 of 288
IMake sure the area around the vehicle is
clear.
ICheck fluid levels such as engine oil, cool-
ant, brake and clutch fluid, window washer
fluid as frequently as possible, at least
whenever you refuel.
ICheck to be sure that all windows and light
lenses are clean.
IVisually inspect tires for their appearance
and condition. Also check tires for proper
inflation.
ILock all doors.
IPosition seat and adjust head restraints.
IAdjust inside and outside mirrors.
IFasten seat belts and ask all passengers to
do likewise.
ICheck the operation of warning lights when
key is turned to the ON (3) position.1. Apply the parking brake.
2.Automatic transmission:
Move the selector lever to P (Park position)
or N (Neutral position). (P preferred)
The selector lever cannot be moved out
of P and into any of the other gear
positions if the ignition key is turned to
LOCK or if the key is removed from the
switch.
The starter is designed not to operate if
the selector lever is in one of the driving
positions.
Manual transmission:
Move the gearshift lever to N (Neutral po-
sition), and depress the clutch pedal to the
floor while starting the engine.
The starter is designed not to operate
unless the clutch pedal is fully de-
pressed.
3. Crank the enginewith your foot off the
accelerator pedalby turning the ignition
key to START. Release the key when the
engine starts. If the engine starts, but fails
to run, repeat the above procedure.
Ð If the engine is very hard to start in
extremely cold or hot weather ÐUse the accelerator pedal to help start the
engine.
CAUTION
Do not operate the starter for more than
15 seconds at a time. If the engine does
not start, turn the key off and wait 10
seconds before cranking again, other-
wise the starter could be damaged.
4.Warm-up
Always allow the engine to idle for at least
30 seconds after starting. Drive at moder-
ate speed for a short distance first, espe-
cially in cold weather.
BEFORE STARTING THE ENGINE STARTING THE ENGINE
Starting and driving
5-9
Z
01.9.21/R50-D/V5
X
Page 176 of 288
This occurs because the transfer clutch
is released and not because of a mal-
function.
CAUTION
IWhen driving straight, shift the 4WD
shift switch to the 2WD, AUTO, or 4H
position. Do not move the 4WD shift
switch when making a turn or revers-
ing.
IDo not shift the 4WD shift switch
while driving on steep downhill
grades. Use the engine brake.
IDo not operate the 4WD shift switch
with the rear wheels spinning.
IBefore placing the 4WD shift switch
in the 4H position from 2WD or AUTO,
ensure the vehicle speed is less than
50 MPH (80 km/h). Failure to do so
can damage the 4WD system.
INever shift the 4WD shift switch be-
tween 4LO and 4H while driving.
IEngine idling speed is high while
warming up the engine. Be espe-cially careful when starting or driving
on slippery surfaces with the 4WD
shift switch set in AUTO.
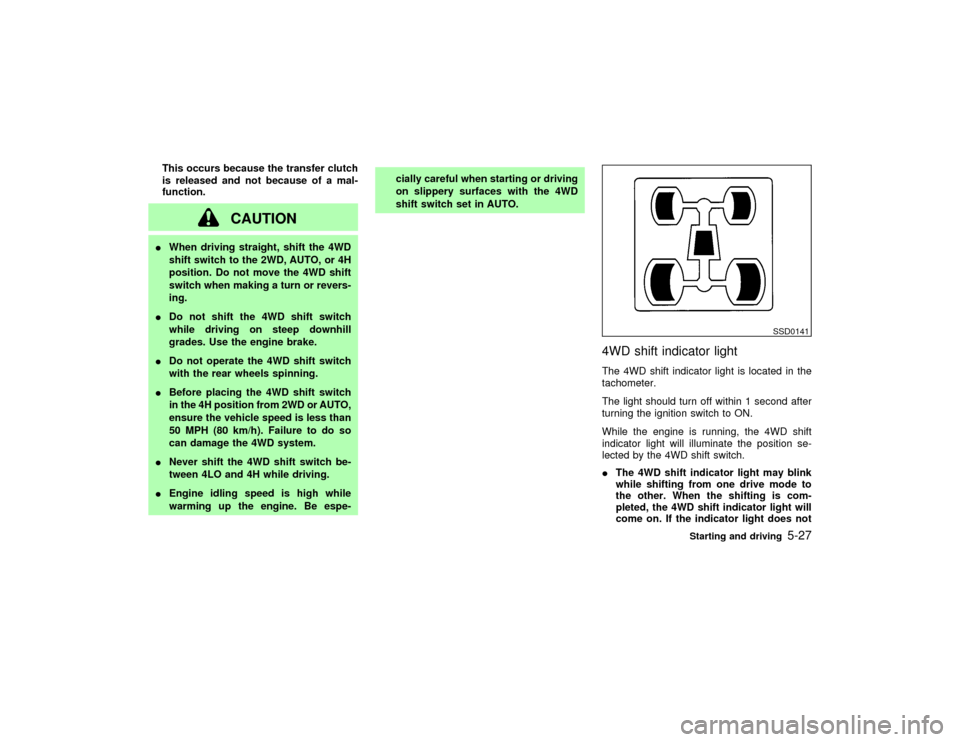
4WD shift indicator lightThe 4WD shift indicator light is located in the
tachometer.
The light should turn off within 1 second after
turning the ignition switch to ON.
While the engine is running, the 4WD shift
indicator light will illuminate the position se-
lected by the 4WD shift switch.
IThe 4WD shift indicator light may blink
while shifting from one drive mode to
the other. When the shifting is com-
pleted, the 4WD shift indicator light will
come on. If the indicator light does not
SSD0141
Starting and driving
5-27
Z
01.9.21/R50-D/V5
X
Page 178 of 288
this occurs, move the 4WD shift switch to the
4H or 4LO position.
The 4WD warning light comes on when the
key switch is turned to ON. It turns off soon
after the engine is started.
If any malfunction occurs in the 4WD system
when the key switch is ON, the warning light
will either remain illuminated or blink.
If the 4WD warning light comes on, the 4WD
indicator light goes out.
High-temperature transfer case oil makes the
warning light blink rapidly (about twice per
second). If the warning light blinks rapidly
during operation, stop the vehicle in a safe
place immediately. Then if the light goes off
after a while, you can continue driving.
A large difference between the diameters of
front and rear wheels will make the warning
light blink slowly (about once per two sec-
onds). Change the 4WD shift switch into 2WD
and do not drive fast.
CAUTION
IIf the warning light comes on or
blinks slowly during operation or rap-idly after stopping the vehicle for a
while, have your vehicle checked by
an authorized NISSAN dealer as soon
as possible.
IShifting between 4H and 4LO is not
recommended when the 4WD warn-
ing light turns on.
IWhen the warning light comes on, the
2WD mode may be engaged even if
the 4WD shift switch is in AUTO or
4H. Be especially careful when driv-
ing. If corresponding parts are mal-
functioning, the 4WD mode will not
be engaged even if the 4WD shift
switch is shifted.
IDo not drive on dry hard surface
roads in the 4H or 4LO position.
If the 4WD warning light turns on
when you are driving on dry hard
surface roads
Iin the AUTO or 4H position, shift
the 4WD shift switch to 2WD.
Iin the 4LO position, stop the ve-hicle, move the automatic transmis-
sion lever to the N position, and shift
the 4WD shift switch to 2WD.
IIf the warning light is still on after the
above operation, have your vehicle
checked by an authorized NISSAN
dealer as soon as possible.
IThe transfer case may be damaged if
you continue driving with the warning
light blinking rapidly.
Starting and driving
5-29
Z
01.9.21/R50-D/V5
X
Page 180 of 288
Part time 4WD models:
IIf the ATP light is ON, this indicates
that the automatic transmission P
(park) position will not function and
the transfer shift lever is in the N
position. Failure to engage the trans-
fer shift lever in H or 4L could result
in the vehicle moving unexpectedly,
resulting in serious personal injury or
property damage.
All-mode 4WD models:
IIf the ATP light is ON, this indicates
that the automatic transmission P
(park) position will not function and
the transfer case is in neutral. Make
sure that the 4WD shift indicator light
(and transfer 4LO position indicator)
light remains illuminated before stop-
ping the engine. Otherwise, the ve-
hicle could unexpectedly move even
if the automatic transmission is in the
P (park) position.
3. To help prevent the vehicle rolling into the
street when parked on a sloping drive way,it is a good practice to turn the wheels as
illustrated.
IHEADED DOWNHILL WITH CURB:
q1
Turn the wheels into the curb and move the
vehicle forward until the curb side wheel
gently touches the curb.
IHEADED UPHILL WITH CURB:
q2
Turn the wheels away from the curb and
move the vehicle back until the curb side
wheel gently touches the curb.
IHEADED UPHILL OR DOWNHILL, NO
CURB:
q3
Turn the wheels toward the side of the road
so the vehicle will move away from the
center of the road if it moves.
Make sure the ATP light is off before stop-
ping the engine.
4. Turn the ignition key to the LOCK position
and remove the key.The power assisted steering is designed to
use a hydraulic pump, driven by the engine, to
assist steering.
If the engine stops or drive belt breaks, you will
still have control of the vehicle. However,
much greater steering effort is needed, espe-
cially in sharp turns or at low speeds.
WARNING
If the engine is not running or is turned
off while driving, the power assist for the
steering will not work. Steering will be
much harder to operate.POWER STEERING
Starting and driving
5-31
Z
01.9.21/R50-D/V5
X
Page 182 of 288
conditions are hazardous and extra care is
required while driving.
If a tire slips on rough roads for more than
10 seconds, the ABS brake warning light
may come on. Turn OFF the ignition key,
restart the engine and drive the vehicle at
speeds above 20 MPH (30 km/h). If the
warning light does not go out, have the
vehicle checked at a NISSAN dealer.Self-test featureThe anti-lock brake system consists of elec-
tronic sensors, electric pumps, and hydraulic
solenoids controlled by a computer. The com-
puter has a built-in diagnostic feature that tests
the system each time you start the engine and
move the vehicle at a low speed in forward or
reverse. When the self-test occurs, you may
hear a clunk noise and/or feel a pulsation in
the brake pedal. This is normal and is not an
indication of any malfunction. If the computer
senses any malfunction, it switches the anti-
lock brake system OFF and turns on the ABS
brake warning light in the dashboard. The
brake system will then behave normally, but
without anti-lock assistance.
If the light comes on during the self check, or
while you are driving, you should take your
vehicle to your NISSAN dealer for repair at
your earliest convenience.
WARNING
The anti-lock brake system is a sophis-
ticated device, but it cannot prevent ac-
cidents resulting from careless or dan-
gerous driving techniques. It can help
maintain vehicle control during braking
on slippery surfaces, but remember that
the stopping distance on slippery sur-
faces will be longer than on normal
surfaces, even with the anti-lock sys-
tem. Stopping distances may also be
longer on rough, gravel or snow covered
roads, or if you are using tire chains.
Always maintain a safe distance from
the vehicle in front of you. Ultimately,
the responsibility for safety of self and
others rests in the hands of the driver.
Tire type and condition of tires may also
affect braking effectiveness.
IWhen replacing tires, install the
specified size of tires on all four
wheels.
IWhen installing a spare tire, make
sure it is the proper size and type asspecified on the tire placard. See
ªTire placardº in the ª9. Technical
and consumer informationº section
for tire placard location information.
Starting and driving
5-33
Z
01.9.21/R50-D/V5
X