2002 NISSAN ALTIMA instrument panel
[x] Cancel search: instrument panelPage 16 of 249

WARNING
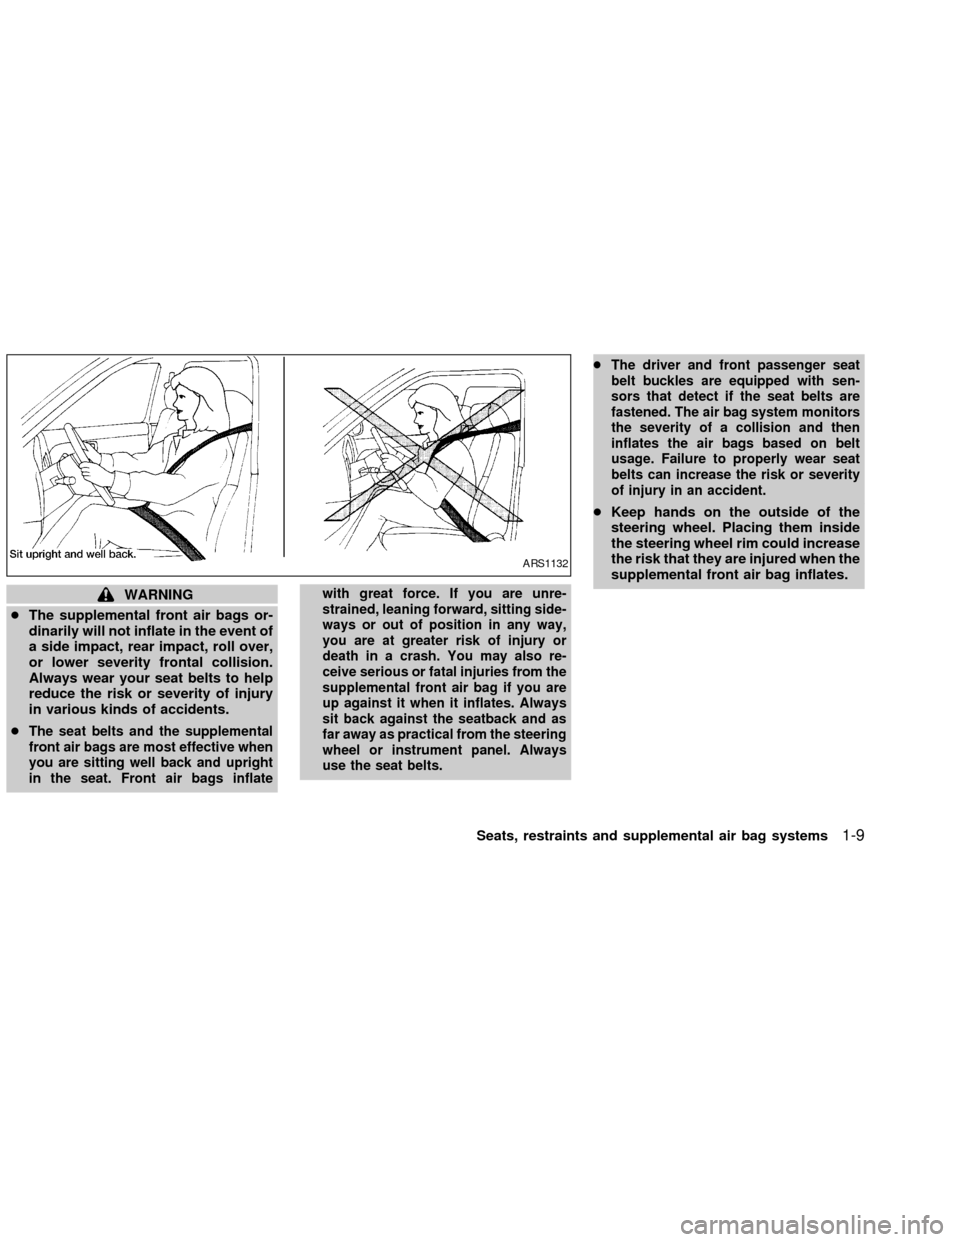
cThe supplemental front air bags or-
dinarily will not inflate in the event of
a side impact, rear impact, roll over,
or lower severity frontal collision.
Always wear your seat belts to help
reduce the risk or severity of injury
in various kinds of accidents.
c
The seat belts and the supplemental
front air bags are most effective when
you are sitting well back and upright
in the seat. Front air bags inflatewith great force. If you are unre-
strained, leaning forward, sitting side-
ways or out of position in any way,
you are at greater risk of injury or
death in a crash. You may also re-
ceive serious or fatal injuries from the
supplemental front air bag if you are
up against it when it inflates. Always
sit back against the seatback and as
far away as practical from the steering
wheel or instrument panel. Always
use the seat belts.cThe driver and front passenger seat
belt buckles are equipped with sen-
sors that detect if the seat belts are
fastened. The air bag system monitors
the severity of a collision and then
inflates the air bags based on belt
usage. Failure to properly wear seat
belts can increase the risk or severity
of injury in an accident.
cKeep hands on the outside of the
steering wheel. Placing them inside
the steering wheel rim could increase
the risk that they are injured when the
supplemental front air bag inflates.
ARS1132
Seats, restraints and supplemental air bag systems1-9
ZX
Page 22 of 249

use of seat belts, help to cushion the impact
force on the face and chest of the front
occupants. They can help save lives and
reduce serious injuries. However, an inflat-
ing front air bag may cause facial abrasions
or other injuries. Front air bags do not
provide restraint to the lower body.
The seat belts should be correctly worn and
the driver and passenger seated upright as
far as practical away from the steering
wheel or dash board. The supplemental
front air bags inflate quickly in order to help
protect the front occupants. Because of this,
the force of the front air bag inflating can
increase the risk of injury if the occupant is
too close to or is against the air bag module
during inflation.The air bag will deflate
quickly after the collision is over.
After turning the ignition key to the ON
position, the supplemental air bag warn-
ing light illuminates. The air bag warning
light will turn off after about 7 seconds if
the system is operational.
WARNING
c
Do not place any objects on the steer-
ing wheel pad or on the instrument
panel. Also, do not place any objectsbetween any occupant and the steer-
ing wheel or instrument panel. Such
objects may become dangerous pro-
jectiles and cause injury if the supple-
mental front air bag inflates.
cRight after inflation, several air bag
system components will be hot. Do
not touch them; you may severely
burn yourself.
c
No unauthorized changes should be
made to any components or wiring of
the supplemental front air bag sys-
tem. This is to prevent accidental in-
flation of the air bag or damage to the
air bag system.
cDo not make unauthorized changes
to your vehicle's electrical system,
suspension system or front end
structure. This could affect proper
operation of the supplemental front
air bag system.
c
Tampering with the supplemental front
air bag system may result in serious
personal injury. For example, do not
change the steering wheel and the in-
strument panel assembly by placing
material over the steering wheel padand above the instrument panel, or by
installing additional trim material
around the air bag system.
cWork around and on the supplemental
front air bag system should be done
by an authorized NISSAN retailer. In-
stallation of electrical equipment
should also be done by an authorized
NISSAN retailer. The yellow and or-
ange Supplemental Restrain System
(SRS) wiring and connectors should
not be modified or disconnected. Un-
authorized electrical test equipment
and probing devices should not be
used on the air bag system.
cA cracked windshield should be re-
placed immediately by a qualified
repair facility. A cracked windshield
could affect inflation of the supple-
mental air bag system.
c
The SRS wiring harness connectors are
yellow and orange for easy identification.
When selling your vehicle, we request that
you inform the buyer about the supple-
mental front air bag system and guide the
buyer to the appropriate sections in this
Owner's Manual.
Seats, restraints and supplemental air bag systems
1-15
ZX
Page 26 of 249

SUPPLEMENTAL AIR BAG
WARNING LABELS
Warning labels about the supplemental
front air bag, supplemental side air bag and
curtain air bag systems are placed in the
vehicle as shown in the illustration.
SUPPLEMENTAL AIR BAG
WARNING LIGHT
The supplemental air bag warning light, dis-
playing
in the instrument panel, moni-
tors the circuits of the supplemental front air
bag, supplemental side air bag and curtain
air bag (if so equipped) and pre-tensioner
seat belt systems. The circuits monitored by
the supplemental air bag warning light are
the diagnosis sensor unit, satellite sensors,
front air bag modules, side air bag modules,
curtain air bag modules, pre-tensioner seat
belts and all related wiring.
WRS0124LRS0100
Seats, restraints and supplemental air bag systems1-19
ZX
Page 49 of 249

2 Instruments and controls
Instrument panel ....................................................2-2
Meters and gauges ................................................2-3
Speedometer and odometer .............................2-3
Trip computer ....................................................2-3
Tachometer........................................................2-6
Engine coolant temperature gauge ...................2-6
Fuel gauge ........................................................2-7
Warning/indicator lights and audible
reminders................................................................2-8
Checking bulbs ..................................................2-8
Warning lights ....................................................2-8
Indicator lights .................................................2-11
Audible reminders............................................2-12
Security systems ..................................................2-13
Nissan vehicle immobilizer system
(NVIS) ..............................................................2-13
Vehicle security system (if so equipped) ........2-14
Windshield wiper and washer switch ...................2-17
Switch operation ..............................................2-17
Rear window defogger switch ..............................2-17
Headlight and turn signal switch ..........................2-18
Xenon headlights .............................................2-18Headlight switch ..............................................2-19
Autolamp system (if so equipped)...................2-20
Turn signal switch............................................2-21
Fog light switch (if so equipped) ..........................2-21
Hazard warning flasher switch .............................2-23
Horn ......................................................................2-23
Heated seats (if so equipped) ..............................2-24
Traction control system (TCS) cancel switch
(if so equipped) ....................................................2-25
Power outlet .......................................................2-25
Storage .................................................................2-26
Seatback pockets (if so equipped) ..................2-26
Seatback side pockets (if so equipped) ..........2-26
Sunglasses case .............................................2-26
Cup holders .....................................................2-27
Glove box ........................................................2-28
Console box ....................................................2-28
Covered storage box .......................................2-29
Cargo net (if so equipped) ..............................2-30
Windows ...............................................................2-31
Power windows................................................2-31
Sunroof (if so equipped).......................................2-33
ZX
Page 51 of 249

1. Headlight and turn signal switch
2. Meters and gauges
3. Windshield wiper/washer switch
4. Center ventilator
5. Audio system
6. Front passenger supplemental air bag
7. Glove box
8. Heater and air conditioner
9. Hazard warning flasher switch
10. Power point
11. Rear window defogger switch
12. Cruise control main/set switch
13. Driver supplemental air bag
14. Steering wheel switch for audio control
15. Tilt/telescopic steering wheel lever
16. Traction control system (TLS) cancel
switch
17. Instrument brightness control
18. Outside mirror remote control
LIC0161
INSTRUMENT PANEL
2-2Instruments and controls
ZX
Page 68 of 249

HEADLIGHT SWITCH
Lighting
Turn the switch to theposition: The
parking, rear combination, side marker, li-
cense plate and instrument panel lights
come on.
Turn the switch to the
position:
The headlights come on and all the other
lights remain on.
To select the high beam function, push the
lever forward. The high beam lights come
on and the indicator light illuminates. Pull it
back to select the low beam.
WIC0184
Instruments and controls2-19
ZX
Page 69 of 249

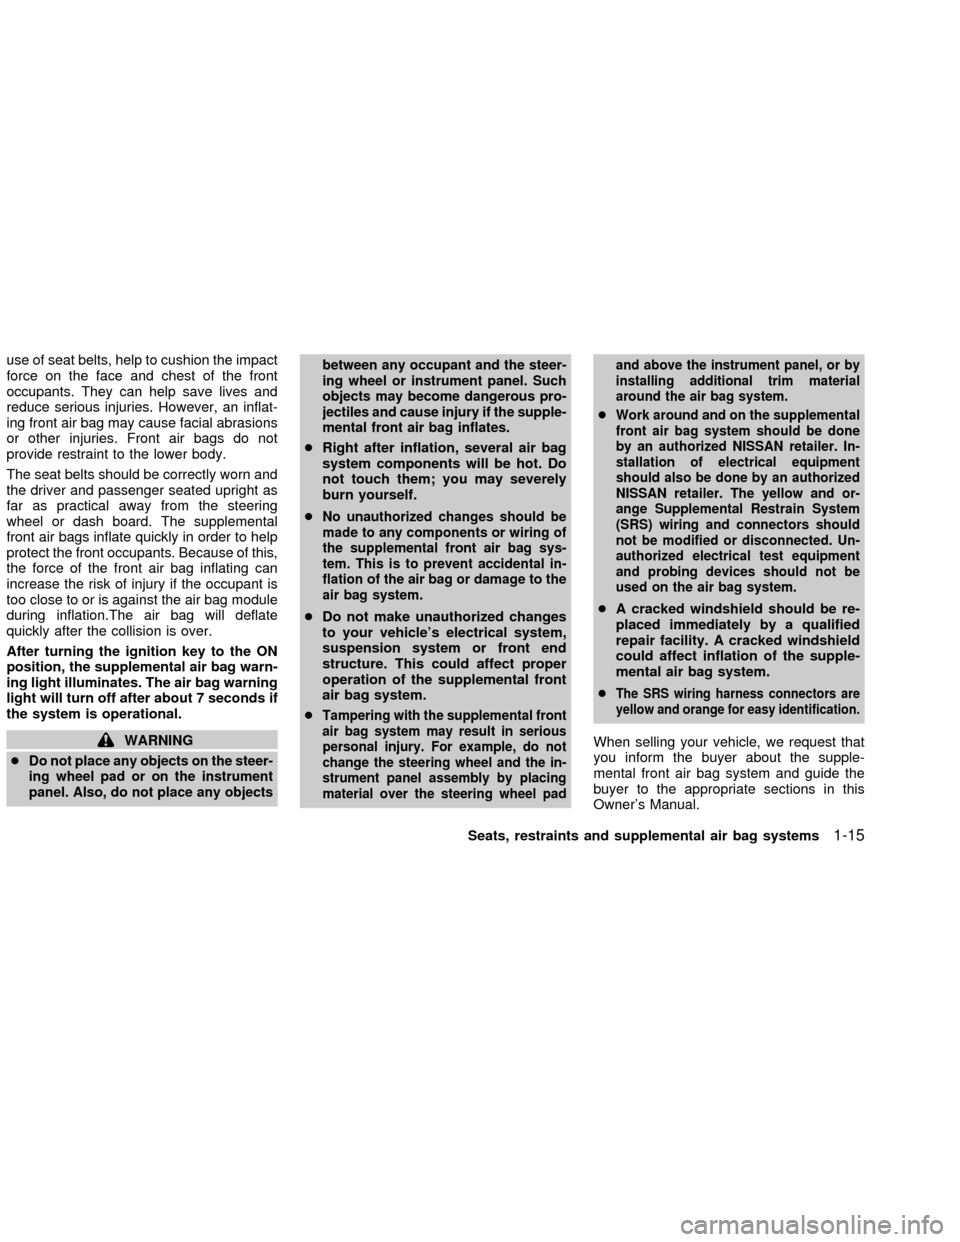
Instrument brightness control
The instrument cluster illuminates when the
ignition switch is in ON position.
The instrument brightness control operates
when the light switch is in the AUTO,
orposition.
Turn the control to adjust the brightness of
instrument panel lights when driving at night.
The instrument brightness control will not
adjust the brightness when the headlights or
parking lights are off.
Passing signal
Pulling and releasing the lever flashes the
headlight high beams on and off.
Daytime running light system
(Canada only)
The headlights automatically illuminate at a
reduced intensity when the engine is started
with the parking brake released. The day-
time running lights operate with the head-
light switch in the OFF position or in the
position. Turn the headlight switch to
theposition for full illumination when
driving at night.
If the parking brake is applied before the
engine is started, the daytime running lights
do not illuminate. The daytime running lights
illuminate once the parking brake is re-
leased. The daytime running lights will re-
main on until the ignition switch is turned off.
WARNING
When the daytime running light system
is active, tail lights on your vehicle are
not on. It is necessary at dusk to turn
on your headlights. Failure to do so
could cause an accident injuring your-
self and others.
AUTOLAMP SYSTEM
(if so equipped)
The autolamp system allows the headlights
to be set so they turn on and off automati-
cally. The autolamp system can turn on the
headlights automatically when it is dark,
turn off the headlights when it is light, and
keep the headlights on for up to 45 seconds
after you turn the key to OFF and all doors
are closed.
If the ignition switch is turned OFF and one
of the doors is opened, the headlights re-
main ON for five minutes.
WIC0185LIC0135
2-20Instruments and controls
ZX
Page 70 of 249

To set the autolamp system:
1. Make sure the headlight switch is in the
AUTO position.
2. Turn the ignition key to ON.
3. The autolamp system automatically turns
the headlights on and off.
To turn the autolamp system off, turn the
switch to the OFF,
,orposition.
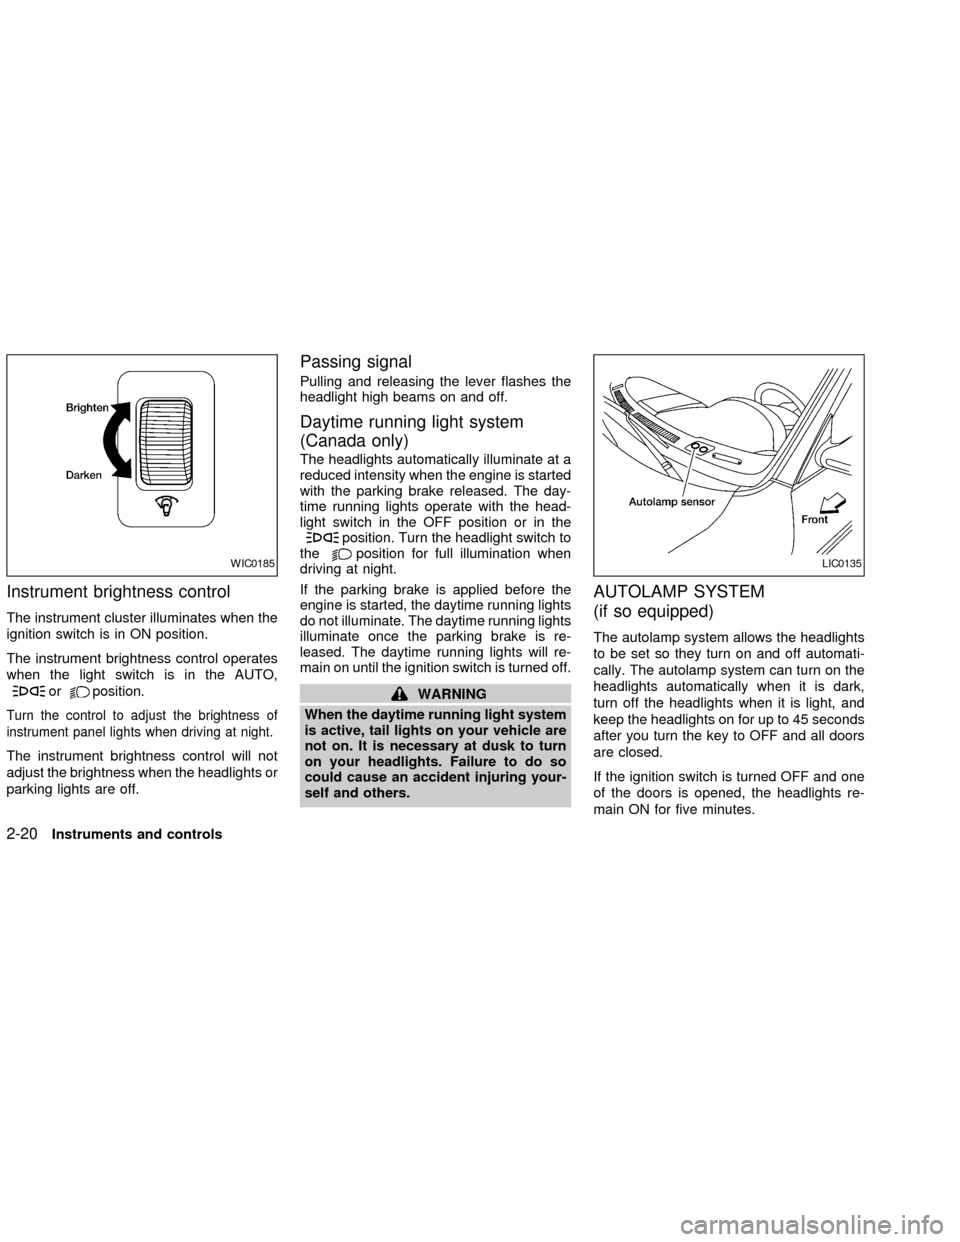
Be sure you do not put anything on top
of the autolamp sensor located in the top
driver side of the instrument panel. The
autolamp sensor controls the autolamp;
if it is covered, the autolamp sensor
reacts as if it is dark out and the head-
lights will illuminate. If this occurs while
parked with the engine off and the key in
the ON position, your vehicle's battery
could become discharged.
TURN SIGNAL SWITCH
Turn signal
Move the lever up or down to signal the
turning direction. When the turn is com-
pleted, the turn signals cancel automati-
cally.
Lane change signal
To signal a lane change, move the lever up
or down to the point where the indicator light
begins to flash, but the lever does not latch.
Normal operation of the fog lights in the
ON
position:
Headlight switch in the AUTO position;
daytime operation
cFog lights, marker and taillights come
ON.
cHeadlights do not come ON.
cDash readouts dim unless the dimmer
switch is on full bright.
cIf the ignition switch is in the OFF position
with the fog lights turned ON, a warning
chime will sound indicating the fog lights
LIC0173
FOG LIGHT SWITCH (if so
equipped)
Instruments and controls2-21
ZX