2002 NISSAN ALTIMA center console
[x] Cancel search: center consolePage 73 of 249

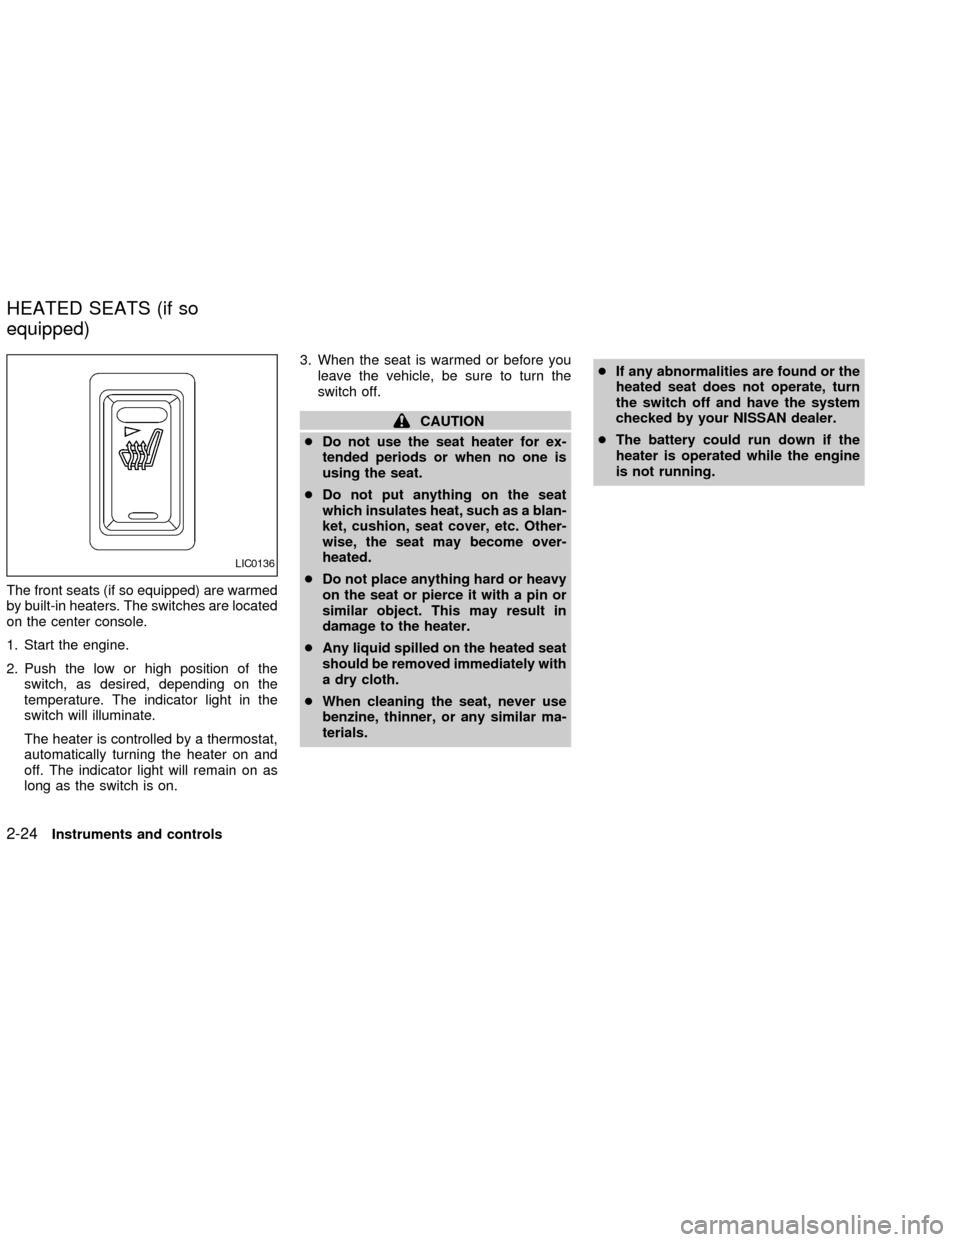
The front seats (if so equipped) are warmed
by built-in heaters. The switches are located
on the center console.
1. Start the engine.
2. Push the low or high position of the
switch, as desired, depending on the
temperature. The indicator light in the
switch will illuminate.
The heater is controlled by a thermostat,
automatically turning the heater on and
off. The indicator light will remain on as
long as the switch is on.3. When the seat is warmed or before you
leave the vehicle, be sure to turn the
switch off.
CAUTION
cDo not use the seat heater for ex-
tended periods or when no one is
using the seat.
cDo not put anything on the seat
which insulates heat, such as a blan-
ket, cushion, seat cover, etc. Other-
wise, the seat may become over-
heated.
cDo not place anything hard or heavy
on the seat or pierce it with a pin or
similar object. This may result in
damage to the heater.
cAny liquid spilled on the heated seat
should be removed immediately with
a dry cloth.
cWhen cleaning the seat, never use
benzine, thinner, or any similar ma-
terials.cIf any abnormalities are found or the
heated seat does not operate, turn
the switch off and have the system
checked by your NISSAN dealer.
cThe battery could run down if the
heater is operated while the engine
is not running.
LIC0136
HEATED SEATS (if so
equipped)
2-24Instruments and controls
ZX
Page 77 of 249

cUse only soft cups in the cup holder.
Hard objects can injure you in an
accident.
GLOVE BOX
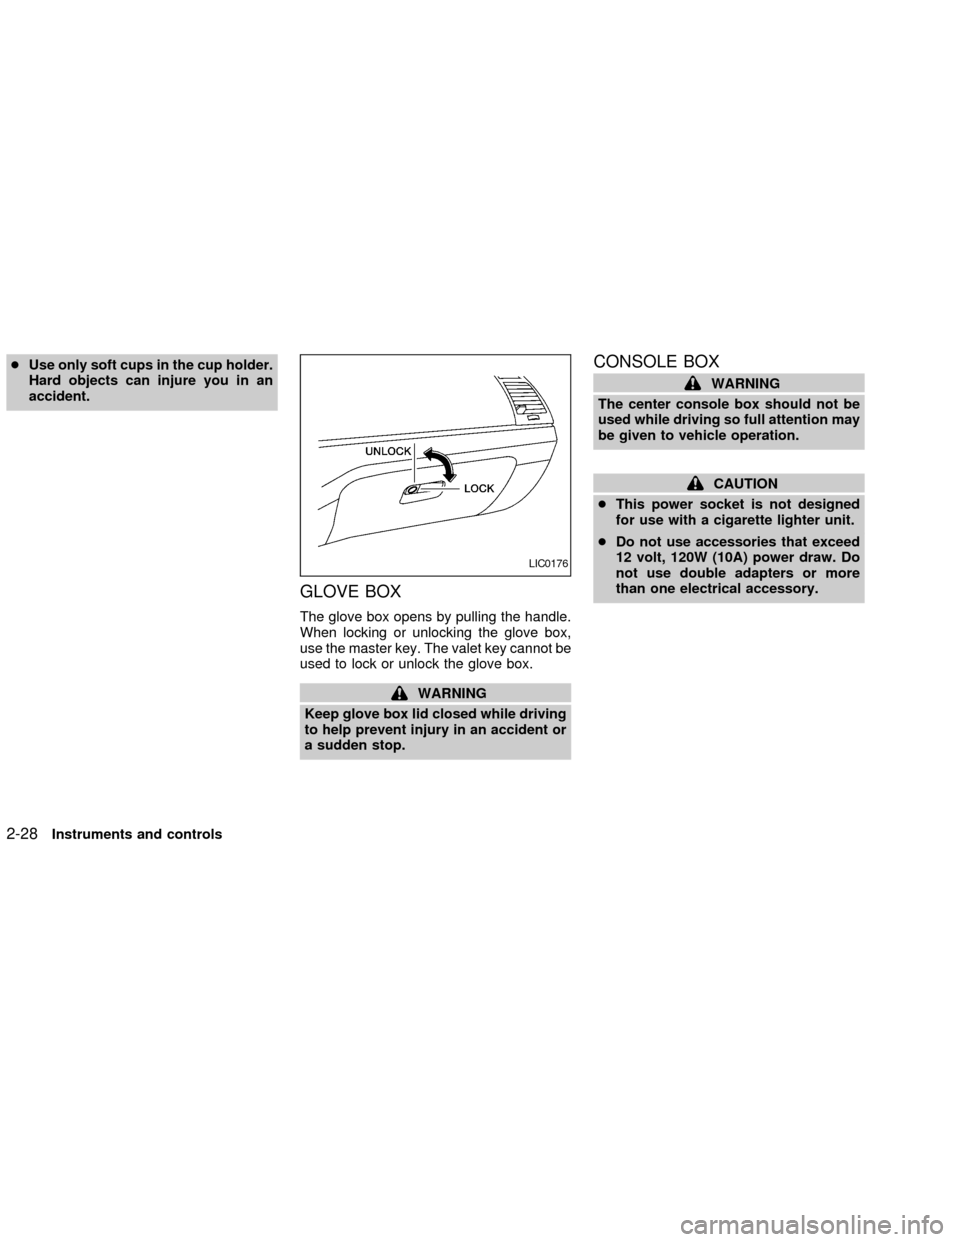
The glove box opens by pulling the handle.
When locking or unlocking the glove box,
use the master key. The valet key cannot be
used to lock or unlock the glove box.
WARNING
Keep glove box lid closed while driving
to help prevent injury in an accident or
a sudden stop.
CONSOLE BOX
WARNING
The center console box should not be
used while driving so full attention may
be given to vehicle operation.
CAUTION
cThis power socket is not designed
for use with a cigarette lighter unit.
cDo not use accessories that exceed
12 volt, 120W (10A) power draw. Do
not use double adapters or more
than one electrical accessory.
LIC0176
2-28Instruments and controls
ZX
Page 78 of 249

Armrest
Push the button to elevate the armrest. To
return armrest to regular position, push arm-
rest rearward until locked.Upper half
Pull up on the lever to open the upper half of
the console box. The rubber mat may be
removed for cleaning.
The upper half of the console box may be
used for storage of cellular phones. An
access hole is provided at the bottom of the
upper half of the console box for phone cord
routing to the power socket.
To route a phone cord to the power socket:
1. open the upper half of the console box
2. remove the rubber mat, and then remove
the cutout area from the mat
3. remove the access hole cover
4. install the rubber mat
5. route the phone cord through the access
hole and plug into the power socket
Lower half
Pull up on the lever to open the lower half of
the console box. A power socket is located
inside the console box and there is storage
for compact discs.
COVERED STORAGE BOX
Push the bottom center of the lid to open.
WIC0189
LIC0181
Instruments and controls2-29
ZX
Page 215 of 249

If you have a flat tire, see the ``In case of
emergency'' section of this manual.
TIRE PRESSURE
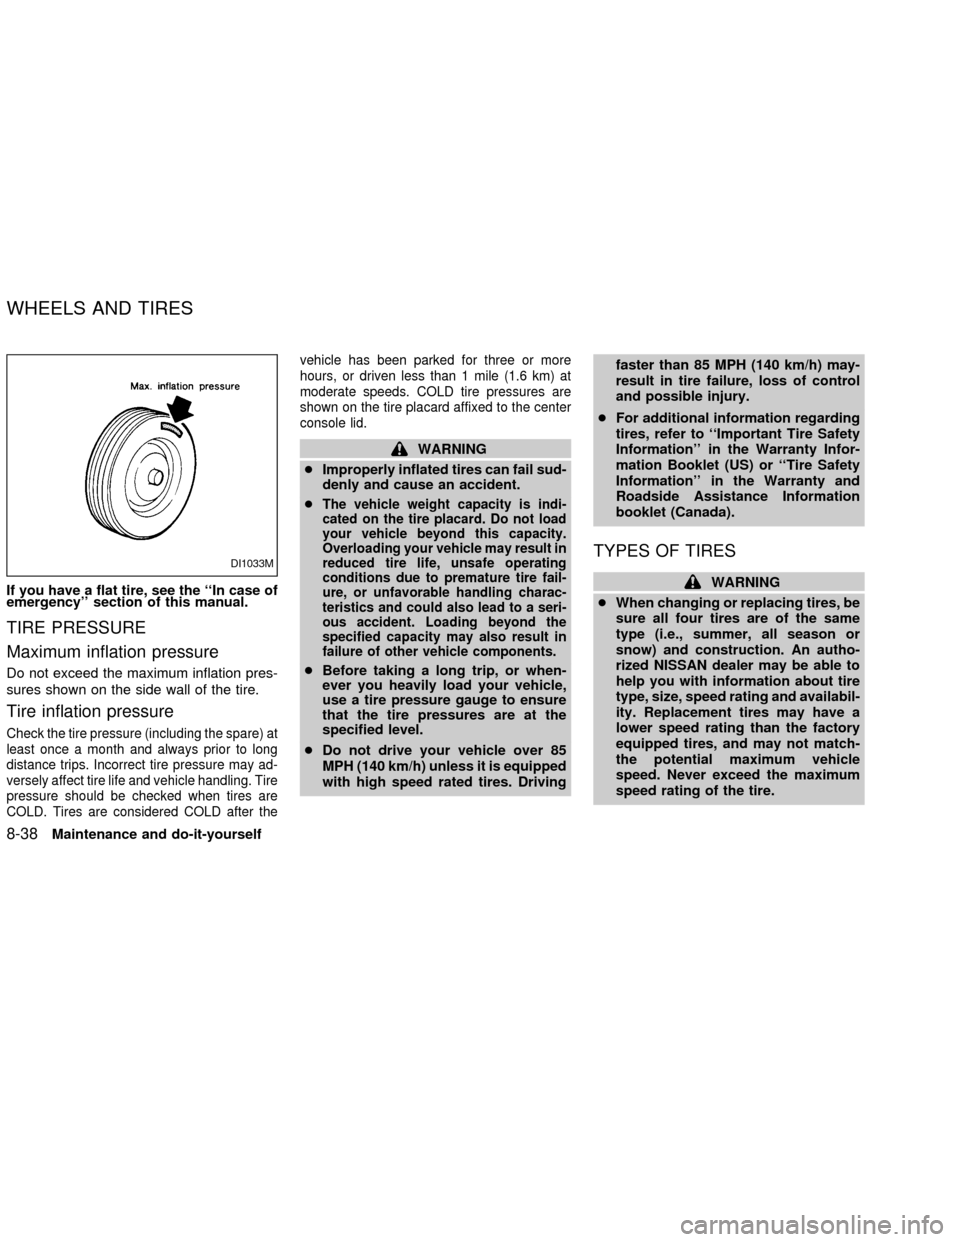
Maximum inflation pressure
Do not exceed the maximum inflation pres-
sures shown on the side wall of the tire.
Tire inflation pressure
Check the tire pressure (including the spare) at
least once a month and always prior to long
distance trips. Incorrect tire pressure may ad-
versely affect tire life and vehicle handling. Tire
pressure should be checked when tires are
COLD. Tires are considered COLD after thevehicle has been parked for three or more
hours, or driven less than 1 mile (1.6 km) at
moderate speeds. COLD tire pressures are
shown on the tire placard affixed to the center
console lid.
WARNING
cImproperly inflated tires can fail sud-
denly and cause an accident.
c
The vehicle weight capacity is indi-
cated on the tire placard. Do not load
your vehicle beyond this capacity.
Overloading your vehicle may result in
reduced tire life, unsafe operating
conditions due to premature tire fail-
ure, or unfavorable handling charac-
teristics and could also lead to a seri-
ous accident. Loading beyond the
specified capacity may also result in
failure of other vehicle components.
cBefore taking a long trip, or when-
ever you heavily load your vehicle,
use a tire pressure gauge to ensure
that the tire pressures are at the
specified level.
cDo not drive your vehicle over 85
MPH (140 km/h) unless it is equipped
with high speed rated tires. Drivingfaster than 85 MPH (140 km/h) may-
result in tire failure, loss of control
and possible injury.
cFor additional information regarding
tires, refer to ``Important Tire Safety
Information'' in the Warranty Infor-
mation Booklet (US) or ``Tire Safety
Information'' in the Warranty and
Roadside Assistance Information
booklet (Canada).
TYPES OF TIRES
WARNING
cWhen changing or replacing tires, be
sure all four tires are of the same
type (i.e., summer, all season or
snow) and construction. An autho-
rized NISSAN dealer may be able to
help you with information about tire
type, size, speed rating and availabil-
ity. Replacement tires may have a
lower speed rating than the factory
equipped tires, and may not match-
the potential maximum vehicle
speed. Never exceed the maximum
speed rating of the tire.
DI1033M
WHEELS AND TIRES
8-38Maintenance and do-it-yourself
ZX
Page 231 of 249

EMISSION CONTROL
INFORMATION LABEL
The emission control information label is
attached as shown.
TIRE PLACARD
The cold tire pressure is shown on the tire
placard, affixed to the center console lid.
AIR CONDITIONER
SPECIFICATION LABEL
The air conditioner specification label is
affixed as shown.
LTI0027WTI0036LTI0028
9-12Technical and consumer information
ZX
Page 235 of 249

hitch, trailer tongue load and any other
optional equipment. In addition, front or rear
gross axle weight must not exceed the
gross axle weight rating (GAWR) shown on
the F.M.V.S.S. certification label.
TOWING LOAD/SPECIFICATION
CHART
UNIT: lb (kg)
MAXIMUM
TOWING LOAD1,000 (454)
MAXIMUM
TONGUE LOAD100 (45)
TOWING SAFETY
Trailer hitch
Choose a proper hitch for your vehicle and
trailer. A genuine NISSAN trailer hitch is
available from your NISSAN dealer
(Canada only). Make sure the trailer hitch is
securely attached to the vehicle, to help
avoid personal injury or property damage
due to sway caused by crosswinds, rough
road surfaces or passing trucks.
CAUTION
cDo not use axle-mounted hitches.
cThe hitch should not be attached to
or affect the operation of the impact-
absorbing bumper.
cDo not modify the vehicle exhaust
system, brake system, etc. to install
a trailer hitch.
cTo reduce the possibility of addi-
tional damage if your vehicle is
struck from the rear, where practical,
remove the hitch and/or receiver
when not in use.
cAfter the hitch is removed, seal the
bolt holes to prevent exhaust fumes,
water or dust from entering the pas-
senger compartment.
cRegularly check that all hitch mount-
ing bolts are securely mounted.
Tire pressures
cWhen towing a trailer, inflate the vehicle
tires to the recommended cold tire pres-
sure indicated on the tire placard (located
under the center console lid).cTrailer tire condition, size, load rating and
proper inflation pressure should be in
accordance with the trailer and tire
manufacturer's specifications.
Safety chains
Always use suitable chains between your
vehicle and the trailer. Safety chains should
be crossed and should be attached to the
hitch, not to the vehicle bumper or axle. Be
sure to leave enough slack in the chains to
permit turning corners.
Trailer lights
Trailer lights should comply with federal
and/ or local regulations. When wiring the
vehicle for towing, connect the stop and tail
light pickup into the vehicle electrical circuit.
Trailer brakes
If your trailer is equipped with a braking
system, make sure it conforms to Federal
and/or local regulations and that it is prop-
erly installed.
9-16Technical and consumer information
ZX