Page 8 of 249

1 Seats, restraints and supplemental air
bag systems
Seats ......................................................................1-2
Front manual seat adjustment...........................1-3
Front power seat adjustment (driver's
seat) (if so equipped) ........................................1-4
Folding rear seat ...............................................1-6
Head restraint adjustment .................................1-7
Supplemental restraint system ...............................1-8
Precautions on supplemental restraint
system ...............................................................1-8
Supplemental air bag warning labels ..............1-19
Supplemental air bag warning light .................1-19
Seat belts .............................................................1-21
Precautions on seat belt usage ......................1-21
Child safety ......................................................1-23Pregnant women .............................................1-24
Injured persons ................................................1-24
Three-point type seat belt with retractor .........1-24
Seat belt extenders .........................................1-28
Seat belt maintenance ....................................1-28
Child restraints .....................................................1-28
Precautions on child restraints ........................1-28
Installation on rear seat center or
outboard positions ...........................................1-30
LATCH (Lower anchors and tether for
children) system ...................................................1-35
Top tether strap child restraint ........................1-37
Installation on front passenger seat ................1-38
ZX
Page 10 of 249
FRONT MANUAL SEAT
ADJUSTMENT
WARNING
cDo not adjust the driver's seat while
driving so full attention may be given
to vehicle operation. The seat may
move suddenly and could cause
loss of control of the vehicle.
cAfter adjustment, gently rock in the
seat to make sure it is securely
locked.
Forward and backward
Pull the lever up while you slide the seat
forward or backward to the desired position.
Release the lever to lock the seat in posi-
tion.
Reclining
To recline the seatback, pull the lever up
and lean back. To bring the seatback for-
ward again, pull the lever and move your-
body forward.
WRS0001
Seats, restraints and supplemental air bag systems1-3
ZX
Page 11 of 249
Seat lifter (Driver's seat) (if so
equipped)
Turn either dial to adjust the angle and
height of the seat cushion to the desired
position.
FRONT POWER SEAT
ADJUSTMENT (Driver's seat) (if
so equipped)
WARNING
cDo not adjust the driver's seat while
driving so full attention may be given
to vehicle operation. The seat may
move suddenly and could cause
loss of control of the vehicle.cDo not leave children unattended in-
side the vehicle. They could un-
knowingly activate switches or con-
trols. Unattended children could
become involved in serious acci-
dents.
Operating Tips
cThe motor has an auto-reset overload
protection circuit. If the motor stops dur-
ing operation, wait 30 seconds, then re-
activate the switch.
SPA0099ALRS0016
1-4Seats, restraints and supplemental air bag systems
ZX
Page 99 of 249

To open the trunk from the inside, rotate the
illuminated lever until the lock releases and
push up on the trunk lid. The release lever is
made of a material that glows in the dark
after a brief exposure to ambient light.
The handle is located inside the trunk com-
partment on the trunk lock at the center of
the trunk lid.
OPENER OPERATION
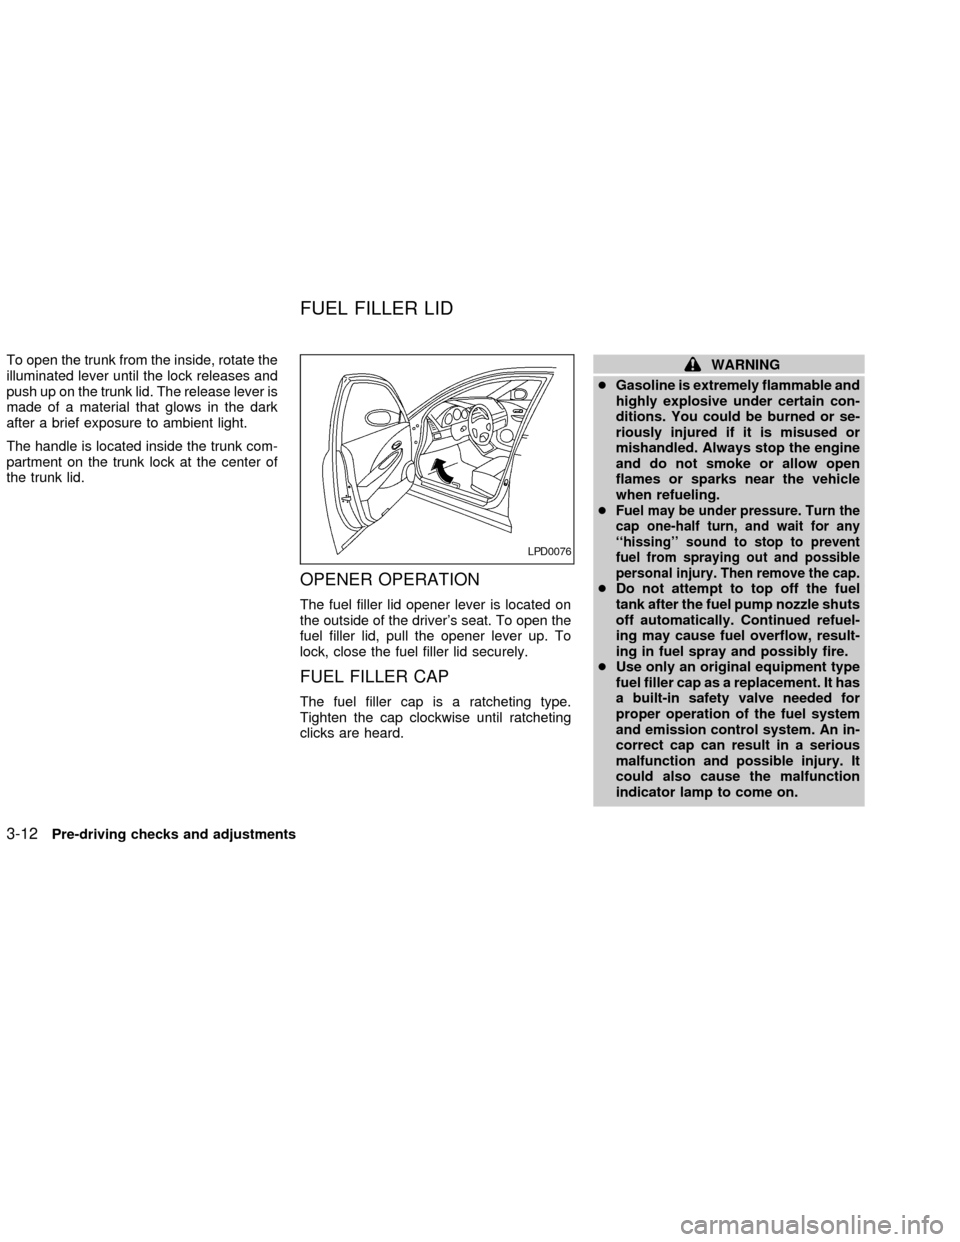
The fuel filler lid opener lever is located on
the outside of the driver's seat. To open the
fuel filler lid, pull the opener lever up. To
lock, close the fuel filler lid securely.
FUEL FILLER CAP
The fuel filler cap is a ratcheting type.
Tighten the cap clockwise until ratcheting
clicks are heard.
WARNING
cGasoline is extremely flammable and
highly explosive under certain con-
ditions. You could be burned or se-
riously injured if it is misused or
mishandled. Always stop the engine
and do not smoke or allow open
flames or sparks near the vehicle
when refueling.
c
Fuel may be under pressure. Turn the
cap one-half turn, and wait for any
``hissing'' sound to stop to prevent
fuel from spraying out and possible
personal injury. Then remove the cap.
cDo not attempt to top off the fuel
tank after the fuel pump nozzle shuts
off automatically. Continued refuel-
ing may cause fuel overflow, result-
ing in fuel spray and possibly fire.
cUse only an original equipment type
fuel filler cap as a replacement. It has
a built-in safety valve needed for
proper operation of the fuel system
and emission control system. An in-
correct cap can result in a serious
malfunction and possible injury. It
could also cause the malfunction
indicator lamp to come on.
LPD0076
FUEL FILLER LID
3-12Pre-driving checks and adjustments
ZX
Page 101 of 249

TELESCOPIC OPERATION
Push the lever down and adjust the steering
wheel forward or backward to the desired
position.
Pull the lock lever up firmly to lock the
steering wheel in place.
WARNING
Do not adjust the steering wheel any
closer to you than is necessary for
proper steering operation and comfort.
The driver's air bag inflates with great
force. If you are unrestrained, leaning
forward, sitting sideways or out of po-
sition in any way, you are at greater risk
of injury or death in a crash. You may
also receive serious or fatal injuries
from the air bag if you are up against it
when it inflates. Always sit back
against the seatback and as far away as
practical from the steering wheel. Al-
ways use the seat belts.
CAUTION
Do not store the main sun visor before
storing the extension sun visor.VANITY MIRRORS
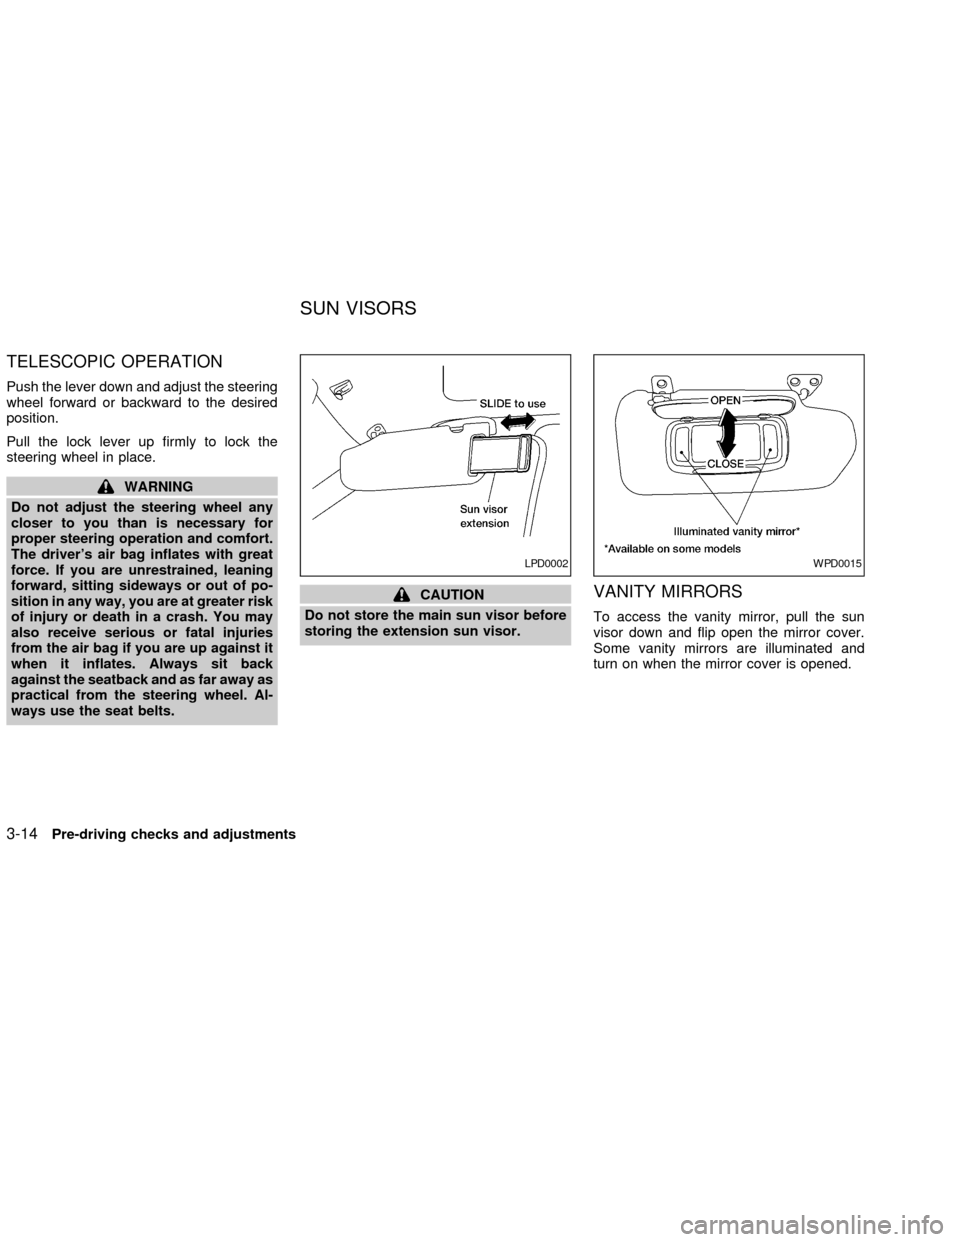
To access the vanity mirror, pull the sun
visor down and flip open the mirror cover.
Some vanity mirrors are illuminated and
turn on when the mirror cover is opened.
LPD0002WPD0015
SUN VISORS
3-14Pre-driving checks and adjustments
ZX