2002 NISSAN ALTIMA battery
[x] Cancel search: batteryPage 12 of 249

cDo not operate the power seat switch for
a long period of time when the engine is
off. This will discharge the battery.
Forward and backward
Moving the switch forward or backward will
slide the seat forward or backward to the
desired position.
Reclining
Move the recline switch backward until the
desired angle is obtained. To bring the
seatback forward again, move the switch
forward and move your body forward. The
seatback will move forward.
Seat lifter (if so equipped for driver's
seat)
Push the front or rear end of the switch up or
down to adjust the angle and height of the
seat cushion.
Lumbar support (if so equipped for
driver's seat)
The lumbar support feature provides lower
back support to the driver. Move the lever
up or down to adjust the seat lumbar area.
LRS0017ARS1035
Seats, restraints and supplemental air bag systems1-5
ZX
Page 53 of 249

in the speedometer display. When the igni-
tion is turned to ON, the display scrolls all
the modes of the trip computer and then
shows the mode chosen before the ignition
switch is turned OFF.
If the battery terminal is disconnected,
push the trip computer mode switch
more than 1 second to activate the com-
puter.
When the ignition switch is turned to ON,
modes of the trip computer can be selected
by pushing the trip mode switch on the
steering wheel switch for audio controls or
by the trip computer change button. The
following modes can be selected:
Outside air temperature (ICY±ÉF or
ÉC)
The outside air temperature is displayed in
ÉF or ÉC.
The outside air temperature mode includes
a low temperature warning feature: below
37ÉF (3ÉC), the outside air temperaturemode is automatically selected and ICY will
illuminate in order to draw the driver's atten-
tion. Press the mode switch if you wish to
return to the mode that was selected before
the warning occurred. The ICY indicator will
continue blinking as long as the tempera-
ture remains below 39ÉF (4ÉC).
The ambient temperature sensor is located
in front of the radiator. The sensor may be
affected by road or engine heat, wind direc-
tions and other driving conditions. The dis-
play may differ from the actual ambient
temperature or the temperature displayed
on various signs or billboards.
Distance to empty (dte±mile or km)
The distance to empty (dte) mode provides
you with an estimation of the distance that
can be driven before refueling. The dte is
constantly being calculated, based on the
amount of fuel in the fuel tank and the actual
fuel consumption.
The display is updated every 30 seconds.
The dte mode inlcudes a low range warning
feature: when the fuel level is low, the dte
mode is automatically selected and the dig-
its blink in order to draw the driver's atten-
tion. Press the mode switch if you wish to
WIC0159
2-4Instruments and controls
ZX
Page 70 of 249

To set the autolamp system:
1. Make sure the headlight switch is in the
AUTO position.
2. Turn the ignition key to ON.
3. The autolamp system automatically turns
the headlights on and off.
To turn the autolamp system off, turn the
switch to the OFF,
,orposition.
Be sure you do not put anything on top
of the autolamp sensor located in the top
driver side of the instrument panel. The
autolamp sensor controls the autolamp;
if it is covered, the autolamp sensor
reacts as if it is dark out and the head-
lights will illuminate. If this occurs while
parked with the engine off and the key in
the ON position, your vehicle's battery
could become discharged.
TURN SIGNAL SWITCH
Turn signal
Move the lever up or down to signal the
turning direction. When the turn is com-
pleted, the turn signals cancel automati-
cally.
Lane change signal
To signal a lane change, move the lever up
or down to the point where the indicator light
begins to flash, but the lever does not latch.
Normal operation of the fog lights in the
ON
position:
Headlight switch in the AUTO position;
daytime operation
cFog lights, marker and taillights come
ON.
cHeadlights do not come ON.
cDash readouts dim unless the dimmer
switch is on full bright.
cIf the ignition switch is in the OFF position
with the fog lights turned ON, a warning
chime will sound indicating the fog lights
LIC0173
FOG LIGHT SWITCH (if so
equipped)
Instruments and controls2-21
ZX
Page 71 of 249

were left ON. The fog lights will be turned
OFF by the Battery Saver function ap-
proximately 5 minutes after the last door
is closed.
cIf the ignition switch is turned to the ON
position after the fog lights were turned
OFF by the Battery Saver function, the
fog lights will immediately come back
ON.
Headlight switch in the AUTO position;
nighttime operation
cFog lights, marker and taillights come
ON.
cHeadlights come ON.
cDash readouts dim unless the dimmer
switch is on full bright.
cIf the ignition switch is in the OFF position
with the fog lights turned ON, the fog
lights will be turned OFF by the Twilight
Sentinel function approximately 45 sec-
onds after the last door is closed. When
any door is opened when the ignition
switch is in the OFF position, the Twilight
Sentinel function operates for approxi-
mately 5 minutes. After approximately 5minutes, the lights will turn OFF due to
the Battery Saver function.
cIf the ignition switch is turned to the ON
position after the fog lights were turned
OFF by the Twilight Sentinel function, the
fog lights and the headlights will come
ON together when the Auto Light Sensor
determines it is dark enough. The fog
lights will now operate independently of
the headlights only if the headlight switch
is turned OFF.
cWhen the high-beams are turned ON, the
fog lights will turn OFF. The fog lights will
come back ON when the high-beams are
turned OFF.
Headlights turned ON and OFF by the
driver (no AUTO headlight function); day
or nighttime operation
cSame operation as ``Headlight switch in
the AUTO position; daytime operation''
described above.
Some of the Battery Saver and Twilight
Sentinel functions can be turned ON
and OFF or adjusted. Please see your
NISSAN dealer if you have any ques-
tions.To turn the fog lights OFF, turn the switch to
the OFF position.
The fog lights automatically turn off when-
ever the high-beam headlight function is
selected.
2-22Instruments and controls
ZX
Page 73 of 249

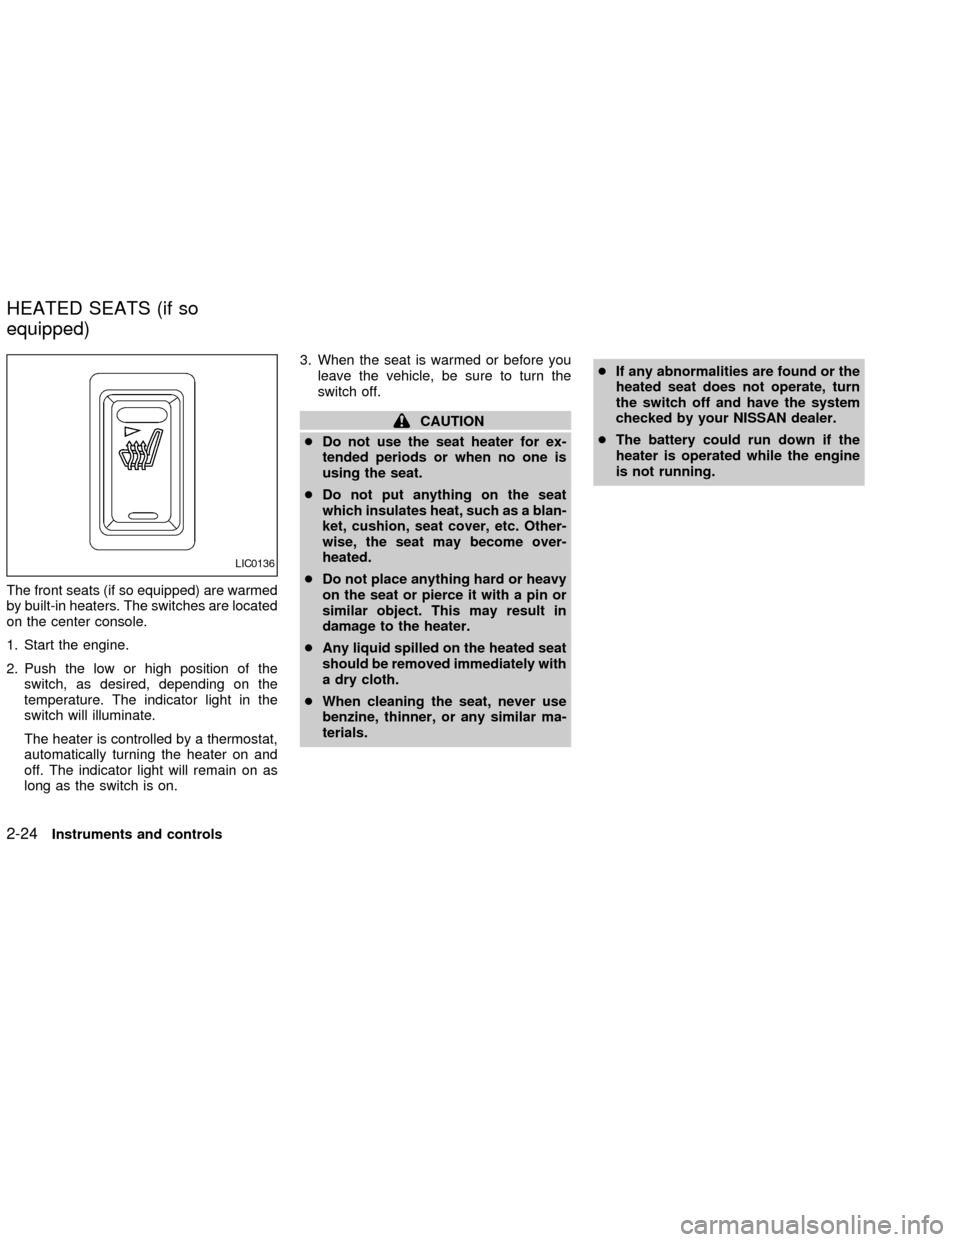
The front seats (if so equipped) are warmed
by built-in heaters. The switches are located
on the center console.
1. Start the engine.
2. Push the low or high position of the
switch, as desired, depending on the
temperature. The indicator light in the
switch will illuminate.
The heater is controlled by a thermostat,
automatically turning the heater on and
off. The indicator light will remain on as
long as the switch is on.3. When the seat is warmed or before you
leave the vehicle, be sure to turn the
switch off.
CAUTION
cDo not use the seat heater for ex-
tended periods or when no one is
using the seat.
cDo not put anything on the seat
which insulates heat, such as a blan-
ket, cushion, seat cover, etc. Other-
wise, the seat may become over-
heated.
cDo not place anything hard or heavy
on the seat or pierce it with a pin or
similar object. This may result in
damage to the heater.
cAny liquid spilled on the heated seat
should be removed immediately with
a dry cloth.
cWhen cleaning the seat, never use
benzine, thinner, or any similar ma-
terials.cIf any abnormalities are found or the
heated seat does not operate, turn
the switch off and have the system
checked by your NISSAN dealer.
cThe battery could run down if the
heater is operated while the engine
is not running.
LIC0136
HEATED SEATS (if so
equipped)
2-24Instruments and controls
ZX
Page 82 of 249

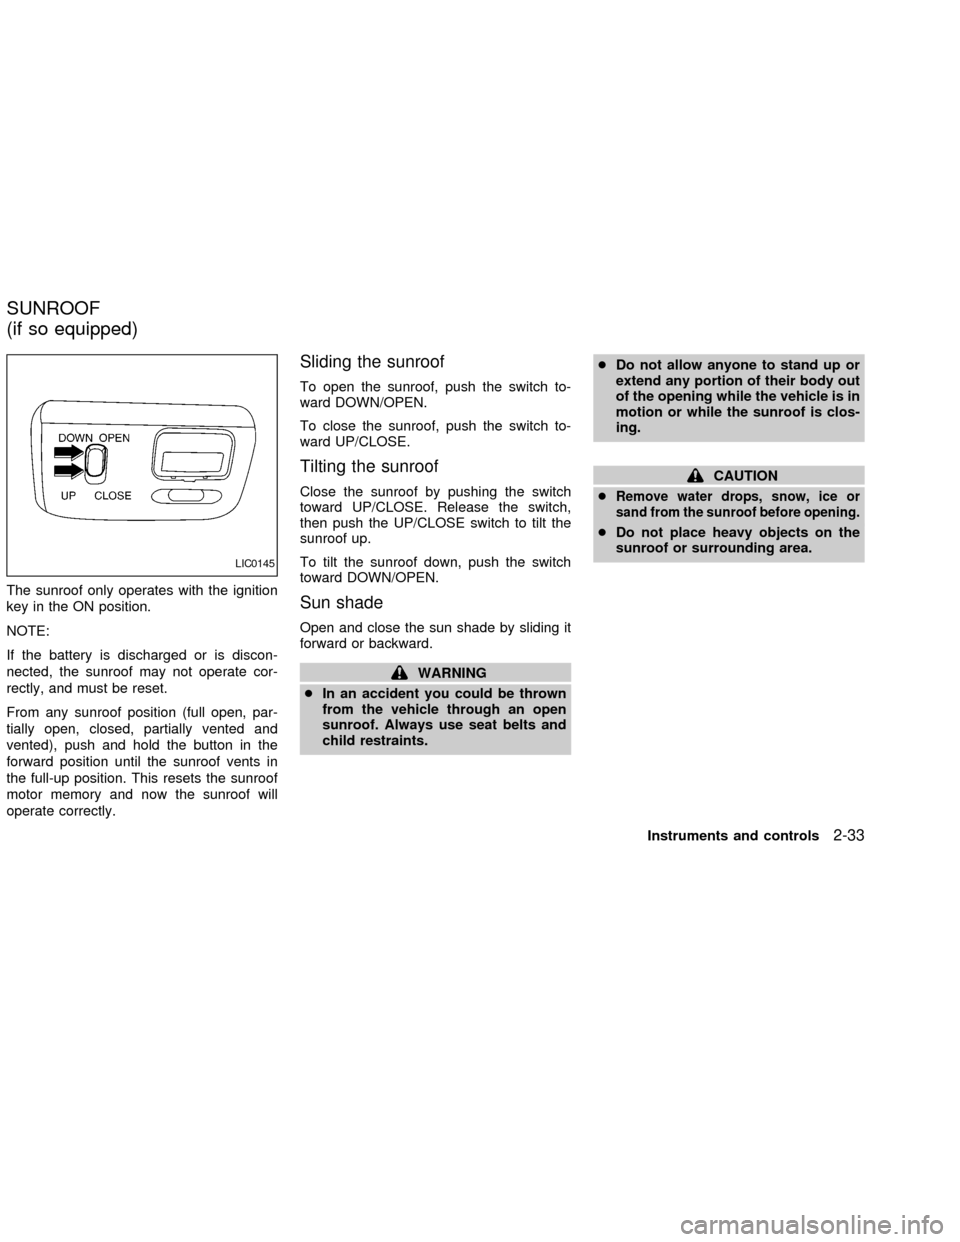
The sunroof only operates with the ignition
key in the ON position.
NOTE:
If the battery is discharged or is discon-
nected, the sunroof may not operate cor-
rectly, and must be reset.
From any sunroof position (full open, par-
tially open, closed, partially vented and
vented), push and hold the button in the
forward position until the sunroof vents in
the full-up position. This resets the sunroof
motor memory and now the sunroof will
operate correctly.
Sliding the sunroof
To open the sunroof, push the switch to-
ward DOWN/OPEN.
To close the sunroof, push the switch to-
ward UP/CLOSE.
Tilting the sunroof
Close the sunroof by pushing the switch
toward UP/CLOSE. Release the switch,
then push the UP/CLOSE switch to tilt the
sunroof up.
To tilt the sunroof down, push the switch
toward DOWN/OPEN.
Sun shade
Open and close the sun shade by sliding it
forward or backward.
WARNING
cIn an accident you could be thrown
from the vehicle through an open
sunroof. Always use seat belts and
child restraints.cDo not allow anyone to stand up or
extend any portion of their body out
of the opening while the vehicle is in
motion or while the sunroof is clos-
ing.
CAUTION
c
Remove water drops, snow, ice or
sand from the sunroof before opening.
cDo not place heavy objects on the
sunroof or surrounding area.
LIC0145
SUNROOF
(if so equipped)
Instruments and controls2-33
ZX
Page 83 of 249

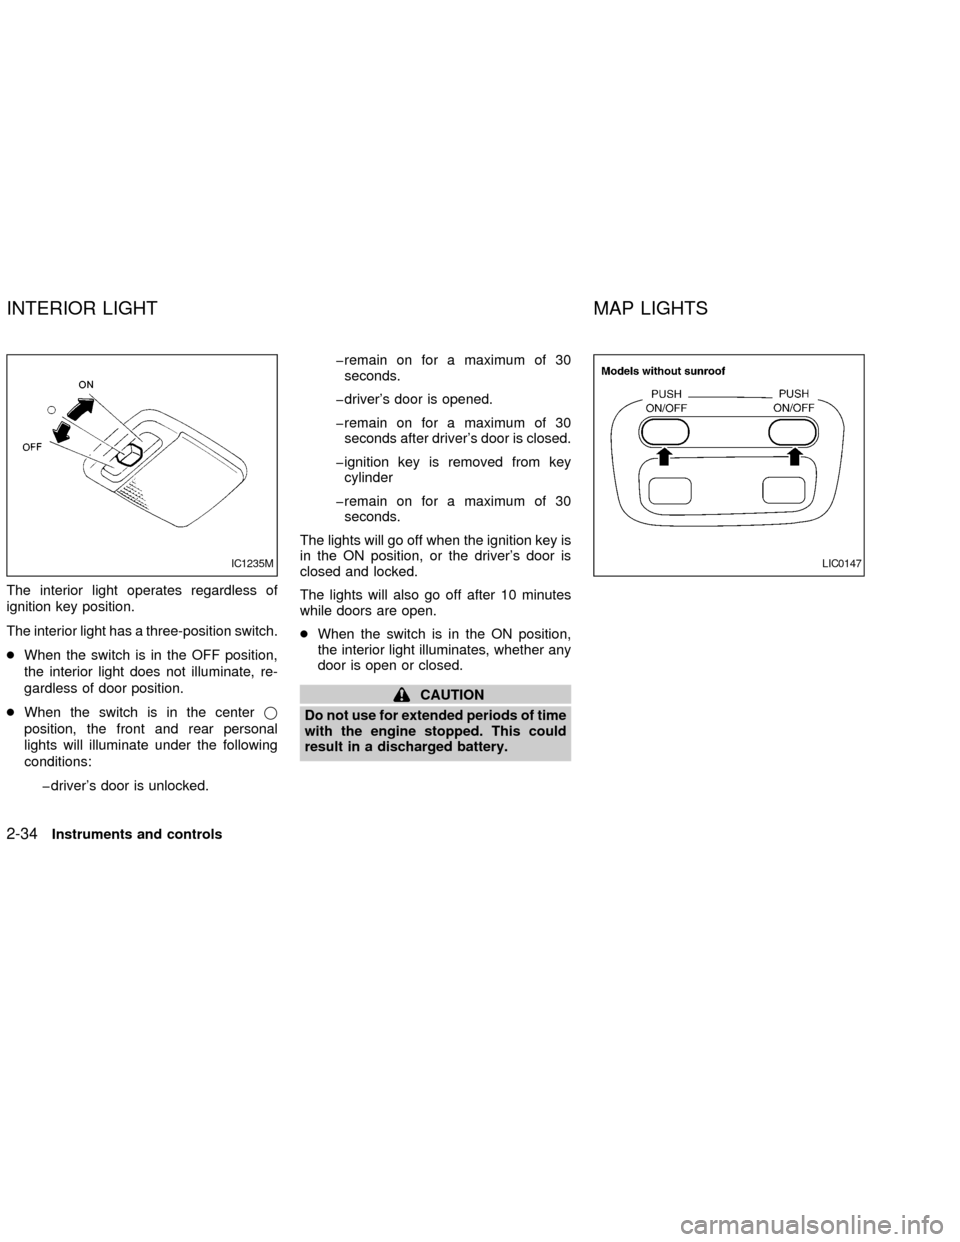
The interior light operates regardless of
ignition key position.
The interior light has a three-position switch.
cWhen the switch is in the OFF position,
the interior light does not illuminate, re-
gardless of door position.
cWhen the switch is in the centerj
position, the front and rear personal
lights will illuminate under the following
conditions:
þdriver's door is unlocked.þremain on for a maximum of 30
seconds.
þdriver's door is opened.
þremain on for a maximum of 30
seconds after driver's door is closed.
þignition key is removed from key
cylinder
þremain on for a maximum of 30
seconds.
The lights will go off when the ignition key is
in the ON position, or the driver's door is
closed and locked.
The lights will also go off after 10 minutes
while doors are open.
cWhen the switch is in the ON position,
the interior light illuminates, whether any
door is open or closed.
CAUTION
Do not use for extended periods of time
with the engine stopped. This could
result in a discharged battery.
IC1235MLIC0147
INTERIOR LIGHT MAP LIGHTS
2-34Instruments and controls
ZX
Page 84 of 249

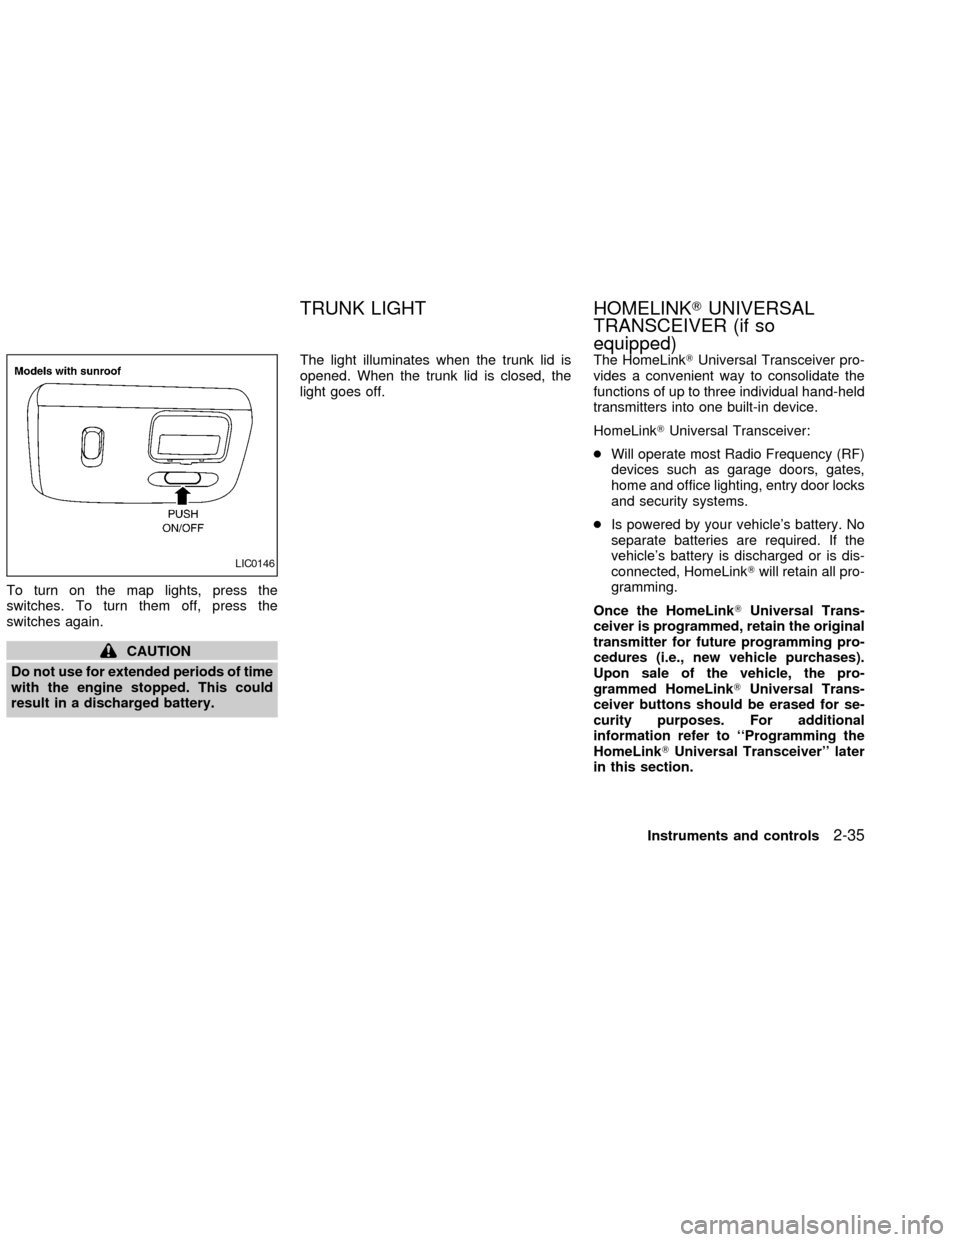
To turn on the map lights, press the
switches. To turn them off, press the
switches again.
CAUTION
Do not use for extended periods of time
with the engine stopped. This could
result in a discharged battery.The light illuminates when the trunk lid is
opened. When the trunk lid is closed, the
light goes off.The HomeLinkTUniversal Transceiver pro-
vides a convenient way to consolidate the
functions of up to three individual hand-held
transmitters into one built-in device.
HomeLinkTUniversal Transceiver:
cWill operate most Radio Frequency (RF)
devices such as garage doors, gates,
home and office lighting, entry door locks
and security systems.
cIs powered by your vehicle's battery. No
separate batteries are required. If the
vehicle's battery is discharged or is dis-
connected, HomeLinkTwill retain all pro-
gramming.
Once the HomeLinkTUniversal Trans-
ceiver is programmed, retain the original
transmitter for future programming pro-
cedures (i.e., new vehicle purchases).
Upon sale of the vehicle, the pro-
grammed HomeLinkTUniversal Trans-
ceiver buttons should be erased for se-
curity purposes. For additional
information refer to ``Programming the
HomeLinkTUniversal Transceiver'' later
in this section.
LIC0146
TRUNK LIGHT HOMELINKTUNIVERSAL
TRANSCEIVER (if so
equipped)
Instruments and controls2-35
ZX