Page 54 of 290

51 Restraint systems
Te ch n i c a l
data Instruments
and controlsOperationDrivingInstrument
cluster displayPractical hints Car care Index BabySmart
TM airbag deactivation system
Special BabySmart
TM compatible child seats, designed
for use with the Mercedes-Benz system and available at
any authorized Mercedes-Benz Center are required for
use with the BabySmart
TM airbag deactivation system.
With the special child seat properly installed, the
passenger front airbag will not deploy. The 7
indicator lamp located on the center console will be
illuminated, except with key removed or in steering lock
position 0. The system does not deactivate the door
mounted side impact airbag.
Self-test BabySmart
TM
without special child seat installed
After turning key in steering lock to position 1 or 2, the
7 indicator lamp located on the center console
comes on for approximately 6 seconds and then
extinguishes.
If the indicator lamp should not come on or is
continuously lit, the system is not functioning. You must
see an authorized Mercedes-Benz Center before seating
any child on the passenger seat.BabySmart
TM is a trademark of Siemens Automotive Corp.
Wa r n i n g !
The BabySmart
TM airbag deactivation system will
ONLY work with a special child seat designed to
operate with it. It will not work with child seats
which are not BabySmart
TM compatible.
Never place anything between seat cushion and
child seat (e.g. pillow), since it reduces the
effectiveness of the deactivation system. The
bottom of the child seat must make full contact
with the passenger seat cushion. An incorrectly
mounted child seat could cause injuries to the
child in case of an accident instead of protecting
the child.
Follow the manufacturer’s instructions for
installation of special child seats.The passenger front airbag will not deploy only if
the 7 indicator lamp remains illuminated.Please be sure to check the indicator every time
you use the special system child seat. Should the
light go out while the restraint is installed, please
check installation. If the light remains out, do not
use the BabySmart
TM restraint to transport children
on the passenger seat until the system has been
repaired.
Page 58 of 290

55 Restraint systems
Te ch n i c a l
data Instruments
and controlsOperationDrivingInstrument
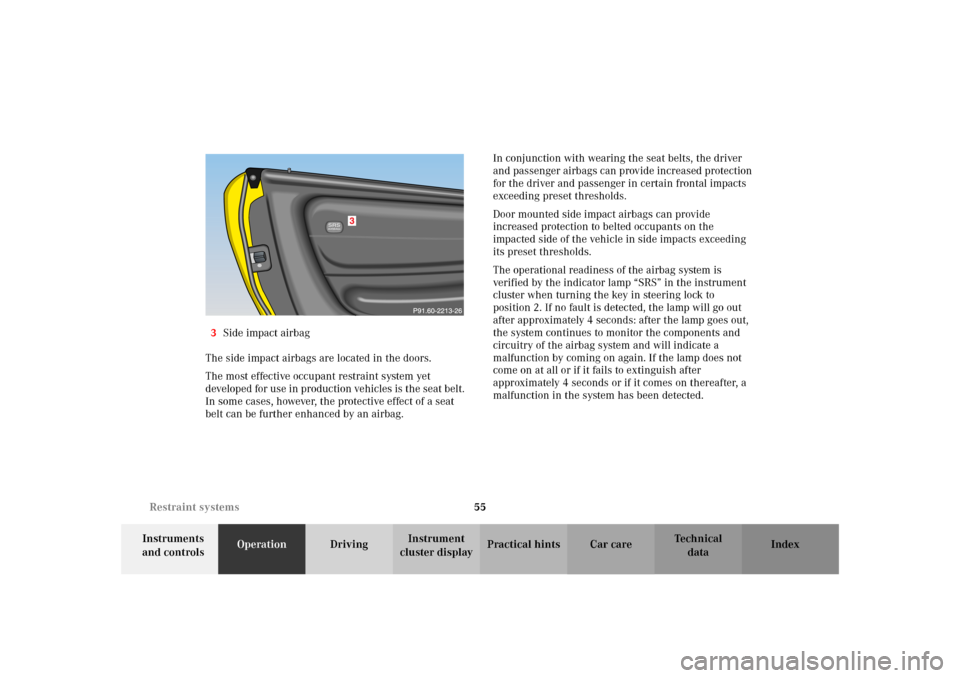
cluster displayPractical hints Car care Index 3Side impact airbag
The side impact airbags are located in the doors.
The most effective occupant restraint system yet
developed for use in production vehicles is the seat belt.
In some cases, however, the protective effect of a seat
belt can be further enhanced by an airbag.In conjunction with wearing the seat belts, the driver
and passenger airbags can provide increased protection
for the driver and passenger in certain frontal impacts
exceeding preset thresholds.
Door mounted side impact airbags can provide
increased protection to belted occupants on the
impacted side of the vehicle in side impacts exceeding
its preset thresholds.
The operational readiness of the airbag system is
verified by the indicator lamp “SRS” in the instrument
cluster when turning the key in steering lock to
position 2. If no fault is detected, the lamp will go out
after approximately 4 seconds: after the lamp goes out,
the system continues to monitor the components and
circuitry of the airbag system and will indicate a
malfunction by coming on again. If the lamp does not
come on at all or if it fails to extinguish after
approximately 4 seconds or if it comes on thereafter, a
malfunction in the system has been detected.
Page 59 of 290

56 Restraint systems
Te ch n i c a l
data Instruments
and controlsOperationDrivingInstrument
cluster displayPractical hints Car care Index
The following system components are monitored or
undergo a selfcheck: crash-sensor(s), airbag ignition
circuits, seat belt buckles, emergency tensioning
retractors, seat sensor.
Initially, when the key is turned from steering lock
position 0 to positions 1 or 2, malfunctions in the crash-
sensor are detected and indicated (the “SRS” indicator
lamp stays on longer than 4 seconds or does not come
on). In the operational mode, after the indicator lamp
has gone out following the initial check, interruptions or
short circuits in the airbag ignition circuit and in the
driver and passenger seat belt buckle harnesses, and
low voltage in the entire system are detected and
indicated.
Have the system checked at your authorized
Mercedes-Benz Center immediately.
Wa r n i n g !
In the event a malfunction of the “SRS” is indicated
as outlined above, the “SRS” may not be
operational. For your safety, we strongly
recommend that you visit an authorized Mercedes-
Benz Center immediately to have the system
checked; otherwise the “SRS” may not be activated
when needed in an accident, which could result in
serious or fatal injury, or it might deploy
unexpectedly and unnecessary which could also
result in injury.
Page 60 of 290

57 Restraint systems
Te ch n i c a l
data Instruments
and controlsOperationDrivingInstrument
cluster displayPractical hints Car care Index Front airbags
The driver and passenger front airbags are designed to
activate only in certain frontal impacts exceeding a
preset threshold.
The passenger front airbag deploys only if the
passenger seat is occupied, and the 7 indicator lamp
on the center console is not illuminated.
Note:
Heavy objects on the passenger seat can cause the
passenger front airbag to deploy in a crash.Side impact airbags
The side impact airbags are designed to activate only in
certain side impacts exceeding a preset threshold. Only
the side impact airbag on the impacted side of the
vehicle deploys.
The side impact airbag for the passenger deploys only if
the passenger seat is occupied.
Side impact airbags operate best in conjunction with a
properly positioned and fastened seat belt.
Note:
Heavy objects on the passenger seat can appear to the
“SRS” to indicate the presence of an occupant in that
seat which causes the passenger front airbag to deploy
in a crash exceeding the appropriate threshold.
Page 68 of 290

65 Adjusting telescoping steering column
Te ch n i c a l
data Instruments
and controlsOperationDrivingInstrument
cluster displayPractical hints Car care Index Adjusting telescoping steering column
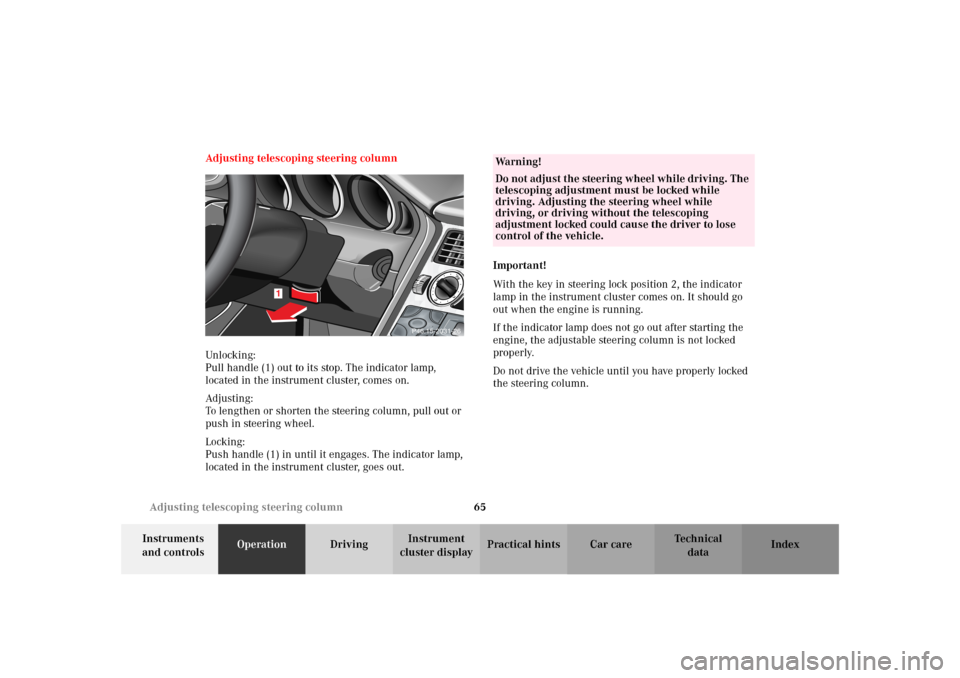
Unlocking:
Pull handle (1) out to its stop. The indicator lamp,
located in the instrument cluster, comes on.
Adjusting:
To lengthen or shorten the steering column, pull out or
push in steering wheel.
Locking:
Push handle (1) in until it engages. The indicator lamp,
located in the instrument cluster, goes out.Important!
With the key in steering lock position 2, the indicator
lamp in the instrument cluster comes on. It should go
out when the engine is running.
If the indicator lamp does not go out after starting the
engine, the adjustable steering column is not locked
properly.
Do not drive the vehicle until you have properly locked
the steering column.
AU
DIO
TEL
AUDIO
TEL
1
AUDIO
TEL
AUDIO
TEL
P46.15-2031-26
Wa r n i n g !
Do not adjust the steering wheel while driving. The
telescoping adjustment must be locked while
driving. Adjusting the steering wheel while
driving, or driving without the telescoping
adjustment locked could cause the driver to lose
control of the vehicle.
Page 69 of 290

66 Rear view mirrors
Te ch n i c a l
data Instruments
and controlsOperationDrivingInstrument
cluster displayPractical hints Car care Index
Rear view mirrors
Inside rear view mirror
Manually adjust the inside rear view mirror.
Use your inside rear view mirror to determine the size
and distance of objects seen in the passenger-side
exterior mirror.
Inside rear view mirror, antiglare mode
With the key in steering lock position 2, the mirror
reflection brightness responds to changes in light
sensitivity.
With gear selector lever (manual transmission: gearshift
lever) in position “R”, or with the interior lamp switched
on, the mirror brightness does not respond to changes
in light sensitivity.Note:
The automatic antiglare function does not react, if
incoming light is not aimed directly at sensors in the
inside rear view mirror.
The automatic antiglare function will not react for
example, if the wind screen is installed.
Wa r n i n g !
In the case of an accident liquid electrolyte may
escape the mirror housing when the mirror glass
breaks.Electrolyte has an irritating effect. Do not allow the
liquid to come into contact with eyes, skin,
clothing, or respiratory system. In cases it does,
immediately flush affected area with water, and
seek medical help if necessary.
Page 71 of 290
68 Rear view mirrors
Te ch n i c a l
data Instruments
and controlsOperationDrivingInstrument
cluster displayPractical hints Car care Index
Driver’ s side exterior rear view mirror, antiglare
mode
With the key in steering lock position 2, the driver’s
side mirror reflection brightness responds to changes in
light sensitivity.
With gear selector lever (manual transmission: gearshift
lever) in position “R”, or with the interior lamp switched
on, the driver’s side mirror brightness does not respond
to changes in light sensitivity.Note:
The automatic antiglare function does not react, if
incoming light is not aimed directly at sensors in the
inside rear view mirror.
The automatic antiglare function will not react for
example, if the wind screen is installed.
Page 74 of 290

71 Instrument cluster
Te ch n i c a l
data Instruments
and controlsOperationDrivingInstrument
cluster displayPractical hints Car care Index 1Coolant temperature gauge, see page 75
2Fuel gauge with reserve and fuel cap placement
warning lamp, see page 185
3Outside temperature indicator, see page 75
4Push button for activating the instrument cluster,
intensity of instrument lamps, for trip odometer, and
for Flexible service system (FSS) indicator, see
pages 74, 76 and 77
5Left turn signal indicator lamp, see combination
switch on page 83
6Electronic stability program (ESP) warning lamp,
system is adjusting to road conditions, see page 1857Right turn signal indicator lamp, see combination
switch on page 83
8Speedometer
9Trip odometer, see page 76
10Main odometer, Flexible service system (FSS)
indicator, see page 77
11Push button for setting clock, see page 76
12Tachometer, see page 76
13Clock, see page 76
14Gear range indicator display, see selector lever
position, page 150
Notes:
Indicator lamps in the instrument cluster,
see page 72