2002 MERCEDES-BENZ SL500 manual top
[x] Cancel search: manual topPage 8 of 302

5 Contents
Practical hints First aid kit ..................................... 216
Stowing things in the vehicle ...... 216
Vehicle tools .................................... 217
Vehicle jack ..................................... 218
Fuses ................................................ 219
Hood .................................................220
Automatic transmission
fluid level ...................................222
Checking engine oil level .............222
Coolant level ...................................224
Adding coolant ...............................225
Windshield and
headlamp washer
fluid mixing ratio ......................226
Wheels .............................................227
Tire replacement ............................227
Rotating wheels ..............................228
Spare wheel ....................................229
Changing wheels ........................... 231
Tire inflation pressure ..................235
Battery .............................................237
Battery Recycling .......................238Jump starting ................................. 239
Towing the vehicle ........................ 241
Exterior lamps ............................... 243
Headlamp assembly
(Halogen) .................................... 244
Taillamp assemblies .................. 250
Changing batteries in the
remote control ........................... 252
Synchronizing ............................ 253
Raising soft top manually ............ 254
Replacing wiper blade ................. 258
Manual release of
fuel filler flap ............................ 260
Trunk lamp ..................................... 260
Vehicle care Cleaning and care
of the vehicle ............................. 262
Power washer ............................. 263
Tar stains .................................... 263
Paintwork, Painted Body
Components ................................ 263
Engine cleaning ......................... 264
Vehicle washing ......................... 264Ornamental moldings ................264
Headlamps, taillamps,
turn signal lenses ......................264
Window cleaning .......................265
Light alloy wheels ......................265
Instrument cluster .....................265
Steering wheel and
gear selector lever ......................265
Cup holder ...................................265
Seat belts .....................................266
Headliner, shelf behind
roll bars, and other hard
plastic trim items .......................266
Soft top .........................................266
Headliner .....................................267
Wind screen ................................267
Automatic antenna .....................267
Wiper blade .................................267
Headlamp cleaning
system ..........................................267
Leather upholstery .....................268
Plastic and rubber parts ............268
Illuminated door sill panels .....268
Page 16 of 302
13 IntroductionWhere to find it
The Operator’s Manual is divided into eight sections:
•Instruments and controls: An overview of all the controls that can be operated from the driver’s seat.
•Operation: Information on the vehicle’s equipment and its operation.
•Driving: Important information on driving.
•Instrument cluster display: Displays and indicator lamps on the instrument cluster with brief instructions.
•Practical hints: Assistance and instructions in the event of an emergency.
•Car care: Instructions on caring for your vehicle.
•Technical data: All the important technical data for your vehicle as well as consumer information such as fuels,
coolants, lubricants etc. is contained here.
•Index: Key terms to help you find a topic quickly.
Other documents may also be supplied, depending on your vehicle’s equipment.
Explanation of color used:
Warning notices for the protection of yourself and
others appear on red background.
Page 31 of 302
27 Contents - Operation
Te ch n ica l
data Instruments
and controlsOperationDrivingInstrument
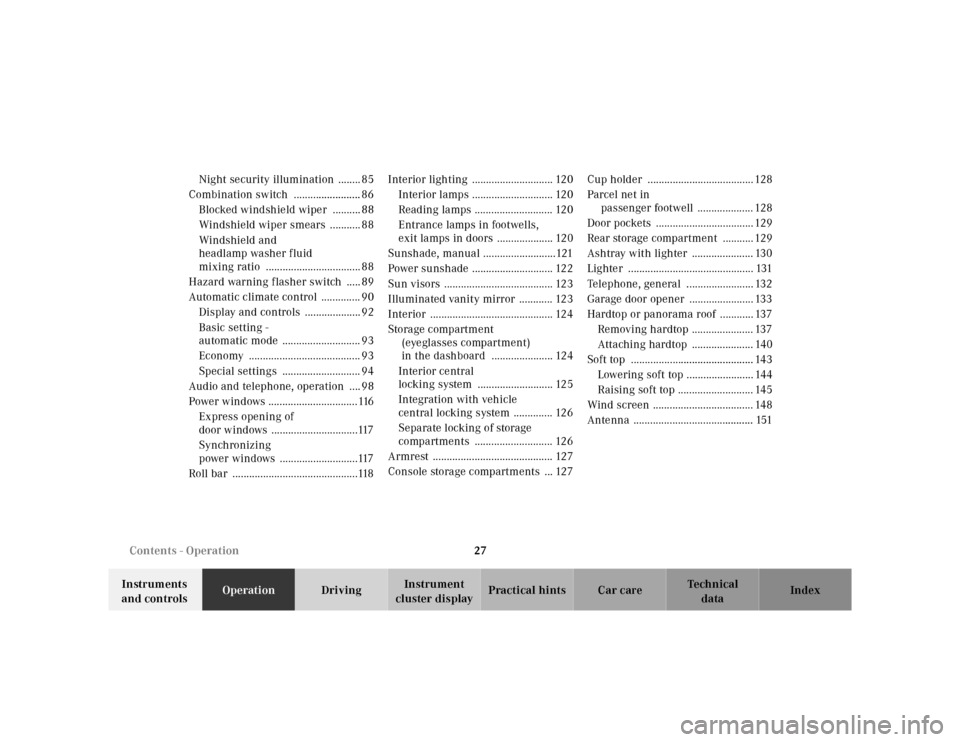
cluster displayPractical hints Car care Index Night security illumination ........ 85
Combination switch ........................ 86
Blocked windshield wiper .......... 88
Windshield wiper smears ........... 88
Windshield and
headlamp washer fluid
mixing ratio .................................. 88
Hazard warning flasher switch ..... 89
Automatic climate control .............. 90
Display and controls .................... 92
Basic setting -
automatic mode ............................ 93
Economy ........................................ 93
Special settings ............................ 94
Audio and telephone, operation .... 98
Power windows ................................116
Express opening of
door windows ...............................117
Synchronizing
power windows ............................117
Roll bar .............................................118Interior lighting ............................. 120
Interior lamps ............................. 120
Reading lamps ............................ 120
Entrance lamps in footwells,
exit lamps in doors .................... 120
Sunshade, manual ..........................121
Power sunshade ............................. 122
Sun visors ....................................... 123
Illuminated vanity mirror ............ 123
Interior ............................................ 124
Storage compartment
(eyeglasses compartment)
in the dashboard ...................... 124
Interior central
locking system ........................... 125
Integration with vehicle
central locking system .............. 126
Separate locking of storage
compartments ............................ 126
Armrest ........................................... 127
Console storage compartments ... 127Cup holder ...................................... 128
Parcel net in
passenger footwell .................... 128
Door pockets ................................... 129
Rear storage compartment ........... 129
Ashtray with lighter ...................... 130
Lighter ............................................. 131
Telephone, general ........................ 132
Garage door opener ....................... 133
Hardtop or panorama roof ............ 137
Removing hardtop ...................... 137
Attaching hardtop ...................... 140
Soft top ............................................ 143
Lowering soft top ........................ 144
Raising soft top ........................... 145
Wind screen .................................... 148
Antenna ........................................... 151
Page 108 of 302
104 Audio system
Te ch n ica l
data Instruments
and controlsOperationDrivingInstrument
cluster displayPractical hints Car care Index
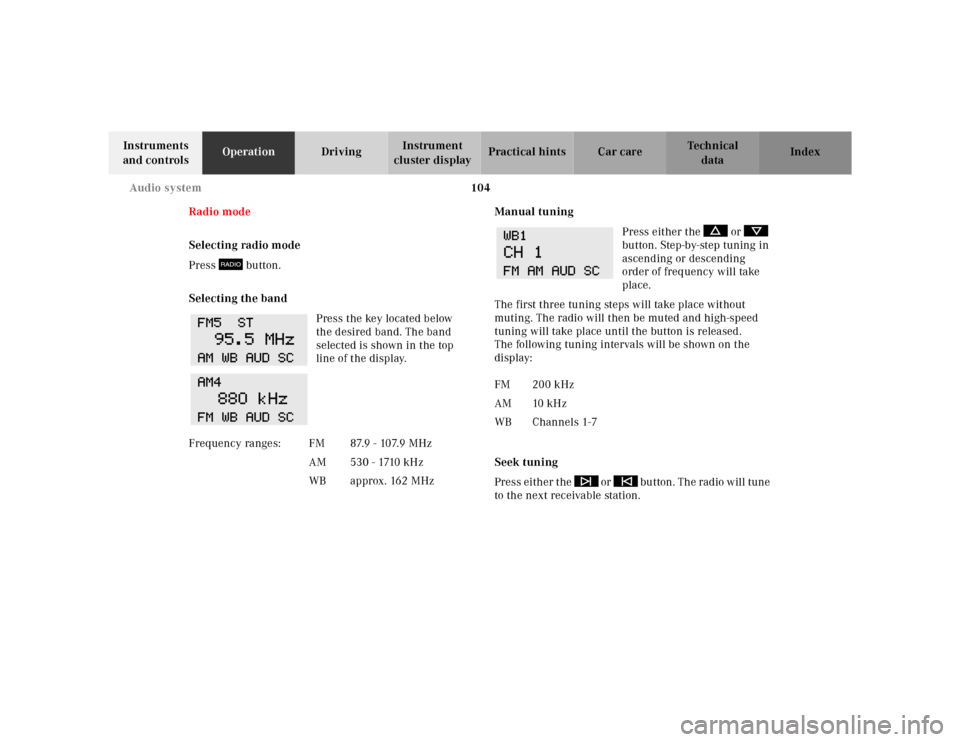
Radio mode
Selecting radio mode
Press button.
Selecting the band
Press the key located below
the desired band. The band
selected is shown in the top
line of the display.Manual tuning
Press either the or
button. Step-by-step tuning in
ascending or descending
order of frequency will take
place.
The first three tuning steps will take place without
muting. The radio will then be muted and high-speed
tuning will take place until the button is released.
The following tuning intervals will be shown on the
display:
Seek tuning
Press either the or button. The radio will tune
to the next receivable station. F r e q u e n c y r a n g e s : F M 8 7. 9 - 10 7. 9 M H z
AM 530 - 1710 kHz
WB approx. 162 MHz
FM 200 kHz
AM 10 kHz
WB Channels 1-7
Page 118 of 302
114 Audio system
Te ch n ica l
data Instruments
and controlsOperationDrivingInstrument
cluster displayPractical hints Car care Index
Switching between name search and number search
Press ABC key - Name search
Press NUM key - Number search
Searching and selecting phone book entries by name
Press the ABC key. The current name is shown on the
display. The stored entries in alphabetical order can be
selected using the or button. By pressing the
or buttons, the stored entries can be selected
according to alphabetical initial letters (e.g. A-Adam,
B-Brown, M-Miller).
Searching and selecting phone book entries by
number
Press the NUM key. The current number is shown on
the display. The stored entries can be selected in
numerical order using the or button. By
pressing the or buttons, the stored entries
can be selected in increments of 5 (e.g. Entry no. 2,
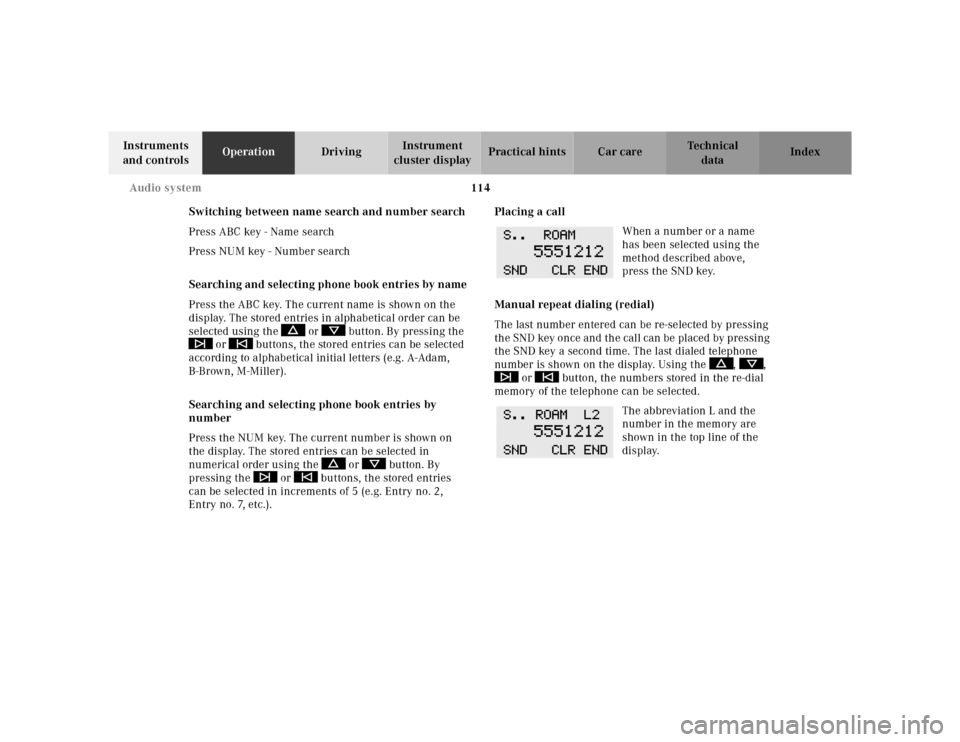
Entry no. 7, etc.).Placing a call
When a number or a name
has been selected using the
method described above,
press the SND key.
Manual repeat dialing (redial)
The last number entered can be re-selected by pressing
the SND key once and the call can be placed by pressing
the SND key a second time. The last dialed telephone
number is shown on the display. Using the , ,
or button, the numbers stored in the re-dial
memory of the telephone can be selected.
The abbreviation L and the
number in the memory are
shown in the top line of the
display.
Page 139 of 302
135 Garage door opener
Te ch n ica l
data Instruments
and controlsOperationDrivingInstrument
cluster displayPractical hints Car care Index Rolling code programming:
To train a garage door opener (or other rolling code
devices) with the rolling code feature, follow these
instructions after completing the “Programming”
portion of this text. (A second person may make the
following training procedures quicker and easier.)
1. Locate training button on the garage door opener
motor head unit. Exact location and color of the
button may vary by garage door opener brand. If
there is difficulty locating the transmitting button,
reference to garage door opener operator’s manual.
2. Press “training” button on the garage door opener
motor head unit (which activated the “training
light”).
Note:
Following step 2, there are 30 seconds to initiate
step 3.3. Firmly press and release the programmed
integrated remote control transmit button. Press
and release same button a second time to complete
the training process. (Some garage door openers
may requires you to do this procedure a third time
to complete the training.)
4. Confirm the garage door operation by pressing the
programmed button on the integrated remote
control transmitter.
Canadian programming:
During programming, your hand-held transmitter may
automatically stop transmitting. Continue to press and
hold the integrated remote control transmitter button
(note steps 2 through 4 in the “Programming” portion)
while you press and re-press (“cycle”) your hand-held
transmitter every two seconds until the frequency
signal has been learned. The indicator lamp will flash
slowly and then rapidly after several seconds upon
successful training.
Page 151 of 302
147 Soft top
Te ch n ica l
data Instruments
and controlsOperationDrivingInstrument
cluster displayPractical hints Car care Index For safety reasons, the soft top cannot be unlocked
while driving.
However, if the soft top is not completely locked, it can
be locked while driving by pushing the soft/hardtop
switch forward.
If the indicator lamp in the soft top switch blinks while
activating the switch,
• the battery voltage may be insufficient - start engine
and let run while activating switch,
• the system may be overloaded (for example after
lowering or raising the soft top approx.
5 consecutive times) - after approx. 2 minutes the
soft top switch may be activated again,
• and the power supply was interrupted (battery
disconnected or empty), the soft top cannot be fully
raised or lowered.
To raise the soft top, for safety reasons, first remove key
from steering lock. Lower soft top by hand into
compartment, and resynchronize the power windows.
See page 116.
To lower the soft top, first resynchronize the power
windows. See page 116.If t he indicator la mp continues to bl ink, l ock th e sof t top
manually. See page 254.
Have the system checked at your authorized Mercedes-
Benz Center as soon as possible.
Note:
If the roll bar was raised automatically, the process of
raising or lowering the soft top will take somewhat
longer, as the roll bar must first be lowered.
Whenever possible, park vehicle in the shade as
continuous exposure to sun rays can prematurely
deteriorate the soft top material.
Permanent creases in the plastic window, caused by
storage of the soft top in the storage compartment,
cannot be avoided.
The soft top may become moldy if it is kept in the
storage compartment for an extended period.
Therefore, we recommend raising and airing it
thoroughly with the side windows open (do not expose
it to the sun) at regular intervals during the wet and
cold seasons.
Page 165 of 302
161 Tele Aid
Te ch n ica l
data Instruments
and controlsOperationDrivingInstrument
cluster displayPractical hints Car care Index If the indicator lamp in the Information button¡ is
illuminated continuously and there was no voice
connection to the Response Center established, then the
Tele Aid system could not initiate an Information call
(e.g. the relevant cellular phone network is not
available).
Important!
If the indicator lamps do not start flashing after
pressing one of the buttons or remain illuminated (in
red) at any time, the Tele Aid system has detected a fault
or the service is not currently active, and may not
initiate a call. Visit your Mercedes-Benz Center and
have the system checked or contact the Response Center
at 1-800-756-9018 (in the USA) or 1-888-923-8367 (in
Canada) as soon as possible.Upgrade Signals
Tele Aid system processes calls using the following
priority.
• Automatic emergency – First priority
• Manual emergency – Second priority
• Roadside assistance – Third priority
• Information – Fourth priority
Should a higher priority call be initiated while you are
connected, an upgrade (alternating) tone will be heard,
and the appropriate indicator lamp will flash. If certain
information such as vehicle identification number or
client information is not available, the operator may
need to retransmit. During this time you will hear a
chirp and voice contact will be interrupted. Voice
contact will resume once the retransmission is
completed. Once a call is concluded, a chirp will be
heard and the appropriate indicator lamp will stop
flashing. The audio system operation will resume.