Page 81 of 342

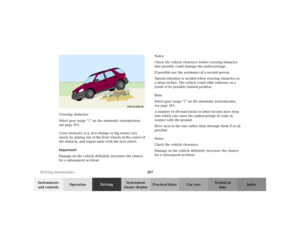
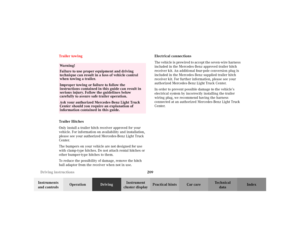
78 Rear view mirrors
Te ch n i c a l
data Instruments
and controlsOperationDrivingInstrument
cluster displayPractical hints Car care Index
Storing exterior rear view mirror positions
(only vehicle with memory function)
The exterior rear view mirror positions are stored in
memory with the seat positions and can be recalled
when necessary. See page 43 for notes on the memory
function.
Parking position (only vehicle with memory function)
The passenger side exterior mirror can be adjusted and
programmed to assist the driver during parking
maneuvers (e.g. to observe the curb or other objects
close to the vehicle).
With the key in steering lock position 2, and the exterior
rear view mirror switch in the passenger side position,
the passenger side mirror will be turned downward
when placing the gear selector lever in “R” reverse.
The passenger side mirror will return to its previous
position:
•immediately at speeds above approx. 6 mph
(10 km/h) – independent of the engaged gear,
•after 10 seconds when shifting gear selector lever
from “R” Reverse,
•by pressing the driver’s side mirror button%.To store passenger side mirror parking position:
1. The vehicle must be stationary.
Turn key to steering lock position 1 or 2.
2. Select passenger side mirror& and adjust the
mirror to view the curb.
3. Push the memory button “M”, see page 43.
4. Within 3 seconds push bottom of adjustment
button (3), see page 77.
The mirror should not move.
Repeat the memory procedure if the mirror moves.
Note:
The selected position will be stored relative to the
memory button (1, 2, 3) pushed.
Page 82 of 342

79 Rear view mirrors
Te ch n i c a l
data Instruments
and controlsOperationDrivingInstrument
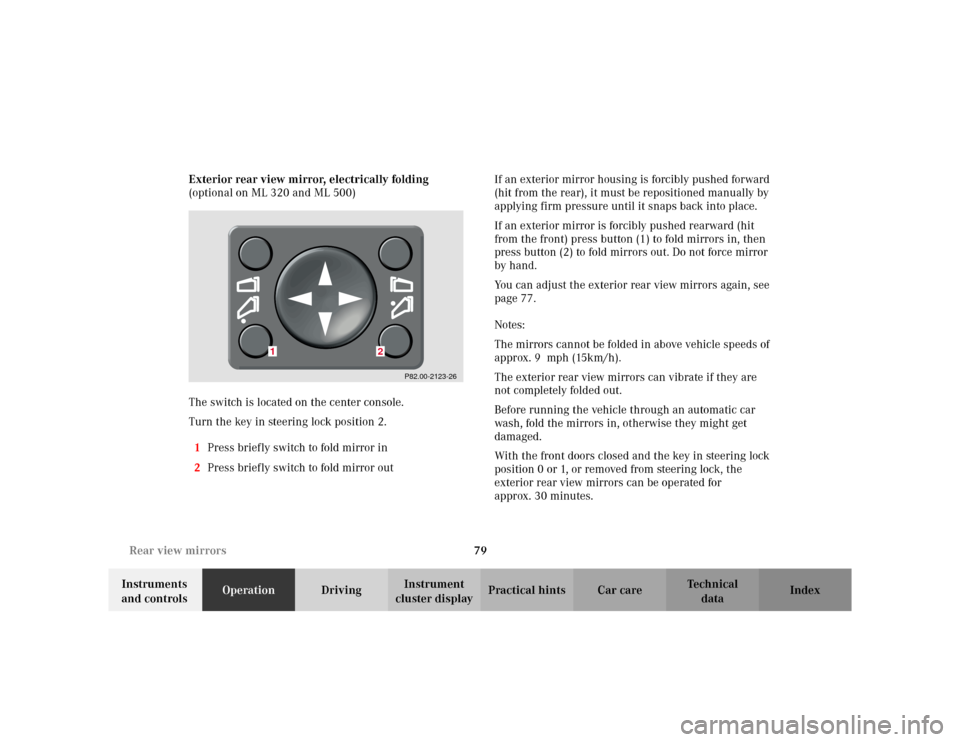
cluster displayPractical hints Car care Index Exterior rear view mirror, electrically folding
(optional on ML 320 and ML 500)
The switch is located on the center console.
Turn the key in steering lock position 2.
1Press briefly switch to fold mirror in
2Press briefly switch to fold mirror outIf an exterior mirror housing is forcibly pushed forward
(hit from the rear), it must be repositioned manually by
applying firm pressure until it snaps back into place.
If an exterior mirror is forcibly pushed rearward (hit
from the front) press button (1) to fold mirrors in, then
press button (2) to fold mirrors out. Do not force mirror
by hand.
You can adjust the exterior rear view mirrors again, see
page 77.
Notes:
The mirrors cannot be folded in above vehicle speeds of
approx. 9 mph (15km/h).
The exterior rear view mirrors can vibrate if they are
not completely folded out.
Before running the vehicle through an automatic car
wash, fold the mirrors in, otherwise they might get
damaged.
With the front doors closed and the key in steering lock
position 0 or 1, or removed from steering lock, the
exterior rear view mirrors can be operated for
approx. 30 minutes.
P82.00-2123-26
1
2
Page 83 of 342
80 Rear view mirrors
Te ch n i c a l
data Instruments
and controlsOperationDrivingInstrument
cluster displayPractical hints Car care Index
Driver’s side exterior rear view mirror, antiglare
mode (optional on ML 320)
Antiglare mode:
With the key in steering lock position 2, the mirror
reflection brightness responds to changes in light
sensitivity.
With the gear selector lever in position “R”, or with the
interior light switched on, the mirror brightness does
not respond to changes in light sensitivity.Note:
The automatic antiglare function does not react, if
incoming light is not aimed directly at sensors in the
inside rear view mirror.
The antiglare function will not react for example, if the
cargo area is fully loaded.
Page 84 of 342
81 Rear view mirrors
Te ch n i c a l
data Instruments
and controlsOperationDrivingInstrument
cluster displayPractical hints Car care IndexImportant!
Electrolyte drops coming into contact with the vehicle
paint finish can only be completely removed while in
their liquid state and by applying plenty of water.
Wa r n i n g !
In the case of an accident liquid electrolyte may
escape the mirror housing when the mirror glass
breaks.Electrolyte has an irritating effect. Do not allow the
liquid come into contact with eyes, skin, clothing,
or respiratory system. In cases it does, immediately
flush affected area with water, and seek medical
help if necessary.
Page 85 of 342
82 Instrument cluster
Te ch n i c a l
data Instruments
and controlsOperationDrivingInstrument
cluster displayPractical hints Car care Index
Instrument cluster
Page 86 of 342

83 Instrument cluster
Te ch n i c a l
data Instruments
and controlsOperationDrivingInstrument
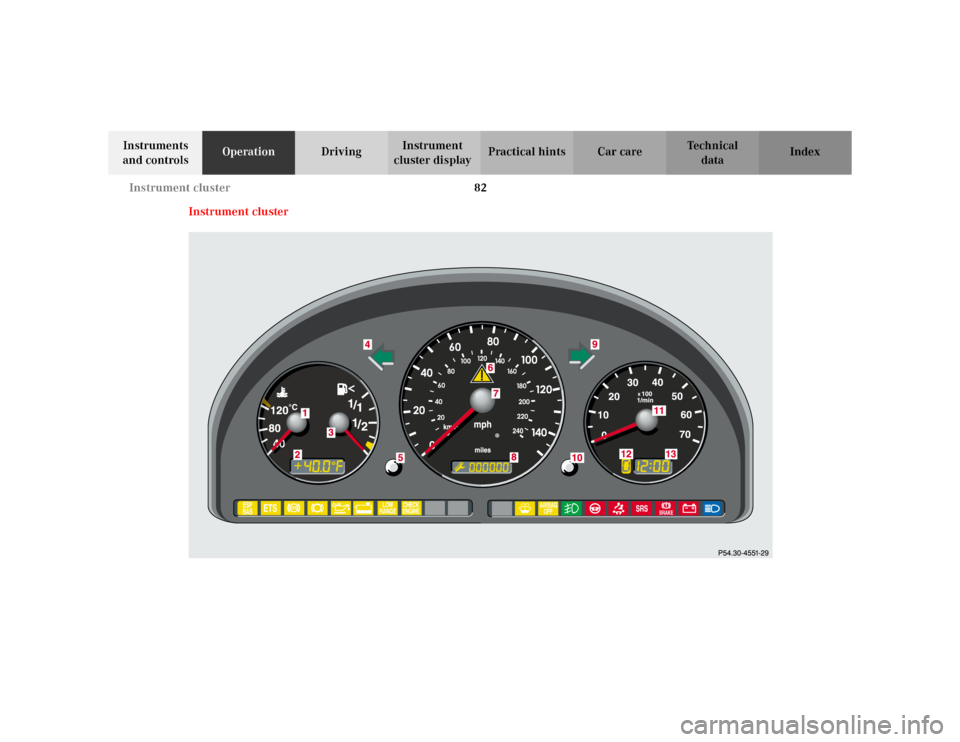
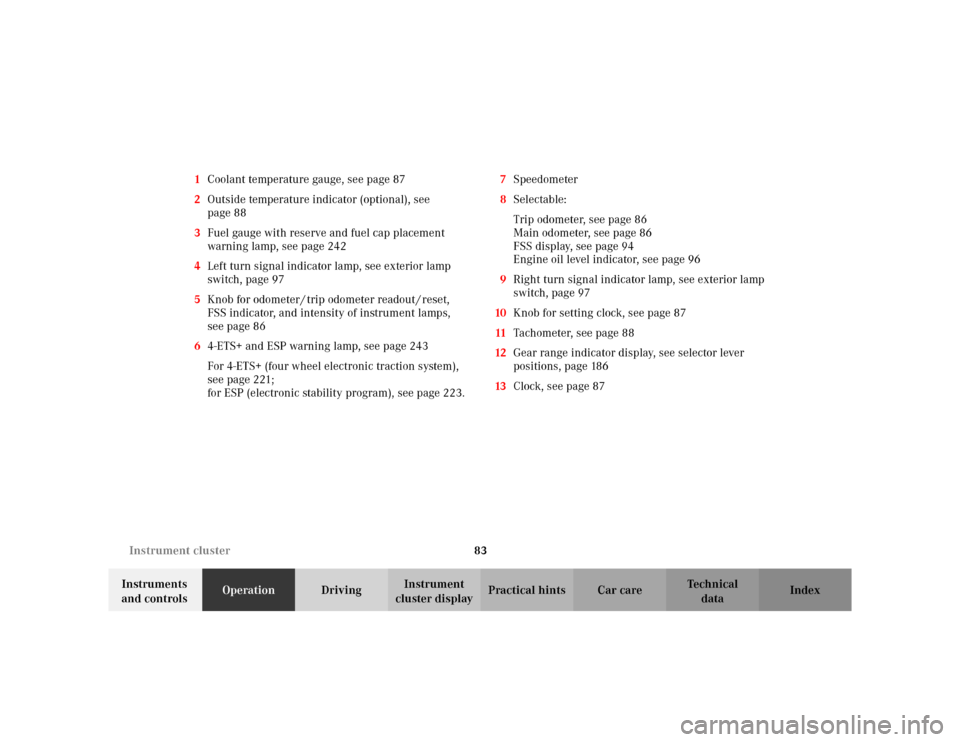
cluster displayPractical hints Car care Index 1Coolant temperature gauge, see page 87
2Outside temperature indicator (optional), see
page 88
3Fuel gauge with reserve and fuel cap placement
warning lamp, see page 242
4Left turn signal indicator lamp, see exterior lamp
switch, page 97
5Knob for odometer / trip odometer readout / reset,
FSS indicator, and intensity of instrument lamps,
see page 86
64-ETS+ and ESP warning lamp, see page 243
For 4-ETS+ (four wheel electronic traction system),
seepage221;
for ESP (electronic stability program), see page 223.7Speedometer
8Selectable:
Trip odometer, see page 86
Main odometer, see page 86
FSS display, see page 94
Engine oil level indicator, see page 96
9Right turn signal indicator lamp, see exterior lamp
switch, page 97
10Knob for setting clock, see page 87
11Tachometer, see page 88
12Gear range indicator display, see selector lever
positions, page 186
13Clock, see page 87
Page 87 of 342
84 Instrument cluster
Te ch n i c a l
data Instruments
and controlsOperationDrivingInstrument
cluster displayPractical hints Car care Index
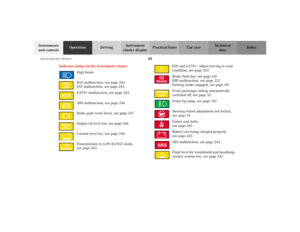
Indicator lamps in the instrument cluster
High beam
BAS malfunction, see page 243
ESP malfunction, see page 243
4-ETS+ malfunction, see page 243
ABS malfunction, see page 244
Brake pads worn down, see page 247
Engine oil level low, see page 246
Coolant level low, see page 246
Transmission in LOW RANGE mode,
see page 243ESP and 4-ETS+. Adjust driving to road
condition, see page 243
Brake fluid low, see page 241
EBP malfunction, see page 222
Parking brake engaged, see page 191
Front passenger airbag automatically
switched off, see page 55
Front fog lamp, see page 103
Steering wheel adjustment not locked,
see page 74
Fasten seat belts,
see page 245
Battery not being charged properly,
see page 245
SRS malfunction, see page 242
Fluid level for windshield and headlamp
washer system low, see page 247.
BAS
ESPABSLOW
RANGE
BRAKESRS
Page 88 of 342
85 Instrument cluster
Te ch n i c a l
data Instruments
and controlsOperationDrivingInstrument
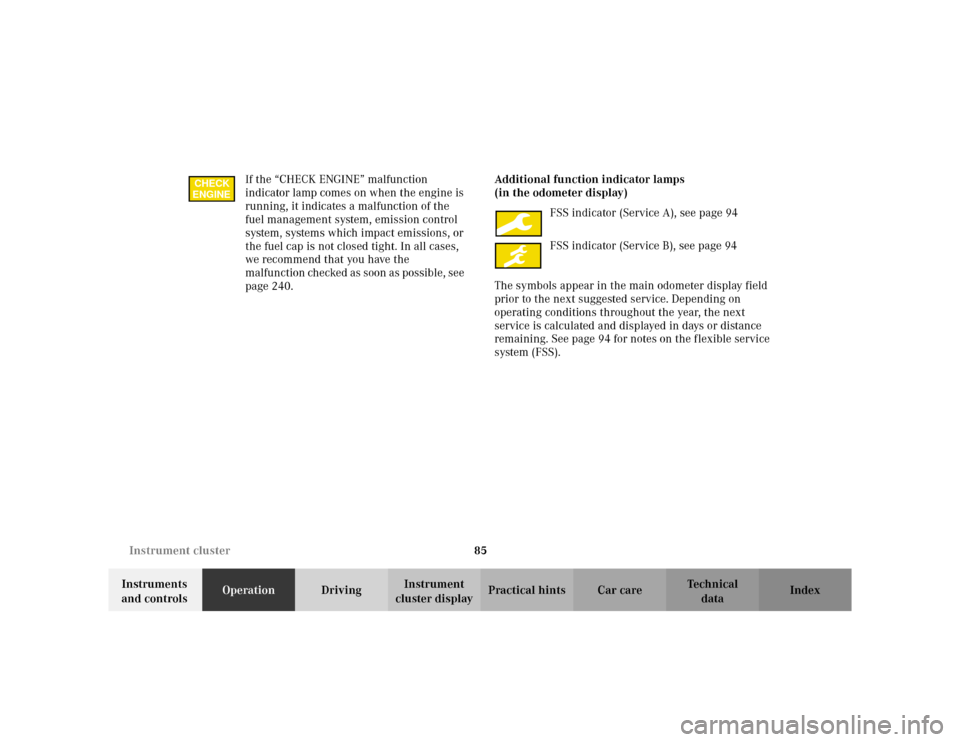
cluster displayPractical hints Car care Index If the “CHECK ENGINE” malfunction
indicator lamp comes on when the engine is
running, it indicates a malfunction of the
fuel management system, emission control
system, systems which impact emissions, or
the fuel cap is not closed tight. In all cases,
we recommend that you have the
malfunction checked as soon as possible, see
page 240.Additional function indicator lamps
(in the odometer display)
FSS indicator (Service A), see page 94
FSS indicator (Service B), see page 94
The symbols appear in the main odometer display field
prior to the next suggested service. Depending on
operating conditions throughout the year, the next
service is calculated and displayed in days or distance
remaining. See page 94 for notes on the flexible service
system (FSS).
CHECK
ENGINE