Page 78 of 385
75 Restraint systems
Te ch n i c a l
data Instruments
and controlsOperationDrivingInstrument
cluster displayPractical hints Car care Index Installation of infant and child restraint systems
The anchorage rings (1) are located in the rear cargo
compartment. Located on each side of the passenger
compartment are two anchorage rings (for the rear outer
seats) and one on the roof pillar above the tailgate (for
the rear center seat).
Guide tether strap between head restraints. Be carefully
that the tether strap is not twisted.
When mounting a tether strap on the rear outer seats,
reinstall the cargo area cover blind (page 180) and the
optional partition net (page 175).To secure a tether strap to the anchorage, securely
fasten the hook (3), which is part of the tether strap, to
the anchorage ring (2). For safety, please make sure that
the hook has attached to the ring beyond the safety
catch, as illustrated.
1
1
1
1
1
J_G463.book Seite 75 Mittwoch, 19. September 2001 8:06 08
Page 80 of 385
77 Restraint systems
Te ch n i c a l
data Instruments
and controlsOperationDrivingInstrument
cluster displayPractical hints Car care Index
Wa r n i n g !
The “LATCH” mounting fittings are intended for
children up to 50 lbs (22 kg) in weight.Children too big for child restraint systems must
ride in back seats using regular seat belts. Position
shoulder belt across chest and shoulder, not face or
neck. A booster seat may be necessary to achieve
proper belt positioning for children from 41 lbs. to
the point where a lap / shoulder belt fits properly
without one.Install child seat according to manufacturer’s
instructions.
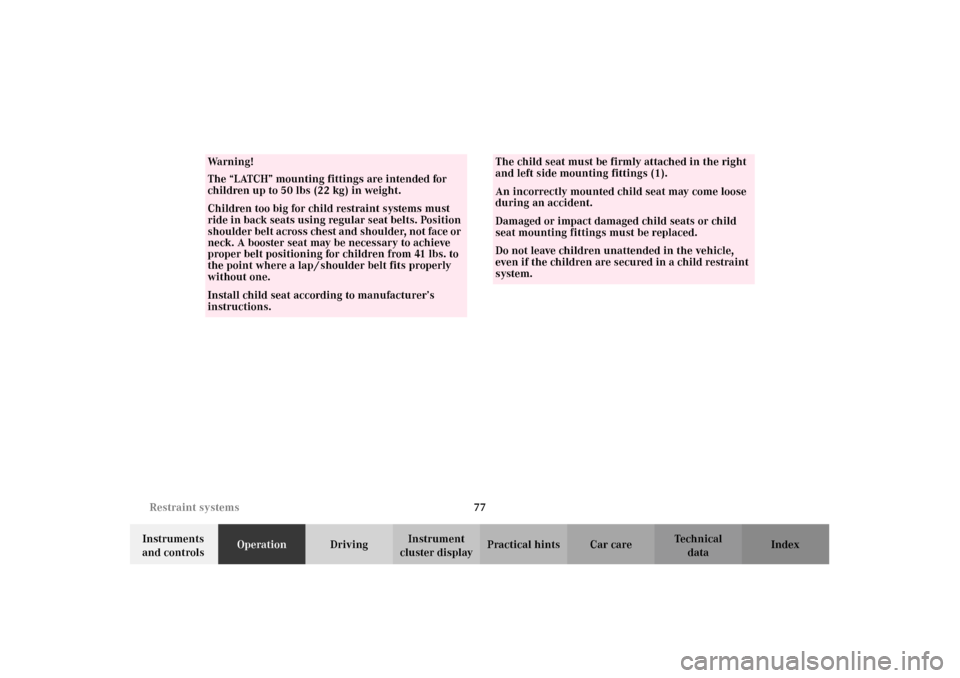
The child seat must be firmly attached in the right
and left side mounting fittings (1).An incorrectly mounted child seat may come loose
during an accident.Damaged or impact damaged child seats or child
seat mounting fittings must be replaced.Do not leave children unattended in the vehicle,
even if the children are secured in a child restraint
system.
J_G463.book Seite 77 Mittwoch, 19. September 2001 8:06 08
Page 118 of 385
115 Multifunction steering wheel, multifunction display
Te ch n i c a l
data Instruments
and controlsOperationDrivingInstrument
cluster displayPractical hints Car care Index 1Preliminary display of the individual settings
2“SETTINGS” – in this options menu you can call up
the individual setting menu “LIGHTING”.
Pressing buttonæ orç on the multifunction
steering wheel controls the selection marker.
3“LIGHT CIRCUIT HEADLAMP MODE”
1,2,
seepage130.
4“LOCATOR LIGHTING”, see page 133.5“HEADLAMPS DELAYED SWITCH-OFF”, see “Night
security illumination” on page 132.
6“INT. ILLUMINATION DELAYED SWITCH-OFF”, see
“Interior lighting” on page 156.
7Returning the individual setting menu “LIGHTING”
to the factory setting, see page 117.
8Acknowledgment.
1Except Canada
2 For safety reasons, setting only possible while vehicle is standing
still.
J_G463.book Seite 115 Mittwoch, 19. September 2001 8:06 08
Page 135 of 385
132 Exterior lamp switch
Te ch n i c a l
data Instruments
and controlsOperationDrivingInstrument
cluster displayPractical hints Car care Index
Night security illumination
Turn exterior lamp switch to positionU.
At low ambient light conditions and with the engine
having been switched off, the exterior lamps (fog lamps
and parking lamps) switch on for added illumination,
(except in daytime running mode). After the last door
has been closed the lamp-on time period commences.
See the individual setting menu “LIGHTING” –
“HEADLAMPS DELAYED SWITCH–OFF” on page 114,
for instructions on how to activate the function.
The lamp-on time period for night security illumination
can be set at several different timed levels from 0 (off) to
60 seconds, see the individual setting menu
“LIGHTING” – “HEADLAMPS DELAYED SWITCH–OFF”
on page 114.Notes:
Within 10 minutes after closing the last door the night
security illumination can be reactivated by opening a
door.
If after switching the engine off, no doors are opened or
if after opening the doors or tailgate they are not closed,
the night security illumination will switch off
automatically after 60 seconds.
Deactivating night security illumination temporarily:
Turn the electronic key in starter switch to position 0
then to position 2 and back to position 0 again before
getting out of the vehicle. The night security
illumination will not be activated when the door is
opened.
J_G463.book Seite 132 Mittwoch, 19. September 2001 8:06 08
Page 165 of 385
162 Interior equipment
Te ch n i c a l
data Instruments
and controlsOperationDrivingInstrument
cluster displayPractical hints Car care Index
Interior Storage compartments, armrest and cup holder
Wa r n i n g !
To help avoid personal injury during a collision or
sudden maneuver, exercise care when stowing
things. Put luggage or cargo in the rear cargo area
and secure. Do not pile luggage or cargo higher
than the seat backs. Luggage nets cannot secure hard or heavy objects.Wa r n i n g !
Do not load items on the roof. It may cause
instability during some maneuvers which could
result in an accident.
Wa r n i n g !
Keep compartment lids closed. This will help to
prevent stored objects from being thrown about
and injuring vehicle occupants during an accident
and sudden maneuvers.
J_G463.book Seite 162 Mittwoch, 19. September 2001 8:06 08
Page 175 of 385
172 Interior equipment
Te ch n i c a l
data Instruments
and controlsOperationDrivingInstrument
cluster displayPractical hints Car care Index
Folding backrest forward
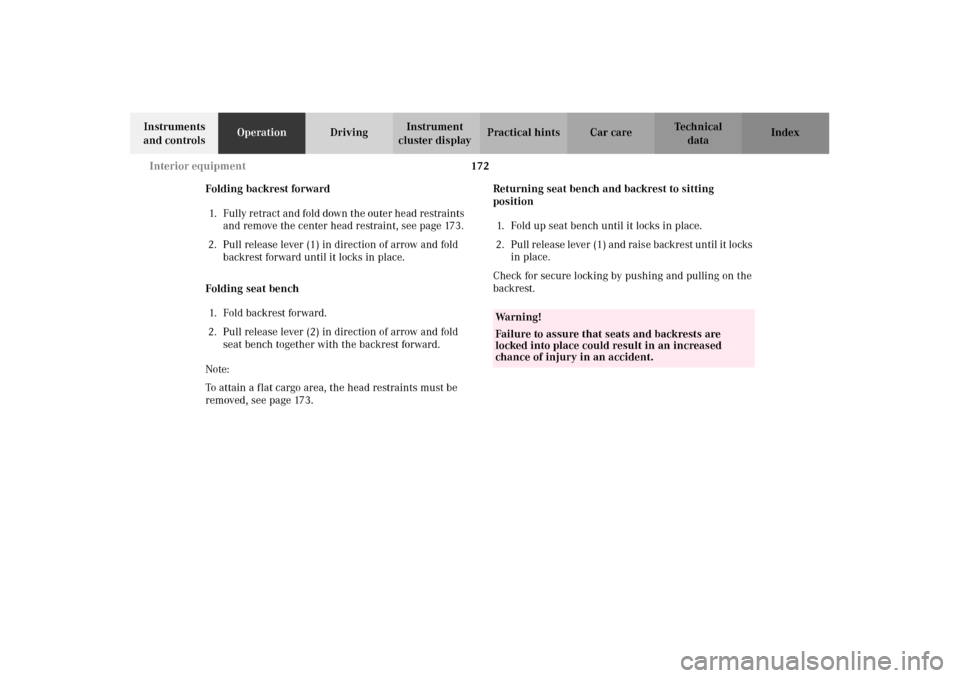
1. Fully retract and fold down the outer head restraints
and remove the center head restraint, see page 173.
2. Pull release lever (1) in direction of arrow and fold
backrest forward until it locks in place.
Folding seat bench
1. Fold backrest forward.
2. Pull release lever (2) in direction of arrow and fold
seat bench together with the backrest forward.
Note:
To attain a flat cargo area, the head restraints must be
removed, see page 173.Returning seat bench and backrest to sitting
position
1. Fold up seat bench until it locks in place.
2. Pull release lever (1) and raise backrest until it locks
in place.
Check for secure locking by pushing and pulling on the
backrest.
Wa r n i n g !
Failure to assure that seats and backrests are
locked into place could result in an increased
chance of injury in an accident.
J_G463.book Seite 172 Mittwoch, 19. September 2001 8:06 08
Page 176 of 385
173 Interior equipment
Te ch n i c a l
data Instruments
and controlsOperationDrivingInstrument
cluster displayPractical hints Car care Index Rear seat head restraints
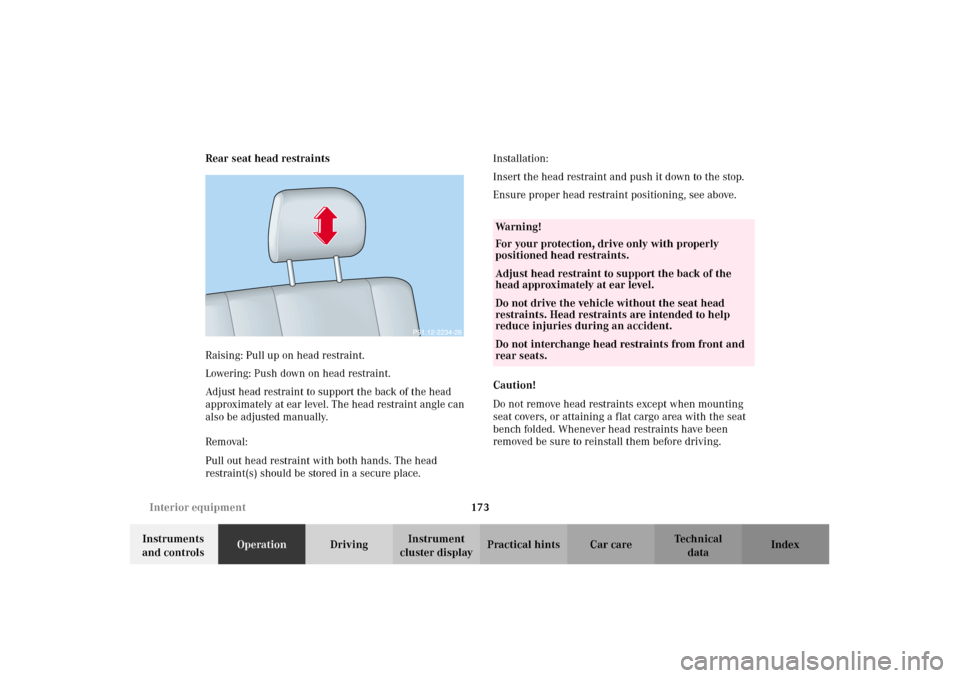
Raising: Pull up on head restraint.
Lowering: Push down on head restraint.
Adjust head restraint to support the back of the head
approximately at ear level. The head restraint angle can
also be adjusted manually.
Removal:
Pull out head restraint with both hands. The head
restraint(s) should be stored in a secure place.Installation:
Insert the head restraint and push it down to the stop.
Ensure proper head restraint positioning, see above.
Caution!
Do not remove head restraints except when mounting
seat covers, or attaining a flat cargo area with the seat
bench folded. Whenever head restraints have been
removed be sure to reinstall them before driving.
Wa r n i n g !
For your protection, drive only with properly
positioned head restraints.Adjust head restraint to support the back of the
head approximately at ear level.Do not drive the vehicle without the seat head
restraints. Head restraints are intended to help
reduce injuries during an accident.Do not interchange head restraints from front and
rear seats.
J_G463.book Seite 173 Mittwoch, 19. September 2001 8:06 08
Page 177 of 385
174 Interior equipment
Te ch n i c a l
data Instruments
and controlsOperationDrivingInstrument
cluster displayPractical hints Car care Index
Enlarged cargo area
The rear seat bench can be folded and lowered to
increase the cargo area. The left, right or both seat
backrests sections may folded down according to need.
For folding and resetting seating to standard positions,
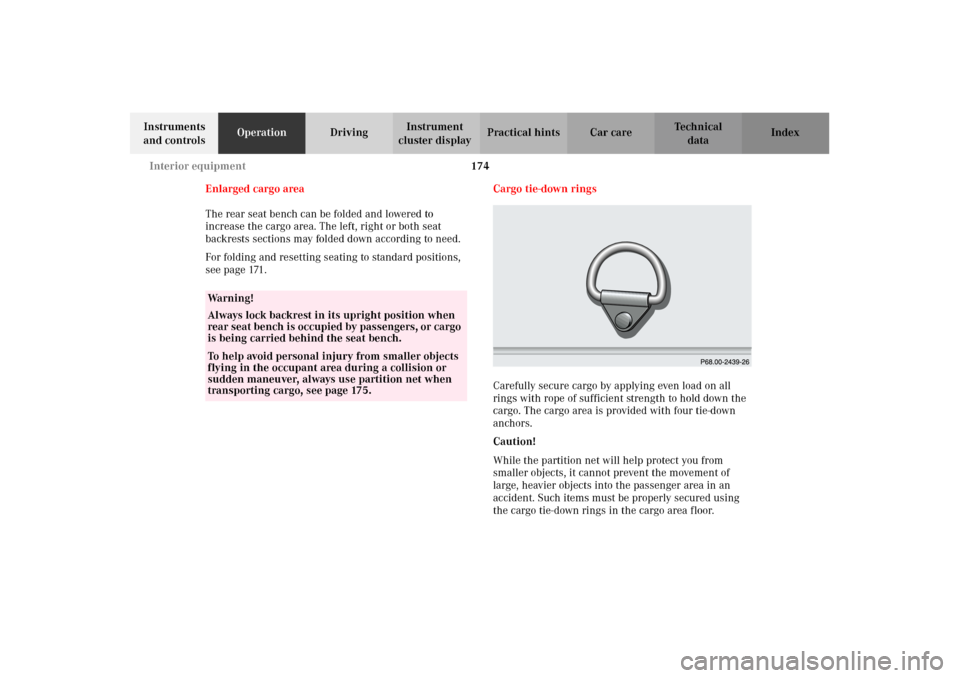
see page 171.Cargo tie-down rings
Carefully secure cargo by applying even load on all
rings with rope of sufficient strength to hold down the
cargo. The cargo area is provided with four tie-down
anchors.
Caution!
While the partition net will help protect you from
smaller objects, it cannot prevent the movement of
large, heavier objects into the passenger area in an
accident. Such items must be properly secured using
the cargo tie-down rings in the cargo area floor.
Wa r n i n g !
Always lock backrest in its upright position when
rear seat bench is occupied by passengers, or cargo
is being carried behind the seat bench.To help avoid personal injury from smaller objects
flying in the occupant area during a collision or
sudden maneuver, always use partition net when
transporting cargo, see page 175.
J_G463.book Seite 174 Mittwoch, 19. September 2001 8:06 08