Page 6 of 248
Driver
air bag
(pg. 111) Hood
release
(pg. 169) Speed
control
(pg. 50) Parking brake
release
(pg. 130) Instrument
panel
dimmer control
(pg. 18) Power adjustable
foot pedals
(pg. 18) Rear window
defroster
control
(pg. 19) Headlamp
control
(pg. 17)Turn signal and
wiper/washer control
(pg. 49)Instrument cluster
(pg. 8)
Gearshift (includes
overdrive button)
(pg. 138)
Instrumentation
6
Page 10 of 248
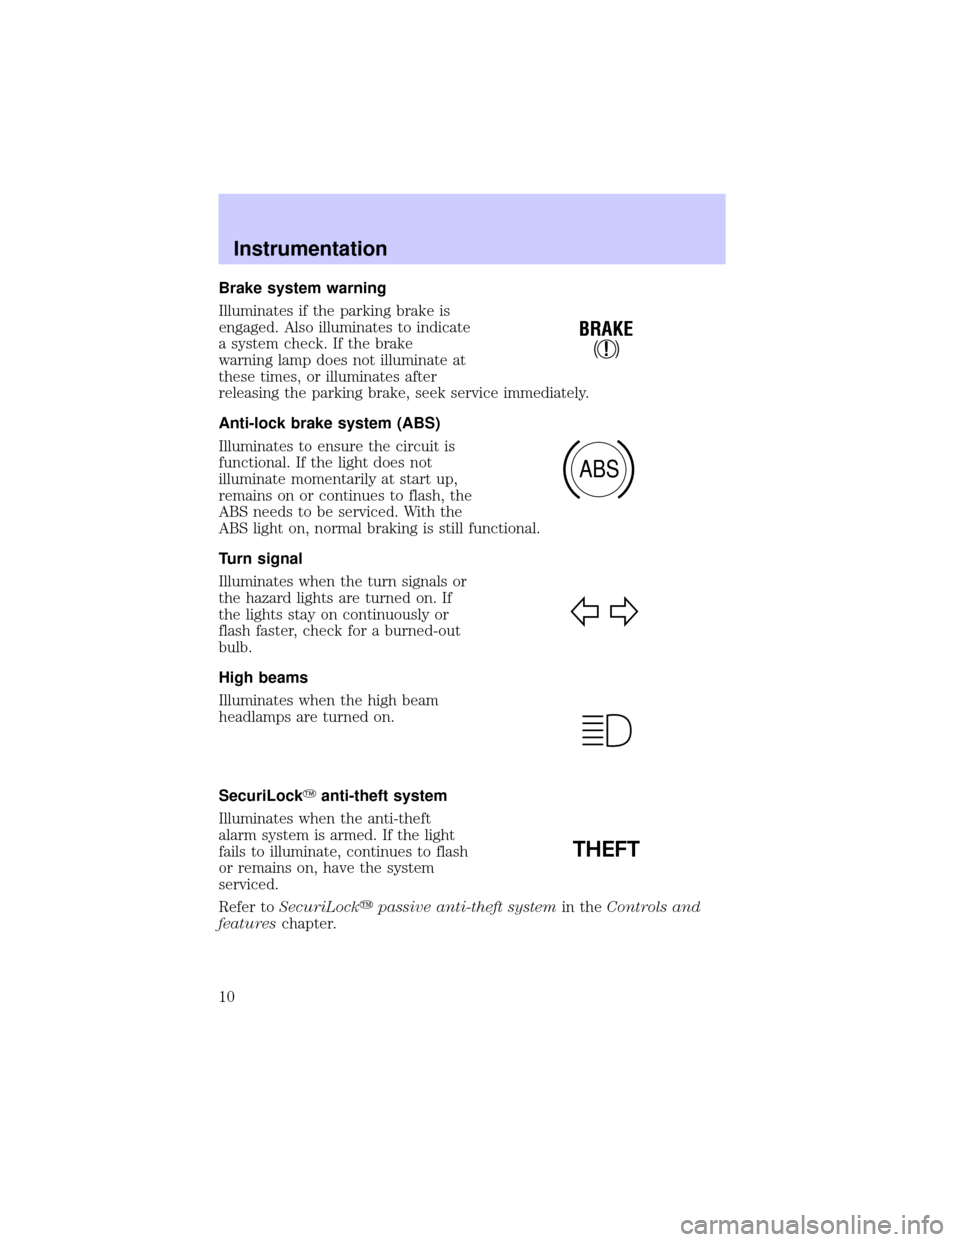
Brake system warning
Illuminates if the parking brake is
engaged. Also illuminates to indicate
a system check. If the brake
warning lamp does not illuminate at
these times, or illuminates after
releasing the parking brake, seek service immediately.
Anti-lock brake system (ABS)
Illuminates to ensure the circuit is
functional. If the light does not
illuminate momentarily at start up,
remains on or continues to flash, the
ABS needs to be serviced. With the
ABS light on, normal braking is still functional.
Turn signal
Illuminates when the turn signals or
the hazard lights are turned on. If
the lights stay on continuously or
flash faster, check for a burned-out
bulb.
High beams
Illuminates when the high beam
headlamps are turned on.
SecuriLockYanti-theft system
Illuminates when the anti-theft
alarm system is armed. If the light
fails to illuminate, continues to flash
or remains on, have the system
serviced.
Refer toSecuriLockypassive anti-theft systemin theControls and
featureschapter.
!
BRAKE
ABS
THEFT
Instrumentation
10
Page 13 of 248
Headlamps on warning chime
Sounds when the headlamps or parking lamps are on, the key is removed
from the ignition and the driver's door is opened.
GAUGES
Fuel gauge
Displays approximately how much
fuel is in the fuel tank. The fuel
gauge may vary slightly when the
vehicle is in motion or on a grade.
When refueling the vehicle from
empty indication, the amount of fuel
that can be added will be less than
the advertised capacity due to the
reserve fuel.
A minimum of 22.2 L (six gallons)
must be added or removed from the fuel tank in order for the gauge to
instantaneously update. If less than six gallons is the change, the gauge
will take between five to twenty minutes to update.
L
C
EL
H
FMPHRPMX1000km/hkm/h
DPRND2
LOW
FUEL
BRAKESELECT
RESET
DOOR
AJAR
CK
SUSP SERVICE
ENGINE
SOONTHEFT
20406080
60402000H
H
E
F
FUEL DOOR
Instrumentation
13
Page 109 of 248
Do not sit on top of a buckled safety belt to avoid the Belt
Minder chime. Sitting on the safety belt will increase the risk of
injury in an accident. To disable (one-time) or deactivate the Belt
Minder feature please follow the directions stated below.
One time disable
Any time the safety belt is buckled and then unbuckled during an
ignition ON cycle, Belt Minder will be disabled for that ignition cycle
only.
Deactivating/activating the belt minder feature
Read steps1-9thoroughly before proceeding with the
deactivation/activation programming procedure.
The Belt Minder feature can be deactivated/activated by performing the
following procedure:
Before following the procedure, make sure that:
²the parking brake is set
²the gearshift is in P (Park) (automatic transmission) or the neutral
position (manual transmission).
²the ignition switch is in the OFF position
²all vehicle doors and tonneau cover are closed
²the driver's safety belt is unbuckled
²the parklamps/headlamps are in OFF position (If vehicle is equipped
with Autolamps, this will not affect the procedure.)
To reduce the risk of injury, do not deactivate/activate the Belt
Minder feature while driving the vehicle.
1. Turn the ignition switch to the RUN (or ON) position.
(DO NOT START THE ENGINE)
2. Wait until the safety belt warning light turns off.
(Approximately 1±2 minutes)
²Steps 3±5 must be completed within 60 seconds or the procedure will
have to be repeated.
Seating and safety restraints
109
Page 126 of 248
2. Make sure the headlamps and vehicle accessories are off.
3. Make sure the gearshift is in P
(Park).
4. Make sure the parking brake is
set.
5. Turn the key to 4 (ON) without
turning the key to 5 (START).
If there is difficulty in turning the
key, firmly rotate the steering wheel
left and right until the key turns
freely. This condition may occur
when:
²front wheels are turned
²front wheel is against the curb
²steering wheel is turned when getting in or out of the vehicle
1
2
34
5
Starting
126
Page 127 of 248
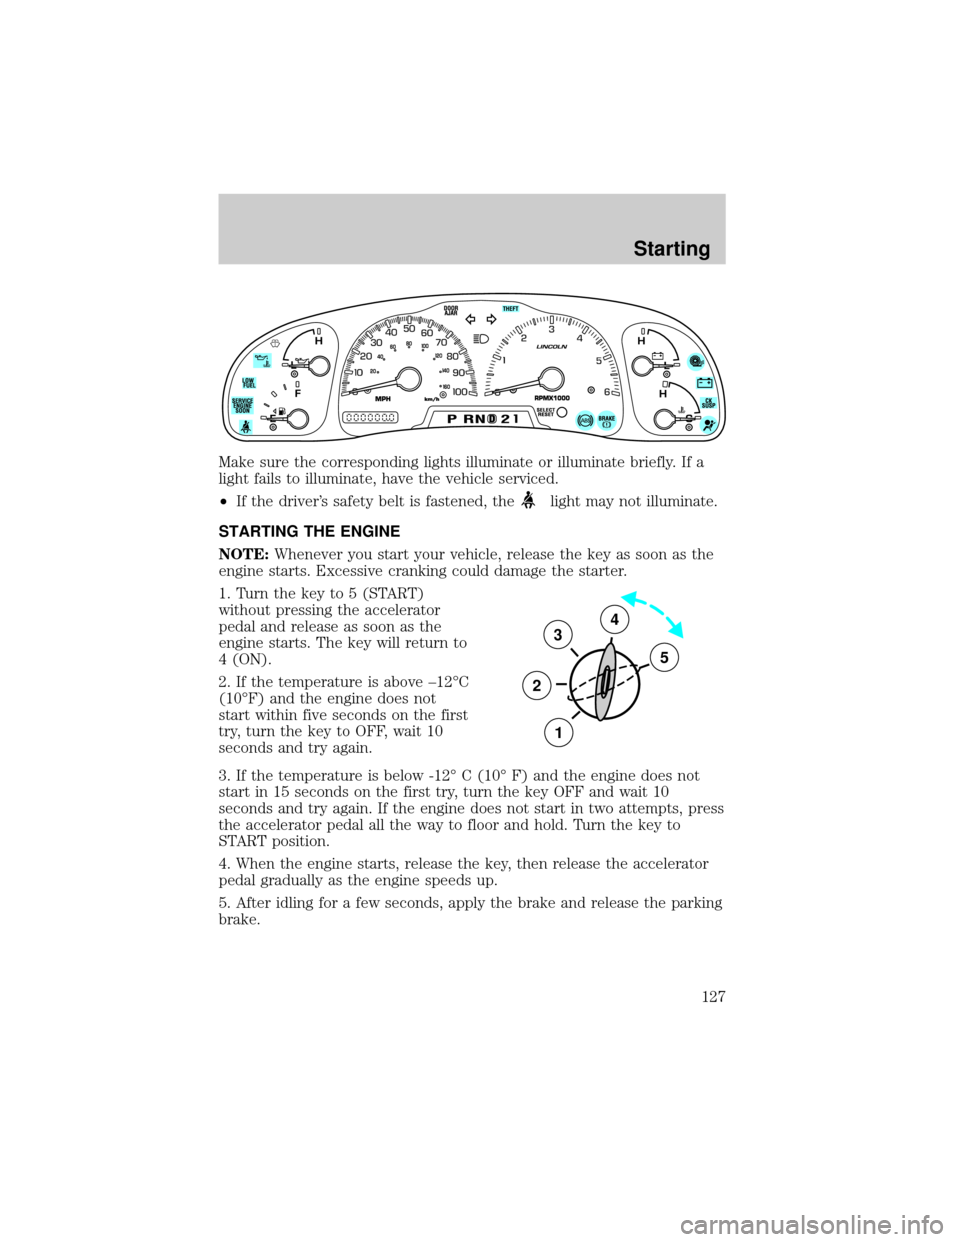
Make sure the corresponding lights illuminate or illuminate briefly. If a
light fails to illuminate, have the vehicle serviced.
²If the driver's safety belt is fastened, the
light may not illuminate.
STARTING THE ENGINE
NOTE:Whenever you start your vehicle, release the key as soon as the
engine starts. Excessive cranking could damage the starter.
1. Turn the key to 5 (START)
without pressing the accelerator
pedal and release as soon as the
engine starts. The key will return to
4 (ON).
2. If the temperature is above ±12ÉC
(10ÉF) and the engine does not
start within five seconds on the first
try, turn the key to OFF, wait 10
seconds and try again.
3. If the temperature is below -12É C (10É F) and the engine does not
start in 15 seconds on the first try, turn the key OFF and wait 10
seconds and try again. If the engine does not start in two attempts, press
the accelerator pedal all the way to floor and hold. Turn the key to
START position.
4. When the engine starts, release the key, then release the accelerator
pedal gradually as the engine speeds up.
5. After idling for a few seconds, apply the brake and release the parking
brake.
3
2
1
5
4
Starting
127
Page 130 of 248
With the ABS light on, the anti-lock
brake system is disabled and normal
braking is still effective unless the
brake warning light also remains
illuminated with parking brake
released. (If your brake warning lamp illuminates, have your vehicle
serviced immediately.)
Using four wheel ABS
²In an emergency or when maximum efficiency from the four wheel
ABS is required, apply continuous force on the brake. The four wheel
ABS will be activated immediately, thus allowing you to retain full
steering control of your vehicle and, providing there is sufficient
space, will enable you to avoid obstacles and bring the vehicle to a
controlled stop.
²The anti-lock system does not decrease the time necessary to apply
the brakes or always reduce stopping distance. Always leave enough
room between your vehicle and the vehicle in front of you to stop.
²We recommend that you familiarize yourself with this braking
technique. However, avoid taking any unnecessary risks.
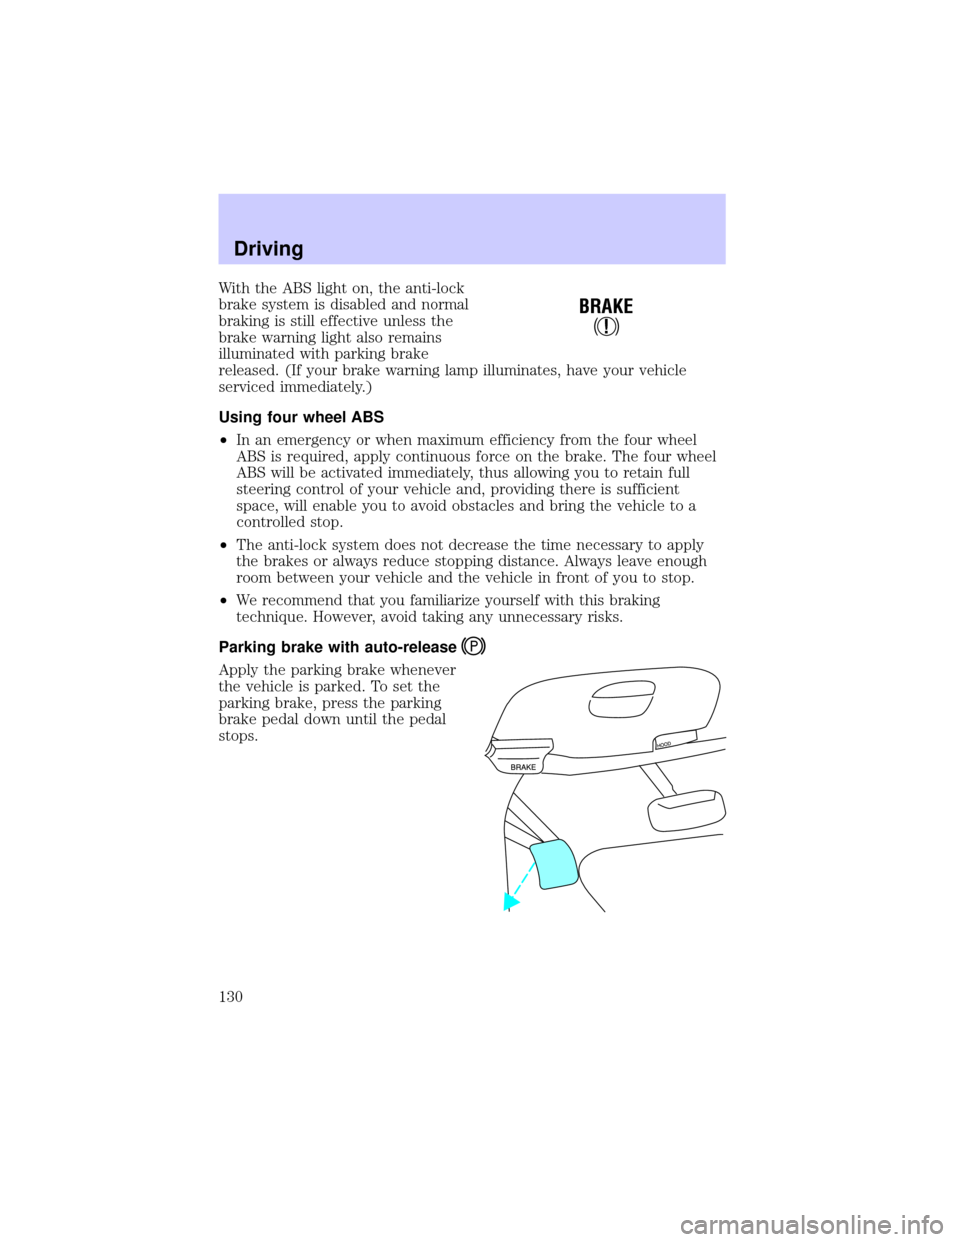
Parking brake with auto-release
Apply the parking brake whenever
the vehicle is parked. To set the
parking brake, press the parking
brake pedal down until the pedal
stops.
!
BRAKE
Driving
130
Page 131 of 248
The BRAKE warning lamp in the
instrument cluster illuminates and
remains illuminated (when the
ignition is turned ON) until the
parking brake is released.
Always set the parking brake fully and make sure that the
gearshift is securely latched in P (Park).
The parking brake is not recommended to stop a moving vehicle.
However, if the normal brakes fail, the parking brake can be used to stop
your vehicle in an emergency. Since the parking brake applies only the
rear brakes, the vehicle's stopping distance will increase greatly and the
handling of your vehicle will be adversely affected.
Your vehicle has an automatic parking brake release. To release the
parking brake:
1. Turn the ignition to the ON position.
2. Press the brake pedal.
3. Move the gearshift out of the P (Park) position (the parking brake will
release automatically when you shift into reverse). The brake pedal must
remain pressed while the gearshift is moved.
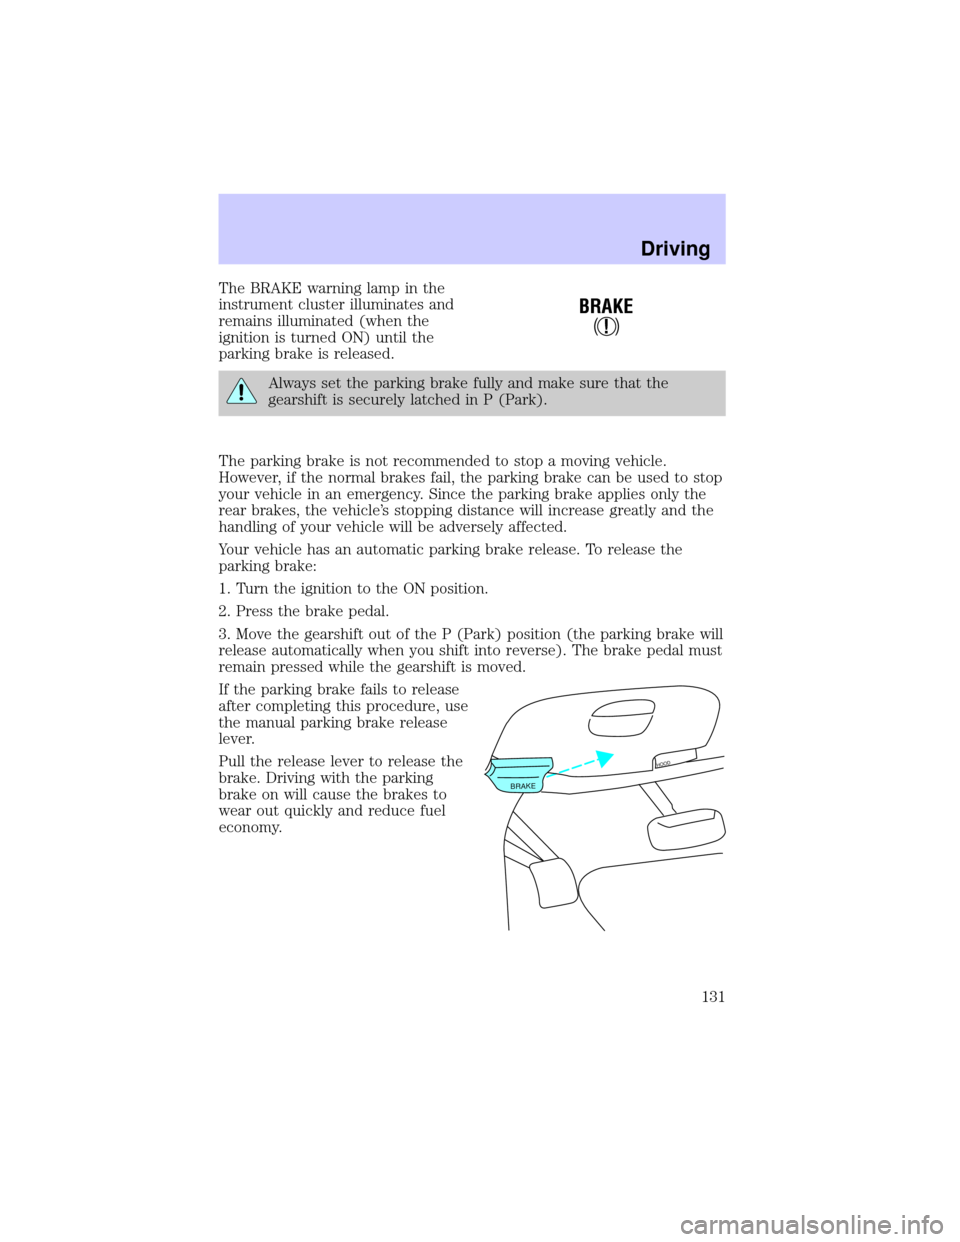
If the parking brake fails to release
after completing this procedure, use
the manual parking brake release
lever.
Pull the release lever to release the
brake. Driving with the parking
brake on will cause the brakes to
wear out quickly and reduce fuel
economy.
!
BRAKE
BRAKE
HOOD
Driving
131