Page 170 of 264

Fuse/Relay
LocationFuse Amp
RatingPower Distribution Box
Description
11 30A** Rear window defrost control
12 40A** Power windows, Power
locks
13 30A* MACH 1000 left amplifiers
14 20A* Fuel pump
15 30A* MACH 1000 right amplifiers
16 20A* Horn
17 20A* Anti-lock brake system
18 30A* Power seats
19 Ð Not used
20 20A* Alternator
21 Ð Not used
22 Ð Not used
23 Ð Not used
24 20A* A/C pressure
25 Ð Not used
26 30A** PCM
27 20A** DRL module, Foglamp relay
28 25A CB Convertible top
29 Diode Convertible top circuit
breaker
* Mini Fuses ** Maxi Fuses
CHANGING THE TIRES
If you get a flat tire while driving, do not apply the
brake heavily. Instead, gradually decrease your
speed. Hold the steering wheel firmly and slowly
move to a safe place on the side of the road.
Temporary spare tire information
Your vehicle may have a temporary spare tire. The
temporary spare tire for your vehicle is labeled as
such. It is smaller than a regular tire and is designed
for emergency use only. Replace this tire with a
full-size tire as soon as possible.
Roadside Emergencies
170
Page 171 of 264

If you use the temporary spare tire
continuously or do not follow these
precautions, the tire could fail, causing you to lose
control of the vehicle, possibly injuring yourself or
others.
When driving with the temporary spare tiredo not:
²use more than one temporary spare tire at a time
²exceed 80 km/h (50 mph) or drive further than
3 200 km (2 000 miles) total under any
circumstances
²load the vehicle beyond maximum vehicle load
rating listed on the tire pressure label on the
inside of the glove compartment door
²tow a trailer
²use tire chains
²drive through an automatic car wash, because of
the vehicle's reduced ground clearance
²try to repair the temporary spare tire or remove it
from its wheel
²use the wheel for any other type of vehicle
Use of a temporary spare tire at any one wheel
location can lead to impairment of the following:
²handling, stability and braking performance
²comfort and noise
²ground clearance and parking at curbs
²wheel driving capability
Tire change procedure
To prevent the vehicle from moving when
you change a tire, be sure the parking brake
is set, then block (in both directions) the wheel
that is diagonally opposite (other side and end of
the vehicle) to the tire being changed.
If the vehicle slips off the jack, you or
someone else could be seriously injured.
Roadside Emergencies
171
Page 172 of 264
1. Park on a level
surface, activate hazard
flashers and set
parking brake.
2. Place gearshift lever
in P (Park) or R (manual transmission), turn engine
OFF, and block the diagonally opposite wheel.
3. Remove the spare
tire, jack and lug
wrench.
4. Remove the center
ornament (if equipped)
from the wheel. Loosen
each wheel lug nut
one-half turn
counterclockwise but
do not remove them
until the wheel is
raised off the ground.
5. Put the jack in the
jack notch next to the
tire you are changing.
Turn the jack handle
clockwise until the
wheel is completely off
the ground.
Roadside Emergencies
172
Page 173 of 264

Never use the rear
differential as a
jacking point.
To lessen the
risk of personal
injury, do not put any
part of your body
under the vehicle
while changing a tire.
Do not start the
engine when your
vehicle is on the jack.
The jack is only
meant for changing
the tire.
6. Remove the lug nuts with the lug wrench.
7. Replace the flat tire with the spare tire, making
sure the valve stem is facing outward. Reinstall lug
nuts until the wheel is snug against the hub. Do not
fully tighten the lug nuts until the wheel has been
lowered.
If you are using the temporary tire, the lug nut
washers will not appear to be flush with the rim.
This is normal only when using the temporary spare
tire.
8. Lower the wheel by turning the jack handle
counterclockwise.
9. Remove the jack and
fully tighten the lug
nuts in the order
shown.
10.
Put flat tire, wheel
ornament (if equipped),
jack and lug wrench
away. Make sure jack is
fastened so it does not rattle when you drive.
11. Unblock the wheels.
1
4 3
2 5
Roadside Emergencies
173
Page 174 of 264

Anti-theft lug nuts (if equipped)
If your vehicle is equipped with this feature, one of
the lug nuts on each wheel must be removed and
replaced with a special key. The key and registration
card are attached to the lug wrench and stored with
the spare tire. If you lose the key, send the
registration card to the manufacturer (not the
dealer) to get a replacement key. If the lug
wrench/lug nut key assembly is lost, see your
nearest Ford or Lincoln Mercury dealer who has
access to the master set of keys.Do not use an
impact wrench with the anti-theft key.
To remove the
anti-theft lug nut:
1. Insert the key over
the locking lug nut.
Make sure you hold the key square to the lug nut. If
you hold the key at an angle, you could damage the
key and the lug nut.
2. Place the lug nut wrench over the lug nut key and
apply pressure on the key with the wrench.
3. Turn the wrench in a counterclockwise direction
to remove the lug nut.
To install the anti-theft lug nut:
1. Insert the key over the locking lug nut.
2. Place the lug nut wrench over the lug nut key and
apply pressure on the key with the wrench.
3. Install the lug nut by turning the wrench
clockwise.
JUMP STARTING YOUR VEHICLE
The gases around the battery can explode if
exposed to flames, sparks, or lit cigarettes. An
explosion could result in injury or vehicle damage.
Batteries contain sulfuric acid which can
burn skin, eyes, and clothing, if contacted.
Roadside Emergencies
174
Page 194 of 264

Do not use hydrofluoric acid-based or high
caustic-based wheel cleaners, steel wool, fuels
or strong household detergents for soiled
wheel rims and covers.
Never apply any cleaning chemical to hot or warm
wheel rims or covers.
Clean wheel rims and covers with Detail Wash
(ZC-3±A), which is available from your authorized
Ford, Lincoln or Mercury dealer. Spray cleaner on
cool wheel rims or covers and allow to set for 2±5
minutes. Agitate the area with a sponge and rinse off
with plenty of water.
Use Extra Strength Tar and Road Oil Removal
(B7A-19520±AA), available from your authorized
Ford, Lincoln or Mercury dealer, in order to remove
tar and grease from wheel rims and covers.
CLEANING THE ENGINE
Engines are more efficient when they are clean
because grease and dirt buildup keep the engine
warmer than normal. When washing:
²The engine must be cool to the touch before
spraying with water.
²Never spray a hot engine with cold water, as
damage to the engine block or engine
components may occur.
²Use caution when using a self-serve power washer
(1000psi maximum pressure) to clean the engine,
as the high-pressure fluid could penetrate the
sealed parts and cause damage.
²Never apply anything to any exposed belts in
the engine compartment, including belt
dressing.
For general cleaning of the engine and engine
compartment, spray Engine Shampoo and Degreaser
(F4AZ-19A536±A) on all parts that require cleaning
and pressure rinse the area with cool water.
Cleaning
194
Page 202 of 264

2. Turn off the engine and remove the key.
3. Block the wheels to prevent the vehicle from
moving unexpectedly.
²Manual transmission:
1. Set the parking brake.
2. Depress the clutch and place the gearshift in 1
(First).
3. Turn off the engine and remove the key.
4. Block the wheels to prevent the vehicle from
moving unexpectedly.
Working with the engine on
²Automatic transmission:
1. Set the parking brake and ensure the gearshift is
securely latched in P (Park).
2. Block the wheels to prevent the vehicle from
moving unexpectedly.
Note:Do not start your engine with the air cleaner
removed and do not remove it while the engine is
running.
²Manual transmission:
1. Set the parking brake, depress the clutch and
place the gearshift in neutral.
2. Block the wheels to prevent the vehicle from
moving unexpectedly.
Note:Do not start your engine with the air cleaner
removed and do not remove it while the engine is
running.
The cooling fan is automatic and may come
on at any time. Always disconnect the
negative terminal of the battery before working
near the fan.
Maintenance and Specifications
202
Page 209 of 264

4. Install the indicator and ensure it is fully seated.
5. Fully install the engine oil filler cap by turning the
filler cap clockwise 1/4 of a turn until three clicks
are heard or until the cap is fully seated.
To avoid possible oil loss, DO NOT operate the
vehicle with the engine oil level indicator
and/or the engine oil filler cap removed.
Engine oil and filter recommendations
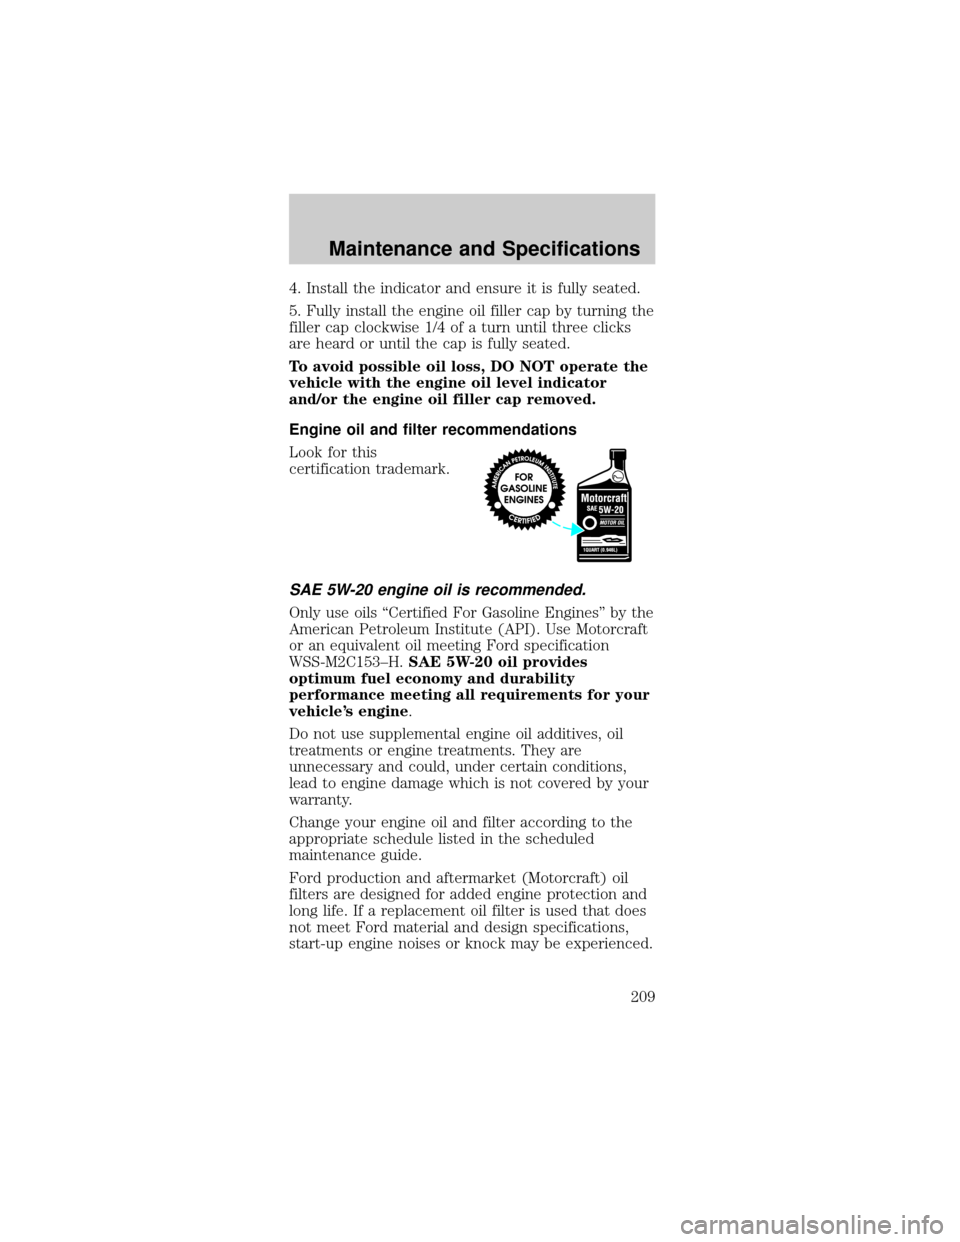
Look for this
certification trademark.
SAE 5W-20 engine oil is recommended.
Only use oils ªCertified For Gasoline Enginesº by the
American Petroleum Institute (API). Use Motorcraft
or an equivalent oil meeting Ford specification
WSS-M2C153±H.SAE 5W-20 oil provides
optimum fuel economy and durability
performance meeting all requirements for your
vehicle's engine.
Do not use supplemental engine oil additives, oil
treatments or engine treatments. They are
unnecessary and could, under certain conditions,
lead to engine damage which is not covered by your
warranty.
Change your engine oil and filter according to the
appropriate schedule listed in the scheduled
maintenance guide.
Ford production and aftermarket (Motorcraft) oil
filters are designed for added engine protection and
long life. If a replacement oil filter is used that does
not meet Ford material and design specifications,
start-up engine noises or knock may be experienced.
Maintenance and Specifications
209