Page 57 of 264

Auto eject
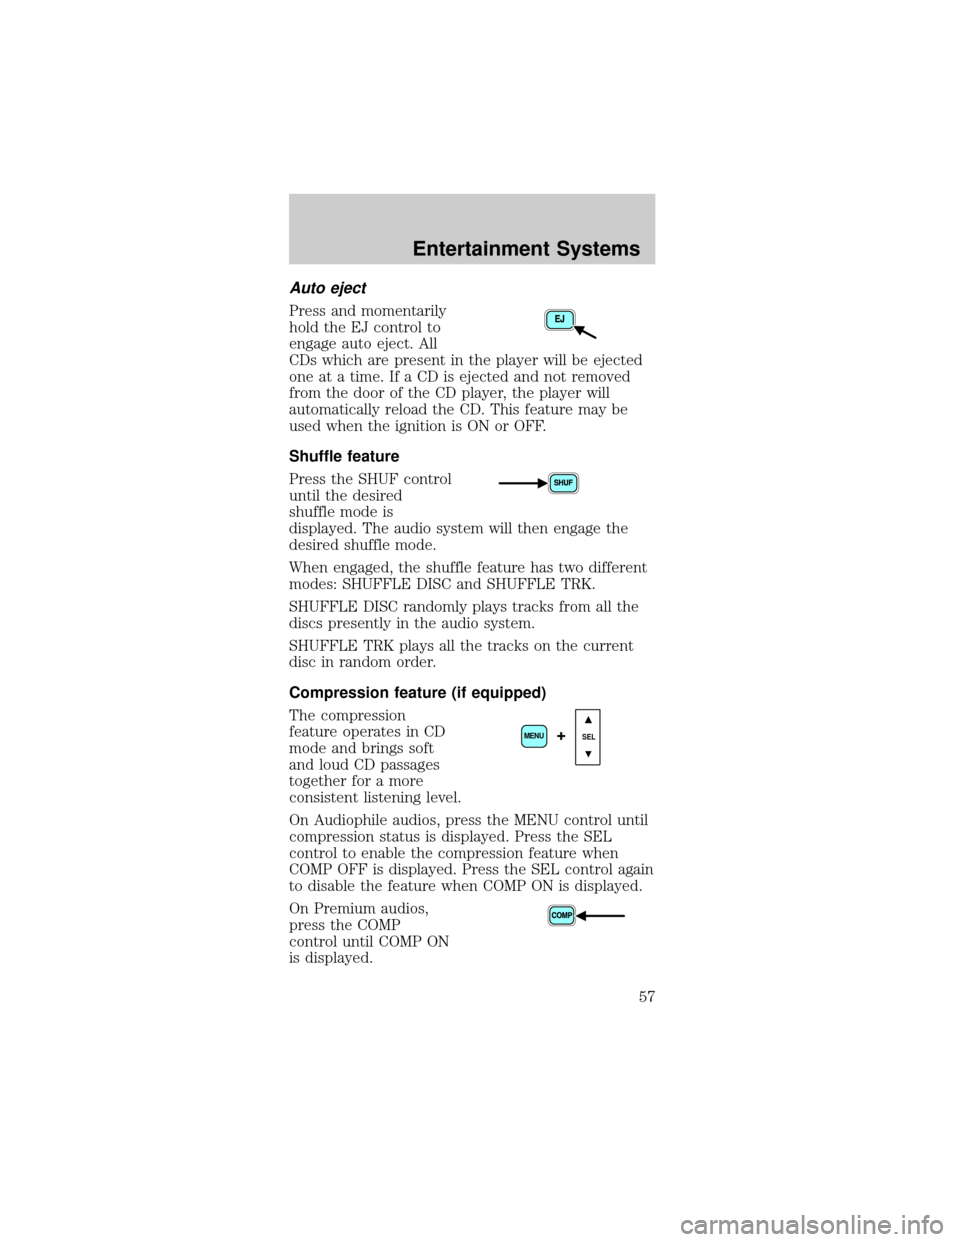
Press and momentarily
hold the EJ control to
engage auto eject. All
CDs which are present in the player will be ejected
one at a time. If a CD is ejected and not removed
from the door of the CD player, the player will
automatically reload the CD. This feature may be
used when the ignition is ON or OFF.
Shuffle feature
Press the SHUF control
until the desired
shuffle mode is
displayed. The audio system will then engage the
desired shuffle mode.
When engaged, the shuffle feature has two different
modes: SHUFFLE DISC and SHUFFLE TRK.
SHUFFLE DISC randomly plays tracks from all the
discs presently in the audio system.
SHUFFLE TRK plays all the tracks on the current
disc in random order.
Compression feature (if equipped)
The compression
feature operates in CD
mode and brings soft
and loud CD passages
together for a more
consistent listening level.
On Audiophile audios, press the MENU control until
compression status is displayed. Press the SEL
control to enable the compression feature when
COMP OFF is displayed. Press the SEL control again
to disable the feature when COMP ON is displayed.
On Premium audios,
press the COMP
control until COMP ON
is displayed.
SEL+MENU
Entertainment Systems
57
Page 69 of 264

Operating tips
²To reduce fogging in humid weather, place the
climate control system in Defrost and Rear
Defrost mode (if equipped) before driving.
²To reduce humidity buildup inside the vehicle
under warm weather conditions, do not drive with
the climate control system in the Off mode.
²To reduce humidity buildup inside the vehicle
under cold weather conditions, do not drive with
the climate control system in Max A/C (if
equipped), recirculation mode (if equipped) or
Off mode.
²Under normal weather conditions, do not leave
your vehicle in the Max A/C (if equipped),
recirculation mode (if equipped) or Off mode
when turning off the vehicle.
²Under snowy or dirty weather conditions, leave
your vehicle in the Max A/C (if equipped),
recirculation mode (if equipped) or Off mode
when turning off the ignition.
²Remove any snow, ice or leaves from the exterior
base of the windshield.
²To increase the efficiency of the A/C (if
equipped), drive with the windows slightly open
for two to three minutes. or until the vehicle has
been ªaired outº.
²Do not place objects under the front seat or over
the defroster ducts. They may reduce visibility,
fall into the ducts, or degrade the performance of
your climate control system.
Do not place objects on top of the
instrument panel, as these objects may
become projectiles in a collision or sudden stop.
Climate Controls
69
Page 70 of 264
REAR WINDOW DEFROSTER
(IF EQUIPPED)
The rear defroster
control is located on
the instrument panel.
Press the rear defroster
control to clear the
rear window of thin ice
and fog.
²A small LED will illuminate when the rear
defroster is activated.
The ignition must be in the ON position to operate
the rear window defroster.
The defroster turns off automatically after 10
minutes or when the ignition is turned to the OFF
position. To manually turn off the defroster before
10 minutes have passed, push the control again.
Climate Controls
70
Page 71 of 264
HEADLAMP CONTROL
²Pull the headlamp
control toward you
to the first position
to turn on the
parking lamps, tail
lamps, license plate
lamps and marker
lamps.
²Pull the headlamp control toward you to the outer
position to turn on the headlamps (in addition to
the previous lamps).
Foglamp control (if equipped)
The foglamps can be
turned on when the
headlamp control is in
either of the following
positions:
²Parking lamps
²Low beams
Press the foglamp control to activate the foglamps.
The foglamp indicator light will illuminate. When the
highbeams are activated, the foglamps will not
operate.
Press the foglamp control again to deactivate the
foglamps.
Daytime running lamps (DRL) (if equipped)
Turns the headlamps on with a reduced output. To
activate:
²the ignition must be turned on
²the headlamp control is in the OFF or Parking
lamps position
²the high beam headlamps must be turned off
²the parking brake is released
Lights
71
Page 85 of 264
2. Move the control in
the direction you wish
to tilt the mirror.
3. Return to the control to the center position.
SPEED CONTROL
To turn speed control on
²Press ON.
Vehicle speed cannot
be controlled until the
vehicle is traveling at
or above 48 km/h (30
mph).
Do not shift the
gearshift lever into N (Neutral) with the speed
control on.
Do not use the speed control in heavy traffic
or on roads that are winding, slippery, or
unpaved.
To turn speed control off
²Press OFF or
²Turn off the vehicle
ignition.
Once speed control is
switched off, the
previously programmed
set speed will be
erased.
OFF ON
OFF ON
Driver Controls
85
Page 96 of 264

On hot days, the temperature in the trunk
or vehicle interior can rise very quickly.
Exposure of people or animals to these high
temperatures for even a short time can cause
death or serious heat-related injuries, including
brain damage. Small children are particularly at
risk.
REMOTE ENTRY SYSTEM
This device complies with part 15 of the FCC rules
and with RS-210 of Industry Canada. Operation is
subject to the following two conditions: (1) This
device may not cause harmful interference, and (2)
This device must accept any interference received,
including interference that may cause undesired
operation.
Changes or modifications not expressly
approved by the party responsible for
compliance could void the user's authority to
operate the equipment.
The remote entry system allows you to:
²lock or unlock all vehicle doors without a key
²open the trunk
²activate the panic alarm
²confirms that the vehicle is locked with a short
ªbeepº from the horn.
The remote entry features only operate with the
ignition in the LOCK position.
If there is any potential remote keyless entry
problem with your vehicle, ensureALL key fobs
(remote entry transmitters) are brought to the
dealership, to aid in troubleshooting.
Locks and Security
96
Page 97 of 264
Unlocking the doors
Press this control to
unlock the driver's
door. The interior
lamps will illuminate.
With the all-door
remote entry system,
press the control a
second time within
three seconds to unlock the passenger door.
Locking the doors
Press this control to
lock all doors.
To confirm all doors
are closed and locked,
press the control a
second time within
three seconds. The
doors will lock again,
the horn will chirp and the lamps will flash.
If any of the doors are ajar, the horn will make two
quick chirps and the chime may sound, reminding
you to properly close all doors.
Sounding a panic alarm
Press this control to
activate the alarm.
To deactivate the
alarm, press the
control again or turn
the ignition to ACC or
ON.
Panic alarm will only
operate with the ignition in the OFF position.
Locks and Security
97
Page 98 of 264

Opening the trunk
Press the control once
to open the trunk.
Ensure that the trunk
is closed and latched
before driving your
vehicle. Failure to latch
the trunk may cause
objects to fall out of
the trunk or block the rear view. This feature will
not work with the transmission out of P (Park) or N
(Neutral) if the ignition is in either the ON or RUN
position.
Replacing the batteries
The transmitter is powered by two coin type
three-volt lithium batteries. Typical operating range
will allow you to be up to 10 meters (33 feet) away
from your vehicle. A decrease in operating range can
be caused by:
²weather conditions
²nearby radio towers
²structures around the vehicle
²other vehicles parked next to the vehicle
To replace the
batteries:
1. Twist a thin coin
between the two halves
of the transmitter near
the key ring. DO NOT
TAKE THE FRONT
PART OF THE
TRANSMITTER
APART.
2. Place the positive
(+) side of new batteries down. Refer to the diagram
inside the transmitter unit.
3. Snap the two halves back together.
Locks and Security
98