Page 225 of 264
Do not use supplemental transmission fluid additives, treatments or
cleaning agents. The use of these materials may affect transmission
operation and result in damage to internal transmission components.
Checking and adding manual transmission fluid (if equipped)
1. Clean the filler plug.
2. Remove the filler plug and
inspect the fluid level.
3. Fluid level should be at the
bottom of the opening.
4. Add enough fluid through the
filler opening so that the fluid level
is at the bottom of the opening.
5. Install and tighten the fill plug
securely.
Use only fluid that meets Ford specifications. Refer toLubricant
Specificationsin this chapter.
Maintenance and Specifications
225
ProCarManuals.com
Page 226 of 264
Checking and adding transfer case fluid (if equipped)
1. Clean the filler plug.
2. Remove the filler plug and
inspect the fluid level.
3. Add only enough fluid through
the filler opening so that the fluid
level is at the bottom of the
opening.
Use only fluid that meets Ford specifications. Refer toLubricant
Specificationsin this chapter.
DRIVELINE UNIVERSAL JOINT AND SLIP YOKE
Your vehicle may be equipped with universal joints that require
lubrication. Refer to the scheduled maintenance guide for maintenance
intervals. If the original universal joints are replaced with universal joints
equipped with grease fittings, lubrication will also be necessary.
AIR FILTER MAINTENANCE
Refer to the scheduled maintenance guide for the appropriate intervals
for changing the air filter element.
When changing the air filter element, use only the Motorcraft air filter
element listed. Refer toMotorcraft Part Numbers.
Maintenance and Specifications
226
ProCarManuals.com
Page 227 of 264

Note:Do not start your engine with the air cleaner removed and do not
remove it while the engine is running.
Changing the air filter element (gasoline engines only)
1. Loosen the clamp that secures
the air filter element in place.
2. Carefully separate the two halves
of the air filter housing.
3. Remove the air filter element
from the open end of the air filter
housing.
4. Install a new air filter element, ensuring the arrow on the top half of
the air filter housing lines up with the notch on the bottom half of air
filter housing. Be careful not to crimp the filter element edges between
the air filter housing. This could cause filter damage and allow
unmetered air to enter the engine if not properly seated.
5. Replace the two halves of the air filter housing and secure the clamp.
INFORMATION ABOUT UNIFORM TIRE QUALITY GRADING
New vehicles are fitted with tires
that have a rating on them called
Tire Quality Grades. The Quality
grades can be found where
applicable on the tire sidewall
between tread shoulder and
maximum section width. For
example:
Maintenance and Specifications
227
ProCarManuals.com
Page 228 of 264

•Treadwear 200 Traction AA Temperature A
These Tire Quality Grades are determined by standards that the United
States Department of Transportation has set.
Tire Quality Grades apply to new pneumatic tires for use on passenger
cars. They do not apply to deep tread, winter-type snow tires,
space-saver or temporary use spare tires, tires with nominal rim
diameters of 10 to 12 inches or limited production tires as defined in
Title 49 Code of Federal Regulations Part 575.104(c)(2).
U.S. Department of Transportation-Tire quality grades:The U.S.
Department of Transportation requires Ford to give you the following
information about tire grades exactly as the government has written it.
Treadwear
The treadwear grade is a comparative rating based on the wear rate of
the tire when tested under controlled conditions on a specified
government test course. For example, a tire graded 150 would wear one
and one-half (1 1/2) times as well on the government course as a tire
graded 100. The relative performance of tires depends upon the actual
conditions of their use, however, and may depart significantly from the
norm due to variations in driving habits, service practices, and
differences in road characteristics and climates.
Traction AA A B C
The traction grades, from highest to lowest are AA, A, B, and C. The
grades represent the tire’s ability to stop on wet pavement as measured
under controlled conditions on specified government test surfaces of
asphalt and concrete. A tire marked C may have poor traction
performance.
The traction grade assigned to this tire is based on
straight-ahead braking traction tests, and does not include
acceleration, cornering, hydroplaning or peak traction characteristics.
Temperature A B C
The temperature grades are A (the highest), B and C, representing the
tire’s resistance to the generation of heat and its ability to dissipate heat
when tested under controlled conditions on a specified indoor laboratory
test wheel. Sustained high temperature can cause the material of the tire
to degenerate and reduce tire life, and excessive temperature can lead to
sudden tire failure. The grade C corresponds to a level of performance
Maintenance and Specifications
228
ProCarManuals.com
Page 229 of 264

which all passenger car tires must meet under the Federal Motor Vehicle
Safety Standard No. 109. Grades B and A represent higher levels of
performance on the laboratory test wheel than the minimum required by
law.
The temperature grade for this tire is established for a tire that
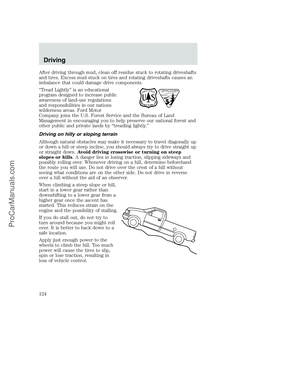
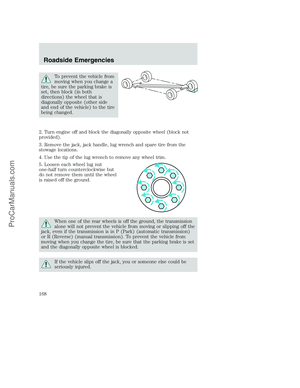
is properly inflated and not overloaded. Excessive speed,
underinflation, or excessive loading, either separately or in
combination, can cause heat buildup and possible tire failure.
SERVICING YOUR TIRES
Checking the tire pressure
•Use an accurate tire pressure gauge.
•Check the tire pressure when tires are cold, after the vehicle has been
parked for at least one hour or has been driven less than 5 km (3
miles).
•Adjust tire pressure to recommended specifications found on the
Certification Label. Tire pressure information can also be found on the
Tire Information label located on the inside of the fuel filler door.
Improperly inflated tires can affect vehicle handling and can fail
suddenly, possibly resulting in loss of vehicle control, vehicle
rollover and/or personal injury.
Maintenance and Specifications
229
ProCarManuals.com
Page 230 of 264

Tire inflation information
The F450 and F550 vehicles are equipped with a tire that is an all-steel
radial. All-steel radial tires utilize steel cords in the sidewalls, and also
require increased inflation pressures of up to 95 psi. As such, they
cannot be treated like normal light truck tires. Tire service, including
adjusting tire pressure, must be performed by personnel trained,
supervised and equipped according to Federal Occupational Safety and
Health Administration (OSHA) regulations. For example, during any
procedure involving tire inflation, the technician or individual must
utilize a remote inflation device, and insure that all persons are clear of
the trajectory area.
WARNINGAn inflated tire and rim can be very dangerous if
improperly used, serviced or maintained. To avoid serious injury,
never attempt to re-inflate a tire which has been run flat or seriously
under-inflated without first removing the tire from the wheel assembly
for inspection. Do not attempt to add air to tires or replace tires or
wheels without first taking precautions to protect persons and
property.
Tire rotation
Because your vehicle’s tires perform different jobs, they often wear
differently. To make sure your tires wear evenly and last longer, rotate
them as indicated in the scheduled maintenance guide. If you notice that
the tires wear unevenly, have them checked.
The following procedure applies to vehicles equipped with single rear
wheel.
Maintenance and Specifications
230
ProCarManuals.com
Page 231 of 264
•Four tire rotation
•Five tire rotation
Maintenance and Specifications
231
ProCarManuals.com
Page 232 of 264

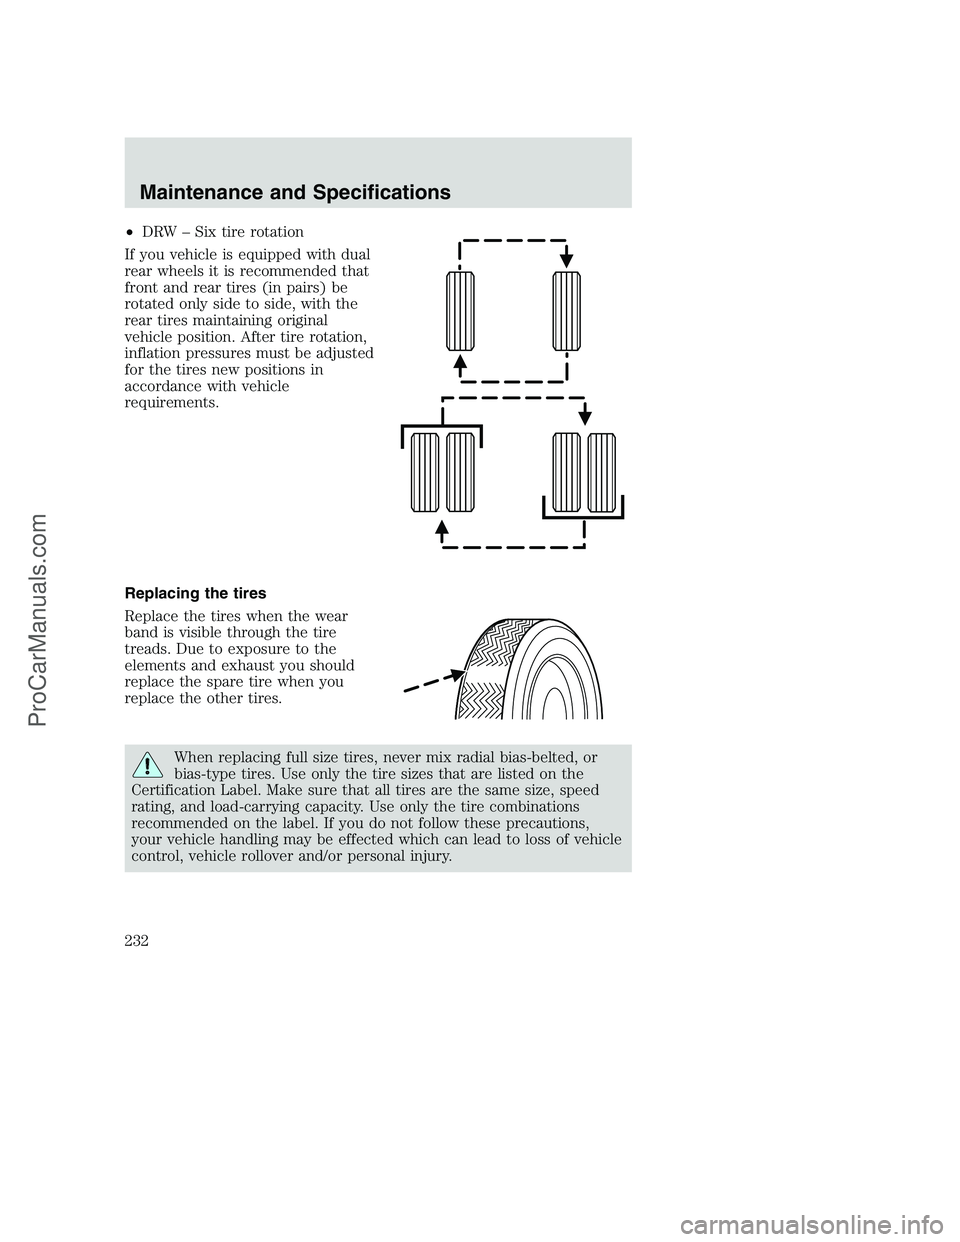
•DRW – Six tire rotation
If you vehicle is equipped with dual
rear wheels it is recommended that
front and rear tires (in pairs) be
rotated only side to side, with the
rear tires maintaining original
vehicle position. After tire rotation,
inflation pressures must be adjusted
for the tires new positions in
accordance with vehicle
requirements.
Replacing the tires
Replace the tires when the wear
band is visible through the tire
treads. Due to exposure to the
elements and exhaust you should
replace the spare tire when you
replace the other tires.
When replacing full size tires, never mix radial bias-belted, or
bias-type tires. Use only the tire sizes that are listed on the
Certification Label. Make sure that all tires are the same size, speed
rating, and load-carrying capacity. Use only the tire combinations
recommended on the label. If you do not follow these precautions,
your vehicle handling may be effected which can lead to loss of vehicle
control, vehicle rollover and/or personal injury.
Maintenance and Specifications
232
ProCarManuals.com