2002 FORD EXPLORER SPORT TRAC brakes
[x] Cancel search: brakesPage 2 of 200
Seating and Safety Restraints 68
Seating 68
Safety restraints 73
Air bags 83
Child restraints 87
Driving 99
Starting 99
Brakes 103
Transmission operation 106
Roadside Emergencies 125
Getting roadside assistance 125
Fuses and relays 127
Changing tires 135
Jump starting 141
Wrecker towing 143
Customer Assistance 144
The dispute settlement board 147
Utilizing the mediation/arbitration 150
Getting assistance outside the U.S. and Canada 150
Ordering additional owner’s literature 151
Reporting safety defects (U.S. only) 152
Cleaning 153
Table of Contents
2
Page 50 of 200
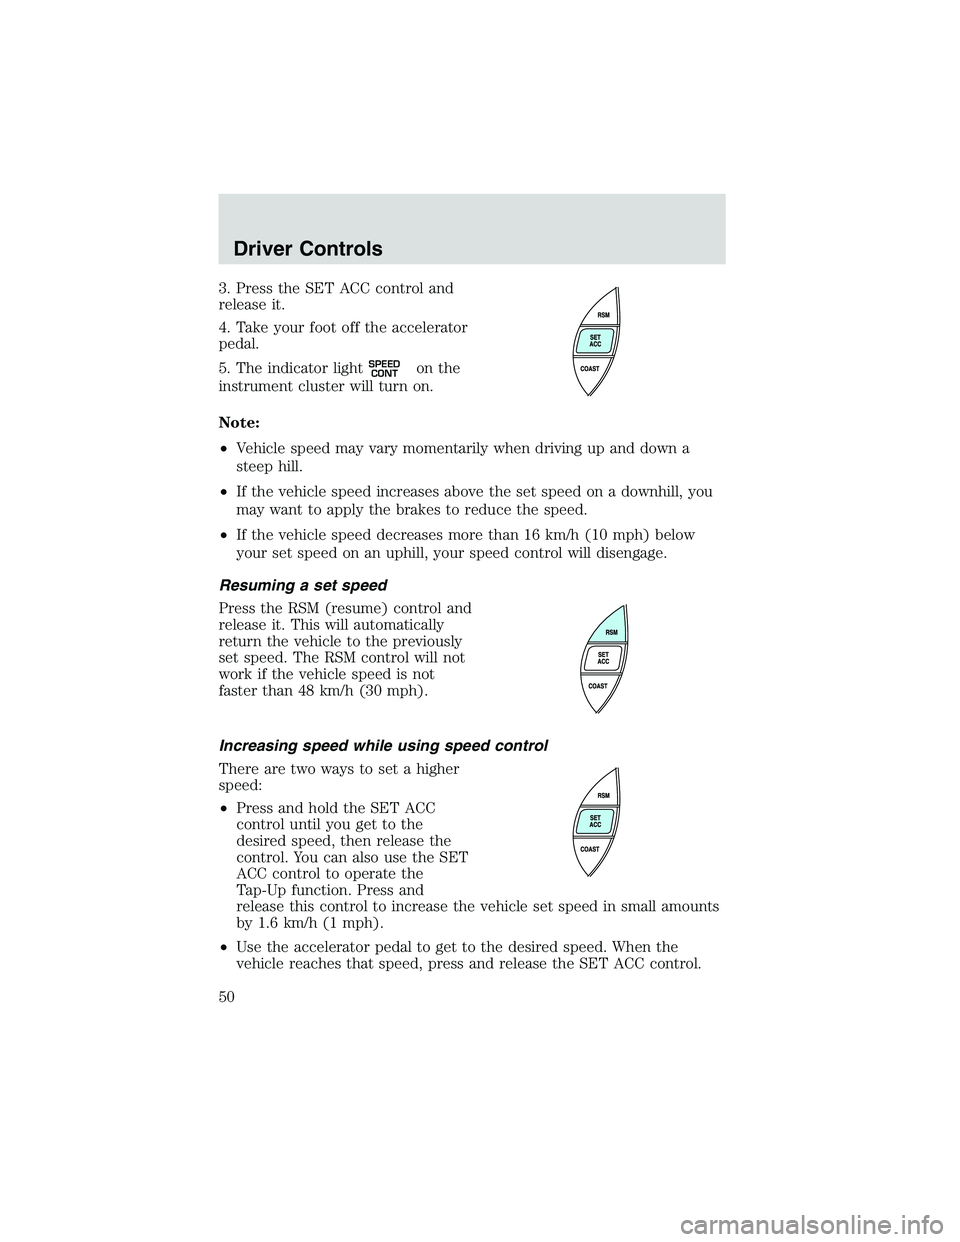
3. Press the SET ACC control and
release it.
4. Take your foot off the accelerator
pedal.
5. The indicator light
SPEED
CONTon the
instrument cluster will turn on.
Note:
•Vehicle speed may vary momentarily when driving up and down a
steep hill.
•If the vehicle speed increases above the set speed on a downhill, you
may want to apply the brakes to reduce the speed.
•If the vehicle speed decreases more than 16 km/h (10 mph) below
your set speed on an uphill, your speed control will disengage.
Resuming a set speed
Press the RSM (resume) control and
release it. This will automatically
return the vehicle to the previously
set speed. The RSM control will not
work if the vehicle speed is not
faster than 48 km/h (30 mph).
Increasing speed while using speed control
There are two ways to set a higher
speed:
•Press and hold the SET ACC
control until you get to the
desired speed, then release the
control. You can also use the SET
ACC control to operate the
Tap-Up function. Press and
release this control to increase the vehicle set speed in small amounts
by 1.6 km/h (1 mph).
•Use the accelerator pedal to get to the desired speed. When the
vehicle reaches that speed, press and release the SET ACC control.
Driver Controls
50
Page 75 of 200
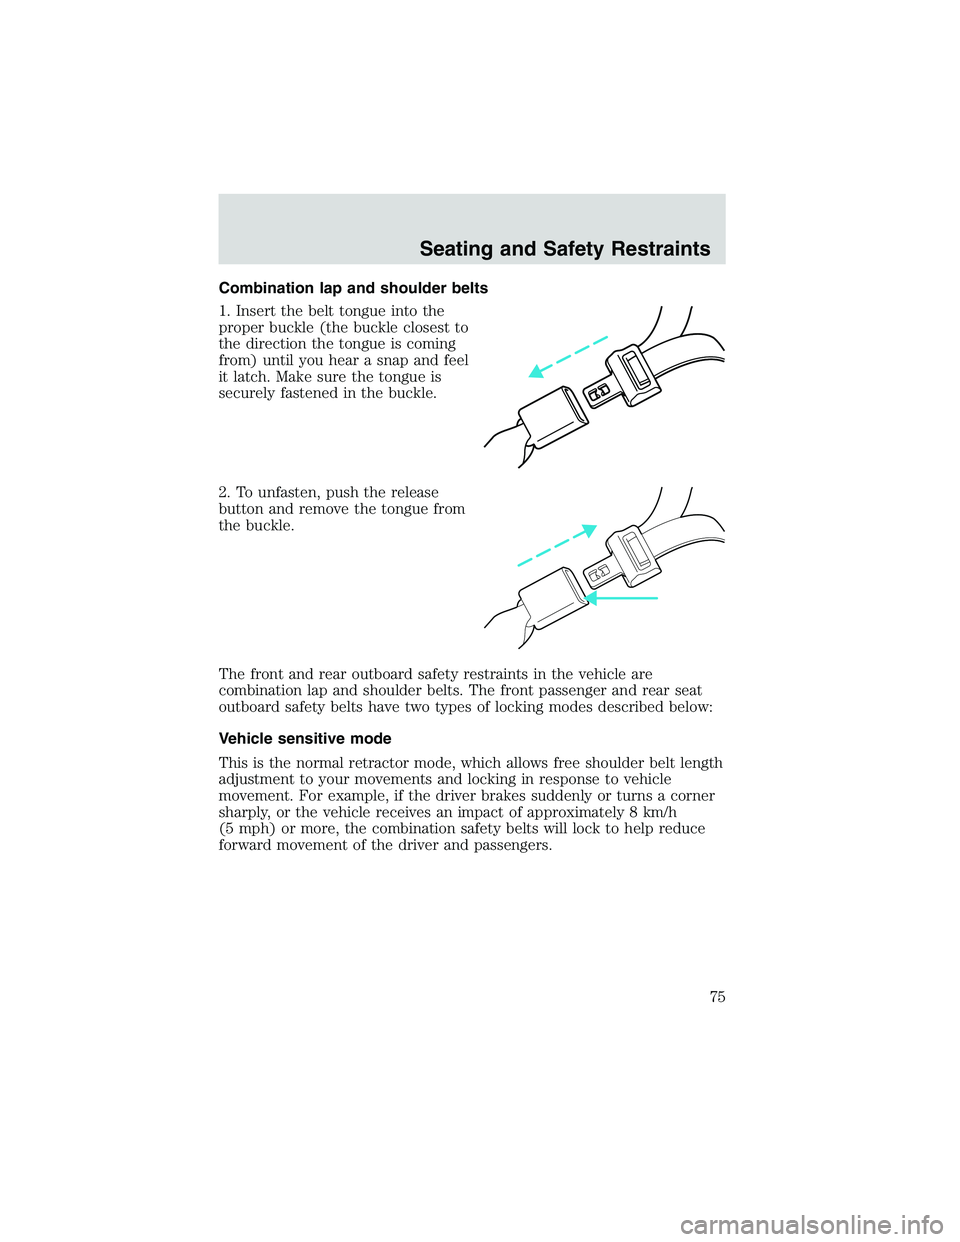
Combination lap and shoulder belts
1. Insert the belt tongue into the
proper buckle (the buckle closest to
the direction the tongue is coming
from) until you hear a snap and feel
it latch. Make sure the tongue is
securely fastened in the buckle.
2. To unfasten, push the release
button and remove the tongue from
the buckle.
The front and rear outboard safety restraints in the vehicle are
combination lap and shoulder belts. The front passenger and rear seat
outboard safety belts have two types of locking modes described below:
Vehicle sensitive mode
This is the normal retractor mode, which allows free shoulder belt length
adjustment to your movements and locking in response to vehicle
movement. For example, if the driver brakes suddenly or turns a corner
sharply, or the vehicle receives an impact of approximately 8 km/h
(5 mph) or more, the combination safety belts will lock to help reduce
forward movement of the driver and passengers.
Seating and Safety Restraints
75
Page 103 of 200

Using the engine block heater (if equipped)
An engine block heater warms the engine coolant which aids in starting
and heater/defroster performance. Use of an engine block heater is
strongly recommended if you live in a region where temperatures reach
-23°C (-10°F) or below. For best results, plug the heater in at least
three hours before starting the vehicle. The heater can be plugged in the
night before starting the vehicle.
To prevent electrical shock, do not use your heater with
ungrounded electrical systems or two-pronged (cheater)
adapters.
Guarding against exhaust fumes
Carbon monoxide is present in exhaust fumes. Take precautions to avoid
its dangerous effects.
If you smell exhaust fumes inside your vehicle, have your dealer
inspect your vehicle immediately. Do not drive if you smell
exhaust fumes.
Important ventilating information
If the engine is idling while the vehicle is stopped for a long period of
time, open the windows at least 2.5 cm (one inch) or adjust the heating
or air conditioning to bring in fresh air.
BRAKES
Occasional brake noise is normal. If a metal-to-metal, continuous grinding
or continuous squeal sound is present, the brake linings may be worn-out
and should be inspected by a qualified service technician. If the vehicle
has continuous vibration or shudder in the steering wheel while braking,
the vehicle should be inspected by a qualified service technician.
Four-wheel anti-lock brake system (ABS)
Your vehicle is equipped with an Anti-lock Braking System (ABS). This
system helps you maintain steering control during emergency stops by
keeping the brakes from locking. Noise from the ABS pump motor and
brake pedal pulsation may be observed during ABS braking; any
pulsations or mechanical noise you may feel or hear is normal.
ABS warning lamp
ABS
TheABSlamp in the instrument cluster momentarily illuminates when
the ignition is turned to ON. If the light does not illuminate during start
up, remains on or flashes, the ABS may be disabled and the ABS may
need to be serviced
Driving
103
Page 107 of 200
If the parking brake is fully released, but the brake warning lamp
remains illuminated, the brakes may not be working properly.
See your dealer or a qualified service technician.
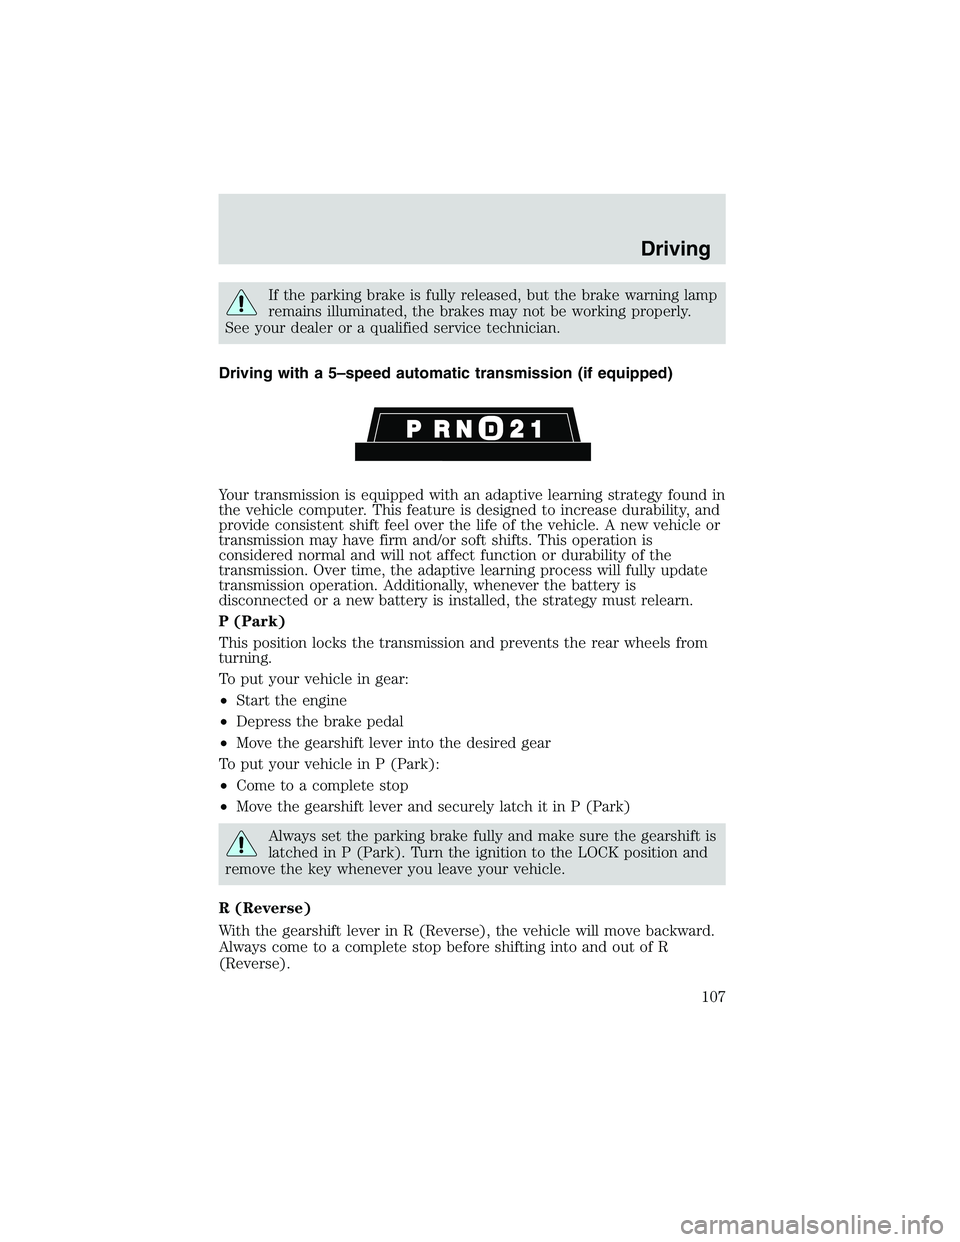
Driving with a 5–speed automatic transmission (if equipped)
Your transmission is equipped with an adaptive learning strategy found in
the vehicle computer. This feature is designed to increase durability, and
provide consistent shift feel over the life of the vehicle. A new vehicle or
transmission may have firm and/or soft shifts. This operation is
considered normal and will not affect function or durability of the
transmission. Over time, the adaptive learning process will fully update
transmission operation. Additionally, whenever the battery is
disconnected or a new battery is installed, the strategy must relearn.
P (Park)
This position locks the transmission and prevents the rear wheels from
turning.
To put your vehicle in gear:
•Start the engine
•Depress the brake pedal
•Move the gearshift lever into the desired gear
To put your vehicle in P (Park):
•Come to a complete stop
•Move the gearshift lever and securely latch it in P (Park)
Always set the parking brake fully and make sure the gearshift is
latched in P (Park). Turn the ignition to the LOCK position and
remove the key whenever you leave your vehicle.
R (Reverse)
With the gearshift lever in R (Reverse), the vehicle will move backward.
Always come to a complete stop before shifting into and out of R
(Reverse).
Driving
107
Page 112 of 200
vehicle is moving; this is normal and should be no reason for concern.
Refer toShifting to/from 4X4 LOWfor proper operation.
Shifting between 2WD and 4X4 HIGH
•Move the 4WD control between 2WD and 4X4 HIGH at any forward
speed.
Note:Do not perform this operation if the rear wheels are slipping.
Shifting to/from 4X4 LOW
1. Bring the vehicle to a complete stop
2. Depress the brake
3. On vehicles equipped with an automatic transmission, place the
transmission in N (Neutral); on vehicles equipped with a manual
transmission, depress the clutch.
4. Move the 4WD control to the desired position.
•If shifting into 4WD LOW, wait for the 4X4 LOW light in the
instrument cluster to turnonindicating the shift is complete.
•If shifting out of 4WD LOW, wait for the 4X4 LOW light in the
instrument cluster turn turnoffindicating the shift is complete.
Driving off-road with truck and utility vehicles
Basic operating principles
Maintain steering wheel control at all times, especially in rough terrain;
sudden changes in terrain can result in abrupt steering wheel motion. Do
not use 4WD on dry, hard surfaced roads (except models equipped with
Auto 4WD).
If your vehicle goes off the edge of the pavement
Slow down and don’t slam on the brakes. Ease the vehicle back onto the
pavement only after reducing your speed.
Do not turn the steering wheel sharply while returning to the
road as this may cause you to lose control of the vehicle.
It may be safer to stay on the shoulder of the road and slow down before
returning to the pavement.
If your vehicle gets stuck
The vehicle may be rocked out by shifting from forward and reverse
gears, stopping between shifts, in a steady pattern. Press lightly on the
Driving
112
Page 114 of 200

If you must drive through high
water, drive slowly. Traction or
braking ability may be reduced.
Also, if the ignition system gets wet,
the vehicle may stall.
Once you’re through the water, always dry the brakes by moving your
vehicle slowly while applying light pressure on the brake pedal. Wet
brakes do not stop the vehicle as quickly as dry brakes.
When driving through mud, be cautious of sudden changes in vehicle
speed or direction. Even 4WD vehicles can lose traction in slick mud.
Apply the accelerator slowly and avoid spinning your wheels. If the
vehicle does slide, steer in the direction of the slide until you regain
control of the vehicle. If the transmission, transfer case or either axle
become submerged in mud or water, their fluids should be checked and
changed, if necessary. After driving through mud, clean off residue stuck
to rotating driveshafts and tires. Excess mud stuck on tires and rotating
driveshafts could damage driveline components.
“Tread Lightly”is an educational
program designed to increase public
awareness of land-use regulations
and responsibilities in our nations
wilderness areas. Ford joins the U.S.
Forest Service and the Bureau of Land Management in encouraging you
to help preserve our national forest and other public and private lands by
“treading lightly.”
Driving on hilly or sloping terrain
Avoid driving crosswise or turning on steep slopes or hills. Your vehicle
may lose traction and slip sideways and possibly roll over. Do not drive
in reverse over a hill without the aid of an observer.
Driving
114
Page 115 of 200
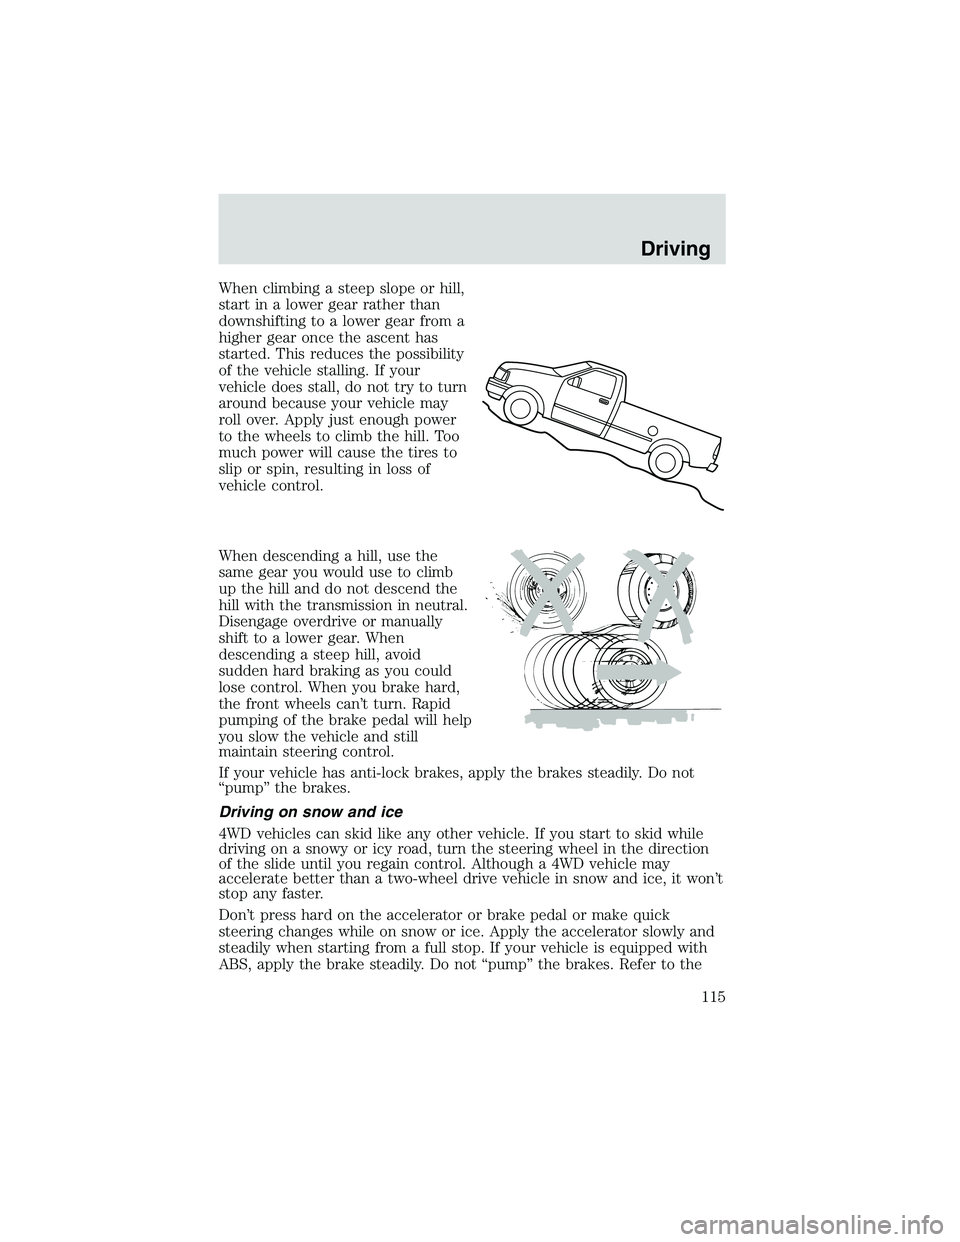
When climbing a steep slope or hill,
start in a lower gear rather than
downshifting to a lower gear from a
higher gear once the ascent has
started. This reduces the possibility
of the vehicle stalling. If your
vehicle does stall, do not try to turn
around because your vehicle may
roll over. Apply just enough power
to the wheels to climb the hill. Too
much power will cause the tires to
slip or spin, resulting in loss of
vehicle control.
When descending a hill, use the
same gear you would use to climb
up the hill and do not descend the
hill with the transmission in neutral.
Disengage overdrive or manually
shift to a lower gear. When
descending a steep hill, avoid
sudden hard braking as you could
lose control. When you brake hard,
the front wheels can’t turn. Rapid
pumping of the brake pedal will help
you slow the vehicle and still
maintain steering control.
If your vehicle has anti-lock brakes, apply the brakes steadily. Do not
“pump”the brakes.
Driving on snow and ice
4WD vehicles can skid like any other vehicle. If you start to skid while
driving on a snowy or icy road, turn the steering wheel in the direction
of the slide until you regain control. Although a 4WD vehicle may
accelerate better than a two-wheel drive vehicle in snow and ice, it won’t
stop any faster.
Don’t press hard on the accelerator or brake pedal or make quick
steering changes while on snow or ice. Apply the accelerator slowly and
steadily when starting from a full stop. If your vehicle is equipped with
ABS, apply the brake steadily. Do not“pump”the brakes. Refer to the
Driving
115