Page 126 of 200

If you need to arrange roadside assistance for yourself, Ford Motor
Company will reimburse a reasonable amount. To obtain reimbursement
information, U.S. Ford or Mercury vehicles customers call
1-800-241-3673; Lincoln vehicle customers call 1–800–521–4140.
Canadian customers who need to obtain reimbursement information, call
1–800–665–2006.
Roadside coverage beyond basic warranty
In the United States, you may purchase additional roadside assistance
coverage beyond this period through the Ford Auto Club by contacting
your Ford or Lincoln Mercury dealer.
Similarly in Canada, for uninterrupted Roadside Assistance coverage, you
may purchase extended coverage prior to your Basic Warranty’s Roadside
Assistance expiring. For more information and enrollment, contact
1–877–294–2582 or visit our website at www.ford.ca.
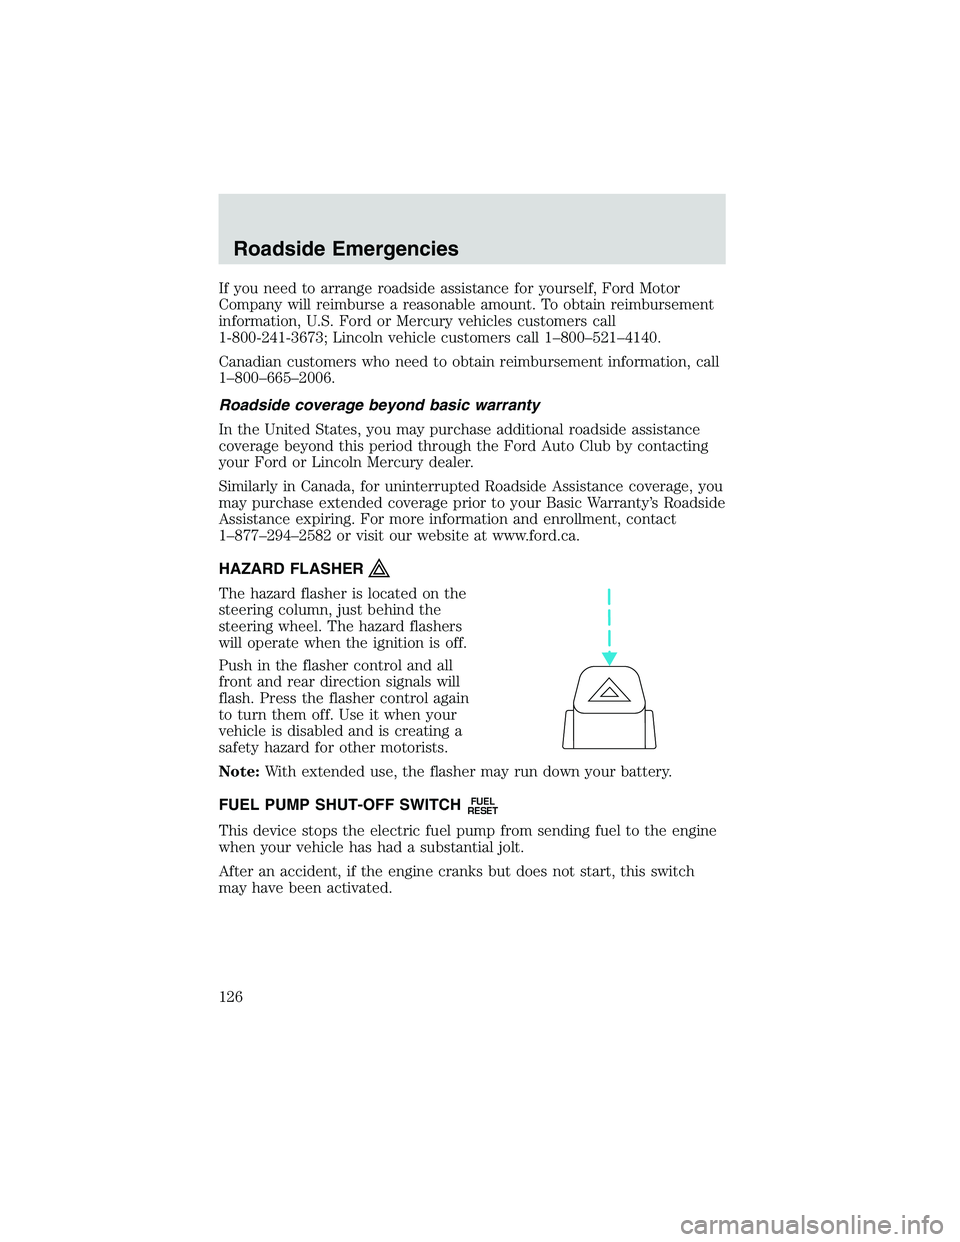
HAZARD FLASHER
The hazard flasher is located on the
steering column, just behind the
steering wheel. The hazard flashers
will operate when the ignition is off.
Push in the flasher control and all
front and rear direction signals will
flash. Press the flasher control again
to turn them off. Use it when your
vehicle is disabled and is creating a
safety hazard for other motorists.
Note:With extended use, the flasher may run down your battery.
FUEL PUMP SHUT-OFF SWITCH
FUEL
RESET
This device stops the electric fuel pump from sending fuel to the engine
when your vehicle has had a substantial jolt.
After an accident, if the engine cranks but does not start, this switch
may have been activated.
Roadside Emergencies
126
Page 127 of 200
This switch is located in the
passenger’s footwell, by the kick
panel.
To reset the switch:
1. Turn the ignition OFF.
2. Check the fuel system for leaks.
3. If no leaks are apparent, reset the
switch by pushing in on the reset
button.
4. Turn the ignition ON.
5. Wait a few seconds and return
the key to OFF.
6. Make another check of leaks.
FUSES AND RELAYS
If electrical components are not
working, a fuse may have blown. If a
fuses is blown the wire in the fuse
will be broken.
Note:Always replace a fuse with
one that has the specified amperage
rating.
Replacing a blown fuse with a fuse that has a higher amperage
can cause severe wire damage and could start a fire.
15
Roadside Emergencies
127
Page 130 of 200
Fuse/Relay
LocationFuse Amp
RatingPassenger Compartment Fuse
Panel Description
9 7.5A Speed control, Anti-lock Brake
System (ABS), 4x4, Powertrain
Control Module (PCM), Park
interlock, Keyless entry
10 15A Ignition, IPATS
11 15A Subwoofer
12 15A Air bags, Climate control, Rear
climate control
13 15A Stop lamps, Speed control,
Auxiliary Center High-Mounted
Stop Lamp (CHMSL)
14—Not used
15 15A 4x4 module
16 7.5A Turn signals, Park interlock,
Overhead console, Climate
control, 4x4, Speed control
17 20A Cigar lighter, On-Board
Diagnostics (OBD) II
18 20A Power locks, Keyless entry
19 15A Trailer tow park lamps
20 15A Daytime Running Lamps (DRL),
Reverse lamps, PCM
21 15A Flashers
22 20A I/P power point
23 10A Front washers
24 30A Front wiper
25 7.5A Cluster, GEM
26 10A Interior illumination, Battery saver
27 7.5A Audio, Windows, GEM, Moonroof,
Rear window
28 15A Rear wiper (on glass)
29 20A Audio, Rear audio
Roadside Emergencies
130
Page 133 of 200
Fuse/Relay
LocationFuse Amp
RatingPower Distribution Box Description
9–Not used
10–Not used
11 50A
Cartridge
fuseIgnition switch
12–Not used
13 20A
Cartridge
fuse4x4 motor
14–Not used
15–Not used
16 40A
Cartridge
fuseBlower motor
17–Not used
18–Not used
19–Not used
20–Not used
21 10A Mini
fusePCM memory
22 15A Mini
fuseHorn
23 20A Mini
fuseFuel pump motor
24 25A Mini
fuseHeadlamps
25 10A Mini
fuseA/C clutch solenoid
26–Not used
27 20A Mini
fuseRear power point
Roadside Emergencies
133
Page 138 of 200

How to change a flat tire
When one of the front wheels is off the ground, the transmission
alone will not prevent the vehicle from moving or slipping off the
jack, even if the vehicle is in P (Park) (automatic transmission) or R
(Reverse) (manual transmission).
To prevent the vehicle from moving when you change a tire, be
sure the parking brake is set, then block (in both directions) the
wheel that is diagonally opposite (other side and end of the vehicle) to
the tire being changed.
If the vehicle slips off the jack, you or someone else could be
seriously injured.
Do not attempt to change a tire on the side of the vehicle close
to moving traffic. Pull far enough off the road to avoid the
danger of being hit when operating the jack or changing the wheel.
Before changing the tire:
1. Park on a level surface.
2. Activate the hazard flashers.
3. Place the gearshift lever in P (Park) (automatic transmission) or R
(Reverse) (manual transmission).
4. Set the parking brake.
5. Turn off the ignition.
To change the tire:
Note:Passengers should not remain in the vehicle when the vehicle is
being jacked.
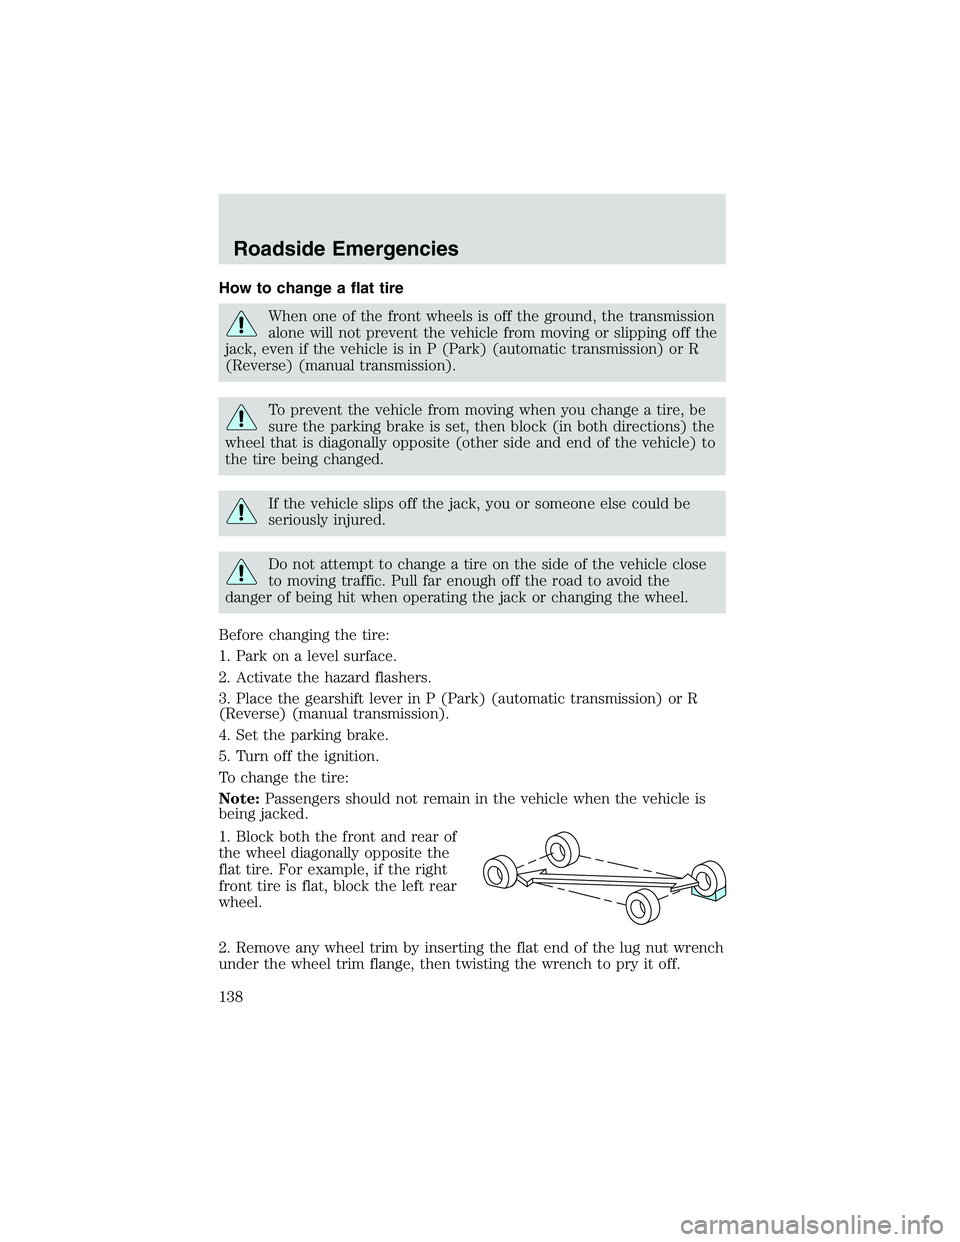
1. Block both the front and rear of
the wheel diagonally opposite the
flat tire. For example, if the right
front tire is flat, block the left rear
wheel.
2. Remove any wheel trim by inserting the flat end of the lug nut wrench
under the wheel trim flange, then twisting the wrench to pry it off.
Roadside Emergencies
138
Page 170 of 200

Running out of fuel
Running out of fuel may have an adverse affect on powertrain
components.
•You may need to cycle the ignition from off to on several times after
refueling to allow the fuel system to pump the fuel from the tank to
the engine.
•Your“Check Engine”indicator may come on.
Fuel filler cap
When fueling:
1. Turn the engine off.
2. Carefully turn the filler cap counterclockwise 1/8 of a turn until it
stops.
3. Pull to remove the cap.
4. To install the cap, align the tabs on the cap with the notches on the
filler pipe.
5. Turn the filler cap clockwise 1/8 of a turn until it stops.
If the“Check Fuel Cap”indicator
illuminates and stays on after you
start the engine, the cap may not be
properly installed.
If you must replace the fuel
filler cap, replace it with a fuel filler cap that is designed for your
vehicle.
If you do not use the proper fuel filler cap, excessive pressure or
vacuum in the fuel tank may damage the fuel system or cause
the fuel cap to disengage in a collision, which may result in personal
injury.
Fuel filter
Refer to theScheduled Maintenance Guidefor the appropriate
replacement intervals. Replace the fuel filter with an authorized
Motorcraft part.
ESSENTIALS OF GOOD FUEL ECONOMY
We do not recommend taking fuel economy measurements during the
first 1,600 km (1,000 miles) of driving. You will get a more accurate
measurement after 3,000 km - 5,000 km (2,000 miles - 3,000 miles)
CHECK
FUEL
CAP
Maintenance and Specifications
170
Page 171 of 200

Filling the tank
The advertised fuel capacity of the fuel tank on your vehicle is equal to
the rated refill capacity of the fuel tank as listed in theRefill capacities
section of this chapter.
The advertised capacity is the amount of the indicated capacity and the
empty reserve combined. Indicated capacity is the difference in the
amount of fuel in a full tank and a tank when the fuel gauge indicates
empty. Empty reserve is the small amount of fuel remaining in the fuel
tank after the fuel gauge indicates empty.
The amount of usable fuel in the empty reserve varies and should
not be relied upon to increase driving range. When refueling your
vehicle after the fuel gauge indicates empty, you might not be
able to refuel the full amount of the advertised capacity of the
fuel tank due to the empty reserve still present in the tank.
For consistent results when filling the fuel tank:
•Turn the engine/ignition switch to the off position prior to refueling,
an error in the reading will result if the engine is left running.
•Use the same filling rate setting (low—medium—high) each time
the tank is filled.
•Allow no more than 2 automatic click-offs when filling.
•Always use fuel with the recommended octane rating.
•Use a known quality gasoline, preferably a national brand.
•Use the same side of the same pump and have the vehicle facing the
same direction each time you fill up.
•Have the vehicle loading and distribution the same every time.
Your results will be most accurate if your filling method is consistent.
Calculating fuel economy
1. Fill the tank and record the odometer reading.
2. Each time you fill up the tank, record the amount of fuel added.
3. After at least 3 fill-ups, fill the fuel tank and record the current
odometer reading.
4. Subtract your initial odometer reading from the current reading.
Use one of the following simple calculations to determine fuel economy:
•Liters x 100�total kilometers
•Miles traveled�gallons used
Maintenance and Specifications
171
Page 172 of 200

Keep a record for at least one month and record the type of driving (city
or highway). You can also keep records in summer and winter to
determine how temperature impacts fuel economy. Note that ethanol
decrease fuel economy.
Improving fuel economy
To improve your fuel economy:
•Do not leave your vehicle idling for long periods of time.
•Drive at a moderate pace, with smooth acceleration and deceleration.
•Turn off speed control in hilly terrain.
•Follow the recommended maintenance schedule in yourScheduled
Maintenance Guide.
•Do not carry unnecessary weight.
EPA window sticker
The EPA window sticker should be your guide for fuel economy
comparisons. If you have any questions about this sticker, contact your
dealer.
EMISSION CONTROL SYSTEM
Your vehicle has emission control components and a catalytic converter
that enable your vehicle to comply with applicable exhaust emission
standards. To make sure that the emission control components work
properly:
•Use only unleaded fuel.
•Avoid running out of fuel.
•Do not turn off your ignition while the vehicle is moving.
•Follow yourScheduled Maintenance Guide.
•Use Ford Motor Company authorized parts for maintenance
replacements or for service.
Consult yourWarranty Guidefor emission warranty information.
Do not park, idle, or drive your vehicle in dry ground cover. The
emission system heats up the engine and exhaust system, which
could cause a fire.
Maintenance and Specifications
172