Page 135 of 200

Fuse/Relay
LocationFuse Amp
RatingPower Distribution Box Description
50A–Not used
50B–Fuel pump relay
51–Not used
52–Not used
53–PCM diode
54–PCM relay
55–Blower relay
56A–A/C clutch solenoid
56B–Horn relay
CHANGING A FLAT TIRE
If you get a flat tire while driving:
•do not brake heavily.
•gradually decrease the vehicle’s speed.
•hold the steering wheel firmly.
•slowly move to a safe place on the side of the road.
The use of tire sealants is not recommended and may compromise the
integrity of your tires. The use of tire sealants may also affect your tire
pressure monitoring system (if equipped).
Spare tire information
The spare tire can be used as a spare or a regular tire.
Location of the spare tire and tools
The spare tire and tools for your vehicle are stowed in the following
locations:
Tool Location
Spare tire Under the vehicle, just in front of
the rear bumper
Jack, Jack handle, jack handle
extension, wheel lug nut wrenchIn the passenger side rear cab
compartment behind the access
door in trim panel
Roadside Emergencies
135
Page 138 of 200

How to change a flat tire
When one of the front wheels is off the ground, the transmission
alone will not prevent the vehicle from moving or slipping off the
jack, even if the vehicle is in P (Park) (automatic transmission) or R
(Reverse) (manual transmission).
To prevent the vehicle from moving when you change a tire, be
sure the parking brake is set, then block (in both directions) the
wheel that is diagonally opposite (other side and end of the vehicle) to
the tire being changed.
If the vehicle slips off the jack, you or someone else could be
seriously injured.
Do not attempt to change a tire on the side of the vehicle close
to moving traffic. Pull far enough off the road to avoid the
danger of being hit when operating the jack or changing the wheel.
Before changing the tire:
1. Park on a level surface.
2. Activate the hazard flashers.
3. Place the gearshift lever in P (Park) (automatic transmission) or R
(Reverse) (manual transmission).
4. Set the parking brake.
5. Turn off the ignition.
To change the tire:
Note:Passengers should not remain in the vehicle when the vehicle is
being jacked.
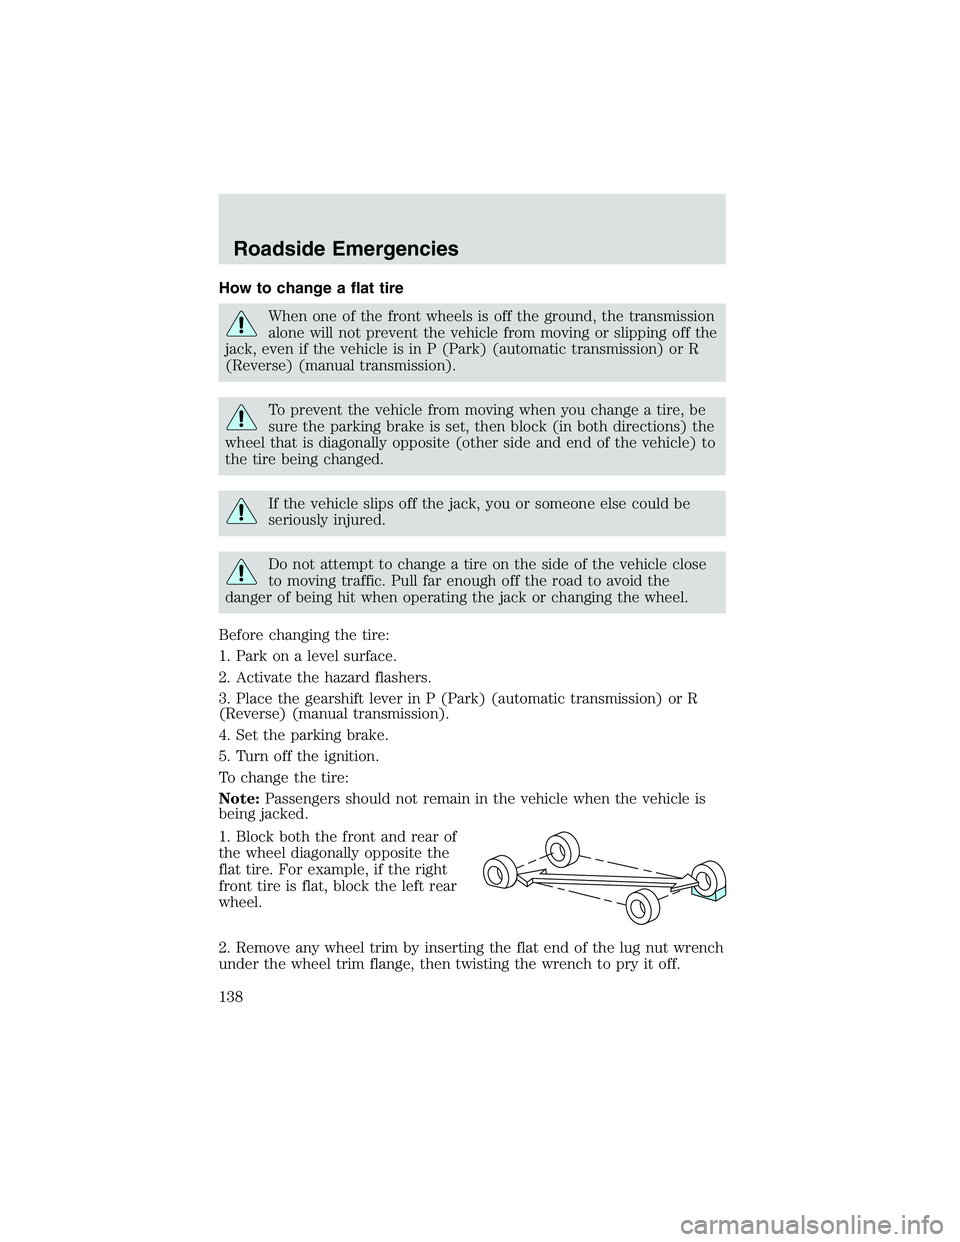
1. Block both the front and rear of
the wheel diagonally opposite the
flat tire. For example, if the right
front tire is flat, block the left rear
wheel.
2. Remove any wheel trim by inserting the flat end of the lug nut wrench
under the wheel trim flange, then twisting the wrench to pry it off.
Roadside Emergencies
138
Page 154 of 200

PAINT CHIPS
Your dealer has touch-up paint and sprays to match your vehicle’s color.
Take your color code (printed on a sticker in the driver’s door jam) to
your dealer to ensure you get the correct color.
•Remove particles such as bird droppings, tree sap, insect deposits, tar
spots, road salt and industrial fallout before repairing paint chips.
•Always read the instructions before using the products.
ALUMINUM WHEELS AND COVERS
Aluminum wheel rims or covers are coated with a clearcoat paint finish.
In order to maintain their shine:
•Clean with Motorcraft Wheel and Tire Cleaner (ZC-37–A), which is
available from your dealer.
•Never apply any cleaning chemical to hot or warm wheel rims or
covers.
•Some automatic car washes may cause damage to the finish on your
wheel rims or covers. Chemical-strength cleaners, or cleaning
chemicals, in combination with brush agitation to remove brake dust
and dirt, could wear away the clearcoat finish over time.
•Do not use hydrofluoric acid-based or high caustic-based wheel
cleaners, steel wool, fuels or strong household detergent.
•To remove tar and grease, use Ford Extra Strength Tar and Road Oil
Removal (B7A-19520–AA), available from your dealer.
ENGINE
Engines are more efficient when they are clean because grease and dirt
buildup keep the engine warmer than normal. When washing:
•Take care when using a power washer to clean the engine. The
high-pressure fluid could penetrate the sealed parts and cause
damage.
•Do not spray a hot engine with cold water to avoid cracking the
engine block or other engine components.
•Spray Motorcraft Engine Shampoo and Degreaser (ZC-20) on all parts
that require cleaning and pressure rinse clean.
•Cover the highlighted areas to prevent water damage when cleaning
the engine.
Cleaning
154
Page 159 of 200
SERVICE RECOMMENDATIONS
•Use theScheduled Maintenance Guideto track routine service.
•Use only recommended fuels, lubricants, fluids and service parts
conforming to specifications.
•Your dealership can provide parts and service.
PRECAUTIONS WHEN SERVICING YOUR VEHICLE
•Do not work on a hot engine.
•Make sure that nothing gets caught in moving parts.
•Do not work on a vehicle with the engine running in an enclosed
space, unless you are sure you have enough ventilation.
•Keep all open flames and other lit material away from the battery and
all fuel related parts.
Working with the engine off
1. Set the parking brake and shift to P (Park).
2. Turn off the engine and remove the key.
3. Block the wheels.
Working with the engine on
1. Set the parking brake and shift to P (Park).
2. Block the wheels.
Do not start your engine with the air cleaner removed and do
not remove it while the engine is running.
Maintenance and Specifications
159
Page 160 of 200
OPENING THE HOOD
1. Inside the vehicle, pull the hood
release handle.
2. Go to the front of the vehicle and
release the latch located in the
center between the hood and the
grille.
3. Lift the hood.
4.0L SOHC V6 ENGINE
1. Windshield washer fluid reservoir
2. Automatic transmission fluid
dipstick (if equipped)
3. Engine oil filler cap
4. Engine oil dipstick
5. Brake fluid reservoir6. Power distribution box
7. Clutch fluid reservoir
8. Battery
9. Power steering fluid reservoir
10. Air filter assembly
11. Engine coolant reservoir
12345
981110
6
7
Maintenance and Specifications
160
Page 161 of 200
WINDSHIELD WASHER FLUID
Add fluid to fill the reservoir if the
level is low. In very cold weather, do
not fill the reservoir completely.
Use washer fluid that meets Ford
specifications. Check State or local
regulations for restrictions on the
use of methanol, a common
windshield washer fluid additive.
Do not put washer fluid in the
engine coolant reservoir.
ENGINE OIL
Checking the engine oil
1. Make sure the vehicle is on level ground.
2. Turn the engine off and wait a few minutes.
3. Set the parking brake and place the gearshift in P (Park).
4. Open the hood.
RADIATOR
COOLANT
ONLY
WASHERFLUIDONLY
Maintenance and Specifications
161
Page 174 of 200
CHECKING AND ADDING POWER STEERING FLUID
Check the fluid. Refer to the
Scheduled Maintenance Guidefor
service maintenance schedules.
1. Start the engine and let it run
until it reaches normal operating
schedules.
2. Turn the steering wheel left and
right several times.
3. Turn the engine off.
4. Check the fluid level.
5. If the fluid is below the MIN line,
add fluid in small amounts until it
reaches the correct level (between
the MIN and MAX lines).
Use only MERCON�AT F.
BRAKE FLUID
The brake fluid should be checked
and refilled according to the service
maintenance schedule in the
Scheduled Maintenance Guide.
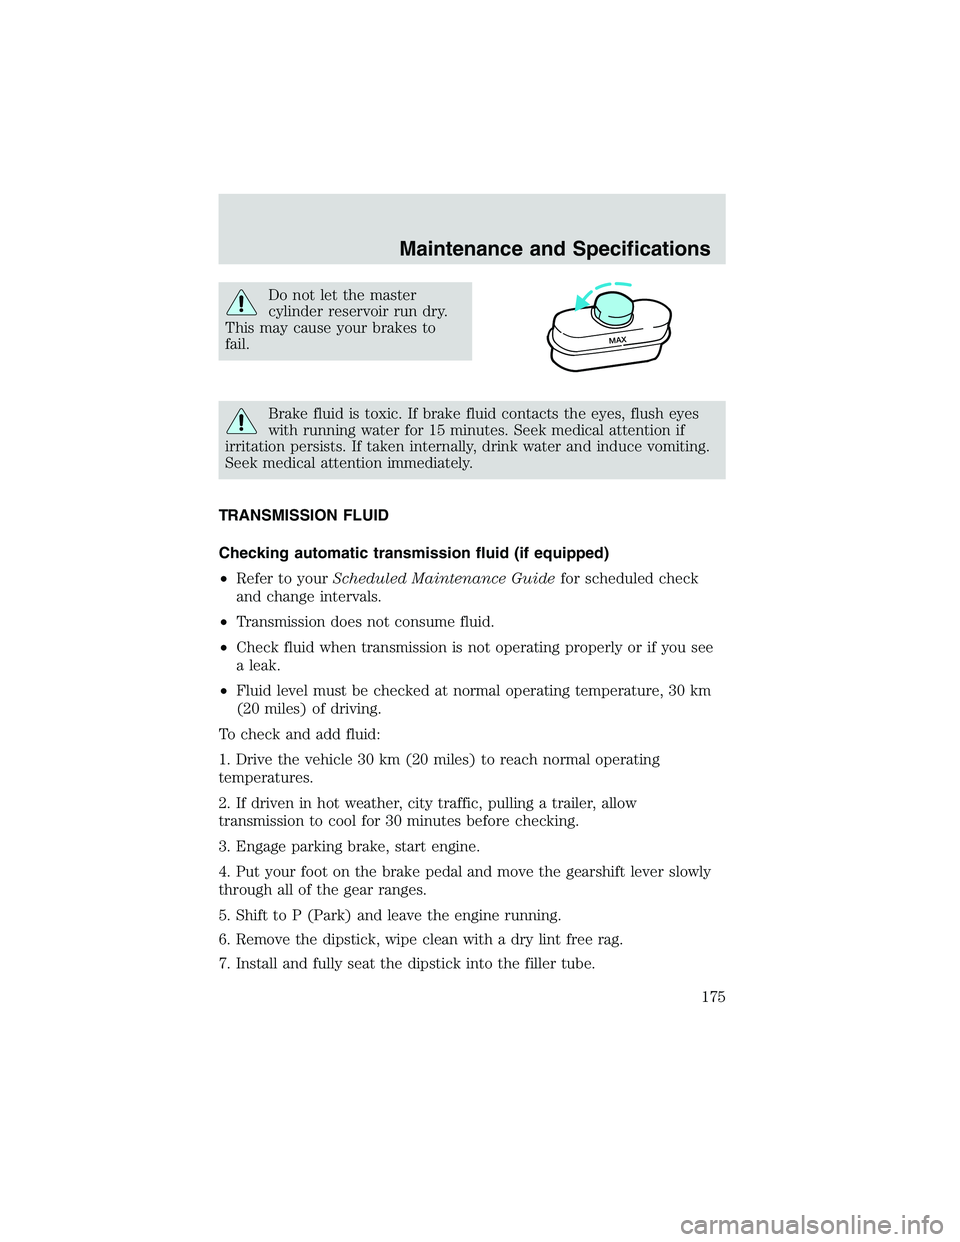
1. Clean the reservoir cap before
removal.
2. Check the fluid level.
3. If necessary, add brake fluid from
a clean, unopened container. Do not
fill above the MAX line.
Note:Use only a DOT 3 brake fluid
that meets Ford Motor Company
specifications.
DONOTOVERFILLPOWERSTEERINGFLUID
Maintenance and Specifications
174
Page 175 of 200

Do not let the master
cylinder reservoir run dry.
This may cause your brakes to
fail.
Brake fluid is toxic. If brake fluid contacts the eyes, flush eyes
with running water for 15 minutes. Seek medical attention if
irritation persists. If taken internally, drink water and induce vomiting.
Seek medical attention immediately.
TRANSMISSION FLUID
Checking automatic transmission fluid (if equipped)
•Refer to yourScheduled Maintenance Guidefor scheduled check
and change intervals.
•Transmission does not consume fluid.
•Check fluid when transmission is not operating properly or if you see
a leak.
•Fluid level must be checked at normal operating temperature, 30 km
(20 miles) of driving.
To check and add fluid:
1. Drive the vehicle 30 km (20 miles) to reach normal operating
temperatures.
2. If driven in hot weather, city traffic, pulling a trailer, allow
transmission to cool for 30 minutes before checking.
3. Engage parking brake, start engine.
4. Put your foot on the brake pedal and move the gearshift lever slowly
through all of the gear ranges.
5. Shift to P (Park) and leave the engine running.
6. Remove the dipstick, wipe clean with a dry lint free rag.
7. Install and fully seat the dipstick into the filler tube.
MAX
Maintenance and Specifications
175