Page 44 of 200
AUXILIARY POWER POINT
The power point is an additional power source for electrical accessories.
NOTE:Power outlets are designed for accessory plugs only. Do not hang
any type of accessory or accessory bracket from the plug. Improper use
of the power outlet can cause damage not covered by your warranty.
•With a full console:
•Without a full console:
The maximum current draw of any single power point should not exceed
it’s fuse rating, otherwise this will result in a blown fuse.
Do not use the the cigarette/cigar lighter element in any power point.
Keep power point caps closed when not in use.
Driver Controls
44
Page 48 of 200

SETTING AUTOLAMP (IF EQUIPPED)
1. Make sure the headlamp control
is in the OFF position. Leaving the
headlamp control on will override
the autolamp.
2. Turn the ignition to the ON
position or start the vehicle.
3. Slide the delay control all the way
to the left.
The further you move the knob to
the right, the longer the headlamps
stay on after the ignition is turned
to the OFF position. The autolamp
will keep the headlamps on for a maximum of three minutes after the
ignition is turned to OFF.
Automatic dimming rear view mirror
The autolamp/automatic dimming
mirror is equipped with an
automatic dimming feature. This
feature will change from the normal
state to the non-glare“active”state
when bright lights (glare) reach the
mirror. When the mirror detects bright light from front or behind, it will
adjust automatically to minimize glare.
The mirror will automatically return to the normal position whenever the
vehicle is placed in R (Reverse) (when the mirror is in the ON position).
This helps to ensure a bright clear view in the mirror when backing up.
Power side view mirrors
To adjust your mirrors
1. Select
to adjust the left
mirror or
to adjust the right
mirror.
2. Move the control in the direction
you wish to tilt the mirror.
3. Return to the center position to
disable the adjust function.
OFF
AUTOLAMP
OFFMAX.DELAY
AUTOLAMP
OFFMAX.DELAY
Driver Controls
48
Page 50 of 200

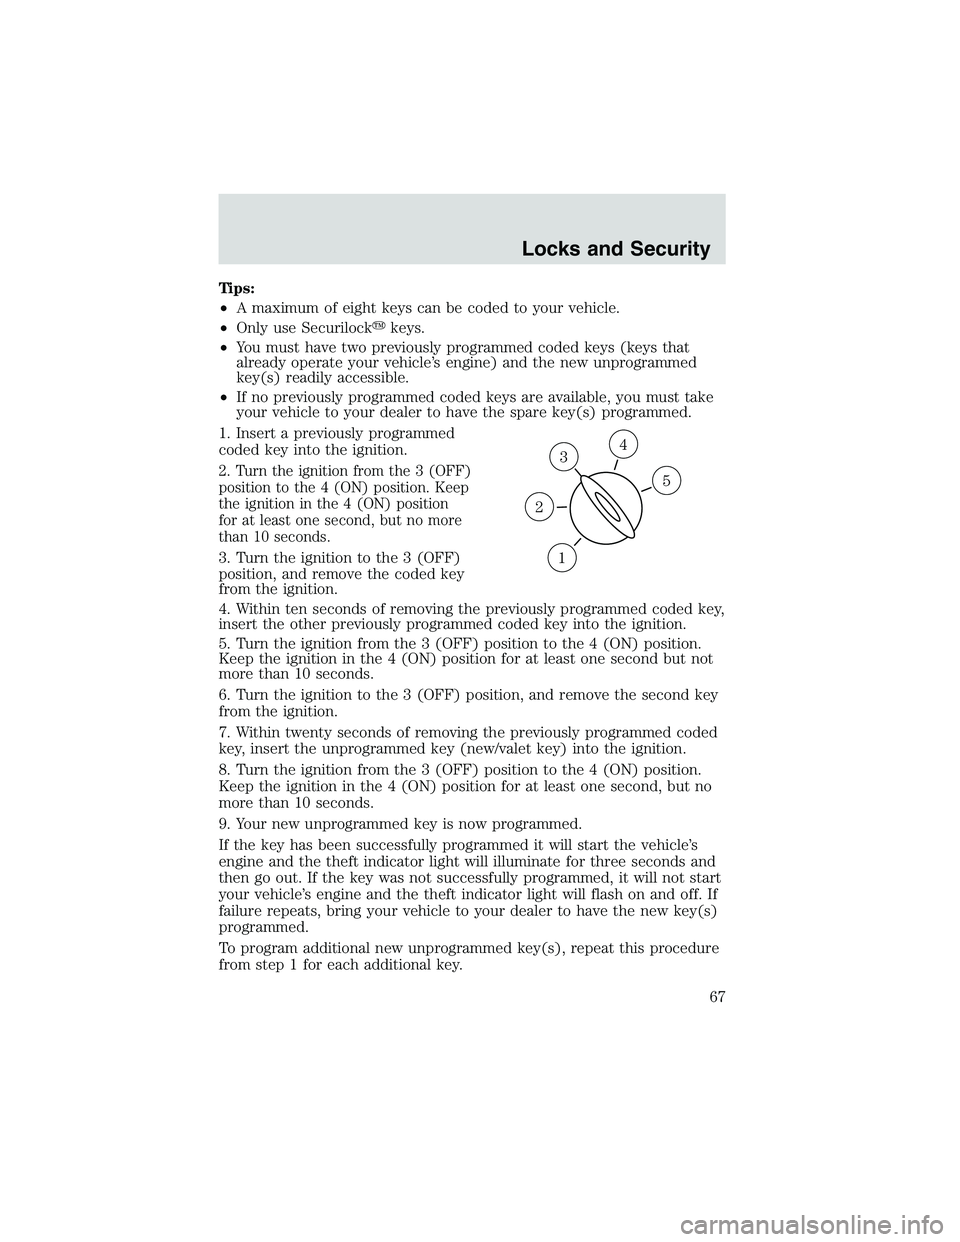
3. Press the SET ACC control and
release it.
4. Take your foot off the accelerator
pedal.
5. The indicator light
SPEED
CONTon the
instrument cluster will turn on.
Note:
•Vehicle speed may vary momentarily when driving up and down a
steep hill.
•If the vehicle speed increases above the set speed on a downhill, you
may want to apply the brakes to reduce the speed.
•If the vehicle speed decreases more than 16 km/h (10 mph) below
your set speed on an uphill, your speed control will disengage.
Resuming a set speed
Press the RSM (resume) control and
release it. This will automatically
return the vehicle to the previously
set speed. The RSM control will not
work if the vehicle speed is not
faster than 48 km/h (30 mph).
Increasing speed while using speed control
There are two ways to set a higher
speed:
•Press and hold the SET ACC
control until you get to the
desired speed, then release the
control. You can also use the SET
ACC control to operate the
Tap-Up function. Press and
release this control to increase the vehicle set speed in small amounts
by 1.6 km/h (1 mph).
•Use the accelerator pedal to get to the desired speed. When the
vehicle reaches that speed, press and release the SET ACC control.
Driver Controls
50
Page 59 of 200

Interior tonneau cover release
Your vehicle is equipped with a mechanical interior tonneau cover
release handle that provides a means of escape for children and adults in
the event they become locked inside the pickup box.
Adults are advised to familiarize themselves with the operation and
location of the release handle.
To open the tonneau cover from the
inside, pull the“T”shaped handle
and push up on the tonneau cover
panel. The handle is composed of a
material that will glow for hours in
darkness following brief exposure to
ambient light.
The“T”shaped handle is located on
the tonneau cover panel.
Keep vehicle doors and tonneau cover locked and keep keys and
remote transmitters out of a child’s reach. Unsupervised children
could lock themselves in the box and risk injury. Children should be
taught not to play in vehicles.
On hot days, the temperature in the pickup box can rise very
quickly. Exposure of people or animals to these high
temperatures for even a short time can cause death or serious
heat-related injuries, including brain damage. Small children are
particularly at risk.
Driver Controls
59
Page 61 of 200

REMOTE ENTRY SYSTEM (IF EQUIPPED)
This device complies with part 15 of the FCC rules and with RS-210 of
Industry Canada. Operation is subject to the following two conditions:
(1) This device may not cause harmful interference, and (2) This device
must accept any interference received, including interference that may
cause undesired operation.
Changes or modifications not expressly approved by the party
responsible for compliance could void the user’s authority to
operate the equipment.
The remote entry system allows you
to lock or unlock all vehicle doors
without a key.Note:lock and
unlock will work in any ignition
position.
If there is a problem with the
remote entry system make sure to
takeALL remote entry
transmitterswith you to the
dealership, this will aid in
troubleshooting the problem.
Unlocking the doors
1. Pressand release to unlock the driver’s door.Note:The interior
lamps will illuminate.
2. Press
and release again within three seconds to unlock all the
doors.
The remote entry system activates the illuminated entry feature. This
feature turns on the interior lamps for 25 seconds or until the ignition is
turned to the ON position. If the dome lamp control is in theoffposition
the illuminated entry feature will not work.
The inside lights will not turn off if:
•they have been turned on using the dimmer control or
•any door is open.
The battery saver feature will turn off the interior lamps 30 minutes after
the ignition is turned to the OFF position.
Locking the doors
1. Pressand release to lock all the doors.Note:the interior lamps
will turn off.
Locks and Security
61
Page 67 of 200

Tips:
•A maximum of eight keys can be coded to your vehicle.
•Only use Securilock�keys.
•You must have two previously programmed coded keys (keys that
already operate your vehicle’s engine) and the new unprogrammed
key(s) readily accessible.
•If no previously programmed coded keys are available, you must take
your vehicle to your dealer to have the spare key(s) programmed.
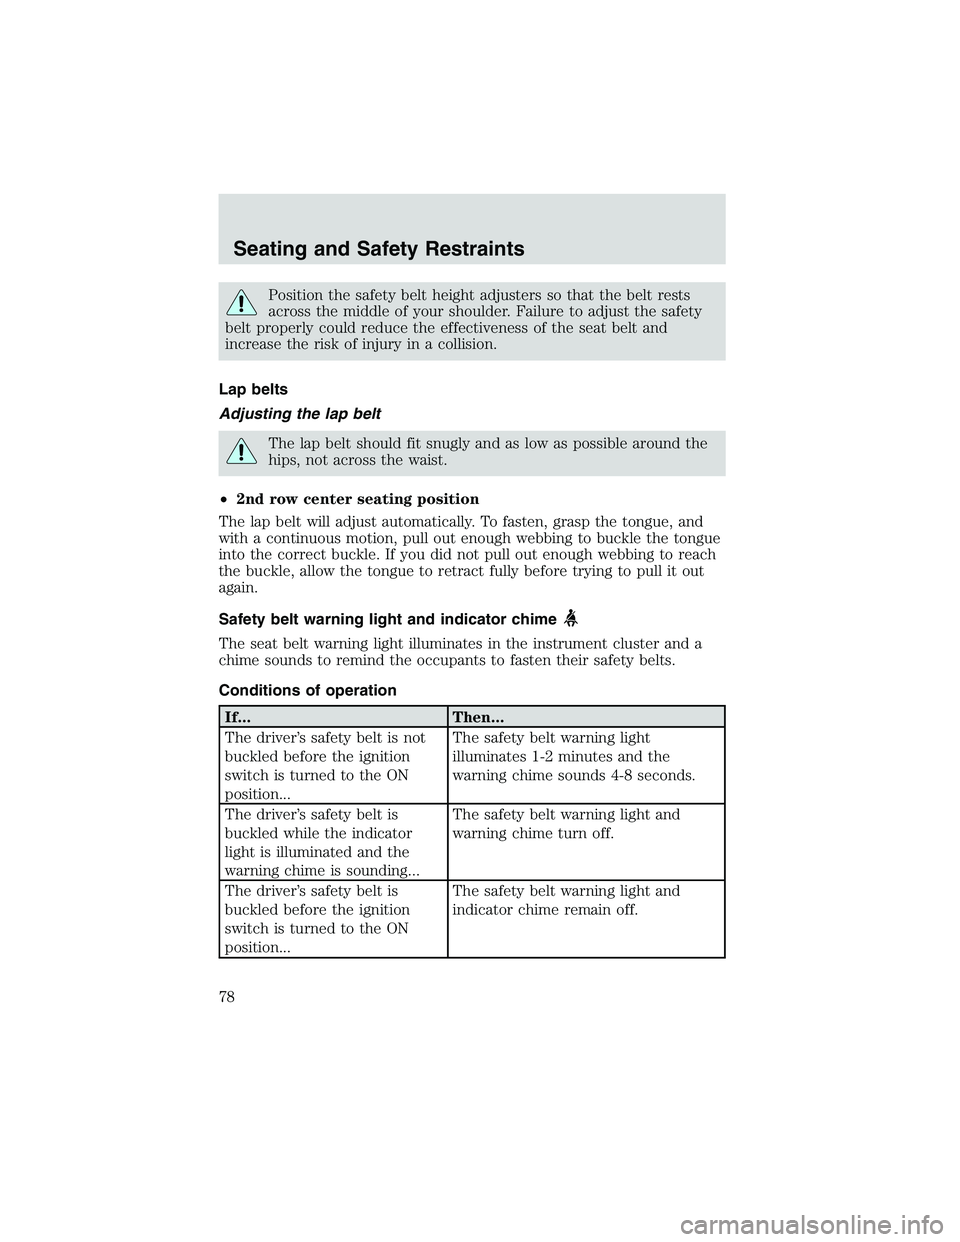
1. Insert a previously programmed
coded key into the ignition.
2. Turn the ignition from the 3 (OFF)
position to the 4 (ON) position. Keep
the ignition in the 4 (ON) position
for at least one second, but no more
than 10 seconds.
3. Turn the ignition to the 3 (OFF)
position, and remove the coded key
from the ignition.
4. Within ten seconds of removing the previously programmed coded key,
insert the other previously programmed coded key into the ignition.
5. Turn the ignition from the 3 (OFF) position to the 4 (ON) position.
Keep the ignition in the 4 (ON) position for at least one second but not
more than 10 seconds.
6. Turn the ignition to the 3 (OFF) position, and remove the second key
from the ignition.
7. Within twenty seconds of removing the previously programmed coded
key, insert the unprogrammed key (new/valet key) into the ignition.
8. Turn the ignition from the 3 (OFF) position to the 4 (ON) position.
Keep the ignition in the 4 (ON) position for at least one second, but no
more than 10 seconds.
9. Your new unprogrammed key is now programmed.
If the key has been successfully programmed it will start the vehicle’s
engine and the theft indicator light will illuminate for three seconds and
then go out. If the key was not successfully programmed, it will not start
your vehicle’s engine and the theft indicator light will flash on and off. If
failure repeats, bring your vehicle to your dealer to have the new key(s)
programmed.
To program additional new unprogrammed key(s), repeat this procedure
from step 1 for each additional key.
3
1
2
5
4
Locks and Security
67
Page 78 of 200

Position the safety belt height adjusters so that the belt rests
across the middle of your shoulder. Failure to adjust the safety
belt properly could reduce the effectiveness of the seat belt and
increase the risk of injury in a collision.
Lap belts
Adjusting the lap belt
The lap belt should fit snugly and as low as possible around the
hips, not across the waist.
•2nd row center seating position
The lap belt will adjust automatically. To fasten, grasp the tongue, and
with a continuous motion, pull out enough webbing to buckle the tongue
into the correct buckle. If you did not pull out enough webbing to reach
the buckle, allow the tongue to retract fully before trying to pull it out
again.
Safety belt warning light and indicator chime
The seat belt warning light illuminates in the instrument cluster and a
chime sounds to remind the occupants to fasten their safety belts.
Conditions of operation
If... Then...
The driver’s safety belt is not
buckled before the ignition
switch is turned to the ON
position...The safety belt warning light
illuminates 1-2 minutes and the
warning chime sounds 4-8 seconds.
The driver’s safety belt is
buckled while the indicator
light is illuminated and the
warning chime is sounding...The safety belt warning light and
warning chime turn off.
The driver’s safety belt is
buckled before the ignition
switch is turned to the ON
position...The safety belt warning light and
indicator chime remain off.
Seating and Safety Restraints
78
Page 79 of 200

BeltMinder
The BeltMinder feature is a supplemental warning to the safety belt
warning function. This feature provides additional reminders to the
driver that the driver’s safety belt is unbuckled by intermittently
sounding a chime and illuminating the safety belt warning lamp in the
instrument cluster.
If... Then...
The driver’s safety belt is not
buckled before the vehicle has
reached at least 5 km/h (3
mph) and 1-2 minutes have
elapsed since the ignition
switch has been turned to
ON...The BeltMinder feature is activated -
the safety belt warning light
illuminates and the warning chime
sounds for 6 seconds every 30
seconds, repeating for approximately
5 minutes or until safety belt is
buckled.
The driver’s safety belt is
buckled while the safety belt
indicator light is illuminated
and the safety belt warning
chime is sounding...The BeltMinder feature will not
activate.
The driver’s safety belt is
buckled before the ignition
switch is turned to the ON
position...The BeltMinder feature will not
activate.
The following are reasons most often given for not wearing safety belts:
(All statistics based on U.S. data)
Reasons given... Consider...
“Crashes are rare events”36700 crashes occur every day.The
more we drive, the more we are
exposed to“rare”events, even for
good drivers.1 in 4 of us will be
seriously injured in a crash during
our lifetime.
“I’m not going far”3of4fatal crashes occur within25
miles of home.
Seating and Safety Restraints
79