Page 24 of 184
HEADLAMP CONTROL
Turns the lamps off.
Turns on the parking
lamps, instrument panel lamps,
license plate lamps and tail lamps.
Turns the headlamps on.
AUTOLAMP DELAY SYSTEM (IF EQUIPPED)
The autolamp sets the headlamps to turn on and off automatically. The
autolamp control, located in the interior mirror, may be set to:
•turn on the lamps automatically at night
•turn off the lamps automatically during daylight
•keep the lamps on for up to three minutes after the key is turned to
OFF
Refer toSetting autolampin theDriver Controlschapter.
Foglamp control (if equipped)
The foglamps can be turned on
when the headlamp control is in
either of the following positions:
•Parking lamps
•Low beams
Press the foglamp control to activate the foglamps. The foglamp indicator
light will illuminate. When the highbeams are activated, the foglamps will
not operate.
Press the foglamp control again to deactivate the foglamps.
OFF
Lights
24
Page 25 of 184
High beams
Push the lever toward the
instrument panel to activate. Pull
the lever towards you to deactivate.
Flash to pass
Pull the lever toward you to
activate. Release the lever to
deactivate.
PANEL DIMMER CONTROL
Move the control up and down to
adjust the intensity of the panel
lighting. Operates only when the
exterior lights are switched on.
Move the control to the full upright
position (past detent) to turn on the
interior lamps.
Move the control to the full down
position (past detent) to prevent interior lamps from illuminating when
the doors are opened.
AIMING THE HEADLAMPS
The headlamps on your vehicle are properly aimed before leaving the
assembly plant. If your vehicle is involved in an accident or if you have
problems fixing the alignment of your headlamps, have them checked by
a qualified service technician.
DIM
Lights
25
Page 27 of 184
5. Locate the vertical adjuster for
each headlamp. Adjust the aim by
turning the adjuster control either
clockwise (to adjust down) or
counterclockwise (to adjust up).
NOTE:Usea4mmsocket or box
wrench to turn the vertical adjuster
control.
6. Once you have adjusted the
headlamps close the hood and turn
off the lights.
TURN SIGNAL CONTROL
•Push down to activate the left
turn signal.
•Push up to activate the right turn
signal.
INTERIOR LAMPS
Courtesy/reading lamps
The courtesy lamp will turn on
when:
•any door is opened.
•the instrument panel dimmer
switch is rotated all the way up
(past detent).
•Pressing the
on the remote
entry key fob and the ignition is
in the OFF position.
NOTE:If your vehicle is equipped with the Remote Keyless Entry
feature, the courtesy lamp will remain on for 25 seconds after the door is
shut or until the ignition is turned to the ON position.
Lights
27
Page 31 of 184

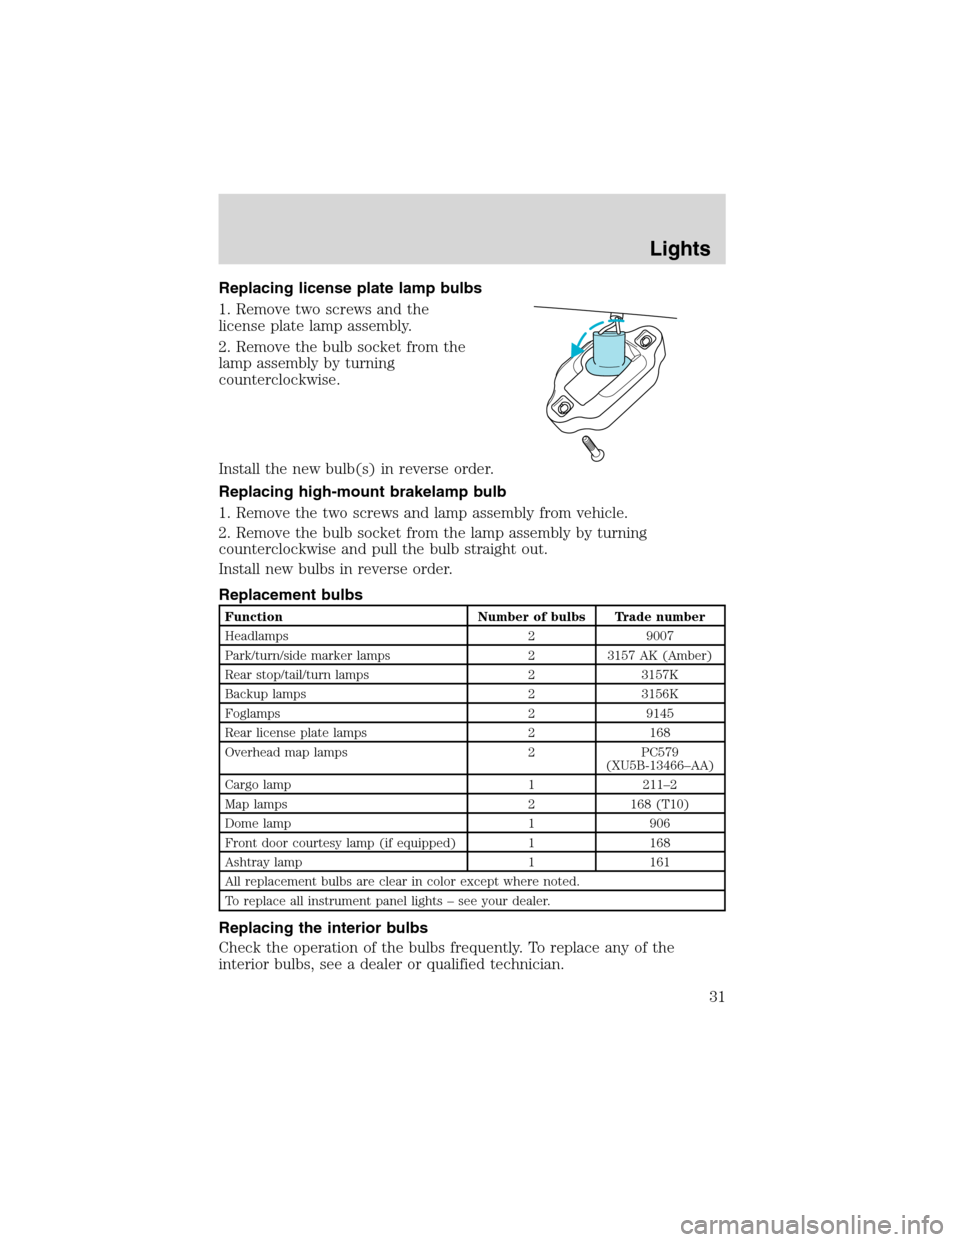
Replacing license plate lamp bulbs
1. Remove two screws and the
license plate lamp assembly.
2. Remove the bulb socket from the
lamp assembly by turning
counterclockwise.
Install the new bulb(s) in reverse order.
Replacing high-mount brakelamp bulb
1. Remove the two screws and lamp assembly from vehicle.
2. Remove the bulb socket from the lamp assembly by turning
counterclockwise and pull the bulb straight out.
Install new bulbs in reverse order.
Replacement bulbs
Function Number of bulbs Trade number
Headlamps 2 9007
Park/turn/side marker lamps 2 3157 AK (Amber)
Rear stop/tail/turn lamps 2 3157K
Backup lamps 2 3156K
Foglamps 2 9145
Rear license plate lamps 2 168
Overhead map lamps 2 PC579
(XU5B-13466–AA)
Cargo lamp 1 211–2
Map lamps 2 168 (T10)
Dome lamp 1 906
Front door courtesy lamp (if equipped) 1 168
Ashtray lamp 1 161
All replacement bulbs are clear in color except where noted.
To replace all instrument panel lights–see your dealer.
Replacing the interior bulbs
Check the operation of the bulbs frequently. To replace any of the
interior bulbs, see a dealer or qualified technician.
Lights
31
Page 48 of 184

REMOTE ENTRY SYSTEM (IF EQUIPPED)
This device complies with part 15 of the FCC rules and with RS-210 of
Industry Canada. Operation is subject to the following two conditions:
(1) This device may not cause harmful interference, and (2) This device
must accept any interference received, including interference that may
cause undesired operation.
Changes or modifications not expressly approved by the party
responsible for compliance could void the user’s authority to
operate the equipment.
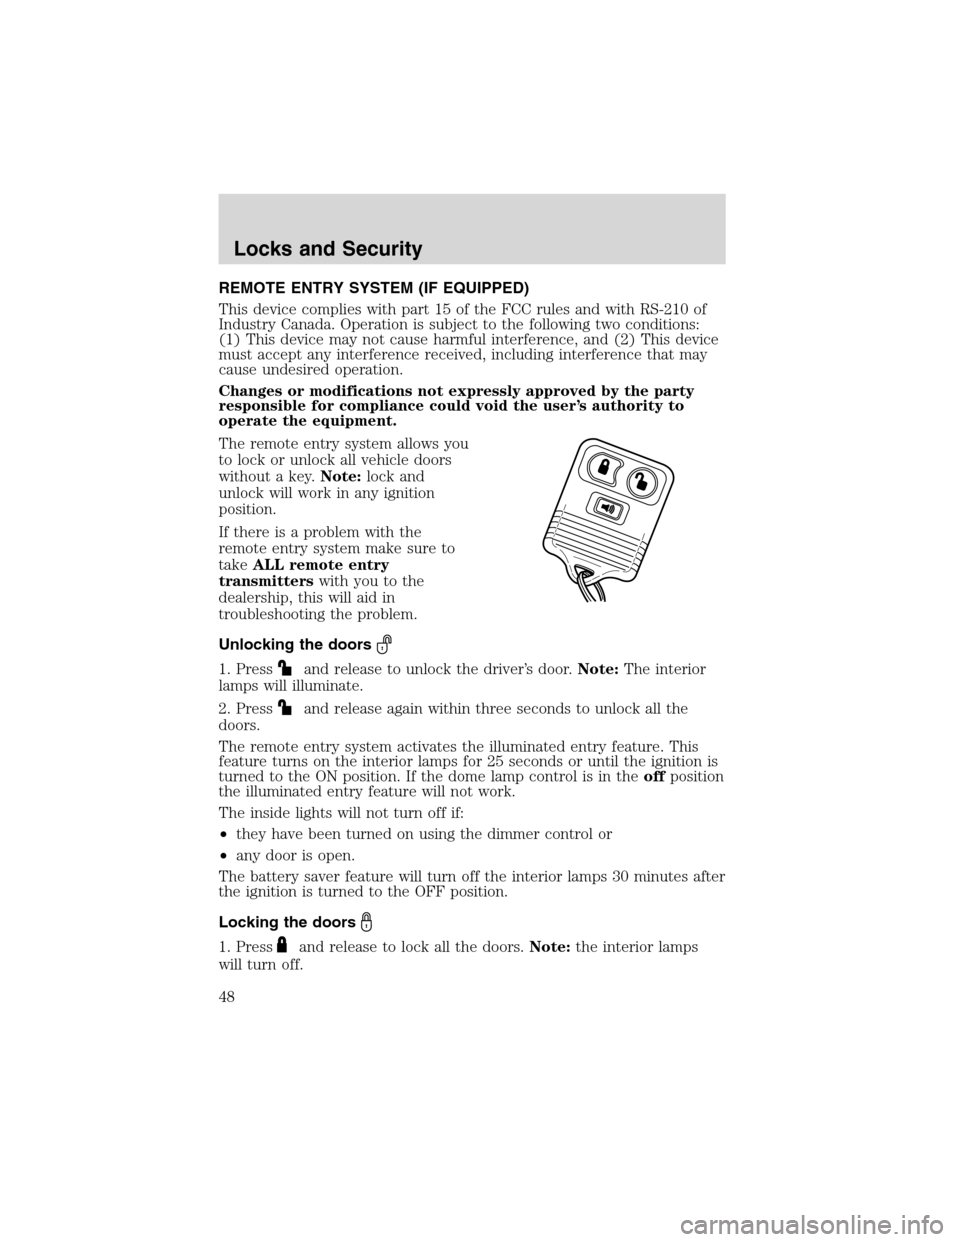
The remote entry system allows you
to lock or unlock all vehicle doors
without a key.Note:lock and
unlock will work in any ignition
position.
If there is a problem with the
remote entry system make sure to
takeALL remote entry
transmitterswith you to the
dealership, this will aid in
troubleshooting the problem.
Unlocking the doors
1. Pressand release to unlock the driver’s door.Note:The interior
lamps will illuminate.
2. Press
and release again within three seconds to unlock all the
doors.
The remote entry system activates the illuminated entry feature. This
feature turns on the interior lamps for 25 seconds or until the ignition is
turned to the ON position. If the dome lamp control is in theoffposition
the illuminated entry feature will not work.
The inside lights will not turn off if:
•they have been turned on using the dimmer control or
•any door is open.
The battery saver feature will turn off the interior lamps 30 minutes after
the ignition is turned to the OFF position.
Locking the doors
1. Pressand release to lock all the doors.Note:the interior lamps
will turn off.
Locks and Security
48
Page 180 of 184

Headlamps
aiming ........................................25
autolamp system .......................24
flash to pass ..............................25
high beam .................................25
Heating
heating and air conditioning
system .......................................22
I
Ignition .................................86, 172
Infant seats (see Safety seats)...80
Instrument panel
cleaning ...................................140
cluster ..........................................8
K
Keyless entry system .................51
Keys
positions of the ignition ...........86
L
Lamps
autolamp system .................24, 37
bulb replacement
specifications chart ..................28
fog lamps ...................................24
high beams ................................25
instrument panel, dimming .....25
interior lamps ...........................27
Liftgate ........................................46
Lights, warning and indicator ......8
anti-lock brakes (ABS) ............90
Load limits .................................103
GAWR ......................................103
GVWR ......................................103
trailer towing ..........................103Loading instructions .................105
Locks
childproof ..................................47
Lubricant specifications ...170, 172
Lumbar support, seats .........57–58
M
Manual transmission ...................96
fluid capacities ........................167
lubricant specifications ..........172
reverse .......................................97
Mirrors
automatic dimming rearview
mirror ........................................38
fold away ...................................38
side view mirrors (power) .......38
Moon roof ....................................41
Motorcraft parts ........................167
P
Parking brake ..............................91
Parts (see Motorcraft parts) ....167
Power steering ............................91
fluid, refill capacity ................167
fluid, specifications .........170, 172
Preparing to drive your
vehicle ..........................................92
R
Radio ......................................14, 18
Remote entry system
locking/unlocking doors ...........47
Roadside assistance ..................111
Index
180