Page 60 of 280
Daytime running lamps (DRL) (if equipped)
Turns the headlamps on with a reduced output. To activate:
²the ignition must be in the ON position and
²the headlamp control is in the OFF or Parking lamps position.
Always remember to turn on your headlamps at dusk or during
inclement weather. The Daytime Running Lamp (DRL) system
does not activate with your tail lamps and generally may not provide
adequate lighting during these conditions. Failure to activate your
headlamps under these conditions may result in a collision.
High beams
²Push forward to activate.
²Pull toward you to deactivate.
Flash to pass
Pull toward you to activate and
release to deactivate.
PANEL DIMMER CONTROL
Use to adjust the brightness of the
instrument panel during headlamp
and parklamp operation.
²Rotate up to brighten.
²Rotate down to dim.
²Rotate to full up position (past
detent) to turn on interior lamps.
²Rotate to full down position (past
detent) to turn off interior lamps.
Lights
60
Page 70 of 280

Windshield wiper blades
Check the wiper blades at least twice a year or when they seem less
effective. Substances such as tree sap and some hot wax treatments used
by commercial car washes reduce the effectiveness of wiper blades.
Checking the wiper blades
If the wiper blades do not wipe properly, clean both the windshield and
wiper blades using undiluted windshield wiper solution or a mild
detergent. Rinse thoroughly with clean water. To avoid damaging the
blades, do not use fuel, kerosene, paint thinner or other solvents.
Changing the wiper blades
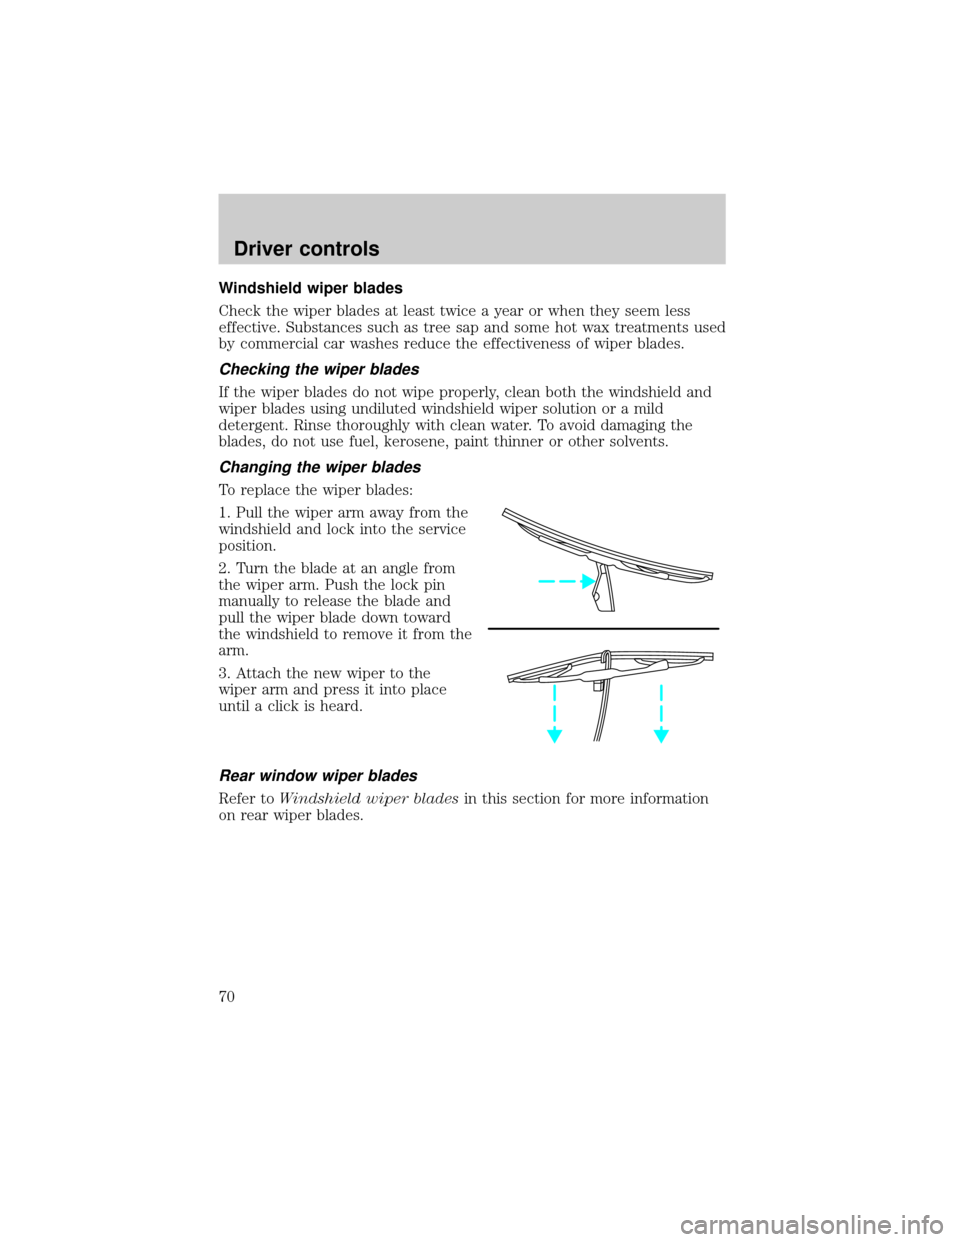
To replace the wiper blades:
1. Pull the wiper arm away from the
windshield and lock into the service
position.
2. Turn the blade at an angle from
the wiper arm. Push the lock pin
manually to release the blade and
pull the wiper blade down toward
the windshield to remove it from the
arm.
3. Attach the new wiper to the
wiper arm and press it into place
until a click is heard.
Rear window wiper blades
Refer toWindshield wiper bladesin this section for more information
on rear wiper blades.
Driver controls
70
Page 71 of 280
TILT STEERING
Pull the tilt steering control toward
you to move the steering wheel up
or down. Hold the control while
adjusting the wheel to the desired
position, then release the control.
Never adjust the steering wheel when the vehicle is moving.
ILLUMINATED VISOR MIRROR (IF EQUIPPED)
To turn on the visor mirror lamps,
lift the mirror cover open.
OVERHEAD CONSOLE
The appearance of your vehicle's overhead console will vary according to
your option package.
Driver controls
71
Page 73 of 280
One-touch moon roof (if equipped)
With trip computer
Without trip computer
²Press and release the rear portion of the moon roof control to open.
²Press and hold (as desired) the front portion of the moon roof control
to close.
²To halt motion at any point during one-touch opening, press the
control a second time.
²The moon roof has a sliding shade that can be manually opened or
closed when the glass panel is shut.
²To close the shade, pull it toward the front of the vehicle.
Do not let children play with the moon roof. They may seriously
hurt themselves.
VENT VENTROOF
AUTO
ROOF
Driver controls
73
Page 82 of 280
Signal mirrors (if equipped)
When the turn signal is activated,
the outer portion of the appropriate
mirror housing will blink red.
This provides an additional warning
to other drivers that your vehicle is
about to turn.
Fold-away mirrors
Pull the side mirrors in carefully
when driving through a narrow
space, like an automatic car wash.
POWER ADJUSTABLE FOOT PEDALS
The accelerator and brake pedal
should only be adjusted when the
vehicle is stopped and the gearshift
lever is in the P(Park) position.
Press and hold the rocker control to
adjust accelerator and brake pedal toward you or away from you.
The adjustment allows for approximately 76 mm (3 inches) of maximum
travel.
Never adjust the accelerator and brake pedal with feet on pedals
or while the vehicle is moving.
PEDALS
Driver controls
82
Page 91 of 280

Mode control
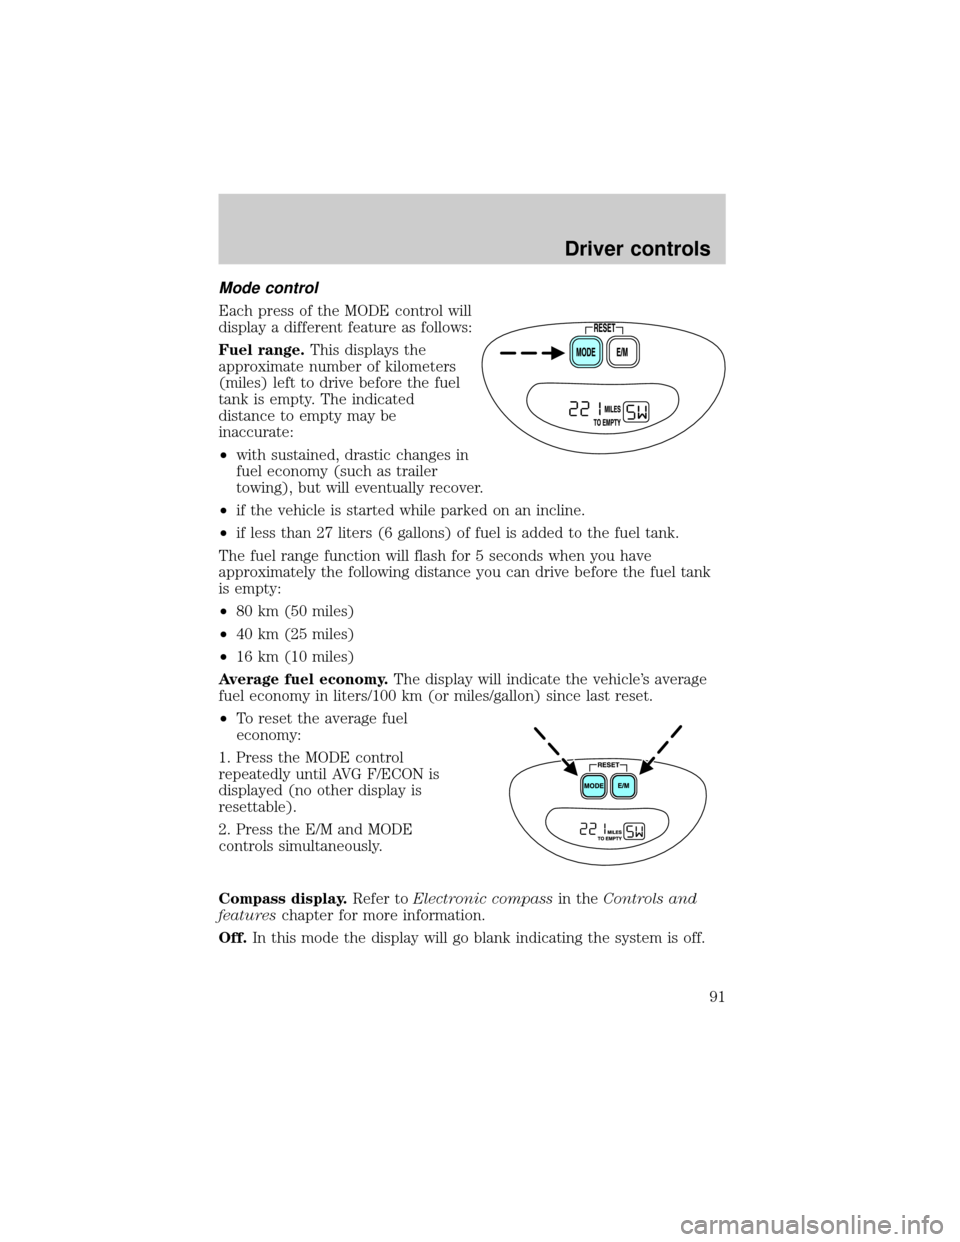
Each press of the MODE control will
display a different feature as follows:
Fuel range.This displays the
approximate number of kilometers
(miles) left to drive before the fuel
tank is empty. The indicated
distance to empty may be
inaccurate:
²with sustained, drastic changes in
fuel economy (such as trailer
towing), but will eventually recover.
²if the vehicle is started while parked on an incline.
²if less than 27 liters (6 gallons) of fuel is added to the fuel tank.
The fuel range function will flash for 5 seconds when you have
approximately the following distance you can drive before the fuel tank
is empty:
²80 km (50 miles)
²40 km (25 miles)
²16 km (10 miles)
Average fuel economy.The display will indicate the vehicle's average
fuel economy in liters/100 km (or miles/gallon) since last reset.
²To reset the average fuel
economy:
1. Press the MODE control
repeatedly until AVG F/ECON is
displayed (no other display is
resettable).
2. Press the E/M and MODE
controls simultaneously.
Compass display.Refer toElectronic compassin theControls and
featureschapter for more information.
Off.In this mode the display will go blank indicating the system is off.
Driver controls
91
Page 94 of 280

Make sure that the liftgate door and/or window are closed to
prevent exhaust fumes from being drawn into the vehicle. This
will also prevent passengers and cargo from falling out. If you must
drive with the liftgate door or window open, keep the vents open so
outside air comes into the vehicle.
LUGGAGE RACK (IF EQUIPPED)
The rear cross-bar can be adjusted to fit the item being carried. The
front cross-bar does not move.
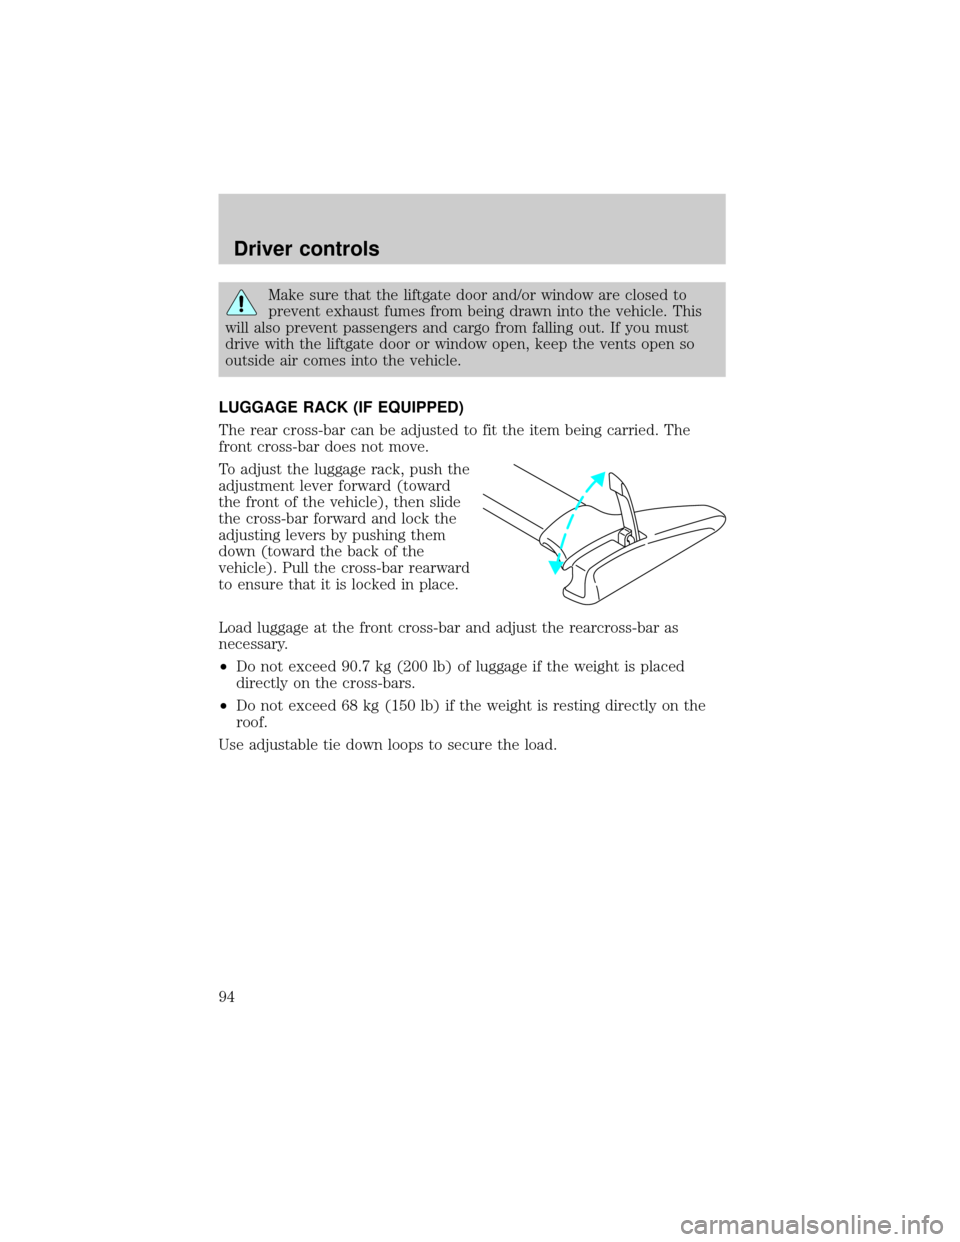
To adjust the luggage rack, push the
adjustment lever forward (toward
the front of the vehicle), then slide
the cross-bar forward and lock the
adjusting levers by pushing them
down (toward the back of the
vehicle). Pull the cross-bar rearward
to ensure that it is locked in place.
Load luggage at the front cross-bar and adjust the rearcross-bar as
necessary.
²Do not exceed 90.7 kg (200 lb) of luggage if the weight is placed
directly on the cross-bars.
²Do not exceed 68 kg (150 lb) if the weight is resting directly on the
roof.
Use adjustable tie down loops to secure the load.
Driver controls
94
Page 98 of 280

Sounding a panic alarm
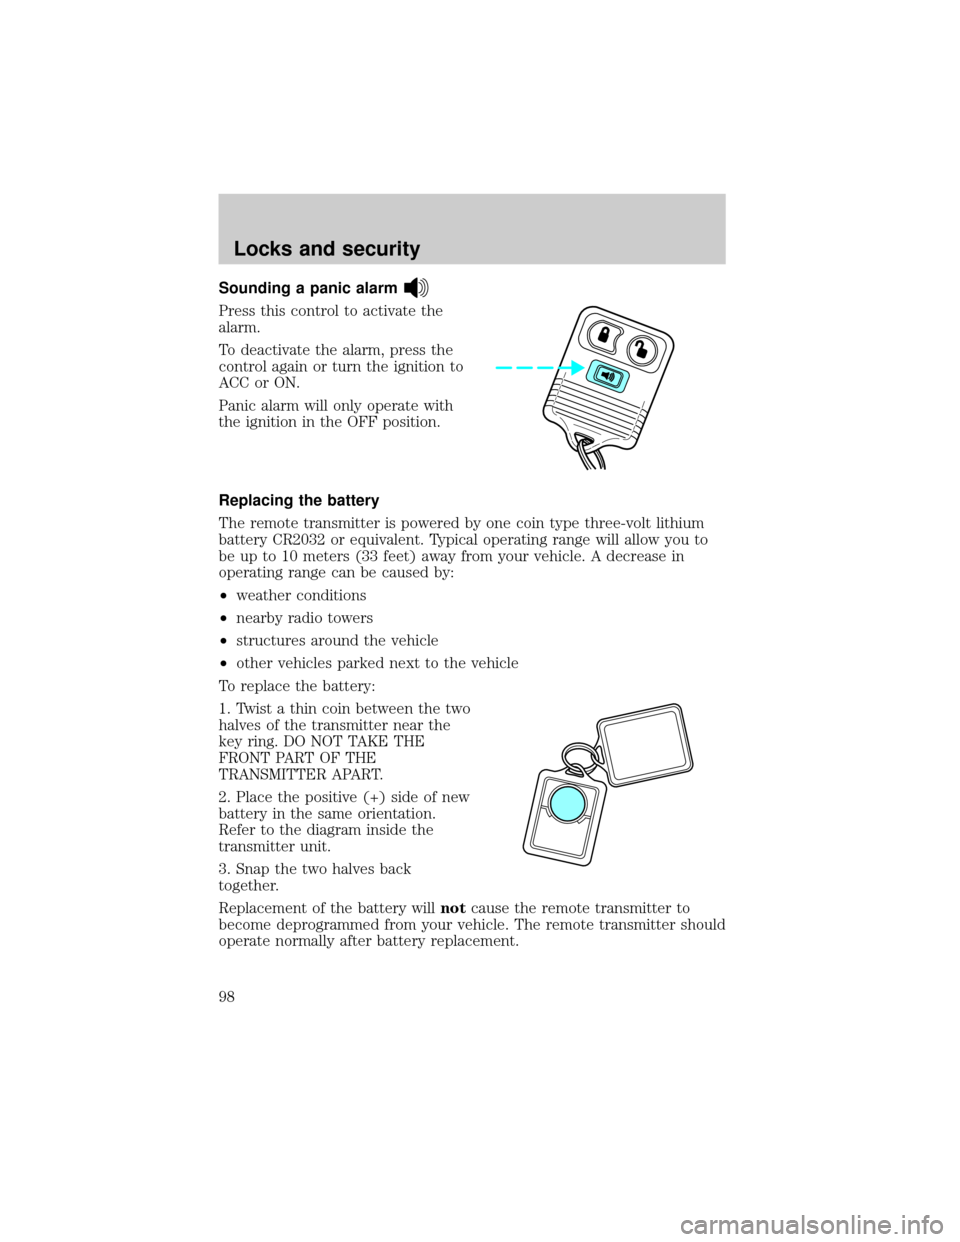
Press this control to activate the
alarm.
To deactivate the alarm, press the
control again or turn the ignition to
ACC or ON.
Panic alarm will only operate with
the ignition in the OFF position.
Replacing the battery
The remote transmitter is powered by one coin type three-volt lithium
battery CR2032 or equivalent. Typical operating range will allow you to
be up to 10 meters (33 feet) away from your vehicle. A decrease in
operating range can be caused by:
²weather conditions
²nearby radio towers
²structures around the vehicle
²other vehicles parked next to the vehicle
To replace the battery:
1. Twist a thin coin between the two
halves of the transmitter near the
key ring. DO NOT TAKE THE
FRONT PART OF THE
TRANSMITTER APART.
2. Place the positive (+) side of new
battery in the same orientation.
Refer to the diagram inside the
transmitter unit.
3. Snap the two halves back
together.
Replacement of the battery willnotcause the remote transmitter to
become deprogrammed from your vehicle. The remote transmitter should
operate normally after battery replacement.
Locks and security
98