Page 1 of 240
Introduction 4
Instrument Cluster 10
Warning and control lights 10
Gauges 17
Entertainment Systems 22
AM/FM stereo 22
AM/FM stereo cassette 26
AM/FM stereo with CD 33
AM/FM stereo cassette (CD changer compatible) 39
CD changer 49
Climate Controls 54
Manual heating and air conditioning 54
Electronic automatic temperature control 56
Lights 63
Headlamps 63
Turn signal control 65
Bulb replacement 65
Driver Controls 72
Windshield wiper/washer control 72
Steering wheel adjustment 73
Power windows 74
Mirrors 75
Speed control 79
Message center 83
Locks and Security 91
Keys 91
Locks 91
Anti-theft system 93
Table of Contents
1
Page 16 of 240

Trunk ajar
If the trunk is not completely
closed, this light comes on when
you turn the ignition to ON. With
the ignition ON, this light will flash
five times and sound a tone for one
second, then the light remains on (if
the trunk is open).
Safety belt warning chime
Sounds to remind you to fasten your safety belts.
BeltMinderYchime
Sounds intermittently to remind you to fasten your safety belts.
Supplemental restraint system (SRS) warning chime
Sounds when a malfunction in the supplemental restraint system (front
or side airbags) has been detected. Have the supplemental restraint
system inspected immediately.
Headlamps on warning chime
Sounds when the headlamps or parking lamps are on, the key is removed
from the ignition and the driver's door is opened.
Key-in-ignition warning chime
Sounds when the key is left in the ignition and the driver's door is
opened.
CHECK
TRUNK AJAR LTR/100 kmAIR SUSPENSION
OVERDRIVE OFFDOOR
AJAR
LOW
WASHER
FLUID
km
MILES
/GAL
Instrument Cluster
16
Page 63 of 240
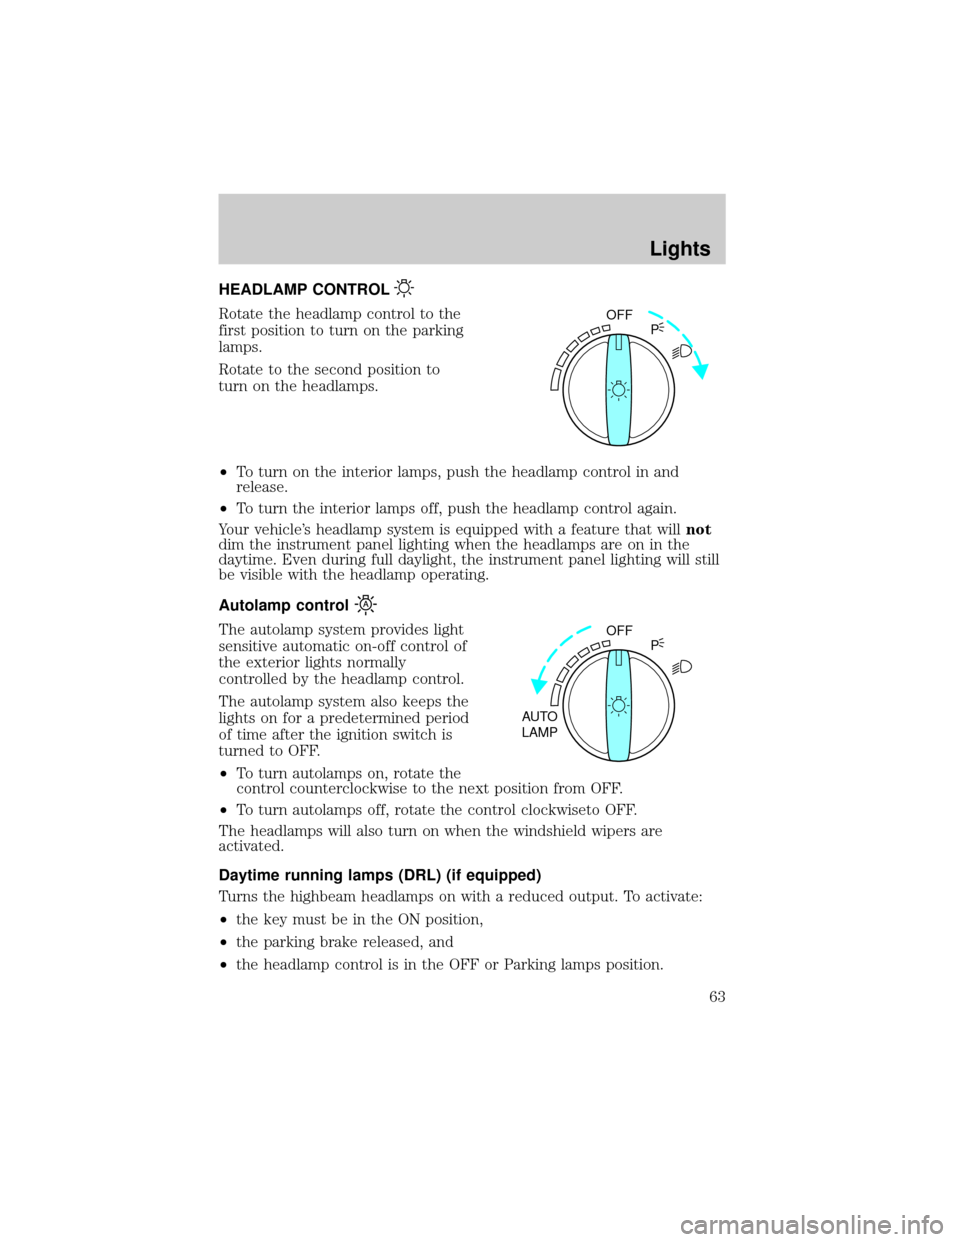
HEADLAMP CONTROL
Rotate the headlamp control to the
first position to turn on the parking
lamps.
Rotate to the second position to
turn on the headlamps.
²To turn on the interior lamps, push the headlamp control in and
release.
²To turn the interior lamps off, push the headlamp control again.
Your vehicle's headlamp system is equipped with a feature that willnot
dim the instrument panel lighting when the headlamps are on in the
daytime. Even during full daylight, the instrument panel lighting will still
be visible with the headlamp operating.
Autolamp control
The autolamp system provides light
sensitive automatic on-off control of
the exterior lights normally
controlled by the headlamp control.
The autolamp system also keeps the
lights on for a predetermined period
of time after the ignition switch is
turned to OFF.
²To turn autolamps on, rotate the
control counterclockwise to the next position from OFF.
²To turn autolamps off, rotate the control clockwiseto OFF.
The headlamps will also turn on when the windshield wipers are
activated.
Daytime running lamps (DRL) (if equipped)
Turns the highbeam headlamps on with a reduced output. To activate:
²the key must be in the ON position,
²the parking brake released, and
²the headlamp control is in the OFF or Parking lamps position.
OFF
P
OFF
AUTO
LAMPP
Lights
63
Page 91 of 240
KEYS
The key operates all locks on your vehicle. In case of loss, replacement
keys are available from your dealer.
You should always carry a second key with you in a safe place in case
you require it in an emergency.
Refer toSecuriLockyPassive Anti-Theft Systemfor more information.
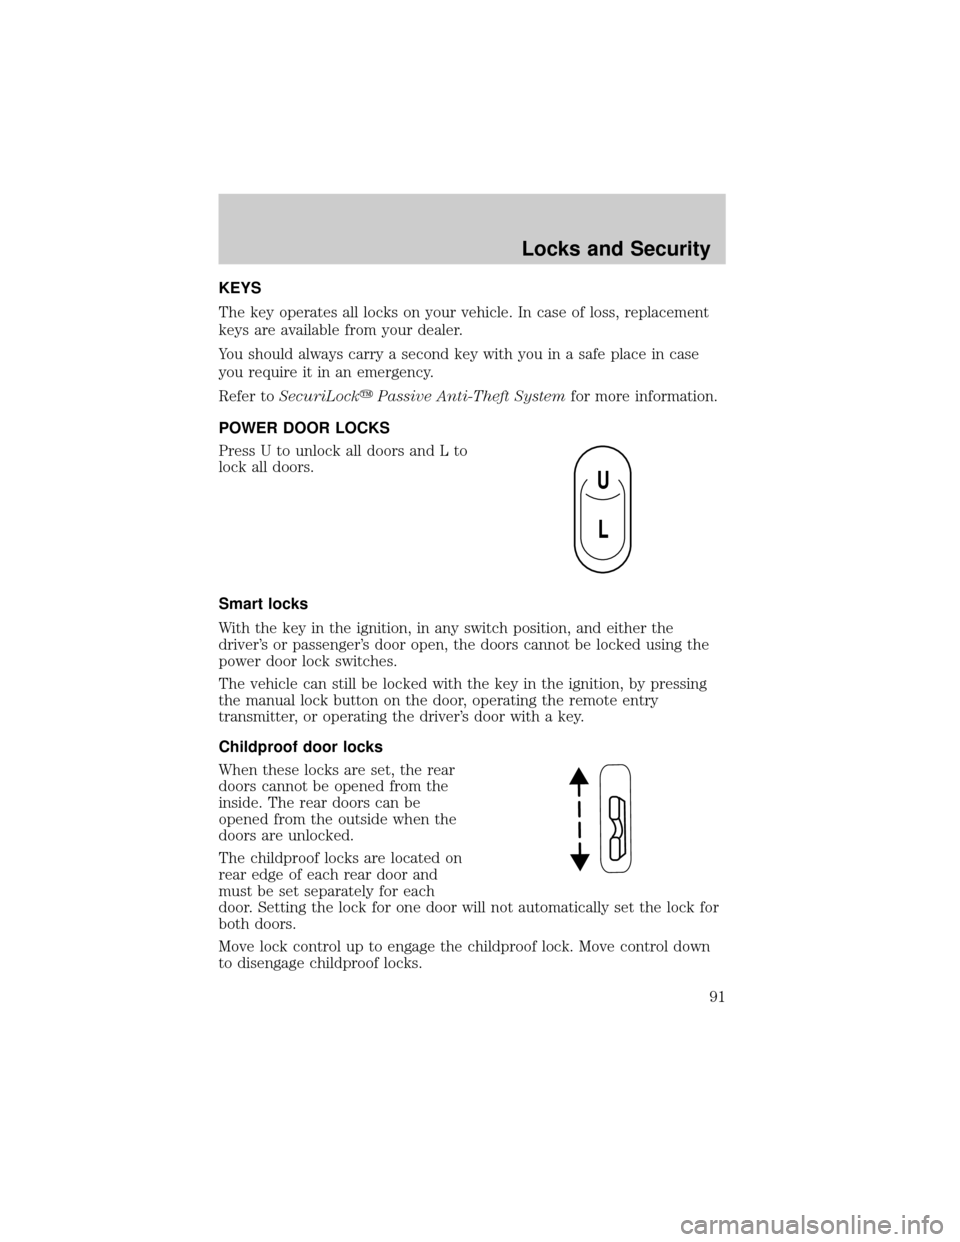
POWER DOOR LOCKS
Press U to unlock all doors and L to
lock all doors.
Smart locks
With the key in the ignition, in any switch position, and either the
driver's or passenger's door open, the doors cannot be locked using the
power door lock switches.
The vehicle can still be locked with the key in the ignition, by pressing
the manual lock button on the door, operating the remote entry
transmitter, or operating the driver's door with a key.
Childproof door locks
When these locks are set, the rear
doors cannot be opened from the
inside. The rear doors can be
opened from the outside when the
doors are unlocked.
The childproof locks are located on
rear edge of each rear door and
must be set separately for each
door. Setting the lock for one door will not automatically set the lock for
both doors.
Move lock control up to engage the childproof lock. Move control down
to disengage childproof locks.
U
L
Locks and Security
91
Page 92 of 240
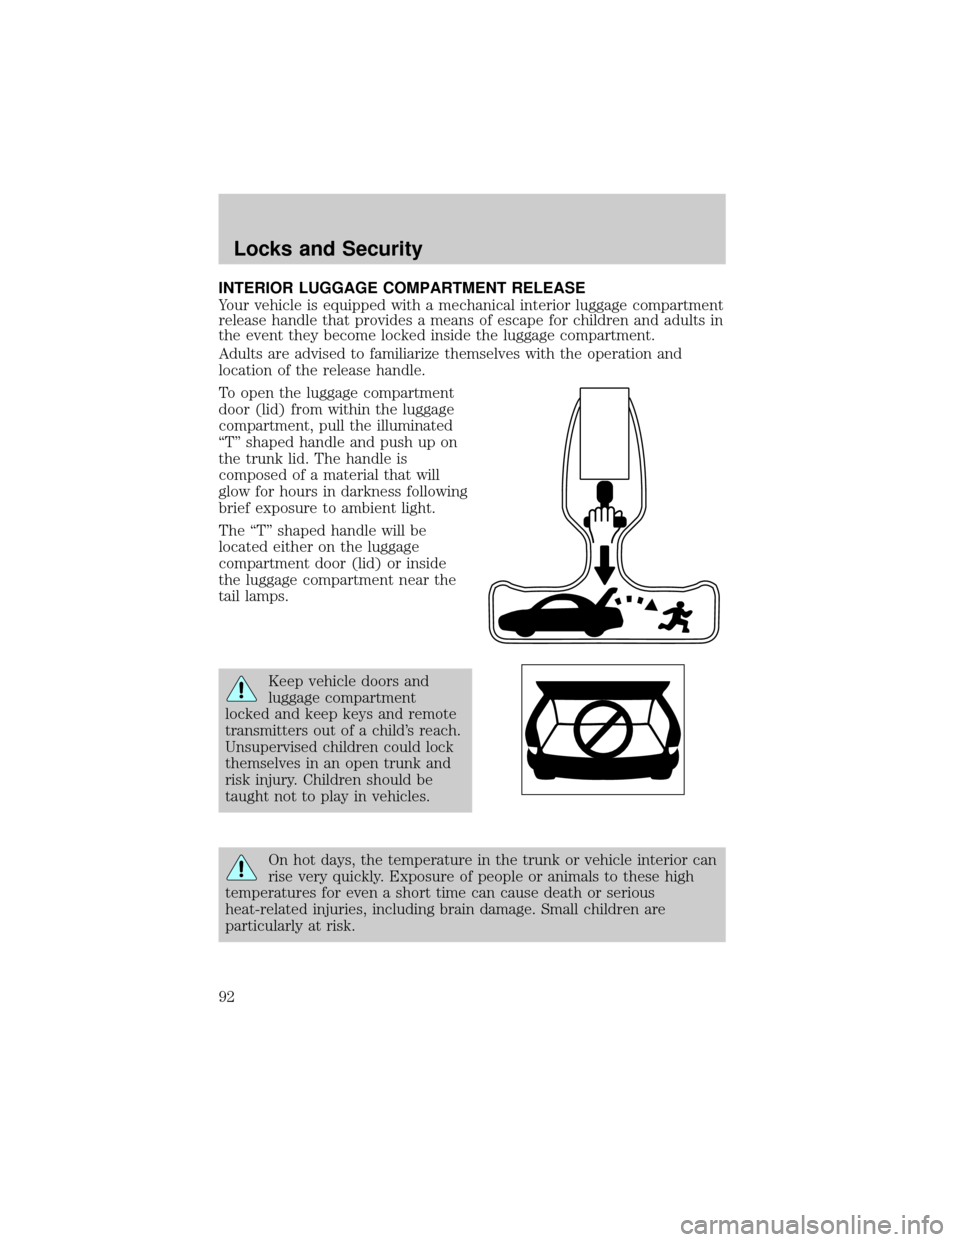
INTERIOR LUGGAGE COMPARTMENT RELEASE
Your vehicle is equipped with a mechanical interior luggage compartment
release handle that provides a means of escape for children and adults in
the event they become locked inside the luggage compartment.
Adults are advised to familiarize themselves with the operation and
location of the release handle.
To open the luggage compartment
door (lid) from within the luggage
compartment, pull the illuminated
ªTº shaped handle and push up on
the trunk lid. The handle is
composed of a material that will
glow for hours in darkness following
brief exposure to ambient light.
The ªTº shaped handle will be
located either on the luggage
compartment door (lid) or inside
the luggage compartment near the
tail lamps.
Keep vehicle doors and
luggage compartment
locked and keep keys and remote
transmitters out of a child's reach.
Unsupervised children could lock
themselves in an open trunk and
risk injury. Children should be
taught not to play in vehicles.
On hot days, the temperature in the trunk or vehicle interior can
rise very quickly. Exposure of people or animals to these high
temperatures for even a short time can cause death or serious
heat-related injuries, including brain damage. Small children are
particularly at risk.
Locks and Security
92
Page 93 of 240
REMOTE ENTRY SYSTEM (IF EQUIPPED)
This device complies with part 15 of the FCC rules and with RS-210 of
Industry Canada. Operation is subject to the following two conditions:
(1) This device may not cause harmful interference, and (2) This device
must accept any interference received, including interference that may
cause undesired operation.
Changes or modifications not expressly approved by the party
responsible for compliance could void the user's authority to
operate the equipment.
The remote entry system allows you to lock or unlock all vehicle doors
without a key.
The remote entry features operate with the ignition in any position,
except in RUN, with the transmission not in either P (Park) or N
(Neutral).
If there is any potential remote keyless entry problem with your vehicle,
ensureALL remote entry transmittersare brought to the dealership,
to aid in troubleshooting.
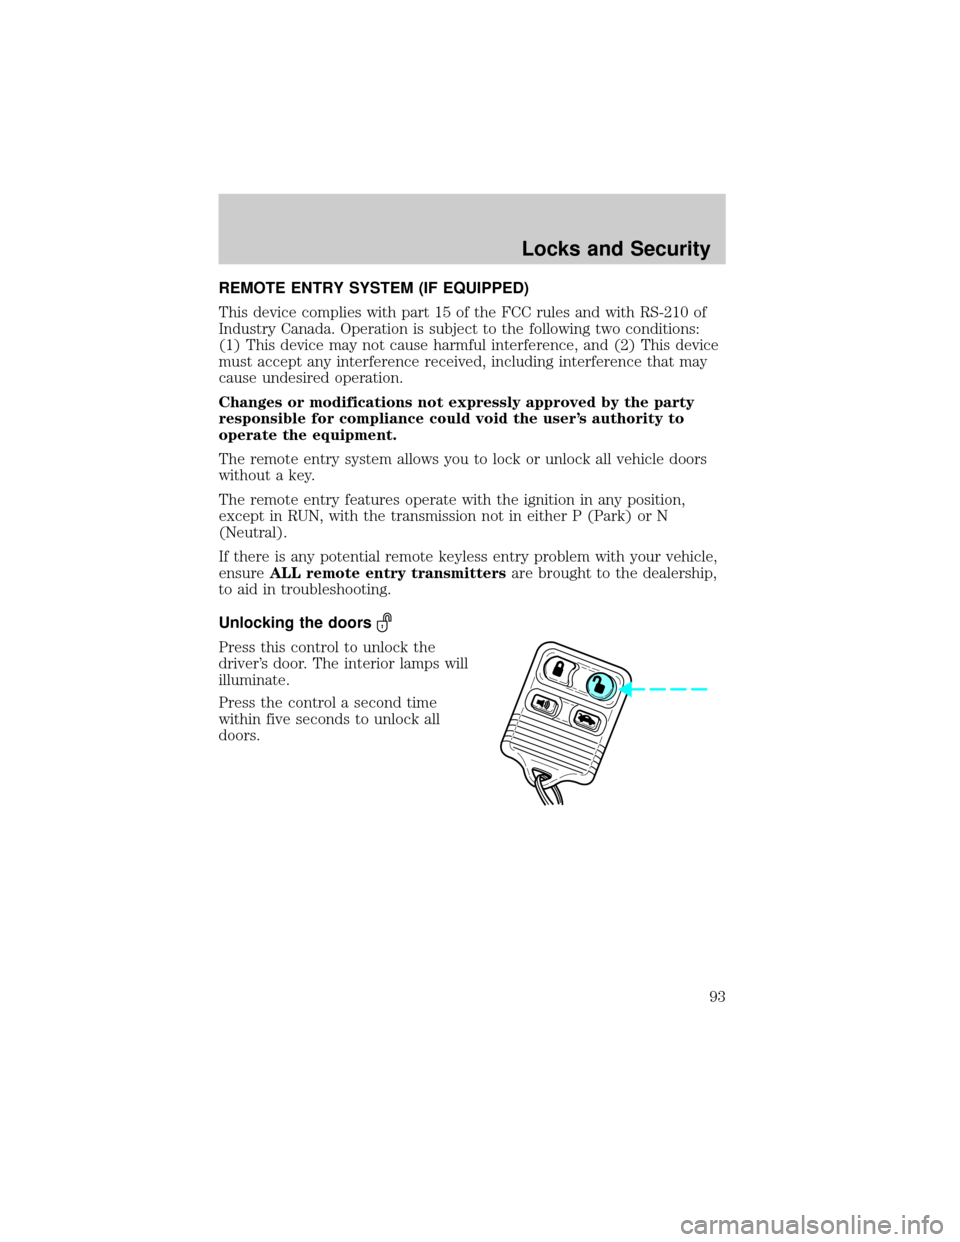
Unlocking the doors
Press this control to unlock the
driver's door. The interior lamps will
illuminate.
Press the control a second time
within five seconds to unlock all
doors.
Locks and Security
93
Page 94 of 240
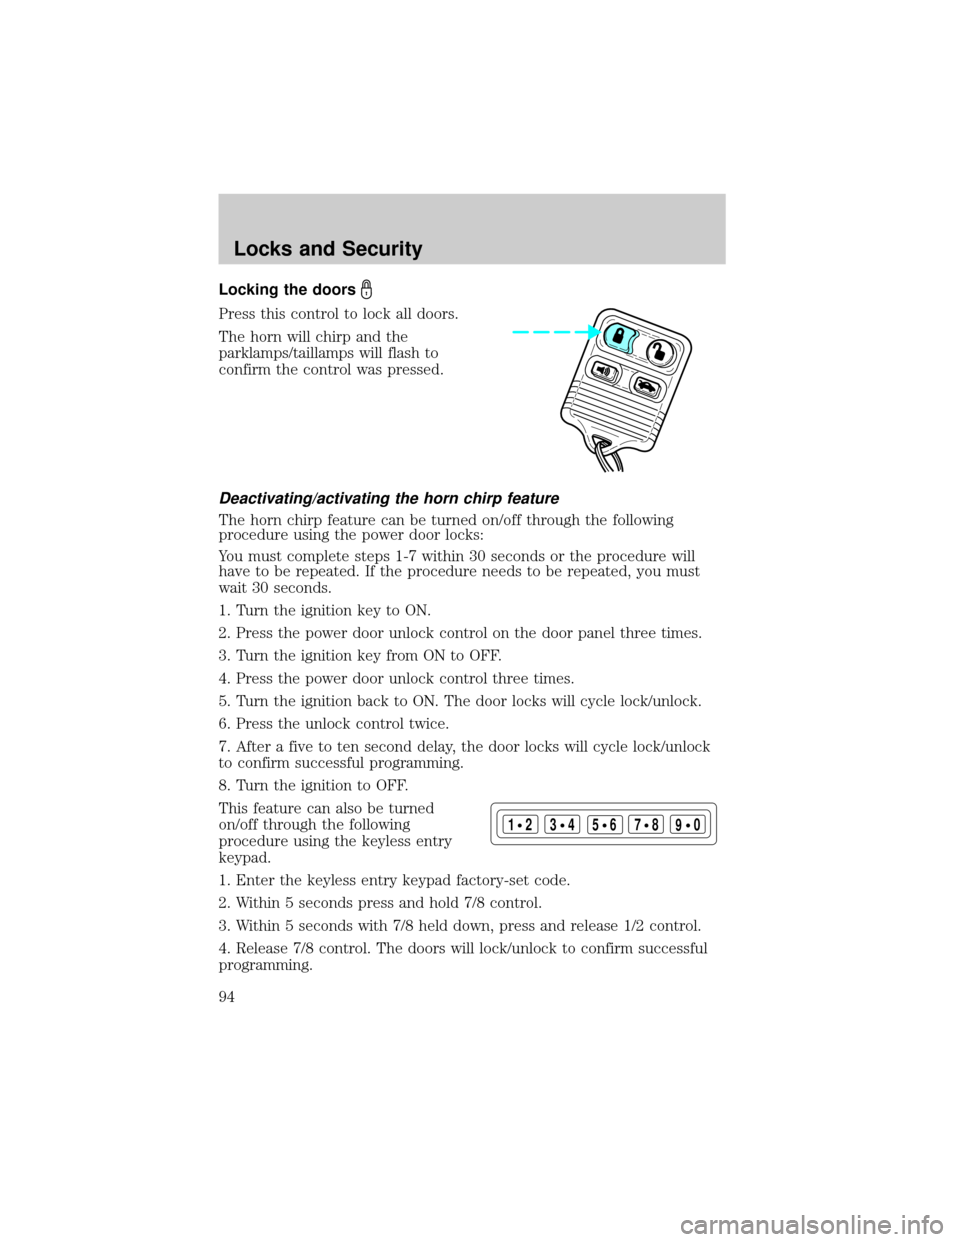
Locking the doors
Press this control to lock all doors.
The horn will chirp and the
parklamps/taillamps will flash to
confirm the control was pressed.
Deactivating/activating the horn chirp feature
The horn chirp feature can be turned on/off through the following
procedure using the power door locks:
You must complete steps 1-7 within 30 seconds or the procedure will
have to be repeated. If the procedure needs to be repeated, you must
wait 30 seconds.
1. Turn the ignition key to ON.
2. Press the power door unlock control on the door panel three times.
3. Turn the ignition key from ON to OFF.
4. Press the power door unlock control three times.
5. Turn the ignition back to ON. The door locks will cycle lock/unlock.
6. Press the unlock control twice.
7. After a five to ten second delay, the door locks will cycle lock/unlock
to confirm successful programming.
8. Turn the ignition to OFF.
This feature can also be turned
on/off through the following
procedure using the keyless entry
keypad.
1. Enter the keyless entry keypad factory-set code.
2. Within 5 seconds press and hold 7/8 control.
3. Within 5 seconds with 7/8 held down, press and release 1/2 control.
4. Release 7/8 control. The doors will lock/unlock to confirm successful
programming.
123
45678
90
Locks and Security
94
Page 96 of 240
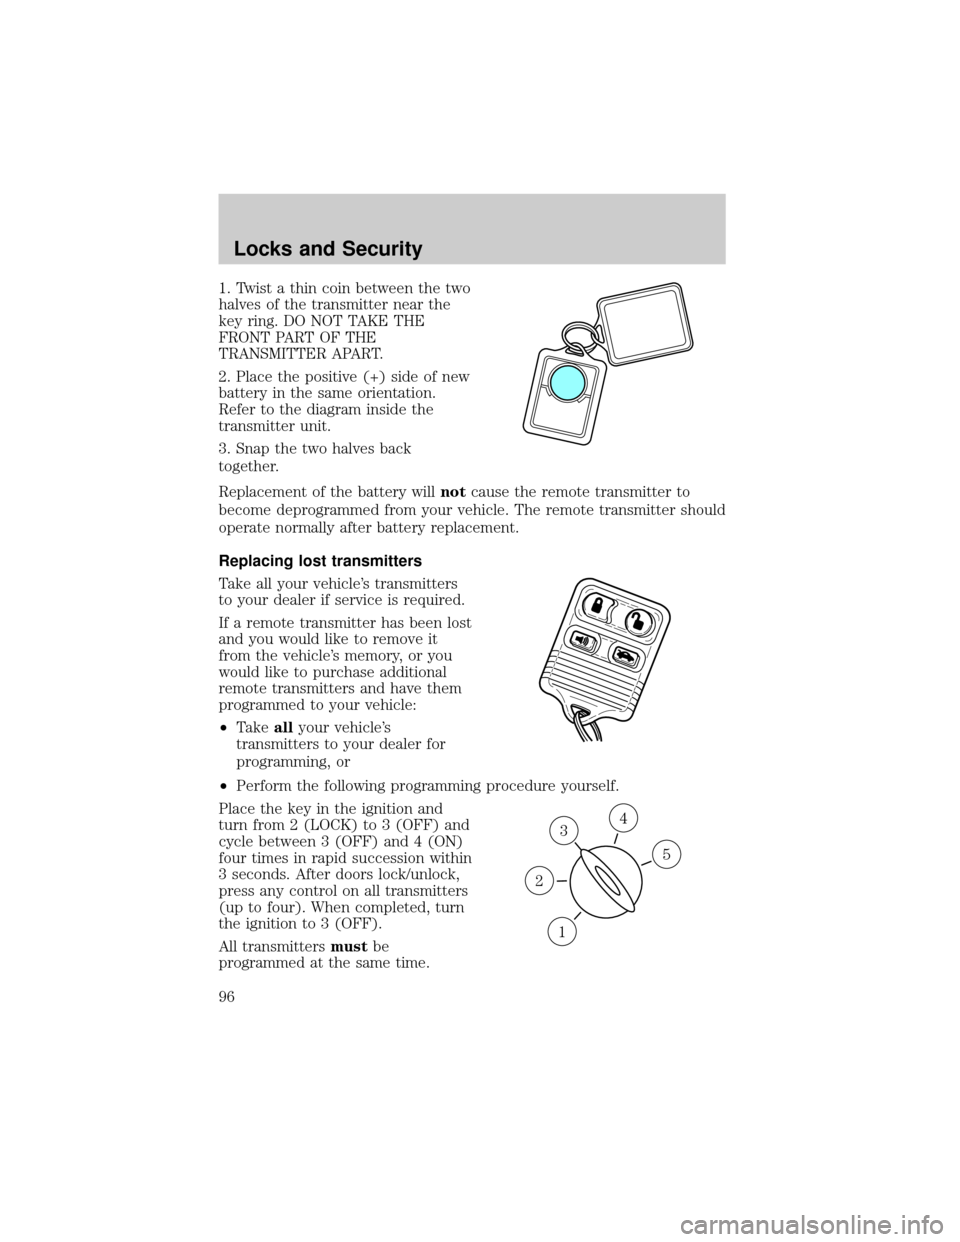
1. Twist a thin coin between the two
halves of the transmitter near the
key ring. DO NOT TAKE THE
FRONT PART OF THE
TRANSMITTER APART.
2. Place the positive (+) side of new
battery in the same orientation.
Refer to the diagram inside the
transmitter unit.
3. Snap the two halves back
together.
Replacement of the battery willnotcause the remote transmitter to
become deprogrammed from your vehicle. The remote transmitter should
operate normally after battery replacement.
Replacing lost transmitters
Take all your vehicle's transmitters
to your dealer if service is required.
If a remote transmitter has been lost
and you would like to remove it
from the vehicle's memory, or you
would like to purchase additional
remote transmitters and have them
programmed to your vehicle:
²Takeallyour vehicle's
transmitters to your dealer for
programming, or
²Perform the following programming procedure yourself.
Place the key in the ignition and
turn from 2 (LOCK) to 3 (OFF) and
cycle between 3 (OFF) and 4 (ON)
four times in rapid succession within
3 seconds. After doors lock/unlock,
press any control on all transmitters
(up to four). When completed, turn
the ignition to 3 (OFF).
All transmittersmustbe
programmed at the same time.
3
1
2
5
4
Locks and Security
96