Page 25 of 240
Setting the clock
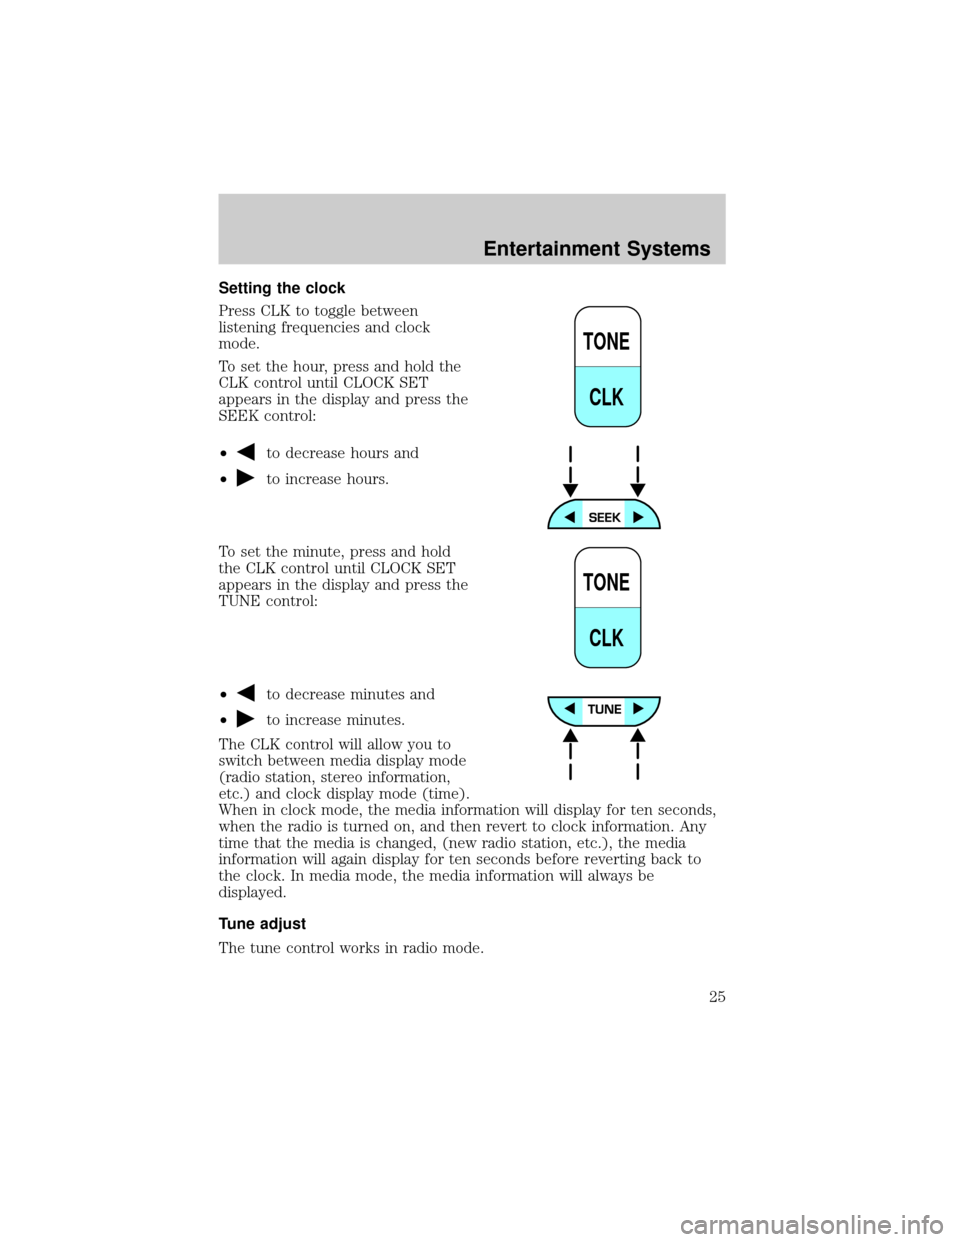
Press CLK to toggle between
listening frequencies and clock
mode.
To set the hour, press and hold the
CLK control until CLOCK SET
appears in the display and press the
SEEK control:
²
to decrease hours and
²
to increase hours.
To set the minute, press and hold
the CLK control until CLOCK SET
appears in the display and press the
TUNE control:
²
to decrease minutes and
²
to increase minutes.
The CLK control will allow you to
switch between media display mode
(radio station, stereo information,
etc.) and clock display mode (time).
When in clock mode, the media information will display for ten seconds,
when the radio is turned on, and then revert to clock information. Any
time that the media is changed, (new radio station, etc.), the media
information will again display for ten seconds before reverting back to
the clock. In media mode, the media information will always be
displayed.
Tune adjust
The tune control works in radio mode.
TONE
CLK
TONE
CLK
Entertainment Systems
25
Page 30 of 240
Setting the clock
Press CLK to toggle between
listening frequencies and clock
mode while in radio mode.
To set the hour, press and hold the
CLK control and press the SEEK
control:
²
to decrease hours and
²
to increase hours.
To set the minute, press and hold
the CLK control and press the
TUNE control:
²
to decrease minutes and
²
to increase minutes.
The CLK control will allow you to switch between media display mode
(radio station, stereo information, etc.) and clock display mode (time).
When in clock mode, the media information will display for 10 seconds,
when the radio is turned on, and then revert to clock information. Any
time that the media is changed, (new radio station, etc.), the media
information will again display for 10 seconds before reverting back to the
clock. In media mode, the media information will always be displayed.
Tune adjust
The tune control works in radio mode.
TAPE
AMS
CLK
SEEK
TUNE
TAPE
AMS
CLK
SEEK
TUNE
Entertainment Systems
30
Page 36 of 240
AM/FM select in CD or CD changer mode (if equipped)
The AM/FM control to stop CD play and begin radio play.
Radio station memory preset
The radio is equipped with four or six station memory preset controls.
These controls can be used to select up to four or six preset AM stations
and eight or twelve FM stations (four to six in FM1 and four to six in
FM2).
Setting memory preset stations
1. Select the frequency band with the AM/FM select control.
2. Select a station. Refer toTune adjustorSeek functionfor more
information on selecting a station.
3. Press and hold a memory preset control until the sound returns,
indicating the station is held in memory on the control you selected.
Setting the clock
Press CLK to toggle between
listening frequencies and clock
mode while in radio mode.
To set the hour, press and hold the
CLK control.
Press the SEEK control:
²
to decrease hours and
²
to increase hours.
12 3456
SCN
CLK
SEEK
DISCS
TUNE
Entertainment Systems
36
Page 44 of 240
Setting the clock with radio data system (RDS) feature
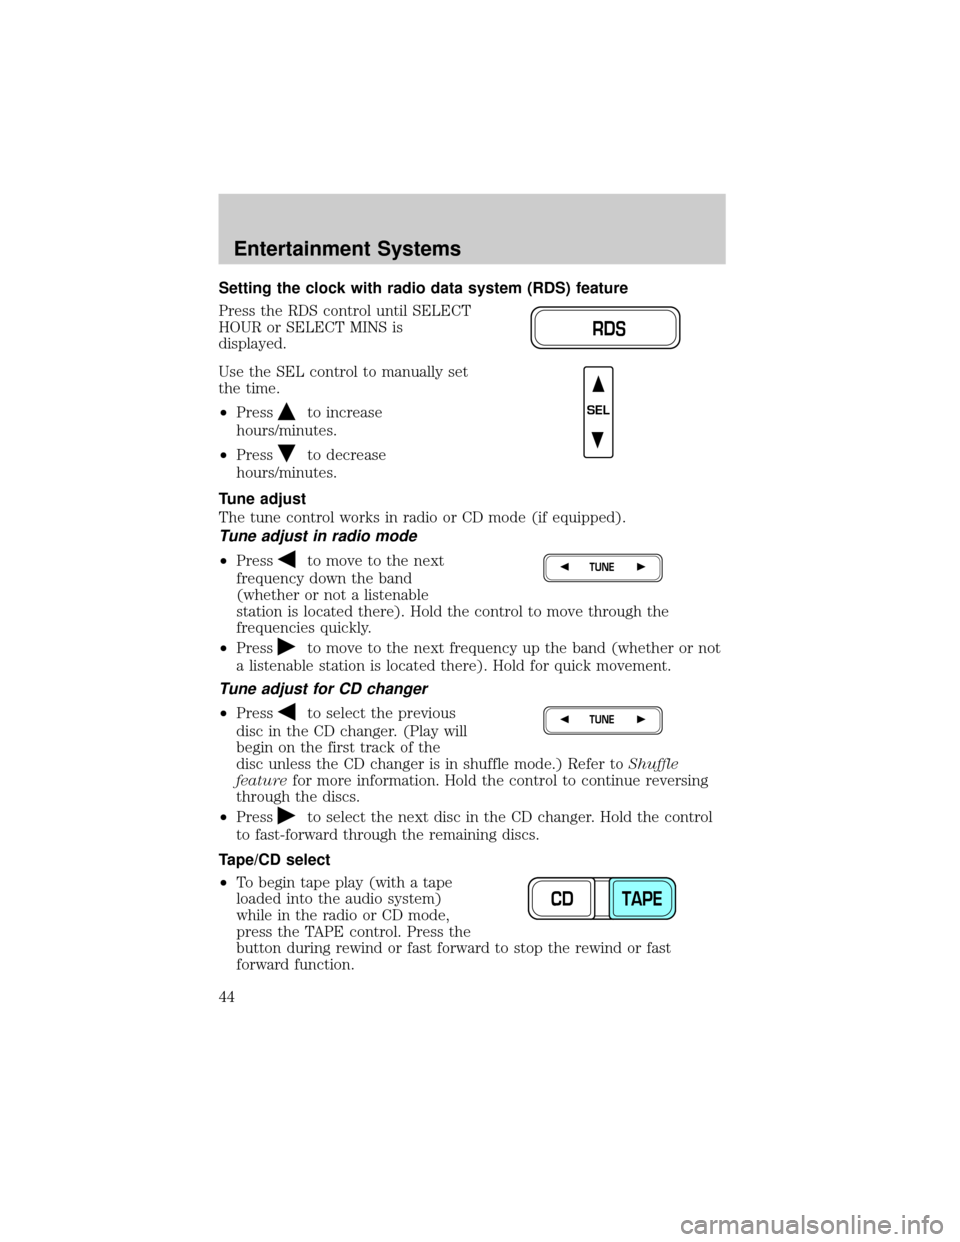
Press the RDS control until SELECT
HOUR or SELECT MINS is
displayed.
Use the SEL control to manually set
the time.
²Press
to increase
hours/minutes.
²Press
to decrease
hours/minutes.
Tune adjust
The tune control works in radio or CD mode (if equipped).
Tune adjust in radio mode
²Pressto move to the next
frequency down the band
(whether or not a listenable
station is located there). Hold the control to move through the
frequencies quickly.
²Press
to move to the next frequency up the band (whether or not
a listenable station is located there). Hold for quick movement.
Tune adjust for CD changer
²Pressto select the previous
disc in the CD changer. (Play will
begin on the first track of the
disc unless the CD changer is in shuffle mode.) Refer toShuffle
featurefor more information. Hold the control to continue reversing
through the discs.
²Press
to select the next disc in the CD changer. Hold the control
to fast-forward through the remaining discs.
Tape/CD select
²To begin tape play (with a tape
loaded into the audio system)
while in the radio or CD mode,
press the TAPE control. Press the
button during rewind or fast forward to stop the rewind or fast
forward function.
RDS
SEL
TUNE
TUNE
CD TAPE
Entertainment Systems
44
Page 63 of 240
HEADLAMP CONTROL
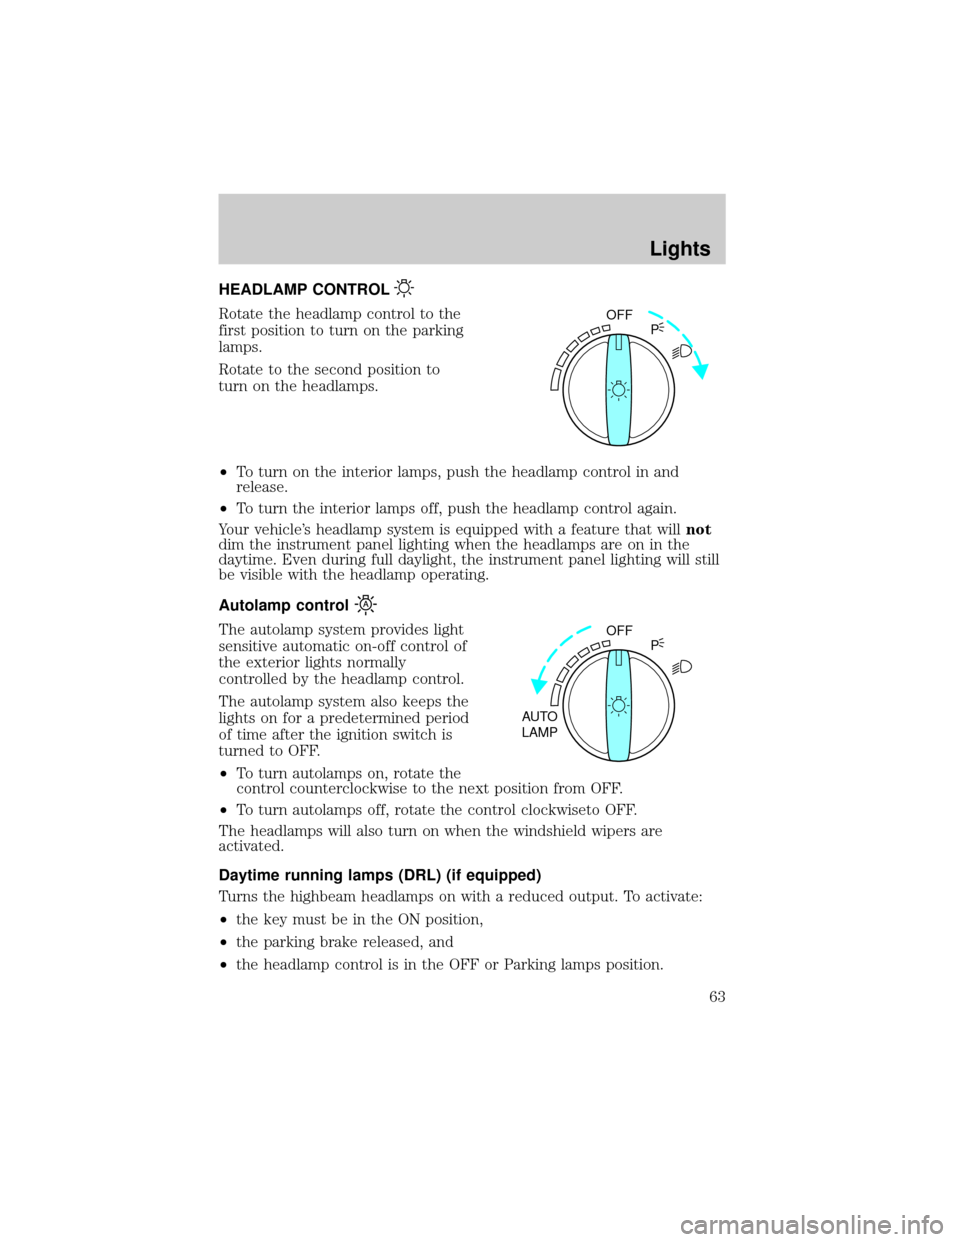
Rotate the headlamp control to the
first position to turn on the parking
lamps.
Rotate to the second position to
turn on the headlamps.
²To turn on the interior lamps, push the headlamp control in and
release.
²To turn the interior lamps off, push the headlamp control again.
Your vehicle's headlamp system is equipped with a feature that willnot
dim the instrument panel lighting when the headlamps are on in the
daytime. Even during full daylight, the instrument panel lighting will still
be visible with the headlamp operating.
Autolamp control
The autolamp system provides light
sensitive automatic on-off control of
the exterior lights normally
controlled by the headlamp control.
The autolamp system also keeps the
lights on for a predetermined period
of time after the ignition switch is
turned to OFF.
²To turn autolamps on, rotate the
control counterclockwise to the next position from OFF.
²To turn autolamps off, rotate the control clockwiseto OFF.
The headlamps will also turn on when the windshield wipers are
activated.
Daytime running lamps (DRL) (if equipped)
Turns the highbeam headlamps on with a reduced output. To activate:
²the key must be in the ON position,
²the parking brake released, and
²the headlamp control is in the OFF or Parking lamps position.
OFF
P
OFF
AUTO
LAMPP
Lights
63
Page 67 of 240
Replacing the interior bulbs
Check the operation of the following interior bulbs frequently:
²Interior overhead lamp
²Map lamp
For bulb replacement, see a dealer or qualified technician.
Replacing headlamp bulbs
To remove the headlamp bulb:
1. Make sure headlamp switch is in OFF position, then open the hood.
2. Remove the protective cover by turning the three knobs to the unlock
position.
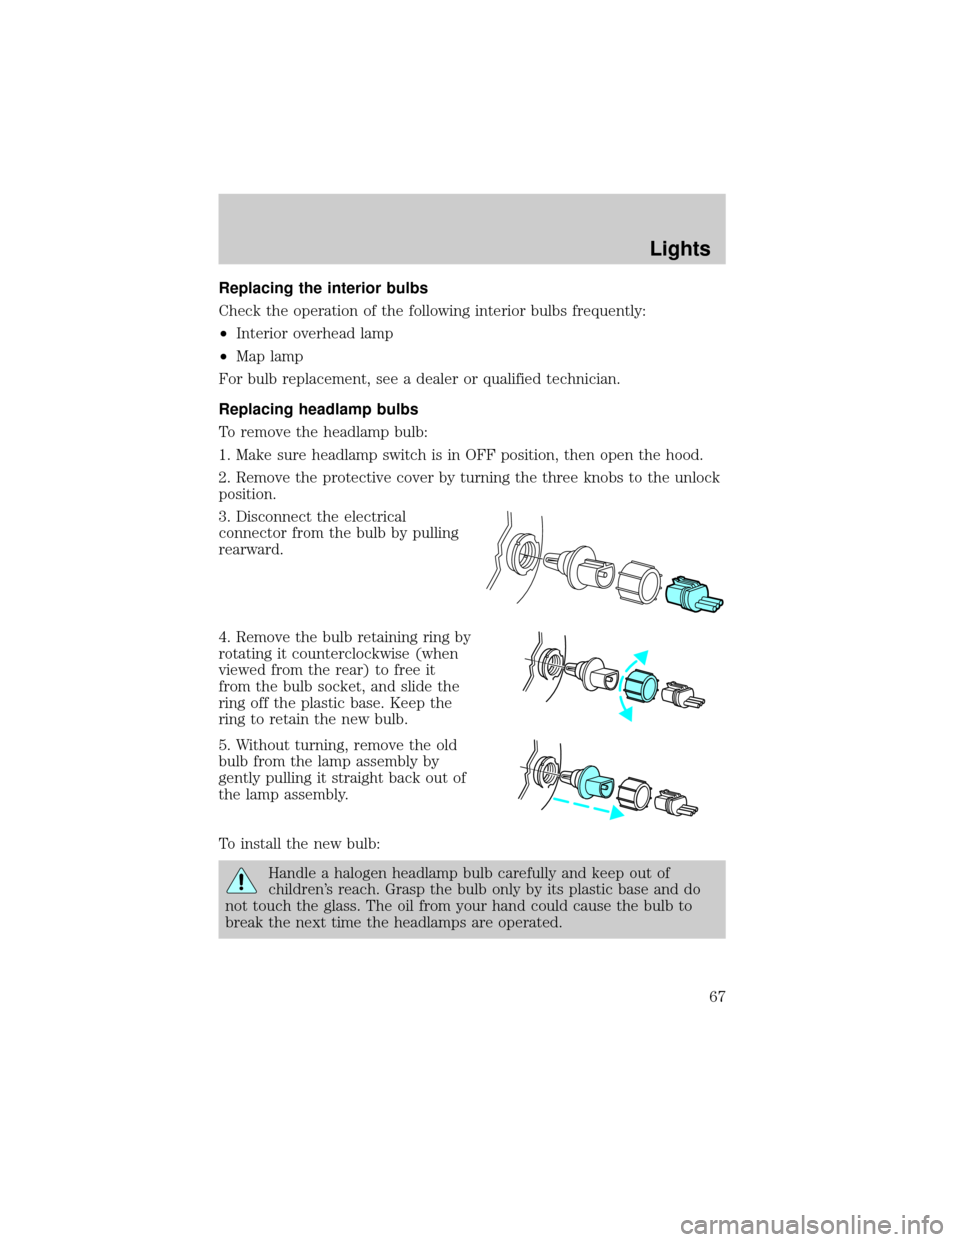
3. Disconnect the electrical
connector from the bulb by pulling
rearward.
4. Remove the bulb retaining ring by
rotating it counterclockwise (when
viewed from the rear) to free it
from the bulb socket, and slide the
ring off the plastic base. Keep the
ring to retain the new bulb.
5. Without turning, remove the old
bulb from the lamp assembly by
gently pulling it straight back out of
the lamp assembly.
To install the new bulb:
Handle a halogen headlamp bulb carefully and keep out of
children's reach. Grasp the bulb only by its plastic base and do
not touch the glass. The oil from your hand could cause the bulb to
break the next time the headlamps are operated.
Lights
67
Page 68 of 240
1. With the flat side of the new bulb's plastic base facing upward, insert
the glass end of the bulb into the lamp assembly. Turn the bulb left or
right to align the grooves in the plastic base with the tabs in the lamp
assembly. When the grooves are aligned, push the bulb into the lamp
assembly until the plastic base contacts the rear of the lamp assembly.
2. Install the bulb retaining ring over the plastic base until it contacts the
rear of the socket by rotating it clockwise until you feel a ªstop.º
3. Connect the electrical connector into the rear of the plastic base until
it snaps, locking it into position.
4. Install the protective cover over headlamps locking it in place with
three knobs.
5. Turn the headlamps on and make sure they work properly. If the
headlamp was correctly aligned before you changed the bulb, you should
not need to align it again.
Replacing front parking lamp/turn signal bulbs
The park/turn lamp bulbs can be replaced with out removing the
headlamp assembly.
1. Make sure headlamp switch is in OFF position, then open the hood.
2. Remove the protective cover by turning the three knobs to the unlock
position.
3. Disconnect the electrical
connector from the bulb by pulling
rearward.
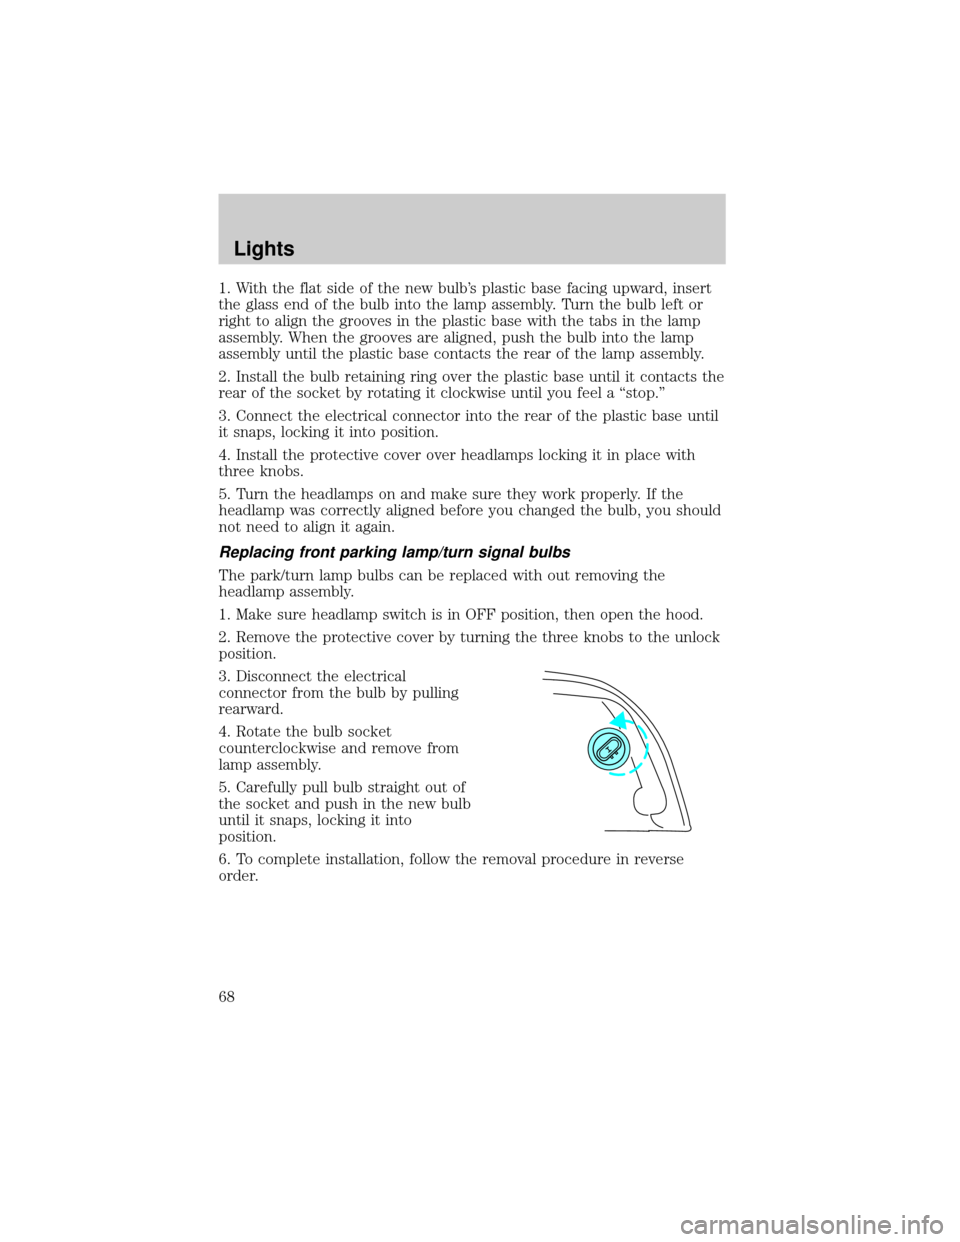
4. Rotate the bulb socket
counterclockwise and remove from
lamp assembly.
5. Carefully pull bulb straight out of
the socket and push in the new bulb
until it snaps, locking it into
position.
6. To complete installation, follow the removal procedure in reverse
order.
Lights
68
Page 69 of 240
Replacing tail lamp/brake/turn lamp bulbs
The tail lamp, the brake lamp and the turn signal lamp bulbs are located
in the tail lamp assembly. Follow the same steps to replace either bulb.
1. Make sure headlamp switch is in
OFF position, then open the trunk
and carefully pull the carpet away to
expose the plastic retainer.
2. Remove plastic retainer to expose
the lamp assembly hardware.
3. Remove three nut and washer
assemblies and the lamp assembly
from the vehicle.
4. Remove the bulb socket by
rotating it counterclockwise, then
pulling it out of the lamp assembly.
5. Pull the bulb from the socket and
push in the new bulb.
6. Install the bulb socket into the
lamp assembly by rotating it
clockwise.
7. Install the lamp assembly on the
vehicle with three nut and washer
assemblies ensuring the washers on
the nuts are flush with the body to
prevent water from entering the
trunk.
8. Install the plastic retainer and carefully push the carpet back in to
place.
Lights
69