Page 379 of 486

6-7
To remove the fuel cap, turn it slowly to the left
(counterclockwise). The fuel cap has a spring in it; if
you let go of the cap too soon, it will spring back to
the right.
CAUTION:
If you get gasoline on yourself and then
something ignites it, you could be badly burned.
Gasoline can spray out on you if you open the
fuel cap too quickly. This spray can happen if
your tank is nearly full, and is more likely in hot
weather. Open the fuel cap slowly and wait for
any ªhissº noise to stop. Then unscrew the cap all
the way.
Be careful not to spill gasoline. Clean gasoline from
painted surfaces as soon as possible. See ªCleaning the
Outside of Your Vehicleº in the Index.When you put the fuel cap back on, turn it to the right
(clockwise) until you hear a clicking sound. Make sure
you fully install the cap. The diagnostic system can
determine if the fuel cap has been left off or improperly
installed. This would allow fuel to evaporate into the
atmosphere. See ªMalfunction Indicator Lampº in
the Index.
The malfunction indicator lamp (SERVICE ENGINE
SOON or CHECK ENGINE light) will come on if the
fuel cap is not properly reinstalled.
NOTICE:
If you need a new fuel cap, be sure to get the
right type. Your dealer can get one for you. If you
get the wrong type, it may not fit properly. This
may cause your malfunction indicator lamp to
light and may damage your fuel tank and
emissions system. See ªMalfunction Indicator
Lampº in the Index.
Page 405 of 486

6-33
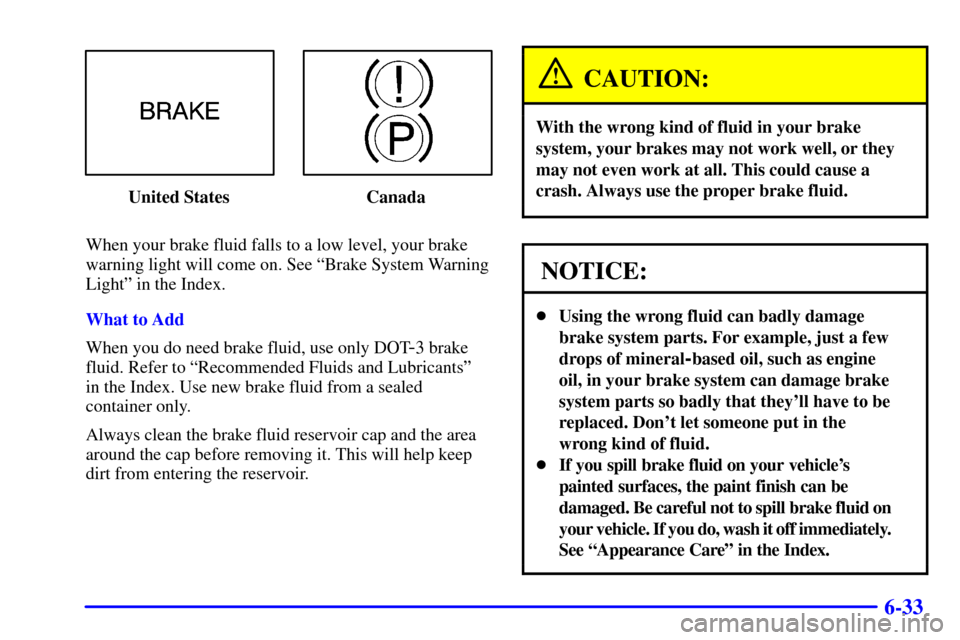
United States Canada
When your brake fluid falls to a low level, your brake
warning light will come on. See ªBrake System Warning
Lightº in the Index.
What to Add
When you do need brake fluid, use only DOT
-3 brake
fluid. Refer to ªRecommended Fluids and Lubricantsº
in the Index. Use new brake fluid from a sealed
container only.
Always clean the brake fluid reservoir cap and the area
around the cap before removing it. This will help keep
dirt from entering the reservoir.
CAUTION:
With the wrong kind of fluid in your brake
system, your brakes may not work well, or they
may not even work at all. This could cause a
crash. Always use the proper brake fluid.
NOTICE:
�Using the wrong fluid can badly damage
brake system parts. For example, just a few
drops of mineral
-based oil, such as engine
oil, in your brake system can damage brake
system parts so badly that they'll have to be
replaced. Don't let someone put in the
wrong kind of fluid.
�If you spill brake fluid on your vehicle's
painted surfaces, the paint finish can be
damaged. Be careful not to spill brake fluid on
your vehicle. If you do, wash it off immediately.
See ªAppearance Careº in the Index.
Page 406 of 486

6-34 Brake Wear
Your vehicle has front disc brakes and rear drum brakes.
Disc brake pads have built
-in wear indicators that
make a high
-pitched warning sound when the brake
pads are worn and new pads are needed. The sound
may come and go or be heard all the time your vehicle
is moving (except when you are pushing on the brake
pedal firmly).
CAUTION:
The brake wear warning sound means that soon
your brakes won't work well. That could lead to
an accident. When you hear the brake wear
warning sound, have your vehicle serviced.
NOTICE:
Continuing to drive with worn-out brake pads
could result in costly brake repair.
Some driving conditions or climates may cause a brake
squeal when the brakes are first applied or lightly
applied. This does not mean something is wrong with
your brakes.
Properly torqued wheel nuts are necessary to help
prevent brake pulsation. When tires are rotated, inspect
brake pads for wear and evenly tighten wheel nuts in the
proper sequence to GM torque specifications.
Your rear drum brakes don't have wear indicators, but if
you ever hear a rear brake rubbing noise, have the rear
brake linings inspected immediately. Also, the rear
brake drums should be removed and inspected each time
the tires are removed for rotation or changing. When
you have the front brake pads replaced, have the rear
brakes inspected, too.
Brake linings should always be replaced as complete
axle sets.
See ªBrake System Inspectionº in Section 7 of this manual
under Part C ªPeriodic Maintenance Inspections.º
Brake Pedal Travel
See your dealer if the brake pedal does not return to
normal height, or if there is a rapid increase in pedal
travel. This could be a sign of brake trouble.
Page 422 of 486

6-50 Uniform Tire Quality Grading
Quality grades can be found where applicable on the tire
sidewall between tread shoulder and maximum section
width. For example:
Treadwear 200 Traction AA Temperature A
The following information relates to the system
developed by the United States National Highway
Traffic Safety Administration, which grades tires
by treadwear, traction and temperature performance.
(This applies only to vehicles sold in the United States.)
The grades are molded on the sidewalls of most
passenger car tires. The Uniform Tire Quality Grading
system does not apply to deep tread, winter
-type snow
tires, space
-saver or temporary use spare tires, tires with
nominal rim diameters of 10 to 12 inches (25 to 30 cm),
or to some limited
-production tires.
While the tires available on General Motors passenger
cars and light trucks may vary with respect to these
grades, they must also conform to federal safety
requirements and additional General Motors Tire
Performance Criteria (TPC) standards.Treadwear
The treadwear grade is a comparative rating based on
the wear rate of the tire when tested under controlled
conditions on a specified government test course.
For example, a tire graded 150 would wear one and a
half (1 1/2) times as well on the government course
as a tire graded 100. The relative performance of tires
depends upon the actual conditions of their use,
however, and may depart significantly from the norm
due to variations in driving habits, service practices and
differences in road characteristics and climate.
Traction
-- AA, A, B, C
The traction grades, from highest to lowest, are AA,
A, B, and C. Those grades represent the tire's ability to
stop on wet pavement as measured under controlled
conditions on specified government test surfaces of
asphalt and concrete. A tire marked C may have poor
traction performance. Warning: The traction grade
assigned to this tire is based on straight
-ahead braking
traction tests, and does not include acceleration,
cornering, hydroplaning, or peak traction characteristics.
Page 437 of 486

6-65 Fuses and Circuit Breakers
The wiring circuits in your vehicle are protected from
short circuits by a combination of fuses, circuit breakers
and fusible thermal links.
Look at the silver
-colored band inside the fuse. If the
band is broken or melted, replace the fuse. Be sure you
replace a bad fuse with a new one of the identical size
and rating.
If you ever have a problem on the road and don't have a
spare fuse, you can borrow one that has the same
amperage or use one of the spare fuses in the underhood
fuse block. Just pick some feature of your vehicle that
you can get along without
-- like the radio or cigarette
lighter
-- and use its fuse, if it is the right amperage.
Replace it as soon as you can.
There are two fuse blocks in your vehicle: the
instrument panel fuse block and the underhood
fuse block.Instrument Panel Fuse Block
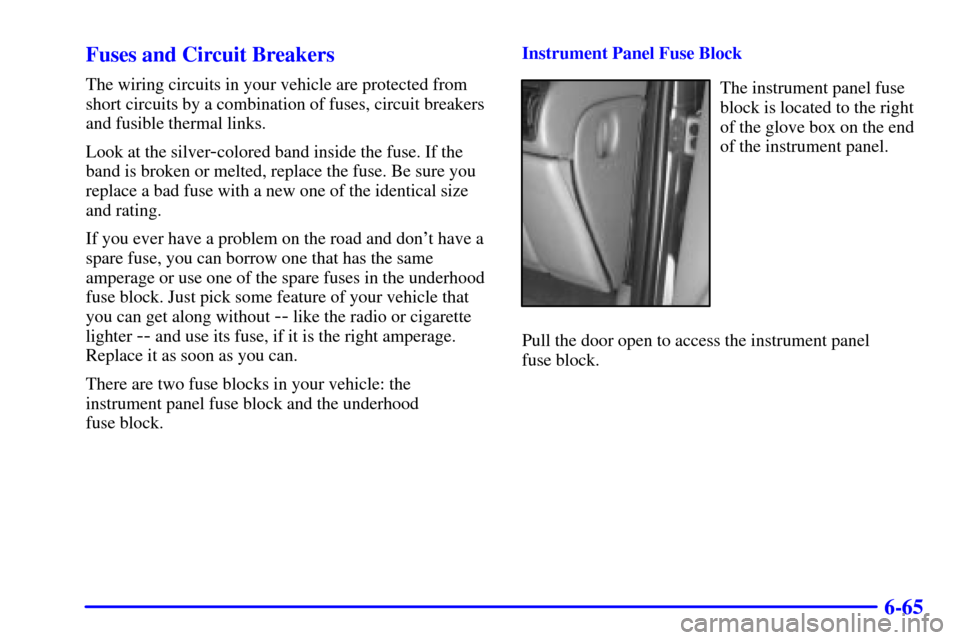
The instrument panel fuse
block is located to the right
of the glove box on the end
of the instrument panel.
Pull the door open to access the instrument panel
fuse block.
Page 438 of 486
6-66
Circuit Breakers Usage
HEADLAMP Daytime Running Lamps (DRL)
Control Module, Headlamp and
Instrument Panel Dimmer Switch
PWR SLD DR Power Sliding Door
PWR WDO Front Power WindowsCircuit Breakers Usage
PWR/HEATED
SEAT PSDSix
-Way Power Seats and Rear
Side Door Actuator Motor
FRT HVAC
HI BLWRBlower Motor Hi Speed
Relay Module
Fuses Usage
SWC
BACKLIGHTSteering Wheel Radio Control
Switches (Illumination)
PCM/PASS
KEY/CLUSTERInstrument Cluster to
PRNDL Indicators
PWR MIRROR Power Remote Control
Mirror Switch
CRUISE Cruise Control Module, Switch
and Release Switch
Blank Not Used
PCM/CRANK Powertrain Control Module
(PCM), Ignition Crank
PASS KEY PASS
-Key� III System
Page 439 of 486

6-67
Fuses Usage
PWR LOCK Power Door Locks
HTD MIRROR Heated Mirrors
RH T/LP Driver's Side Taillamp
RR FOG LP Fog Lamps
CIGAR/DIC/APO
FRTCigarette Lighter, DIC, Front
Auxiliary Power Outlets
T/SIG Turn Signal Switch
PWR QTR VENT Interior Lamp and Multifunction
Switch (Power Vent Switch)
FRT/WPR/WSHR Windshield Wiper/Washer Motor
and Switch
HAZARD Hazard Switch
RR PWR SCKT Rear Electric Accessory
Plug Housing
DRL Daytime Running Lamp
Control Module
LH T/LP Passenger's Side TaillampFuses Usage
RR DEFOG/HTD
MIRRORRear Window Defogger Relay,
Heated Mirrors
ON STAR OnStar
�
SIR Inflatable Restraint
Control Module
HVAC BLOWER Heater
-A/C Control
MALL
CLUSTERInstrument Cluster, Body Control
Module, Electronic Level
Control (ELC) Sensor and Relay
STOP LAMP Stoplamp Switch
CLUSTER BATT Module/Electronic Brake
Control Module/Electronic
Brake Traction Control
Module (EBCM/EBTCM)
ENHANCED
EVAP/AWDEvaporative Emissions (EVAP)
Canister Vent Solenoid Valve,
All
-Wheel Drive (AWD)
Blank Not Used
ELC/TRAILER ELC Air Compressor and ELC
Relay, Trailer Harness
Page 442 of 486
6-70
Maxi Fuse Usage
5 Ignition Switch to Fuses
(Instrument Panel): ABS/TCS
Ignition, Cruise, DRL, Electronic
PRNDL, Ignition 1, PSD, Air Bag,
Turn Signal and Powertrain
Control Module [IGN MAIN
Relay (Underhood Fuse Block:
A/C Clutch, Electronic Ignition,
Ignition 1
-U/H, INJ, TCC)]
6 Coolant Fans
7 Fuses (Instrument Panel): ABS
Module Battery, Cigarette Lighter,
Courtesy Lamps, Front Power
Socket, Power Locks, Power
Mirrors and Right Rear
Power SocketMaxi Fuse Usage
8 Ignition Switch to Fuses (I/P):
Body Control Module Program,
Front Comfort Controls
Low/Medium Blower, Front
Wiper/Washer, HVAC/DRL,
MALL/Radio/DIC, Power
Quarter Vent, Rear HVAC,
Rear Wiper/Washer. SWC
Accessory and Power Window
Circuit Breaker
Mini Relays Usage
9 Right Fan 1, Left Fan 2
10 Left Fan 2
11 Fuses: A/C Clutch, Ignition
1
-U/H, INS, Electronic
Ignition, TCC
12 Right Fan 1, Left Fan 2