Page 131 of 488
2-65
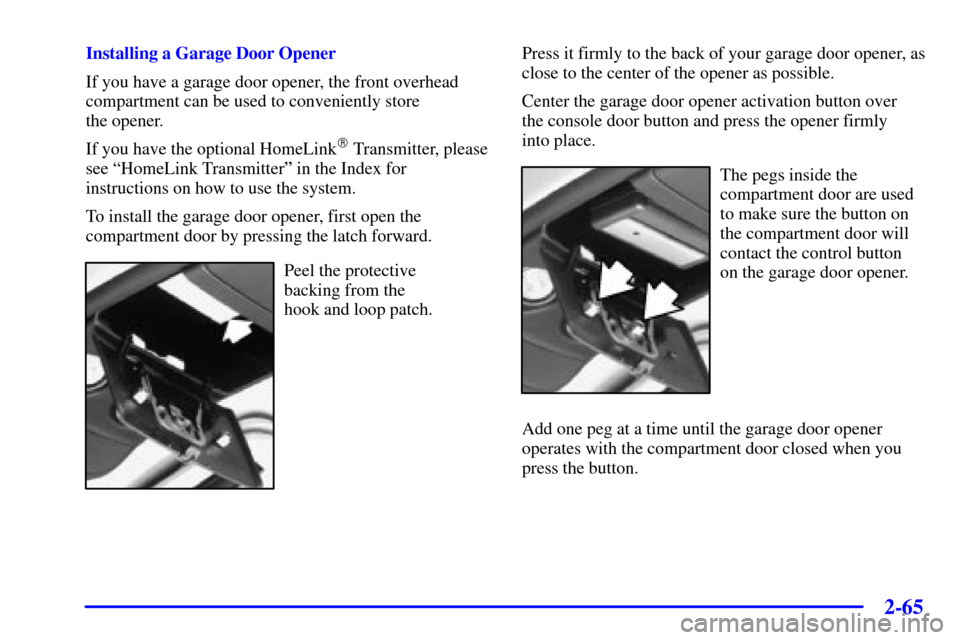
Installing a Garage Door Opener
If you have a garage door opener, the front overhead
compartment can be used to conveniently store
the opener.
If you have the optional HomeLink
� Transmitter, please
see ªHomeLink Transmitterº in the Index for
instructions on how to use the system.
To install the garage door opener, first open the
compartment door by pressing the latch forward.
Peel the protective
backing from the
hook and loop patch.Press it firmly to the back of your garage door opener, as
close to the center of the opener as possible.
Center the garage door opener activation button over
the console door button and press the opener firmly
into place.
The pegs inside the
compartment door are used
to make sure the button on
the compartment door will
contact the control button
on the garage door opener.
Add one peg at a time until the garage door opener
operates with the compartment door closed when you
press the button.
Page 135 of 488
2-69
The console also contains the following components:
�Rear Seat Audio Controls
�Rear Seat Accessory Power Outlets
�Six
-disc CD Changer
�Cellular Phone (if equipped)
For more information on these components, please see
the Index for that item.
If your vehicle has the center armrest compartment, lift
the cover to expose the storage area which includes slots
for cassettes or compact discs and a coinholder.
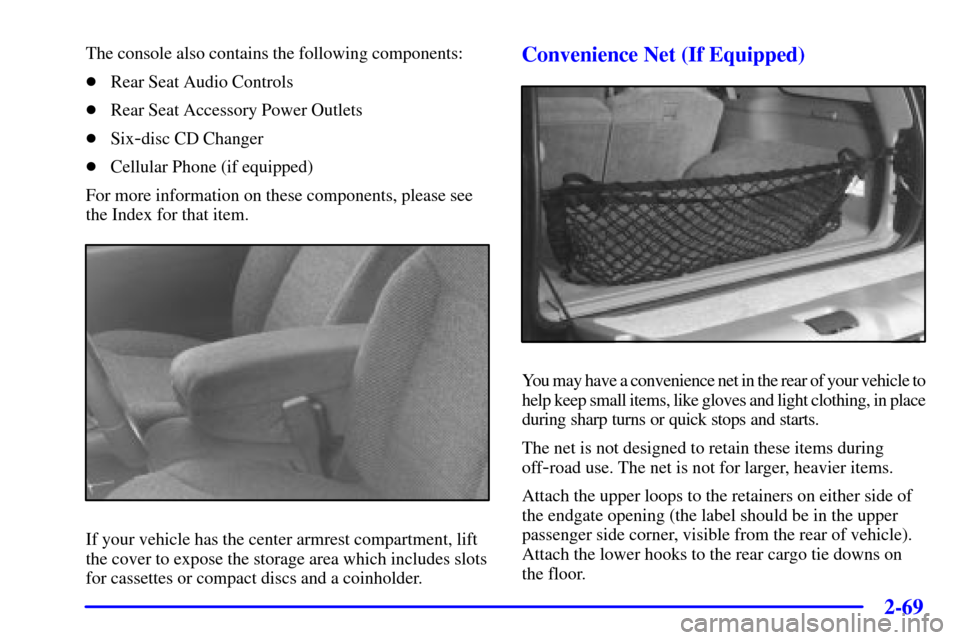
Convenience Net (If Equipped)
You may have a convenience net in the rear of your vehicle to
help keep small items, like gloves and light clothing, in place
during sharp turns or quick stops and starts.
The net is not designed to retain these items during
off
-road use. The net is not for larger, heavier items.
Attach the upper loops to the retainers on either side of
the endgate opening (the label should be in the upper
passenger side corner, visible from the rear of vehicle).
Attach the lower hooks to the rear cargo tie downs on
the floor.
Page 166 of 488

2-100
Low Fuel Light
The LOW FUEL light will
come on briefly when you
are starting the engine.
This light comes on when the fuel tank is low on fuel.
To turn it off, add fuel to the fuel tank. See ªFuelº in
the Index.
Driver Information Center (DIC) (If Equipped)
This system displays the outside air temperature,
compass direction and trip information in the
overhead console.
US/MET (United States/Metric): The US/MET
(United States/metric) button allows you to switch the
display between the English and metric system.
MODE: The MODE button can be used to toggle
between three modes of operation: OFF, COMP/TEMP
and TRIP.COMP/TEMP(Compass/Temperature): The display
provides the outside temperature and one of eight
compass readings to indicate the direction the vehicle
is facing.
Before you turn on the ignition and move the vehicle,
the temperature indicated will be the last outside
temperature recorded with the ignition on. If the outside
temperature is 37�F (3�C) or lower, the display will
toggle between the word ICE and the current
temperature every eight seconds. This is a warning to
the driver that road conditions may be icy, and that
appropriate precautions should be taken.
The compass is self
-calibrating, so it does not need to be
manually set. However, if C (Calibration) is displayed,
the compass will need to be calibrated. You may also
place the compass in a noncalibrated mode by pressing
and holding the MODE and US/MET buttons
simultaneously while in the COMP/TEMP mode. After
about 10 seconds, the compass will display C and you
can release the buttons. Drive the vehicle in a complete
360 degree circle three times at a speed of less than
5 mph (8 km/h), and the compass will function
normally. Once the calibration is complete, the display
will return to a compass reading.
Page 231 of 488
: The front passengers
must be listening to something different for each of
these functions to work:
�Press this button to scan through the preset radio
stations set on")
3-64
P.SET PROG (Preset Program): The front passengers
must be listening to something different for each of
these functions to work:
�Press this button to scan through the preset radio
stations set on the pushbuttons on the main radio.
The radio will go to a preset station, play for a few
seconds, then go on to the next preset station. Press
this button again to stop scanning.
�When a cassette tape is playing, press this button to
go to the other side of the tape.
�When a CD is playing in the CD changer, press this
button to select the next disc.
TAPE CD: Press this button to switch between playing
a tape or CD and console
-mounted CD changer if
loaded. The inactive tape or CD will remain safely
inside the radio for future listening.
Remote Cassette Tape Player (If Equipped)
If your vehicle has this feature it is located in the front
of the center console.
Your tape player is built to work best with tapes that
are up to 30 to 45 minutes long on each side. Tapes
longer than that are so thin they may not work well in
this player.
Page 233 of 488
: Press this button to play a tape
when listening to the r")
3-66
AM FM: Press this button to listen to the radio
when a tape is playing. The inactive tape will remain
in the player.
CD AUX (Auxiliary): Press this button to play a tape
when listening to the radio. The lighted arrow will
appear next to the symbol and show the direction of play
when a tape is active.
Remote Cassette Tape Player Controls
The following functions are controlled by the remote
cassette tape player:
PROG (Program): Press this button on the remote
player to go from one side of the tape to the other.
EJECT: Press this button on the remote player to
remove the tape. EJECT can be used with either the
ignition or radio off. Also, you must press EJECT before
loading a cassette with the radio off to allow loading.Console-Mounted CD Changer
(If Equipped)
If your vehicle is equipped with the console-mounted
compact disc changer, it is located in the center console.
Some vehicles may have this feature mounted in the
front console just below the climate control system
and accessory power outlets. With the compact disc
changer, you can play up to six discs continuously.
Normal size discs may be played using the slots
supplied in the magazine.