2002 CHEVROLET AVEO service reset
[x] Cancel search: service resetPage 1574 of 5127

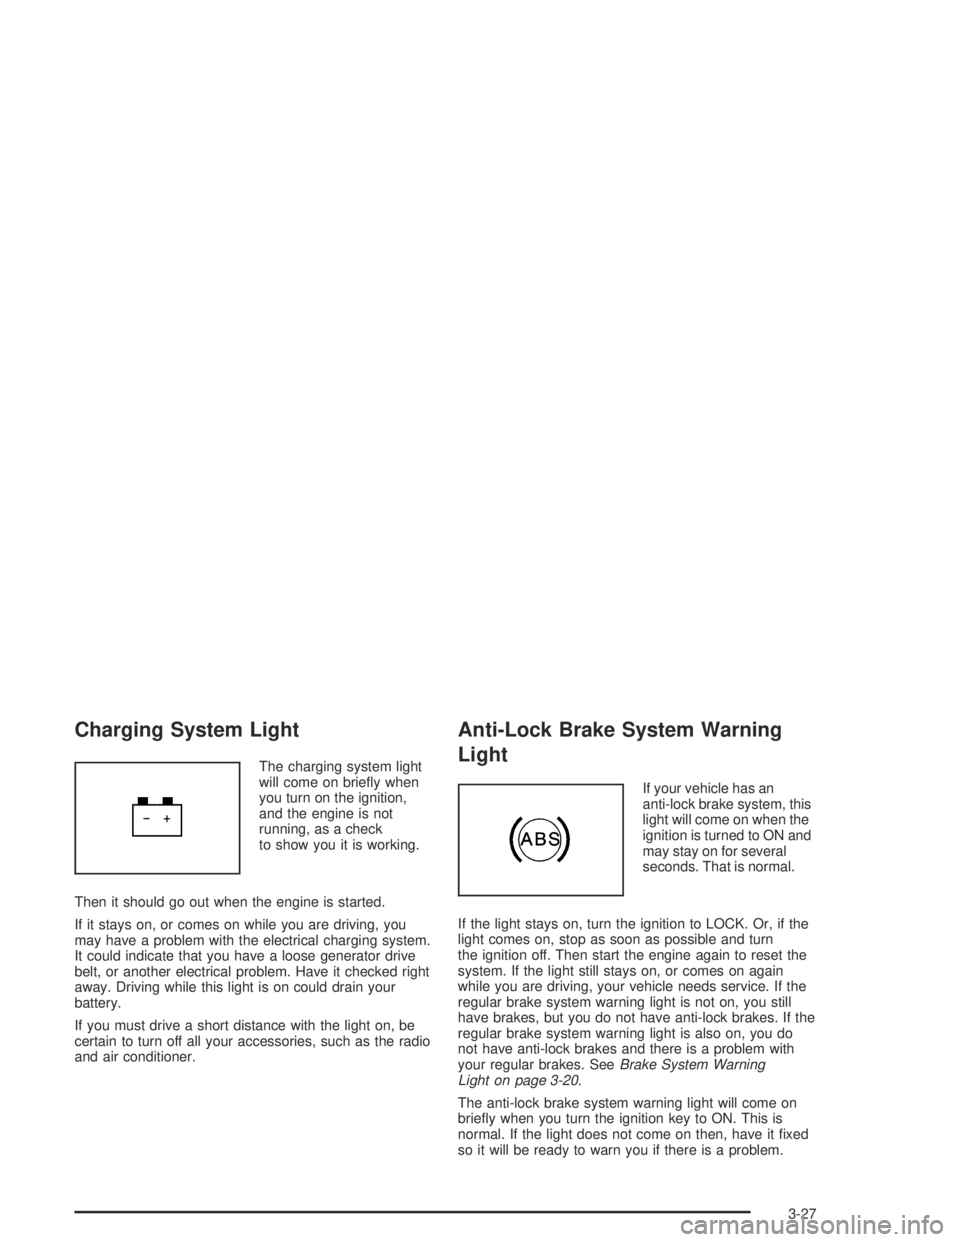
Charging System Light
The charging system light
will come on briefly when
you turn on the ignition,
and the engine is not
running, as a check
to show you it is working.
Then it should go out when the engine is started.
If it stays on, or comes on while you are driving, you
may have a problem with the electrical charging system.
It could indicate that you have a loose generator drive
belt, or another electrical problem. Have it checked right
away. Driving while this light is on could drain your
battery.
If you must drive a short distance with the light on, be
certain to turn off all your accessories, such as the radio
and air conditioner.
Anti-Lock Brake System Warning
Light
If your vehicle has an
anti-lock brake system, this
light will come on when the
ignition is turned to ON and
may stay on for several
seconds. That is normal.
If the light stays on, turn the ignition to LOCK. Or, if the
light comes on, stop as soon as possible and turn
the ignition off. Then start the engine again to reset the
system. If the light still stays on, or comes on again
while you are driving, your vehicle needs service. If the
regular brake system warning light is not on, you still
have brakes, but you do not have anti-lock brakes. If the
regular brake system warning light is also on, you do
not have anti-lock brakes and there is a problem with
your regular brakes. SeeBrake System Warning
Light on page 3-20.
The anti-lock brake system warning light will come on
briefly when you turn the ignition key to ON. This is
normal. If the light does not come on then, have it fixed
so it will be ready to warn you if there is a problem.
3-27
Page 1775 of 5127

Service Bulletins.............................................7-11
Service Manuals.............................................7-11
Setting Preset Stations............................3-35, 3-36
Setting the Tone (Bass/Treble)..................3-35, 3-37
Sheet Metal Damage.......................................5-81
Shift Speeds..................................................2-27
Shifting Into Park (P).......................................2-29
Shifting Out of Park (P)...................................2-30
Short Trip/City Definition.................................... 6-5
Short Trip/City Intervals..................................... 6-5
Short Trip/City Scheduled Maintenance................ 6-7
Shoulder Belt Height Adjuster...........................1-17
Skidding........................................................4-14
Some Other Rainy Weather Tips.......................4-18
Special Fabric Cleaning Problems.....................5-77
Specifications, Capacities.................................5-91
Speedometer..................................................3-19
Starter Switch Check.......................................6-21
Starting Your Engine.......................................2-20
Steering........................................................4-10
Steering in Emergencies..................................4-11
Steering, Suspension and Front Drive Axle
Boot and Seal Inspection..............................6-24
Steering Tips..................................................4-10
Steering Wheel, Tilt Wheel................................. 3-4
Storage Areas................................................2-36
Cupholder(s)...............................................2-36
Glove Box..................................................2-36
Sunglasses Storage Compartment..................2-37Storing the Flat Tire and Tools..........................5-74
Storing the Spare Tire and Tools.......................5-74
Stuck in Sand, Mud, Ice or Snow......................4-28
Sun Visors.....................................................2-14
Sunglasses Storage Compartment.....................2-37
Sunroof.........................................................2-37
T
Tachometer....................................................3-19
Taillamps
Turn Signal, Stoplamps and Back-up Lamps......5-49
Theft-Deterrent, Radio.....................................3-43
Theft-Deterrent System....................................2-15
Theft-Deterrent Systems...................................2-15
Immobilizer.................................................2-17
Immobilizer Operation...................................2-17
Throttle System Inspection...............................6-25
Tilt Wheel........................................................ 3-4
Tire Inflation Check.........................................6-19
Tire Sidewall Labeling......................................5-52
Tire Size.......................................................5-55
Tire Terminology and Definitions........................5-56
Tires.............................................................5-51
Buying New Tires........................................5-62
Chains.......................................................5-66
Changing a Flat Tire....................................5-67
Compact Spare Tire.....................................5-75
12
Page 1925 of 5127

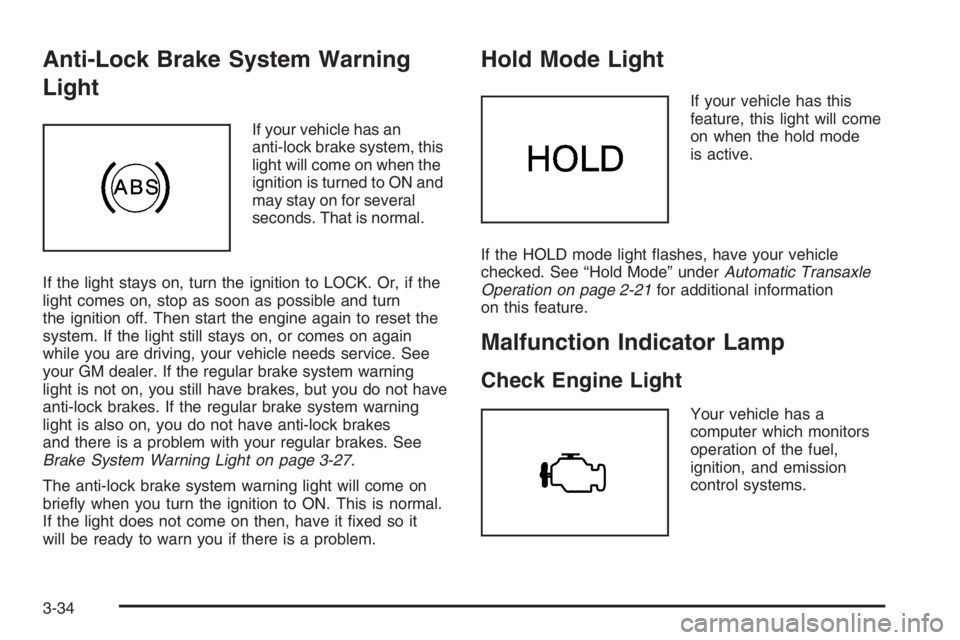
Anti-Lock Brake System Warning
Light
If your vehicle has an
anti-lock brake system, this
light will come on when the
ignition is turned to ON and
may stay on for several
seconds. That is normal.
If the light stays on, turn the ignition to LOCK. Or, if the
light comes on, stop as soon as possible and turn
the ignition off. Then start the engine again to reset the
system. If the light still stays on, or comes on again
while you are driving, your vehicle needs service. See
your GM dealer. If the regular brake system warning
light is not on, you still have brakes, but you do not have
anti-lock brakes. If the regular brake system warning
light is also on, you do not have anti-lock brakes
and there is a problem with your regular brakes. See
Brake System Warning Light on page 3-27.
The anti-lock brake system warning light will come on
briefly when you turn the ignition to ON. This is normal.
If the light does not come on then, have it fixed so it
will be ready to warn you if there is a problem.
Hold Mode Light
If your vehicle has this
feature, this light will come
on when the hold mode
is active.
If the HOLD mode light flashes, have your vehicle
checked. See “Hold Mode” underAutomatic Transaxle
Operation on page 2-21for additional information
on this feature.
Malfunction Indicator Lamp
Check Engine Light
Your vehicle has a
computer which monitors
operation of the fuel,
ignition, and emission
control systems.
3-34
Page 2038 of 5127

Notice:If the jumper cables are connected or
removed in the wrong order, electrical shorting may
occur and damage the vehicle. The repairs would
not be covered by your warranty. Always connect
and remove the jumper cables in the correct
order, making sure that the cables do not touch
each other or other metal.
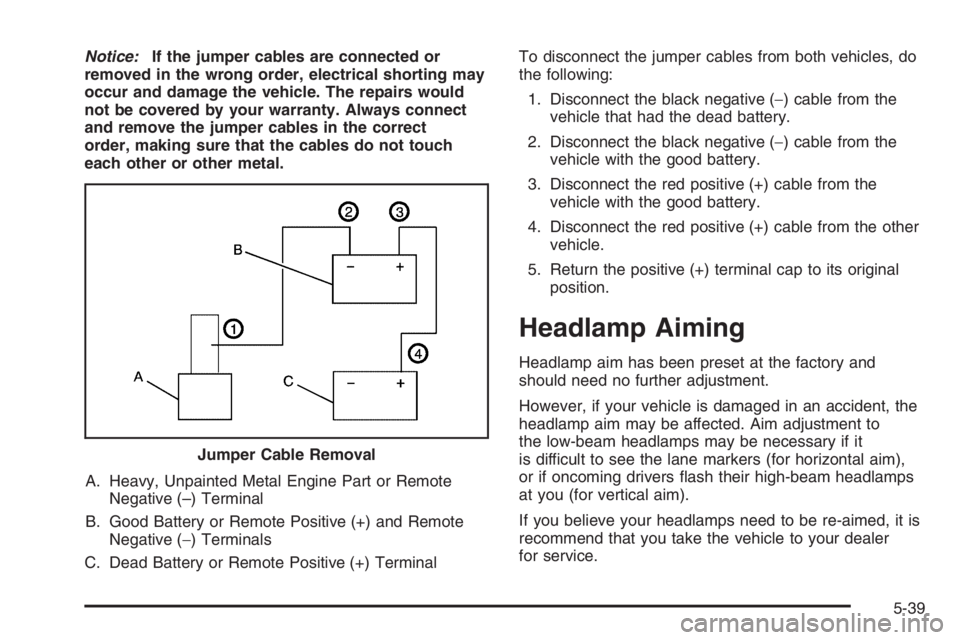
A. Heavy, Unpainted Metal Engine Part or Remote
Negative (–) Terminal
B. Good Battery or Remote Positive (+) and Remote
Negative (−) Terminals
C. Dead Battery or Remote Positive (+) TerminalTo disconnect the jumper cables from both vehicles, do
the following:
1. Disconnect the black negative (−) cable from the
vehicle that had the dead battery.
2. Disconnect the black negative (−) cable from the
vehicle with the good battery.
3. Disconnect the red positive (+) cable from the
vehicle with the good battery.
4. Disconnect the red positive (+) cable from the other
vehicle.
5. Return the positive (+) terminal cap to its original
position.
Headlamp Aiming
Headlamp aim has been preset at the factory and
should need no further adjustment.
However, if your vehicle is damaged in an accident, the
headlamp aim may be affected. Aim adjustment to
the low-beam headlamps may be necessary if it
is difficult to see the lane markers (for horizontal aim),
or if oncoming drivers flash their high-beam headlamps
at you (for vertical aim).
If you believe your headlamps need to be re-aimed, it is
recommend that you take the vehicle to your dealer
for service. Jumper Cable Removal
5-39