Page 109 of 417

2-30 Autoride�
The Autoride� feature provides superior vehicle
ride and handling under a variety of passenger and
loading conditions.
The system is fully automatic and uses a computer
controller to continuously monitor vehicle speed, wheel
to body position, lift/dive and steering position of the
vehicle. The controller then sends signals to each shock
absorber to independently adjust the damping level to
provide the optimum vehicle ride.
Autoride also interacts with the tow/haul mode that,
when engaged, will provide additional control of the
shock absorbers. This additional control results in
better ride and handling characteristics when the vehicle
is loaded or towing a trailer. See ªTow/Haul Modeº in
the Index for more information.
Locking Rear Axle
Your locking rear axle can give you additional traction
on snow, mud, ice, sand or gravel. It works like a
standard axle most of the time, but when one of the
rear wheels has no traction and the other does, this
feature will allow the wheel with traction to move
the vehicle.
Horn
To sound the horn, press the center pad on the
steering wheel.
Tilt Wheel
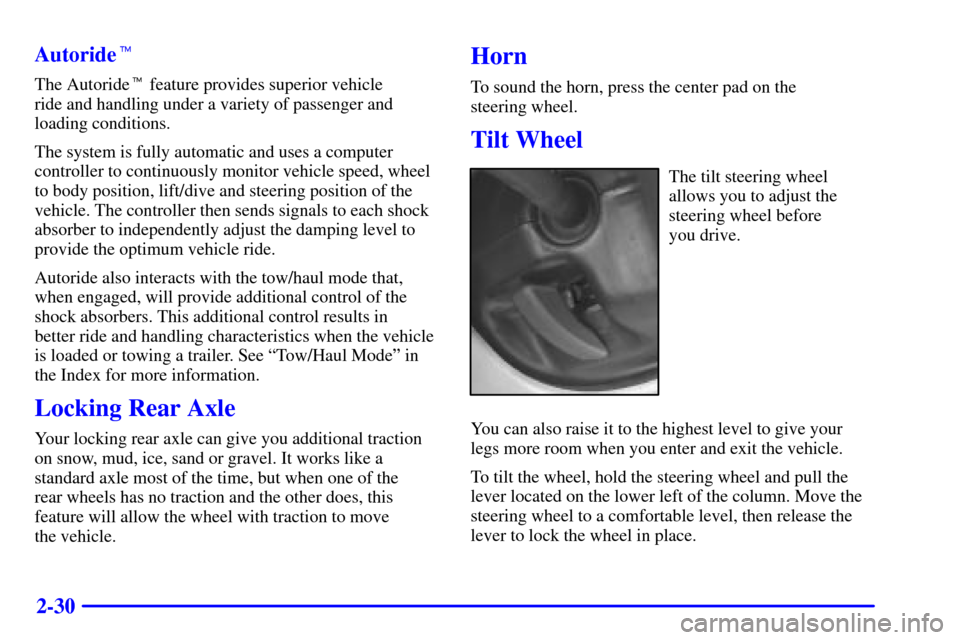
The tilt steering wheel
allows you to adjust the
steering wheel before
you drive.
You can also raise it to the highest level to give your
legs more room when you enter and exit the vehicle.
To tilt the wheel, hold the steering wheel and pull the
lever located on the lower left of the column. Move the
steering wheel to a comfortable level, then release the
lever to lock the wheel in place.
Page 112 of 417

2-33 Windshield Washer
There is a paddle marked with the windshield washer
symbol at the top of the multifunction lever. To spray
washer fluid on the windshield, push the paddle.
The wipers will clear the window and then either stop
or return to your preset speed.
CAUTION:
In freezing weather, don't use your washer until
the windshield is warmed. Otherwise the washer
fluid can form ice on the windshield, blocking
your vision.
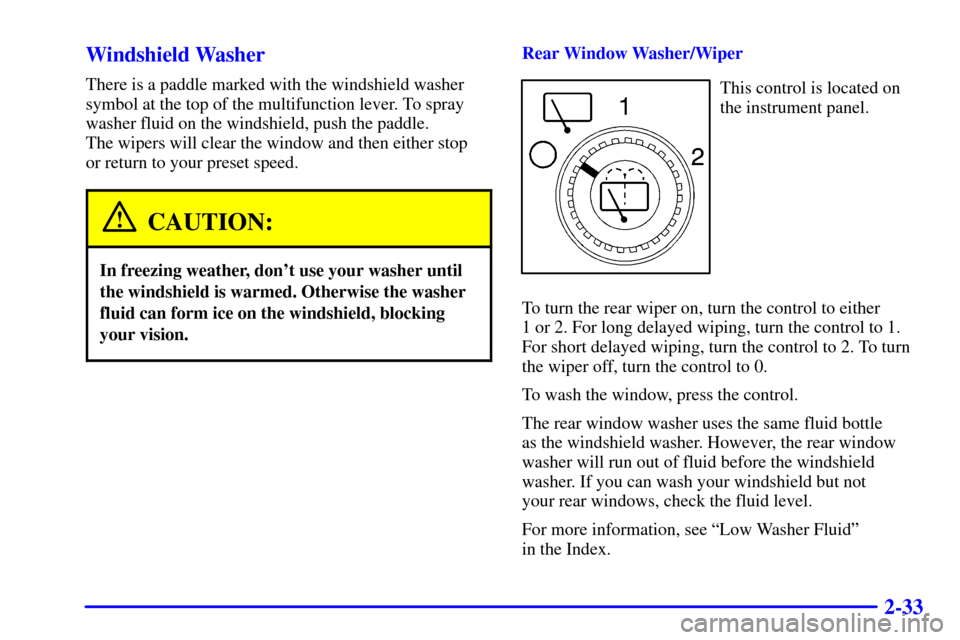
Rear Window Washer/Wiper
This control is located on
the instrument panel.
To turn the rear wiper on, turn the control to either
1 or 2. For long delayed wiping, turn the control to 1.
For short delayed wiping, turn the control to 2. To turn
the wiper off, turn the control to 0.
To wash the window, press the control.
The rear window washer uses the same fluid bottle
as the windshield washer. However, the rear window
washer will run out of fluid before the windshield
washer. If you can wash your windshield but not
your rear windows, check the fluid level.
For more information, see ªLow Washer Fluidº
in the Index.
Page 116 of 417
2-37
Exterior Lamps
Your parking lamp and headlamp knob is located on the
driver's side of your instrument panel.Turn the knob clockwise to the parking lamps symbol to
manually turn on the following:
�Parking Lamps
�Sidemarker Lamps
�Taillamps
�License Plate Lamps
�Instrument Panel Lights
Turn the knob clockwise to the master lamps symbol to
turn on all the lamps listed as well as the headlamps.
Turn the knob all the way counterclockwise to turn
off your lamps and put the system into automatic
headlamp mode.
You can change your headlamps from high to low
beam by pulling on the turn signal/high
-beam lever.
A circuit breaker protects your headlamps. If your
headlamps have an electrical overload, your headlamps
will flicker on and off. Have your vehicle's headlamp
wiring checked right away if this happens.
Page 118 of 417

2-39 Lamps On Reminder
A reminder chime will sound when your headlamps or
parking lamps are manually turned on and your ignition
is in OFF, LOCK or ACCESSORY. To disable the
chime, turn the thumbwheel all the way down. In the
automatic mode, the headlamps turn off once the
ignition key is in OFF.
Puddle Lamps
Your vehicle is equipped with puddle lamps to help you
see the area near the base of the front doors when it is
dark out. The puddle lamps will illuminate when a door
is opened or when you press the UNLOCK button on the
keyless entry transmitter. You can program the puddle
lamps not to come on if you choose. See ªSecondary
Information Centerº in the Index for more information.
Daytime Running Lamps
Daytime Running Lamps (DRL) can make it easier
for others to see the front of your vehicle during
the day. DRL can be helpful in many different driving
conditions, but they can be especially helpful in the
short periods after dawn and before sunset. Fully
functional daytime running lamps are required on all
vehicles first sold in Canada.
The DRL system will come on when the following
conditions are met:
�The ignition is on,
�the headlamp switch is in automatic headlamp mode,
�the automatic transmission is not in PARK (P),
�the light sensor determines it is daytime and
�the parking brake is released.
Page 128 of 417
2-49
Storage Compartments
Glove Box
To open your glove box, lift up the latch and pull the
door open.
Center Console Storage Area
Your vehicle has a console compartment between the
bucket seats.
To open it, insert the console key into the lock and
unlock the center console. Press the button on the side
and swing the console lid open.
The console has a place to store compact discs and loose
change. It is also equipped with an accessory power
outlet. See ªAccessory Power Outletsº later in this
section for more information.
To access the cell phone storage area, press the button
on the front of the console. An access lid will pop up.
To store a cell phone, place it inside the net on the inside
of the access lid.
Page 131 of 417

2-52 Cargo Security Shade
CAUTION:
An improperly stored cargo cover could be
thrown about the vehicle during a collision
or sudden maneuver. You or others could be
injured. If you remove the cover, always store
it outside of the vehicle. When you put it back,
always be sure that it is securely reattached.
If you have a cargo security shade, you can use it to
cover items in the cargo area of your vehicle.
To use the shade, do the following:
1. Pull the shade handle toward the rear of the vehicle.
2. Latch the shade posts into the retaining sockets on
the cargo area trim panels.To return the shade to the retracted position,
do the following:
1. Pull up on the shade handle to release the shade posts
from the retaining sockets.
2. Let the shade move forward to the full
retracted position.
To remove the shade from the vehicle, do the following:
1. Let the shade go all the way into the holder.
2. Then, grasping the passenger's side shade endcap,
push the shade endcap toward the driver's side
of the vehicle. The endcap should lock in the
compressed position.
3. Lift the shade up on the passenger's side, swing the
shade rearward and take it out of the vehicle.
Page 133 of 417

2-54
NOTICE:
Loading cargo that weighs more than 200 lbs.
(90.6 kg) on the luggage carrier may damage
your vehicle. When you carry large things, never
let them hang over the rear or the sides of your
vehicle. Load your cargo so that it rests on the
slats and does not scratch or damage the vehicle.
Put the cargo against the siderails and fasten it
securely to the luggage carrier.
Don't exceed the maximum vehicle capacity when
loading your vehicle. For more information on vehicle
capacity and loading, see ªLoading Your Vehicleº in
the Index.
To prevent damage or loss of cargo as you're leaving,
check now and then to make sure the luggage and cargo
are still securely fastened.
Be sure the cargo is properly loaded.
�If small heavy objects are placed on the roof, place
the load in the area over the rear wheels. If you need
to, cut a piece of 3/8 inch plywood to fit inside the
crossrails and siderails to spread the load. If plywood
is used, tie it to the siderail supports.�Tie the load to the crossrails or the siderail supports.
Use the crossrails only to keep the load from sliding.
To move the crossrails, pull out on the latch release
handle at each end. Slide the crossrail to the desired
position balancing the force side to side. Push the
release handle back into the latched position and
slide the crossrail back and forth slightly to be sure
the latch snaps securely into place.
�If you need to carry long items, move the crossrails
as far apart as they will go. Tie the load to the
crossrails and the siderails or siderail supports. Also
tie the load to the bumpers. Do not tie the load so
tightly that the crossrails or siderails are damaged.
�For the purpose of wind noise reduction, locate
the front crossrail approximately 18 to 24 inches
(46 cm to 58 cm) rearward of the front supports.
�After moving a crossrail, be sure it is securely locked
into the siderail.
Your vehicle has a Center High
-Mounted Stoplamp
(CHMSL) located above the rear glass. If items are
loaded on the roof of the vehicle, care should be taken
not to block or damage the CHMSL unit.
Page 136 of 417
2-57
Analog Clock
To adjust the analog clock
do the following:
1. Locate the adjust button on the lower left corner of
the clock.
2. Push and hold the button to spin the clock hands.
Release the button before you get to the desired time.
3. Push and release the button to increase the time
by one minute intervals until the desired time
is reached.
Sun Visors
To block out glare, you can swing down the top and
bottom visors. You can also swing the bottom visor
from side
-to-side. Your visors may have an extension
that can be pulled out for additional glare protection.
Illuminated Visor Vanity Mirror
Pull the sun visor down and lift the mirror cover to
turn on the lamps. There is a slide switch to adjust
the intensity of the lamps.