2002 BMW 525I SPORT WAGON remote control
[x] Cancel search: remote controlPage 55 of 186
55n
OverviewControlsMaintenanceRepairsDataIndex
Seat, mirror and steering wheel memory Seat heating
*
Your BMW center can adjust your
vehicle's systems in such a
manner that your personalized settings
are automatically called up for the seat,
mirror and steering wheel positions
when you unlock the vehicle with your
personal remote control key.<
Before using the key memory
feature to unlock the vehicle
always ensure that no objects are
stored in the footwell behind the
driver's seat. If you fail to do so,
persons or objects could be injured or
damaged if the seat should move back-
ward.<
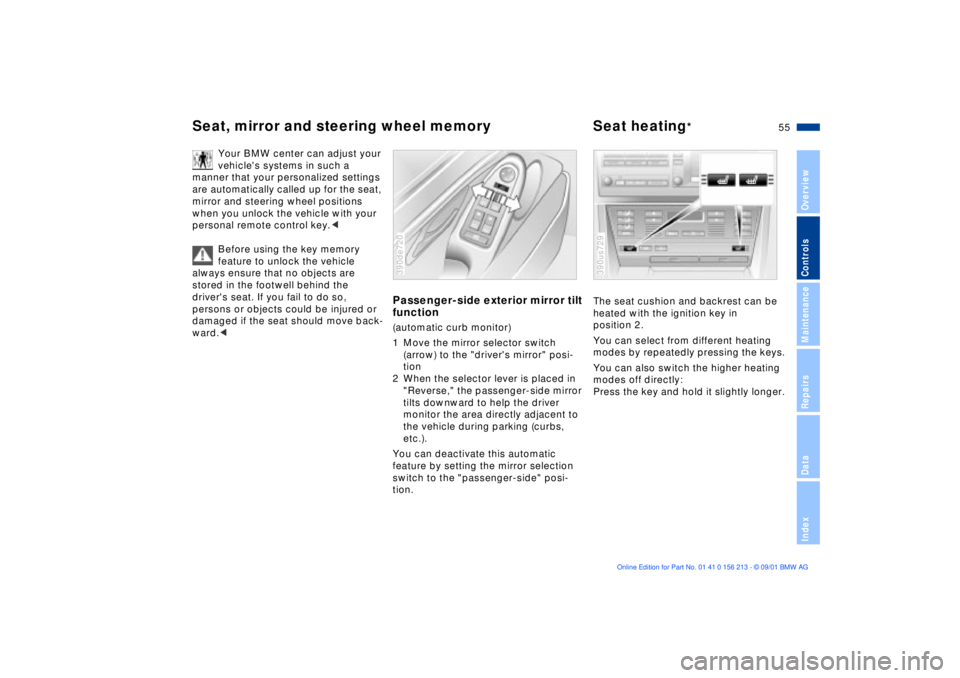
Passenger-side exterior mirror tilt
function(automatic curb monitor)
1 Move the mirror selector switch
(arrow) to the "driver's mirror" posi-
tion
2 When the selector lever is placed in
"Reverse," the passenger-side mirror
tilts downward to help the driver
monitor the area directly adjacent to
the vehicle during parking (curbs,
etc.).
You can deactivate this automatic
feature by setting the mirror selection
switch to the "passenger-side" posi-
tion.390de720
The seat cushion and backrest can be
heated with the ignition key in
position 2.
You can select from different heating
modes by repeatedly pressing the keys.
You can also switch the higher heating
modes off directly:
Press the key and hold it slightly longer.390us729
Page 64 of 186
64n
Transporting children safely
Vehicle Memory, Key Memory
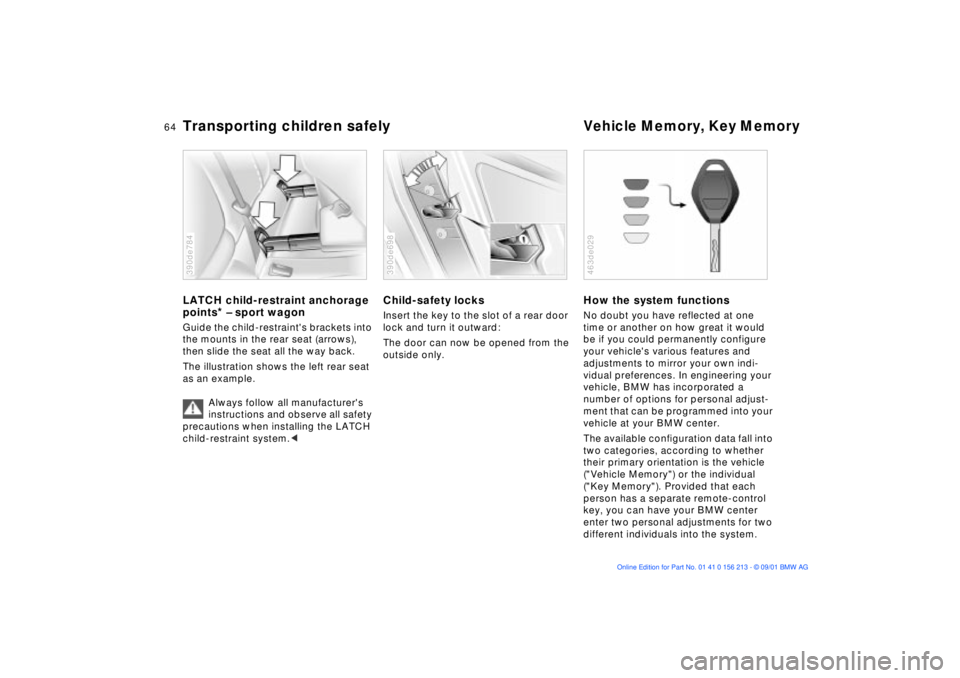
LATCH child-restraint anchorage
points
* Ð sport wagon
Guide the child-restraint's brackets into
the mounts in the rear seat (arrows),
then slide the seat all the way back.
The illustration shows the left rear seat
as an example.
Always follow all manufacturer's
instructions and observe all safety
precautions when installing the LATCH
child-restraint system.<390de784
Child-safety locksInsert the key to the slot of a rear door
lock and turn it outward:
The door can now be opened from the
outside only.390de698
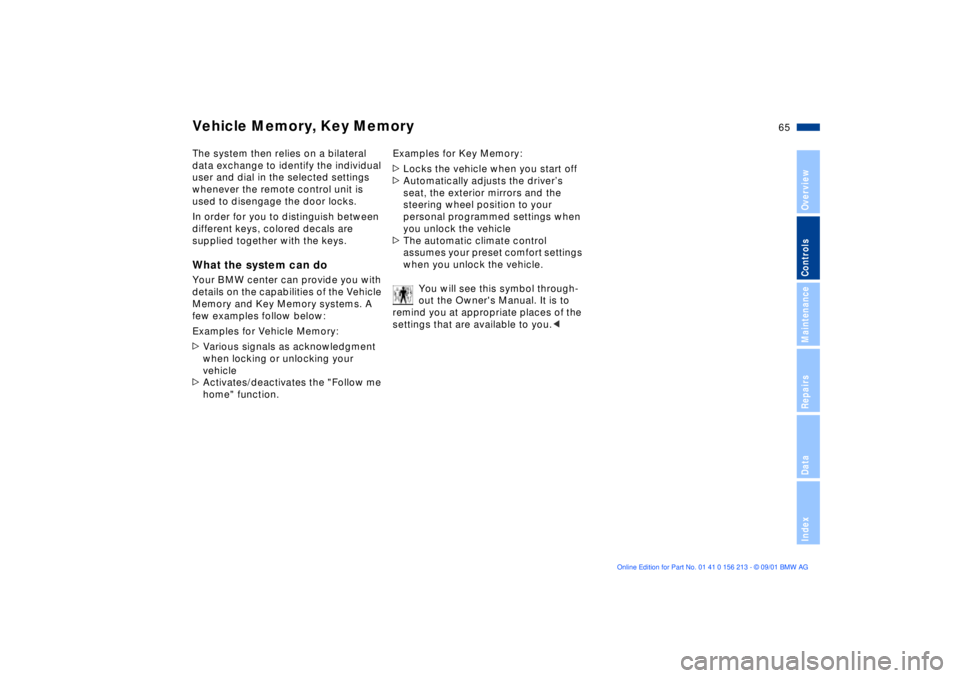
How the system functionsNo doubt you have reflected at one
time or another on how great it would
be if you could permanently configure
your vehicle's various features and
adjustments to mirror your own indi-
vidual preferences. In engineering your
vehicle, BMW has incorporated a
number of options for personal adjust-
ment that can be programmed into your
vehicle at your BMW center.
The available configuration data fall into
two categories, according to whether
their primary orientation is the vehicle
("Vehicle Memory") or the individual
("Key Memory"). Provided that each
person has a separate remote-control
key, you can have your BMW center
enter two personal adjustments for two
different individuals into the system.463de029
Page 65 of 186
65n
OverviewControlsMaintenanceRepairsDataIndex
Vehicle Memory, Key MemoryThe system then relies on a bilateral
data exchange to identify the individual
user and dial in the selected settings
whenever the remote control unit is
used to disengage the door locks.
In order for you to distinguish between
different keys, colored decals are
supplied together with the keys.What the system can doYour BMW center can provide you with
details on the capabilities of the Vehicle
Memory and Key Memory systems. A
few examples follow below:
Examples for Vehicle Memory:
>Various signals as acknowledgment
when locking or unlocking your
vehicle
>Activates/deactivates the "Follow me
home" function.Examples for Key Memory:
>Locks the vehicle when you start off
>Automatically adjusts the driverÕs
seat, the exterior mirrors and the
steering wheel position to your
personal programmed settings when
you unlock the vehicle
>The automatic climate control
assumes your preset comfort settings
when you unlock the vehicle.
You will see this symbol through-
out the Owner's Manual. It is to
remind you at appropriate places of the
settings that are available to you.<
Page 91 of 186
91n
OverviewControlsMaintenanceRepairsDataIndex
Computer in the MID
*
Only make entries when the
vehicle is standing still to avoid
endangering yourself or other road
users.<
Computer calculations begin at the
start of the journey.
Information can also be accessed for
display by remote control, refer to
page 95.
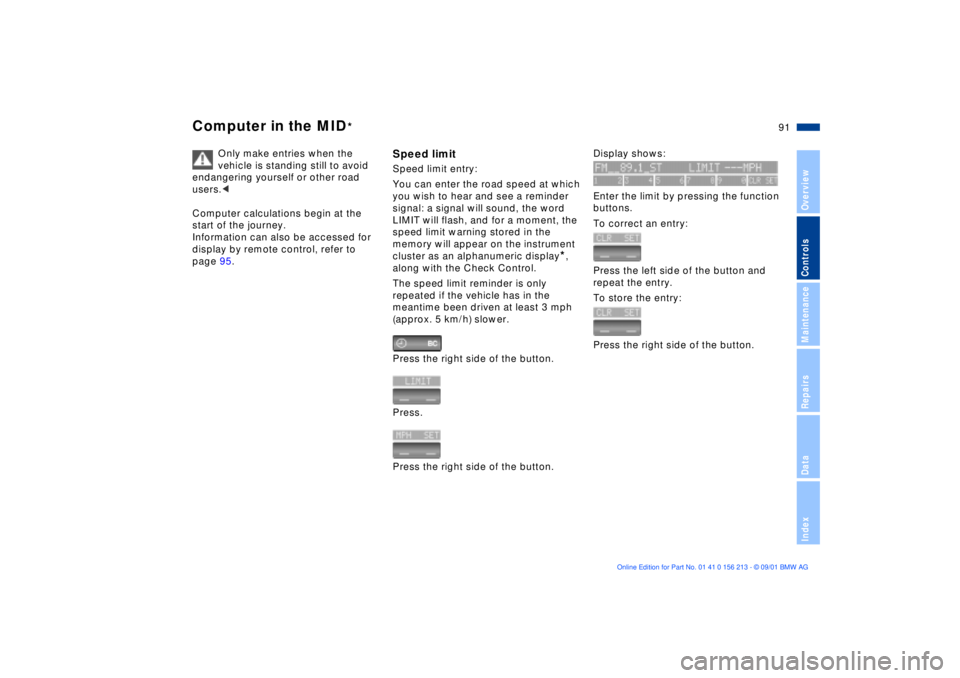
Speed limitSpeed limit entry:
You can enter the road speed at which
you wish to hear and see a reminder
signal: a signal will sound, the word
LIMIT will flash, and for a moment, the
speed limit warning stored in the
memory will appear on the instrument
cluster as an alphanumeric display
*,
along with the Check Control.
The speed limit reminder is only
repeated if the vehicle has in the
meantime been driven at least 3 mph
(approx. 5 km/h) slower.
Press the right side of the button.
Press.
Press the right side of the button.
Display shows:
Enter the limit by pressing the function
buttons.
To correct an entry:
Press the left side of the button and
repeat the entry.
To store the entry:
Press the right side of the button.
Page 95 of 186
95n
OverviewControlsMaintenanceRepairsDataIndex
Computer in the MID
*
After three incorrect code entries, or
three attempts to start the engine
without a code entry, the alarm will
sound for 30 seconds on vehicles
equipped with an alarm.
Deactivating the alarm in an emer-
gency:
If you have forgotten the code, proceed
as follows:
1. Disconnect the battery, wait approx.
2 minutes, then reconnect it. Note
that on vehicles with an alarm, this
will sound
2. Set the ignition key to position 1:
The time display will count down for
the next ten minutes
3. After ten minutes, start the engine.
If the code becomes available
again in the meantime, it can be
entered during the waiting period after
pressing the CODE button.<
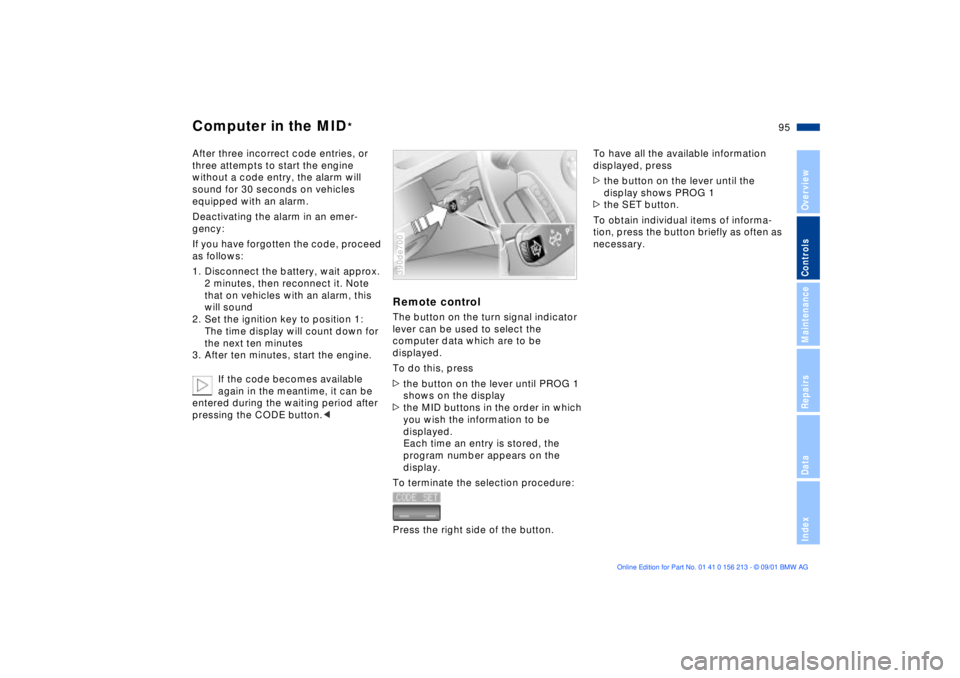
Remote controlThe button on the turn signal indicator
lever can be used to select the
computer data which are to be
displayed.
To do this, press
>the button on the lever until PROG 1
shows on the display
>the MID buttons in the order in which
you wish the information to be
displayed.
Each time an entry is stored, the
program number appears on the
display.
To terminate the selection procedure:
Press the right side of the button.390de700
To have all the available information
displayed, press
>the button on the lever until the
display shows PROG 1
>the SET button.
To obtain individual items of informa-
tion, press the button briefly as often as
necessary.
Page 109 of 186
109n
OverviewControlsMaintenanceRepairsDataIndex
Automatic climate control
*
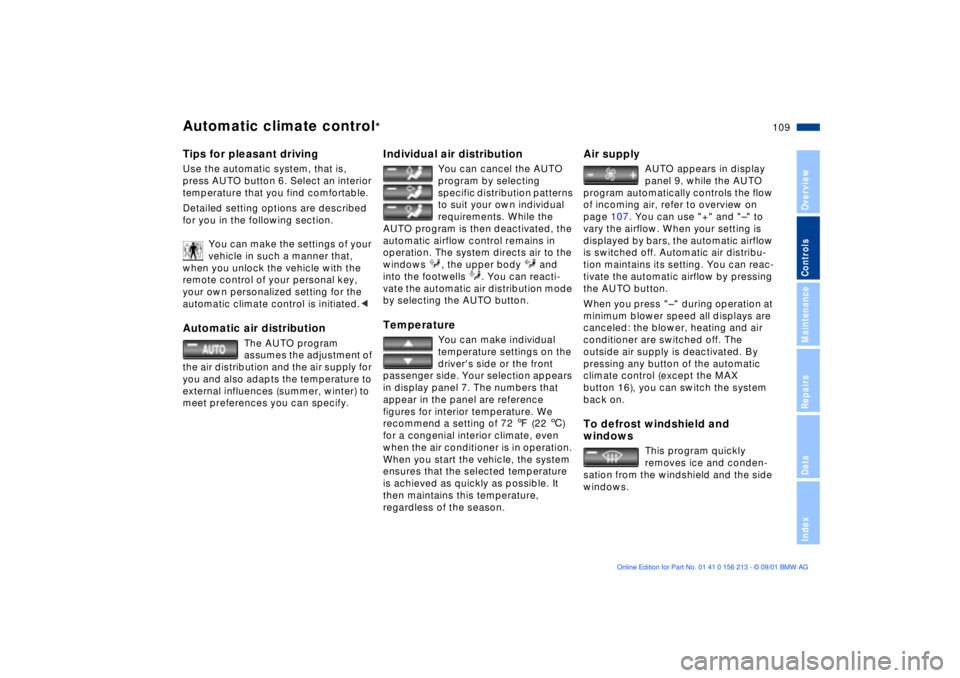
Tips for pleasant drivingUse the automatic system, that is,
press AUTO button 6. Select an interior
temperature that you find comfortable.
Detailed setting options are described
for you in the following section.
You can make the settings of your
vehicle in such a manner that,
when you unlock the vehicle with the
remote control of your personal key,
your own personalized setting for the
automatic climate control is initiated.< Automatic air distribution
The AUTO program
assumes the adjustment of
the air distribution and the air supply for
you and also adapts the temperature to
external influences (summer, winter) to
meet preferences you can specify.
Individual air distribution
You can cancel the AUTO
program by selecting
specific distribution patterns
to suit your own individual
requirements. While the
AUTO program is then deactivated, the
automatic airflow control remains in
operation. The system directs air to the
windows , the upper body and
into the footwells . You can reacti-
vate the automatic air distribution mode
by selecting the AUTO button.
Temperature
You can make individual
temperature settings on the
driver's side or the front
passenger side. Your selection appears
in display panel 7. The numbers that
appear in the panel are reference
figures for interior temperature. We
recommend a setting of 72 7 (22 6)
for a congenial interior climate, even
when the air conditioner is in operation.
When you start the vehicle, the system
ensures that the selected temperature
is achieved as quickly as possible. It
then maintains this temperature,
regardless of the season.
Air supply
AUTO appears in display
panel 9, while the AUTO
program automatically controls the flow
of incoming air, refer to overview on
page 107. You can use "+" and "Ð" to
vary the airflow. When your setting is
displayed by bars, the automatic airflow
is switched off. Automatic air distribu-
tion maintains its setting. You can reac-
tivate the automatic airflow by pressing
the AUTO button.
When you press "Ð " during operation at
minimum blower speed all displays are
canceled: the blower, heating and air
conditioner are switched off. The
outside air supply is deactivated. By
pressing any button of the automatic
climate control (except the MAX
button 16), you can switch the system
back on.
To defrost windshield and
windows
This program quickly
removes ice and conden-
sation from the windshield and the side
windows.
Page 113 of 186
113n
OverviewControlsMaintenanceRepairsDataIndex
The conceptThe BMW Universal Transmitter
replaces up to three hand-held transmit-
ters to control different devices such as
a garage door opener, alarm systems or
a door locking system. The BMW
Universal Transmitter recognizes and
"learns" the transmitted signal from each
of the original hand-held transmitters.
The signal of an original hand-held
transmitter can be programmed on one
of the three channel buttons. Following
that, each of the devices can be actu-ated with the appropriately-programmed
channel button. The indicator lamp
flashes to confirm transmission of the
signal.
Before you sell your vehicle, the
programmed channel buttons should
be cleared. Refer to page 115 for the
description of this process.
To prevent potential injuries or
damage during the programming
operation and before every remote trig-
gering of a programmed device using
the BMW Universal Transmitter, be sure
that there are no persons, animals or
objects within the range of movement
of the respective device. Also, comply
with the safety precautions of the orig-
inal hand-held transmitter.<
To Canadian residents:
During programming, your hand-
held transmitter may automatically stop
transmitting after two seconds. This
may not be long enough to program the
BMW Universal Transmitter. If you are
programming from one of these hand-
held transmitters, the Universal Trans-
mitter's lamp may begin to flash in a
series of double flashes. If this occurs,
continue to hold the button on the
Universal Transmitter while you reacti-
vate your hand-held transmitter. You
may have to repeat this function several
times while programming.<
Before programming, read the
"User's information" section on
page 115.<
The original hand-held transmitter
If this symbol is depicted on the
packaging or in the user's
instructions for the original
hand-held transmitter, it may be
assumed that this original hand-held
transmitter is compatible with the BMW
Universal Transmitter.
Checking for the change codeIn order to determine whether the orig-
inal hand-held transmitter is equipped
with a change code system, you may
either refer to the instructions for the
original hand-held transmitter or
program a channel button as described
in the left column on page 114 under
"Programming."
Following that, press and hold the
programmed channel button of the
BMW Universal Transmitter. If the indi-
cator lamp of the BMW Universal
Transmitter flashes rapidly for two
seconds and then stays on continu-
ously, the original hand-held transmitter
is equipped with a change code
system. If the change code system is
available, program the channel buttons
as described in the right-hand column
on page 114 under "Programming a
hand-held transmitter with change
code."
If you have additional questions,
please consult your BMW center
or call 1-800-355-3515.<
BMW Universal Transmitter
*
Page 177 of 186
Everything from A to Z
177n
OverviewControlsMaintenanceRepairsDataIndex
Brake system132
brake fluid level132
brake pads20, 132
disc brakes132
malfunctions132
Break-in procedures130
Bulbs and lamps151t C
California Proposition
65 Warning145
Capacities173
Car care, refer to the "Caring
for your vehicle" manual
Car wash systems, refer to
the "Caring for your
vehicle" manual
Care of paintwork, refer to
the "Caring for your
vehicle" manual
Care of upholstery materials,
refer to the "Caring for your
vehicle" manual
Cargo area
lamps103
opening from the
inside40
Cargo loading126
Cellular phone117 Center (high-mount) brake
lamp155
Central locking
system32, 37
Changing a wheel/
tire157t
Charge indicator lamp19
CHECK button83
Check Control83t
Check engine oil
level140t
Child seat safety62
Child seats61
Child-restraint systems61
Child-safety locks64
Cigarette lighter118
Clean rear window77
Cleaning windshield77
Climate control, refer to
Automatic climate
control107
Clock88
for additional information
refer to the "Owner's
Manual for Onboard
Computer"
Cockpit14
Code, refer to immoblizer
function94
Cold start67
Combination switch76 Comfort seat51
Compartments116
Computer86
for additional information
refer to the "Owner's
Manual for Onboard
Computer"
remote control95
Computer in the MID91
Configuring personal
adjustments, Vehicle and
Key Memory64
Consumption display81
Consumption, fuel86, 93
Convenience operation of
windows and sliding/tilt
sunroof33
Convenience starting
feature67
Coolant142
Coolant temperature
gauge82
Copyright4
Cover, sun blinds112
Cruising range86, 93
Cup holder117
Cup holder, refer to
beverage holder117
Curb monitor55
D
Data link connector for
Onboard Diagnostics146
Date
calling up88
changing88
Daytime driving lamps101
DBC (Dynamic Brake
Control)20
Deactivating95
alarm system tilt
sensor43
interior motion sensor43
Deep water131
Defrost windows106, 109
Defroster mode106, 109
Digital clock in the MID88
Dimensions169
Dipstick, engine oil140t
Displacement168
Display lighting102
Displays16, 17
Disposal
antifreeze with corrosion
inhibitor142t
used batteries160t
used oils141t