2002 BMW 325xi TOURING display
[x] Cancel search: displayPage 67 of 155

67n
OverviewControlsMaintenanceRepairsDataIndex
Check Control ClockThe following information and/or condi-
tions are indicated using symbols,
starting with the ignition key in
position 2, until the condition has been
corrected.
1 Check the low beams and high
beams, as well as the parking lamps
2 Door open
3 Tailgate open
4 Check brake and tail lamps
When you open the driver's door after
parking, a signal sounds to remind you
if the headlamps have not been
switched off.
If you wish to have a permanent time
display, you can make this setting in the
radio display (refer to the Radio
Owner's Manual).
You can set the clock and the time
display in the car radio as follows.
SettingWith ignition key position 1 or 2 and
time displayed in the instrument cluster.
To set ahead: turn the button to the
right.
To set back: turn the button to the left.
The adjustment speed will increase the
longer you continue to hold the button.
To change the display mode: press the
button briefly.
Every time you press the button, the
clock display alternates between the
12-hour or 24-hour mode.
In ignition key position 0: the time is
displayed for a few seconds after you
press the left button, refer to
Odometer on page 65.
Page 68 of 155

68n
Computer
*
Mode selectionFrom ignition key position 1, you can
call up information from the computer
using the button in the turn signal lever.
By pressing the button briefly toward
the steering column, you can call up a
new function for display.
The displays appear in the following
order:
Time of day, outside temperature,
average fuel consumption, cruising
range, average vehicle speed.
Starting with ignition key position 1,
the last active setting is displayed.
Outside temperatureYou can change the units of measure
(6/7) for the outside temperature
display by pressing the right-hand reset
button in the instrument cluster while
the temperature display is active.
Ice warningIf the outside temperature drops to
about 37.5 7 (+3 6), then the
computer will automatically switch to a
display of the outside temperature. In
addition, a signal sounds as a warning
and the display flashes for a brief
period.
The ice warning does not alter the
fact that surface ice can form at
temperatures above 37.5 7 (+3 6), on
bridges or shaded road surfaces, for
instance.<
Page 69 of 155

69n
OverviewControlsMaintenanceRepairsDataIndex
Computer
*
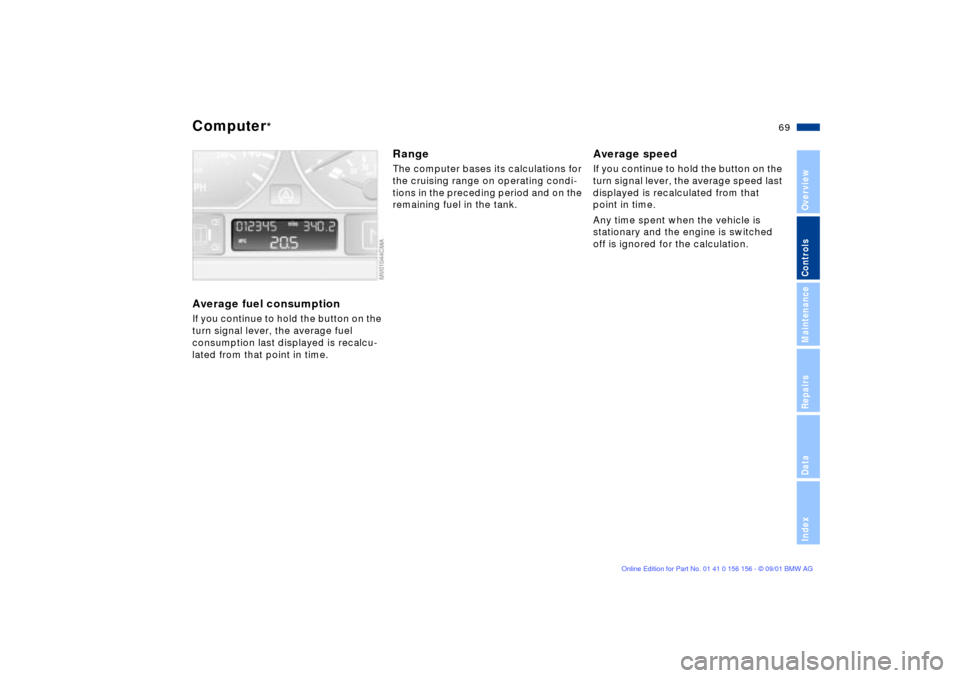
Average fuel consumptionIf you continue to hold the button on the
turn signal lever, the average fuel
consumption last displayed is recalcu-
lated from that point in time.
RangeThe computer bases its calculations for
the cruising range on operating condi-
tions in the preceding period and on the
remaining fuel in the tank.
Average speedIf you continue to hold the button on the
turn signal lever, the average speed last
displayed is recalculated from that
point in time.
Any time spent when the vehicle is
stationary and the engine is switched
off is ignored for the calculation.
Page 81 of 155

81n
OverviewControlsMaintenanceRepairsDataIndex
Flat Tire Monitor
*
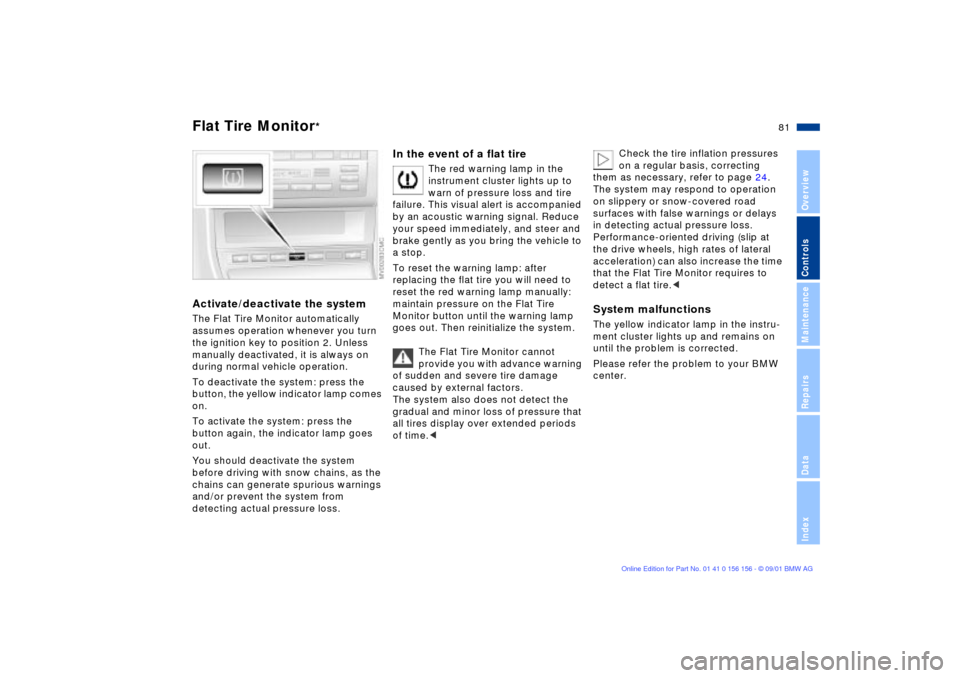
Activate/deactivate the systemThe Flat Tire Monitor automatically
assumes operation whenever you turn
the ignition key to position 2. Unless
manually deactivated, it is always on
during normal vehicle operation.
To deactivate the system: press the
button, the yellow indicator lamp comes
on.
To activate the system: press the
button again, the indicator lamp goes
out.
You should deactivate the system
before driving with snow chains, as the
chains can generate spurious warnings
and/or prevent the system from
detecting actual pressure loss.
In the event of a flat tire
The red warning lamp in the
instrument cluster lights up to
warn of pressure loss and tire
failure. This visual alert is accompanied
by an acoustic warning signal. Reduce
your speed immediately, and steer and
brake gently as you bring the vehicle to
a stop.
To reset the warning lamp: after
replacing the flat tire you will need to
reset the red warning lamp manually:
maintain pressure on the Flat Tire
Monitor button until the warning lamp
goes out. Then reinitialize the system.
The Flat Tire Monitor cannot
provide you with advance warning
of sudden and severe tire damage
caused by external factors.
The system also does not detect the
gradual and minor loss of pressure that
all tires display over extended periods
of time.<
Check the tire inflation pressures
on a regular basis, correcting
them as necessary, refer to page 24.
The system may respond to operation
on slippery or snow-covered road
surfaces with false warnings or delays
in detecting actual pressure loss.
Performance-oriented driving (slip at
the drive wheels, high rates of lateral
acceleration) can also increase the time
that the Flat Tire Monitor requires to
detect a flat tire.<
System malfunctionsThe yellow indicator lamp in the instru-
ment cluster lights up and remains on
until the problem is corrected.
Please refer the problem to your BMW
center.
Page 88 of 155

88n
Automatic climate control
*
1 Air onto the windshield and onto the
side windows
2 Air for the upper body area90
3 Air for the footwell
4 Recirculated-air mode/Automatic
recirculated-air control (AUC)905 Air supply89
6 Temperature89
7 Automatic air distribution89
8 Individual air distribution89
9 Interior temperature sensor Ð please
keep clear and unobstructed10 Display for temperature and air
supply89
11 Defrost windows and remove
condensation89
12 Air conditioning89
13 Rear window defroster90
Page 89 of 155

89n
OverviewControlsMaintenanceRepairsDataIndex
Automatic climate control
*
Tips for pleasant drivingUse the automatic system Ð switch on
with AUTO button 7. Select the desired
interior temperature.
Detailed setting options are described
for you in the following section.Automatic air distribution
The AUTO program adjusts the
air distribution and the air
supply for you and in addition adapts
the temperature to external influences
(summer, winter) to meet preferences
you can specify.
Individual air distribution
You can cancel the AUTO
program by selecting specific
distribution patterns to suit your
own individual requirements.
While the AUTO program is then deacti-
vated, the automatic airflow control
remains in operation. The system
directs air to the windows , the upper
body and into the footwells . You
can reactivate the automatic air distri-
bution mode by selecting the AUTO
button.
Temperature
The interior temperature that
appears in the display panel is a
general figure intended for reference
purposes. We recommend 72 7
(+22 6) as a comfortable setting, even
if the air conditioning is on. When you
start the vehicle, the system ensures
that the selected temperature is
achieved as quickly as possible regard-
less of the season. It then maintains this
temperature.
Air supply
By pressing the left or right half
of the button, you can vary the
air supply. This deactivates the auto-
matic control of the air supply, AUTO
disappears from the display panel.
Nevertheless, the automatic air distri-
bution remains unchanged. You can
reactivate the automatic air distribution
mode by selecting the AUTO button.
When you select the lowest blower
speed by pressing the left half of the
button, all of the displays are canceled:
the blower, heating and air conditioning
are switched off. The outside air supply
is blocked. You can reactivate the
system by pressing any button for the
automatic climate control.
To defrost windows and remove
condensation
This program quickly removes
ice and condensation from the
windshield and the side windows.
Air conditioning
The air is cooled and dehumidi-
fied and Ð depending on the
temperature setting Ð rewarmed.
Depending on the weather, the wind-
shield may fog over briefly when the
engine is started. Switching on the air
conditioning will reduce condensation
forming on the windows.
As the air-conditioning system
operates, condensation forms
within the system.This moisture is
conducted to an outlet beneath the
vehicle; it is thus not unusual for a small
puddle to form under the car while the
system is running.<
Page 111 of 155

111n
OverviewControlsMaintenanceRepairsDataIndex
Winter tiresChoosing the right tireBMW recommends winter tires (M+S
radial tires) for operation under
inclement winter driving conditions.
While all-season tires (M+S designa-
tion) provide better winter traction than
summer tires with the load ratings H, V,
W, Y and ZR, they generally do not
achieve the performance of winter tires.
In the interest of safe tracking and
steering response, install winter tires
made by the same manufacturer having
the same tread configuration on all four
wheels.Never exceed the maximum
speed for which the winter tires
are rated.
Unprofessional attempts by laymen to
service tires can lead to damage and
accidents.
Have this work performed by trained
professionals only. Any BMW center
has the required technical knowledge
and the proper equipment and will be
happy to assist you.<
Tire condition, tire pressureOnce the tire wears to below 0.16 in
(4 mm), winter tires display a percep-
tible decrease in their ability to cope
with winter driving conditions, and
should be replaced in the interest of
safety.
Comply with the specified tire inflation
pressures Ñ and be sure to have the
wheel and tire assemblies balanced
every time you change the tires.
StorageAlways store tires in a cool, dry place.
Store them away from light whenever
possible. Protect the tires against
contact with oil, grease and fuel.Snow chains
*
Use BMW narrow-link snow chains on
summer or winter tires in pairs only and
only on the rear wheels.
BMW 325xi: in an extreme emergency Ð
for instance, with the vehicle stuck on
one side, or when obstructions make it
impossible to reach one tire Ð a chain
may also be mounted on just one tire
for the limited period needed to resolve
the problem.
Comply with all manufacturer's safety
precautions when mounting the chains.
You cannot mount snow chains on the
following tires:
225/50 R 16 92
225/45 R 17 91
245/40 ZR 17
Page 119 of 155

119n
OverviewControlsMaintenanceRepairsDataIndex
The BMW Maintenance System has
been designed as a reliable means of
providing maximum driving and oper-
ating safety Ð and as cost-effectively as
possible for you.
Please keep in mind that regular main-
tenance is not only necessary for the
safety of your vehicle, but also plays a
significant role in maintaining the resale
value of the vehicle.
Service Interval DisplayWhile conventional systems rely on
distance traveled alone to determine
when service is due, the BMW Mainte-
nance System has for years considered
the actual conditions under which the
vehicle operates, because miles can be
traveled in many different ways:
From a maintenance point of view,
62,000 miles (100,000 km) of short-
distance urban driving cannot be
compared with 62,000 miles
(100,000km) of long-distance highway
travel.
The BMW Maintenance System
includes the Engine Oil Service and
Inspections I and II.
Determining the maintenance intervals
according to the actual use of the
vehicle covers every kind of operating
situation. However, drivers who cover
only extremely short distances Ð
substantially less than 6,200 miles
(10,000 km) annually Ð should still have
the engine oil changed at least every
2 years, as it continues to age regard-
less of whether the vehicle is used on a
regular basis.
Service and Warranty Information
Booklet (US models)/Warranty
and Service Guide Booklet (Cana-
dian models)For additional information on required
maintenance intervals and procedures,
please refer to the Service and
Warranty Information Booklet (US
models), or the Warranty and Service
Guide Booklet (Canadian models).
As a precaution against corrosion, it is
advisable to have the body checked for
damage from rocks or gravel at the
same time, depending upon operating
conditions.
We recommend that you refer all
maintenance and repair opera-
tions to your BMW center.
Be sure that all maintenance work is
confirmed in the Service and Warranty
Information Booklet (US models), or in
the Warranty and Service Guide
Booklet (Canadian models). These
entries confirm that your vehicle has
benefitted from regular maintenance,
and are also required for warranty
claims.<
The BMW Maintenance System