Page 5 of 2572

BASIC FUNCTIONS
5
Screen scroll operation
(one-touch scroll)
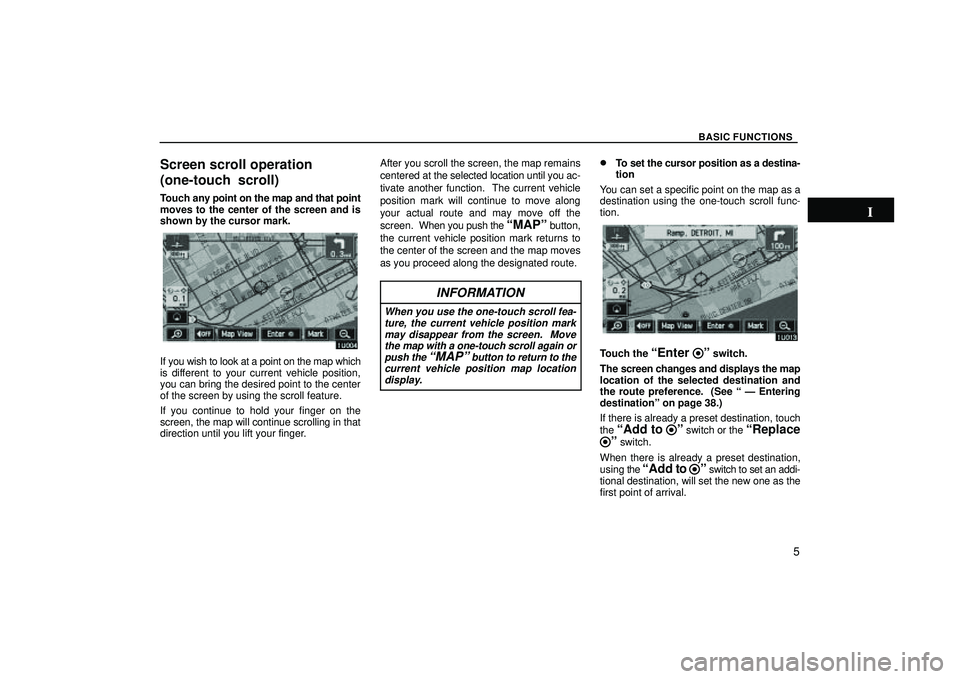
Touch any point on the map and that point
moves to the center of the screen and is
shown by the cursor mark.
If you wish to look at a point on the map which
is different to your current vehicle position,
you can bring the desired point to the center
of the screen by using the scroll feature.
If you continue to hold your finger on the
screen, the map will continue scrolling in that
direction until you lift your finger.After you scroll the screen, the map remains
centered at the selected location until you ac-
tivate another function. The current vehicle
position mark will continue to move along
your actual route and may move off the
screen. When you push the
MAPº button,
the current vehicle position mark returns to
the center of the screen and the map moves
as you proceed along the designated route.
INFORMATION
When you use the one-touch scroll fea-
ture, the current vehicle position mark
may disappear from the screen. Move
the map with a one-touch scroll again or
push the
MAPº button to return to the
current vehicle position map location
display.
�To set the cursor position as a destina-
tion
You can set a specific point on the map as a
destination using the one-touch scroll func-
tion.
Touch the Enter º switch.
The screen changes and displays the map
location of the selected destination and
the route preference. (See Ð Entering
destinationº on page 38.)
If there is already a preset destination, touch
the
Add to º switch or the Replace
º switch.
When there is already a preset destination,
using the
Add to º switch to set an addi-
tional destination, will set the new one as the
first point of arrival.
Page 7 of 2572
BASIC FUNCTIONS
7
Touch the Info.º switch.
Information such as the name, address, and
phone number are displayed.
If you touch the
Enter º switch, the posi-
tion of cursor is set as a destination.
If there is already a preset destination, the
Add to º switch and the Replace
º switch are displayed.
When there is already a preset destination,
using the
Add to º switch to set an addi-
tional destination, will set the new one as the
first point of arrival.
To register this POI as a memory point, touch
the
Markº switch. (For details, see page
66.)
INFORMATION
The desired Point of Interest can be dis-
played on the map screen. (For details,
see page 49.)
MEMORY POINT INFORMATION
When the cursor is set on a memory point
icon, the name and
Info.º switch are dis-
played on the top of screen.
Touch the Info.º switch.
Information such as the name, location, and
phone number are displayed.
If you touch the
Enter º switch, the posi-
tion of cursor is set as a destination.
Page 8 of 2572

BASIC FUNCTIONS
8
If there is already a set destination, the Add
to
º switch and the Replace º
switch are displayed.
When there is already a preset destination,
using the
Add to º switch to set an addi-
tional destination, will set the new one as the
first point of arrival.
To edit a memory point, touch the
Editºswitch. (For details, see page 68.)
Map scale
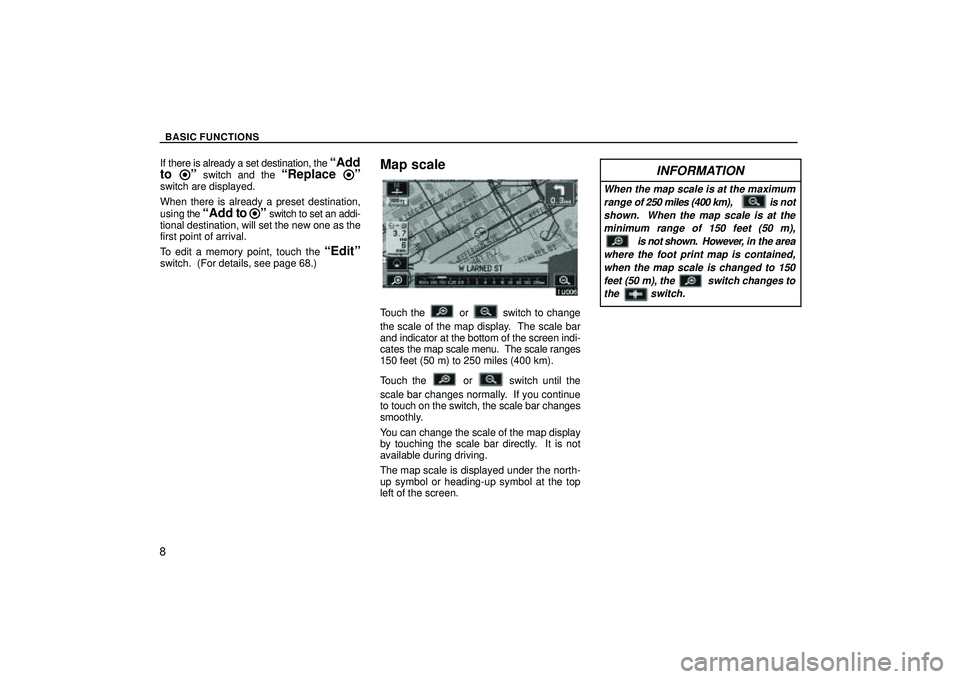
Touch the or switch to change
the scale of the map display. The scale bar
and indicator at the bottom of the screen indi-
cates the map scale menu. The scale ranges
150 feet (50 m) to 250 miles (400 km).
Touch the
or switch until the
scale bar changes normally. If you continue
to touch on the switch, the scale bar changes
smoothly.
You can change the scale of the map display
by touching the scale bar directly. It is not
available during driving.
The map scale is displayed under the north-
up symbol or heading-up symbol at the top
left of the screen.
INFORMATION
When the map scale is at the maximum
range of 250 miles (400 km), is not
shown. When the map scale is at the
minimum range of 150 feet (50 m),
is not shown. However, in the area
where the foot print map is contained,
when the map scale is changed to 150
feet (50 m), the switch changes to
the switch.
Page 116 of 2572
'05 HIGHLANDER_U (L/O 0409)
4
2005 HIGHLANDER from Nov. '04 Prod. (OM48570U)
1. Headlight, turn signal and front fog
light switches
2. Wiper and washer switches
3. Emergency flasher switch
4. Clock
5. Front passenger 's seat belt reminder
light
6. Rear window and outside rear view
mirror defogger and windshield wiper
de- icer switch
7. Air conditioning controls
8. Audio system
9. AIRBAG ONº and AIRBAG OFFº
indicator lights
10. Snow mode button
11. Seat heater switches
12. Cigarette lighter
13. TRAC OFFº switch
(two- wheel drive models)
14. Cruise control switch
15. Ignition switch
16. Tilt steering lock release lever
17. Tire pressure warning system reset
switch �Vehicles with manual air conditioning controls (view B)
Page 118 of 2572
'05 HIGHLANDER_U (L/O 0409)
6
2005 HIGHLANDER from Nov. '04 Prod. (OM48570U)
1. Headlight, turn signal and front fog
light switches
2. Wiper and washer switches
3. Emergency flasher switch
4. Clock
5. Front passenger 's seat belt reminder
light
6. Air conditioning controls and
multi- information display
7. Rear window and outside rear view
mirror defogger and windshield wiper
de- icer switch
8. Audio system
9. AIRBAG ONº and AIRBAG OFFº
indicator lights
10. Snow mode button
11. Seat heater switches
12. Cigarette lighter
13. TRAC OFFº switch
(two- wheel drive models)
14. Cruise control switch
15. Ignition switch
16. Tilt steering lock release lever
17. Tire pressure warning system reset
switch �Vehicles with automatic air conditioning controls (view B without navigation system)
Page 121 of 2572
'05 HIGHLANDER_U (L/O 0409)
9
2005 HIGHLANDER from Nov. '04 Prod. (OM48570U)
17. Tire pressure warning system reset
switch
18. Power outlet (115 VAC) main switch
19. Rear heater main switch
20. Theft deterrent system/engine
immobilizer system indicator light
21. Power rear view mirror control switches
Page 122 of 2572
'05 HIGHLANDER_U (L/O 0409)
10
2005 HIGHLANDER from Nov. '04 Prod. (OM48570U)
1. Tachometer
2. Service reminder indicators and
indicator lights
3. Speedometer4. Fuel gauge
5. Low fuel level warning light
6. Engine coolant temperature gauge7. Trip meter reset knob
8. Odometer and two trip meters
9. Instrument panel light control knob
Instrument cluster overview
Page 142 of 2572

'05 HIGHLANDER_U (L/O 0409)
26
2005 HIGHLANDER from Nov. '04 Prod. (OM48570U)
The power door lock switch can be reset
in the following ways.
�Turn the ignition key to ONº.
�Unlock all the side doors and back
door with the key or wireless remote
control transmitter.
�Unlock the driver's door or front pas-
senger 's door with the inside lock
knob, and then unlock all the doors
and back door with the power door
lock switch.
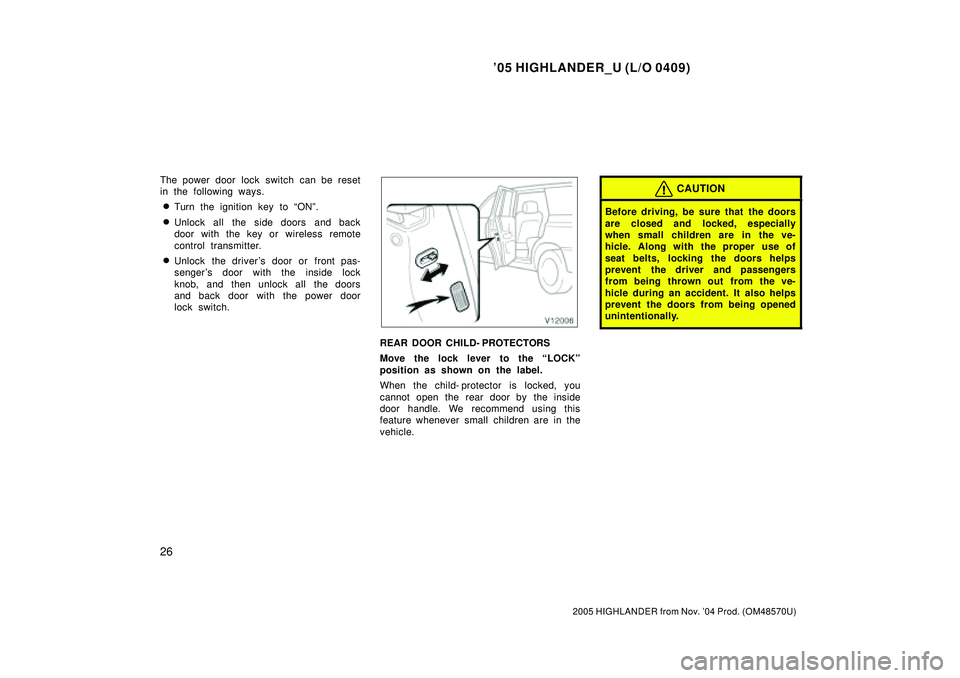
REAR DOOR CHILD- PROTECTORS
Move the lock lever to the LOCKº
position as shown on the label.
When the child- protector is locked, you
cannot open the rear door by the inside
door handle. We recommend using this
feature whenever small children are in the
vehicle.
CAUTION
Before driving, be sure that the doors
are closed and locked, especially
when small children are in the ve-
hicle. Along with the proper use of
seat belts, locking the doors helps
prevent the driver and passengers
from being thrown out from the ve-
hicle during an accident. It also helps
prevent the doors from being opened
unintentionally.