Page 8 of 413
vi
GENERAL MOTORS, GM, the GM Emblem,
PONTIAC, the PONTIAC Emblem and the name
BONNEVILLE are registered trademarks of General
Motors Corporation.
This manual includes the latest information at the time
it was printed. We reserve the right to make changes
after that time without further notice. For vehicles first
sold in Canada, substitute the name ªGeneral Motors of
Canada Limitedº for Pontiac Division whenever it
appears in this manual.
Please keep this manual in your vehicle, so it will be
there if you ever need it when you're on the road. If you
sell the vehicle, please leave this manual in it so the new
owner can use it.
We support voluntary
technician certification.
For Canadian Owners Who Prefer a
French Language Manual:
Aux propri‡taires canadiens: Vous pouvez vous
procurer un exemplaire de ce guide en fran†ais chez
votre concessionaire ou au:
Helm, Incorporated
P.O. Box 07130
Detroit, MI 48207
Page 123 of 413

2-56
Sun Visors
To block out glare, you can swing down the visors. You
can also remove them from the center mount and swing
them to the side, while the auxiliary sunshade remains to
block glare from the front.
Visor Vanity Mirror
Open the cover to expose the vanity mirror.
If your vehicle has the optional lighted vanity mirrors,
the lamps come on when you open the cover.
Air Inflator System (Option)
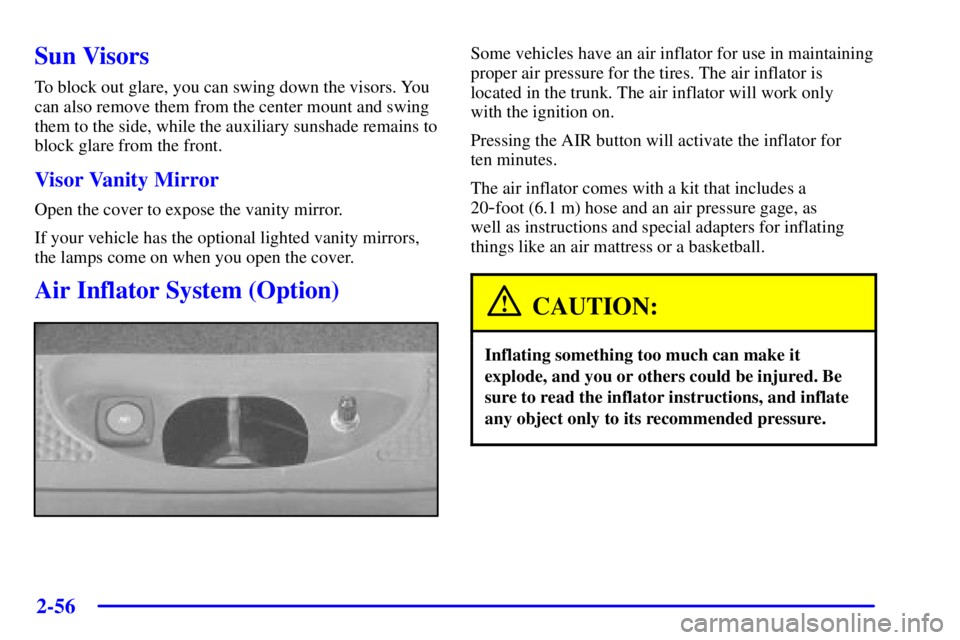
Some vehicles have an air inflator for use in maintaining
proper air pressure for the tires. The air inflator is
located in the trunk. The air inflator will work only
with the ignition on.
Pressing the AIR button will activate the inflator for
ten minutes.
The air inflator comes with a kit that includes a
20
-foot (6.1 m) hose and an air pressure gage, as
well as instructions and special adapters for inflating
things like an air mattress or a basketball.
CAUTION:
Inflating something too much can make it
explode, and you or others could be injured. Be
sure to read the inflator instructions, and inflate
any object only to its recommended pressure.
Page 192 of 413

3-19
�� (4): Press this button to reverse the tape rapidly.
Press it again to return to playing speed. The radio will
play the last selected station while the tape reverses.
You may select stations during reverse operation by
using TUNE.
� (6): Press this button to reduce background noise.
DOLBY NR ON will appear on the display. Press it
again to turn Dolby NR off.
Dolby Noise Reduction is manufactured under a license
from Dolby Laboratories Licensing Corporation.
Dolby and the double
-D symbol are trademarks of
Dolby Laboratories Licensing Corporation.
EQ: Press EQ to select the desired preset equalization
setting while playing a cassette. The equalization will be
automatically set whenever you play a cassette tape.
SEEK: Press the up or down arrow to search for the
next or previous selection on the tape. Your tape must
have at least three seconds of silence between each
selection for SEEK to work. You can skip nine
selections up or down on the tape. Choose how many
selections you want to skip. Press the SEEK arrow that
many times. The number of selections to be skipped will
appear on the display.SCAN: Press and hold one of the SEEK arrows for
more than two seconds until SCAN appears on the
display and you hear a beep. Use SCAN to listen to each
selection for a few seconds. The tape will go to the next
selection, stop for a few seconds, then go on to the next
selection. Press this button again to stop scanning. The
sound will mute and SCAN will appear on the display
while scanning. The tape will only scan forward.
AM FM: Press this button to play the radio when a tape is
in the player. The tape will stop but remain in the player.
TAPE AUX: With a cassette tape in the player and the
radio playing, press this button to play a cassette tape.
Press AM FM to return to the radio when a cassette tape
is playing. The inactive tape will remain safely inside
the radio for future listening. The tape icon will appear
on the display when a cassette tape is loaded. If you
have the optional CD changer and the CD changer is
loaded, the TAPE AUX button will activate the changer
and an icon will be lit in the display.
: Press this button to remove the tape. The radio will
play. Eject may be activated with either the ignition or
radio off. Cassettes may be loaded with the radio and
ignition off if this button is pressed first.
Page 193 of 413

3-20
CLEAN PLAYER: If this message appears on the
display, the cassette tape player needs to be cleaned. It will
still play tapes, but you should clean it as soon as possible
to prevent damage to the tapes and player. See ªCare of
Your Cassette Tape Playerº in the Index. After you clean
the player, press and hold the eject button for five seconds
to reset the CLEAN PLAYER indicator. The radio will
display CLEANED to show the indicator was reset.
CD Adapter Kits
It is possible to use a portable CD player adapter kit
with your cassette tape player after activating the bypass
feature on your tape player.
To activate the bypass feature, use the following steps:
1. Turn the ignition to ON or ACCESSORY.
2. Turn the radio off.
3. Press and hold the TAPE AUX button for
three seconds. The tape symbol on the display will
flash for five seconds and READY will appear on
the display, indicating the feature is active.
4. Insert the adapter into the cassette slot. It will power
up the radio and begin playing.
This override routine will remain active until the eject
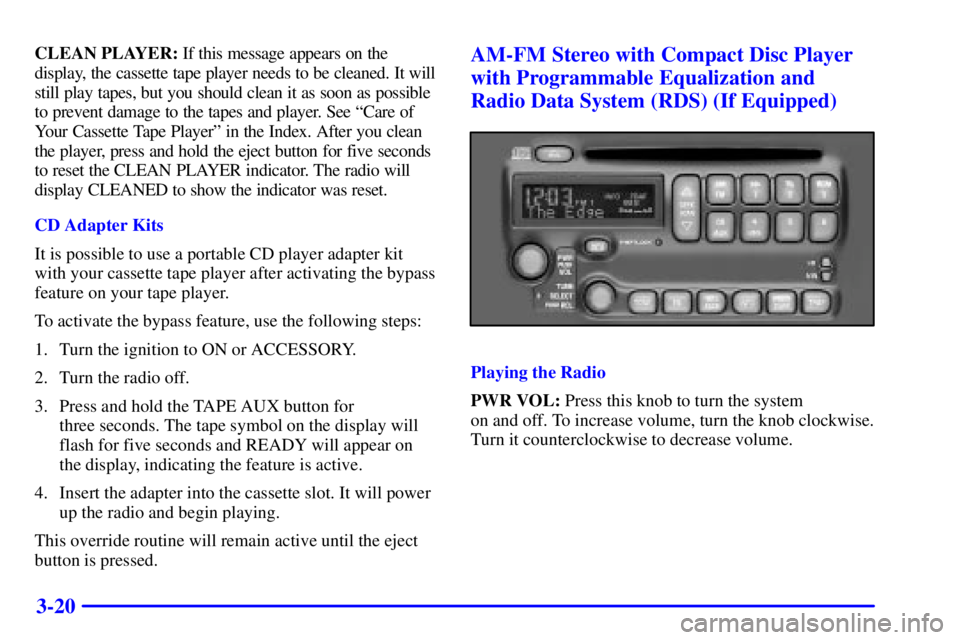
button is pressed.AM-FM Stereo with Compact Disc Player
with Programmable Equalization and
Radio Data System (RDS) (If Equipped)
Playing the Radio
PWR VOL: Press this knob to turn the system
on and off. To increase volume, turn the knob clockwise.
Turn it counterclockwise to decrease volume.
Page 200 of 413

3-27
CD AUX: With a compact disc in the player and the
radio playing, press this button to play a compact disc.
Press AM FM to return to the radio when a compact disc
is playing. The inactive CD will remain safely inside the
radio for future listening. The CD icon will appear on
the display when a compact disc is loaded. If you have
the optional CD changer and the CD changer is loaded,
the CD AUX button will activate the changer and an
icon will be lit in the display.
: Press this button to remove the disc. The radio will
play. Eject may be activated with either the ignition or
radio off. CDs may be loaded with the radio and ignition
off if this button is pressed first.
Radio Calibration
Your audio system has been calibrated for your vehicle
from the factory. If CALIBRATE appears on the display
it means that your radio has not been configured
properly for your vehicle and must be returned to the
dealership for service.
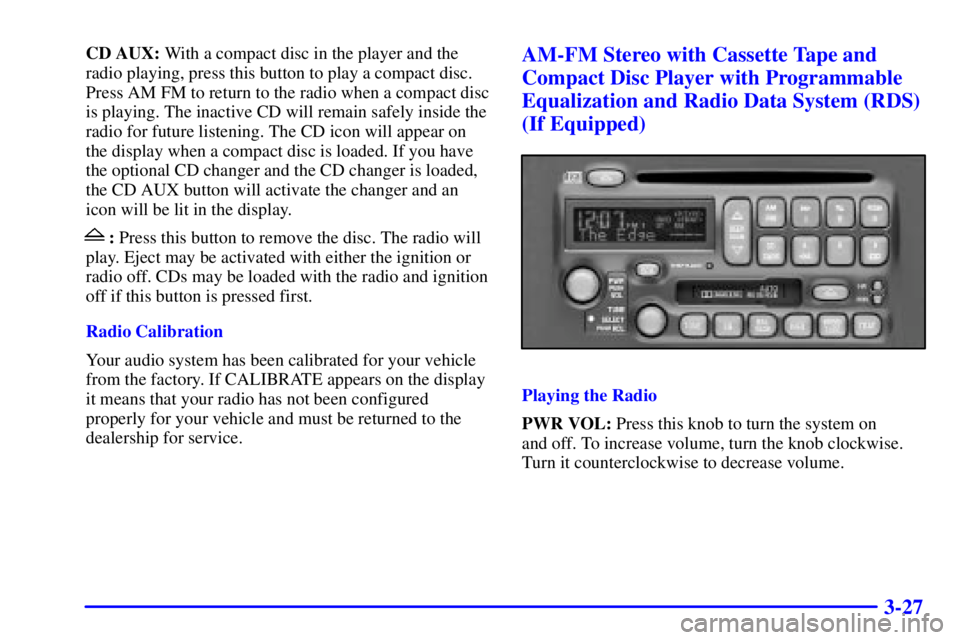
AM-FM Stereo with Cassette Tape and
Compact Disc Player with Programmable
Equalization and Radio Data System (RDS)
(If Equipped)
Playing the Radio
PWR VOL: Press this knob to turn the system on
and off. To increase volume, turn the knob clockwise.
Turn it counterclockwise to decrease volume.
Page 350 of 413
6-65
Minifuse Usage
1 Not Used
2 Accessory
3 Windshield Wipers
4 Not Used
5 Headlamp Low Beam Left
6 Headlamp Low Beam Right
7 Spare
8 Powertrain Control
Module BatteryMinifuse Usage
9 Headlamp High Beam Right
10 Headlamp High Beam Left
11 Ignition 1
12 Not Used
13 Transaxle
14 Cruise Control
15 Direct Ignition System
16 Injector Bank #2
17 Not Used
18 Not Used
19 Powertrain Control
Module Ignition
20 Oxygen Sensor
21 Injector Bank #1
22 Auxiliary Power
23 Cigar Lighter
24 Fog Lamps/Daytime
Running Lamps
25 Horn
26 Air Conditioning Clutch