2001 NISSAN XTERRA engine
[x] Cancel search: enginePage 53 of 263
START and remains illuminated until the
driver's seat belt is fastened. At the same
time, the chime sounds for about seven
seconds unless the driver seat belt is se-
curely fastened.
Refer to ``Seat belts'' in the ``Seats, re-
straints and supplemental air bag systems''
section for precautions on seat belt usage.
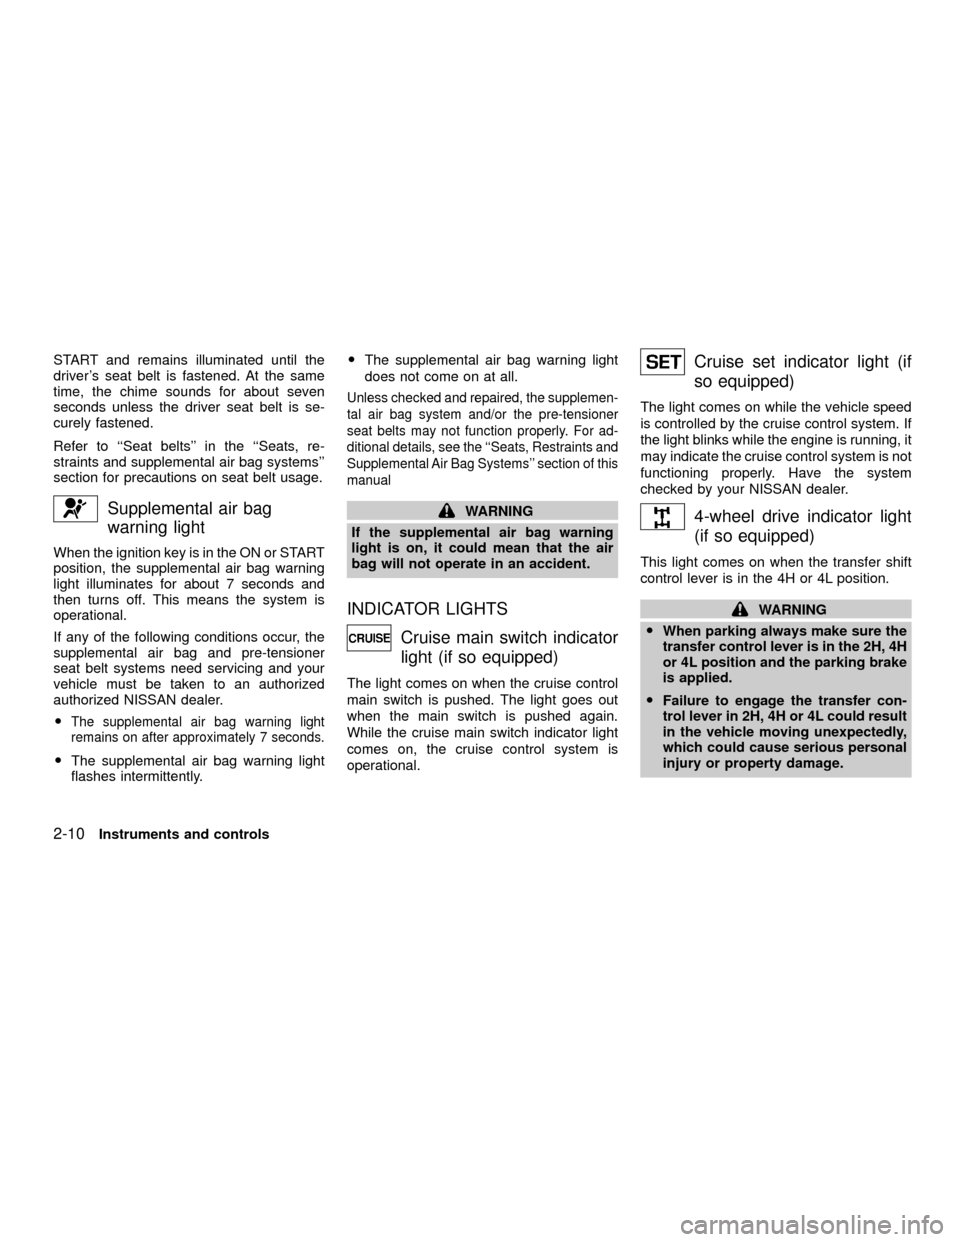
Supplemental air bag
warning light
When the ignition key is in the ON or START
position, the supplemental air bag warning
light illuminates for about 7 seconds and
then turns off. This means the system is
operational.
If any of the following conditions occur, the
supplemental air bag and pre-tensioner
seat belt systems need servicing and your
vehicle must be taken to an authorized
authorized NISSAN dealer.
O
The supplemental air bag warning light
remains on after approximately 7 seconds.
OThe supplemental air bag warning light
flashes intermittently.OThe supplemental air bag warning light
does not come on at all.
Unless checked and repaired, the supplemen-
tal air bag system and/or the pre-tensioner
seat belts may not function properly. For ad-
ditional details, see the ``Seats, Restraints and
Supplemental Air Bag Systems'' section of this
manual
WARNING
If the supplemental air bag warning
light is on, it could mean that the air
bag will not operate in an accident.
INDICATOR LIGHTS
Cruise main switch indicator
light (if so equipped)
The light comes on when the cruise control
main switch is pushed. The light goes out
when the main switch is pushed again.
While the cruise main switch indicator light
comes on, the cruise control system is
operational.
Cruise set indicator light (if
so equipped)
The light comes on while the vehicle speed
is controlled by the cruise control system. If
the light blinks while the engine is running, it
may indicate the cruise control system is not
functioning properly. Have the system
checked by your NISSAN dealer.
4-wheel drive indicator light
(if so equipped)
This light comes on when the transfer shift
control lever is in the 4H or 4L position.
WARNING
OWhen parking always make sure the
transfer control lever is in the 2H, 4H
or 4L position and the parking brake
is applied.
OFailure to engage the transfer con-
trol lever in 2H, 4H or 4L could result
in the vehicle moving unexpectedly,
which could cause serious personal
injury or property damage.
2-10Instruments and controls
ZX
Page 54 of 263
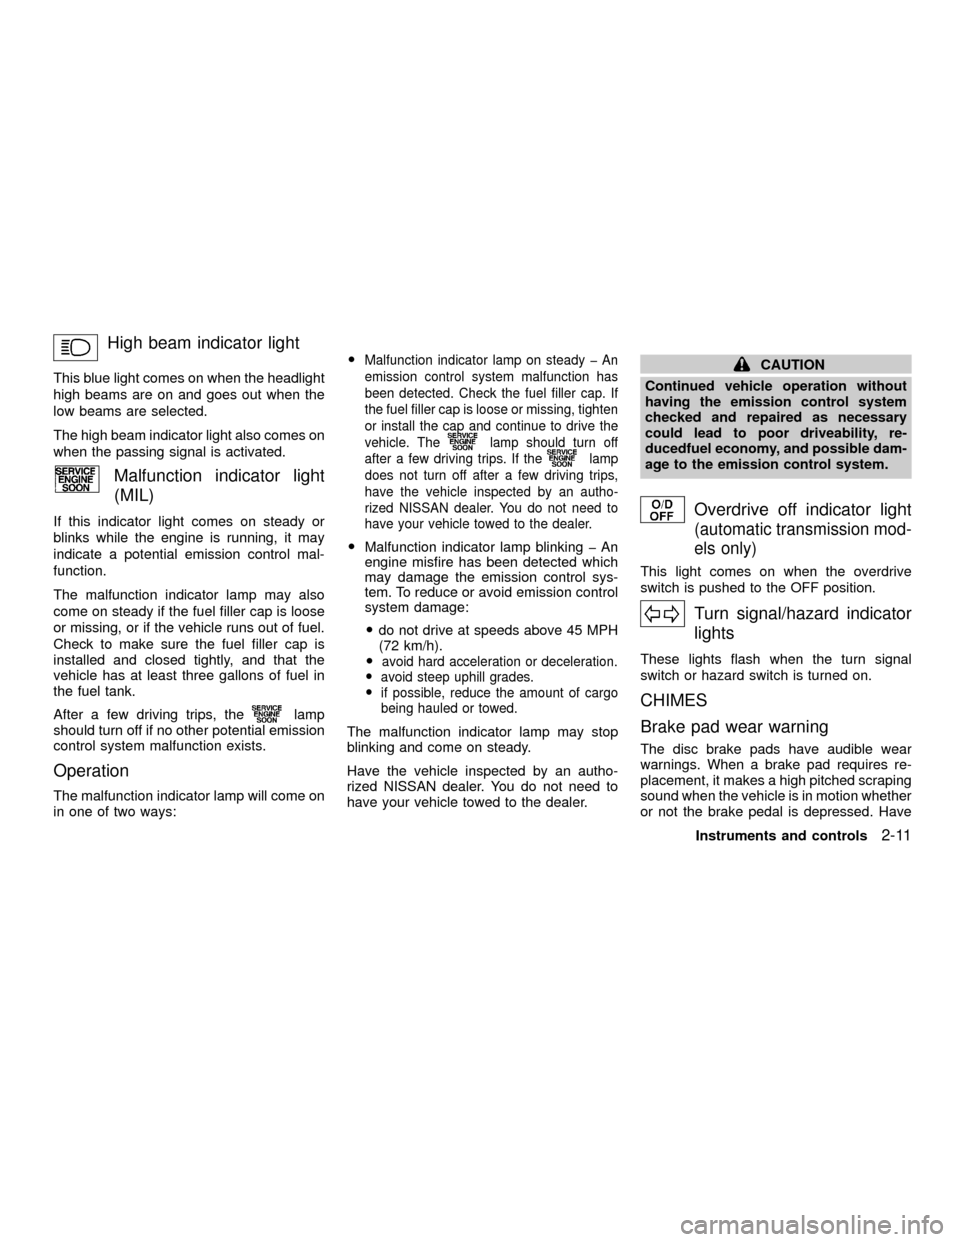
High beam indicator light
This blue light comes on when the headlight
high beams are on and goes out when the
low beams are selected.
The high beam indicator light also comes on
when the passing signal is activated.
Malfunction indicator light
(MIL)
If this indicator light comes on steady or
blinks while the engine is running, it may
indicate a potential emission control mal-
function.
The malfunction indicator lamp may also
come on steady if the fuel filler cap is loose
or missing, or if the vehicle runs out of fuel.
Check to make sure the fuel filler cap is
installed and closed tightly, and that the
vehicle has at least three gallons of fuel in
the fuel tank.
After a few driving trips, the
lamp
should turn off if no other potential emission
control system malfunction exists.
Operation
The malfunction indicator lamp will come on
in one of two ways:O
Malfunction indicator lamp on steady þ An
emission control system malfunction has
been detected. Check the fuel filler cap. If
the fuel filler cap is loose or missing, tighten
or install the cap and continue to drive the
vehicle. The
lamp should turn off
after a few driving trips. If the
lamp
does not turn off after a few driving trips,
have the vehicle inspected by an autho-
rized NISSAN dealer. You do not need to
have your vehicle towed to the dealer.
OMalfunction indicator lamp blinking þ An
engine misfire has been detected which
may damage the emission control sys-
tem. To reduce or avoid emission control
system damage:
Odo not drive at speeds above 45 MPH
(72 km/h).
O
avoid hard acceleration or deceleration.
Oavoid steep uphill grades.
Oif possible, reduce the amount of cargo
being hauled or towed.
The malfunction indicator lamp may stop
blinking and come on steady.
Have the vehicle inspected by an autho-
rized NISSAN dealer. You do not need to
have your vehicle towed to the dealer.
CAUTION
Continued vehicle operation without
having the emission control system
checked and repaired as necessary
could lead to poor driveability, re-
ducedfuel economy, and possible dam-
age to the emission control system.
Overdrive off indicator light
(automatic transmission mod-
els only)
This light comes on when the overdrive
switch is pushed to the OFF position.
Turn signal/hazard indicator
lights
These lights flash when the turn signal
switch or hazard switch is turned on.
CHIMES
Brake pad wear warning
The disc brake pads have audible wear
warnings. When a brake pad requires re-
placement, it makes a high pitched scraping
sound when the vehicle is in motion whether
or not the brake pedal is depressed. Have
Instruments and controls
2-11
ZX
Page 60 of 263
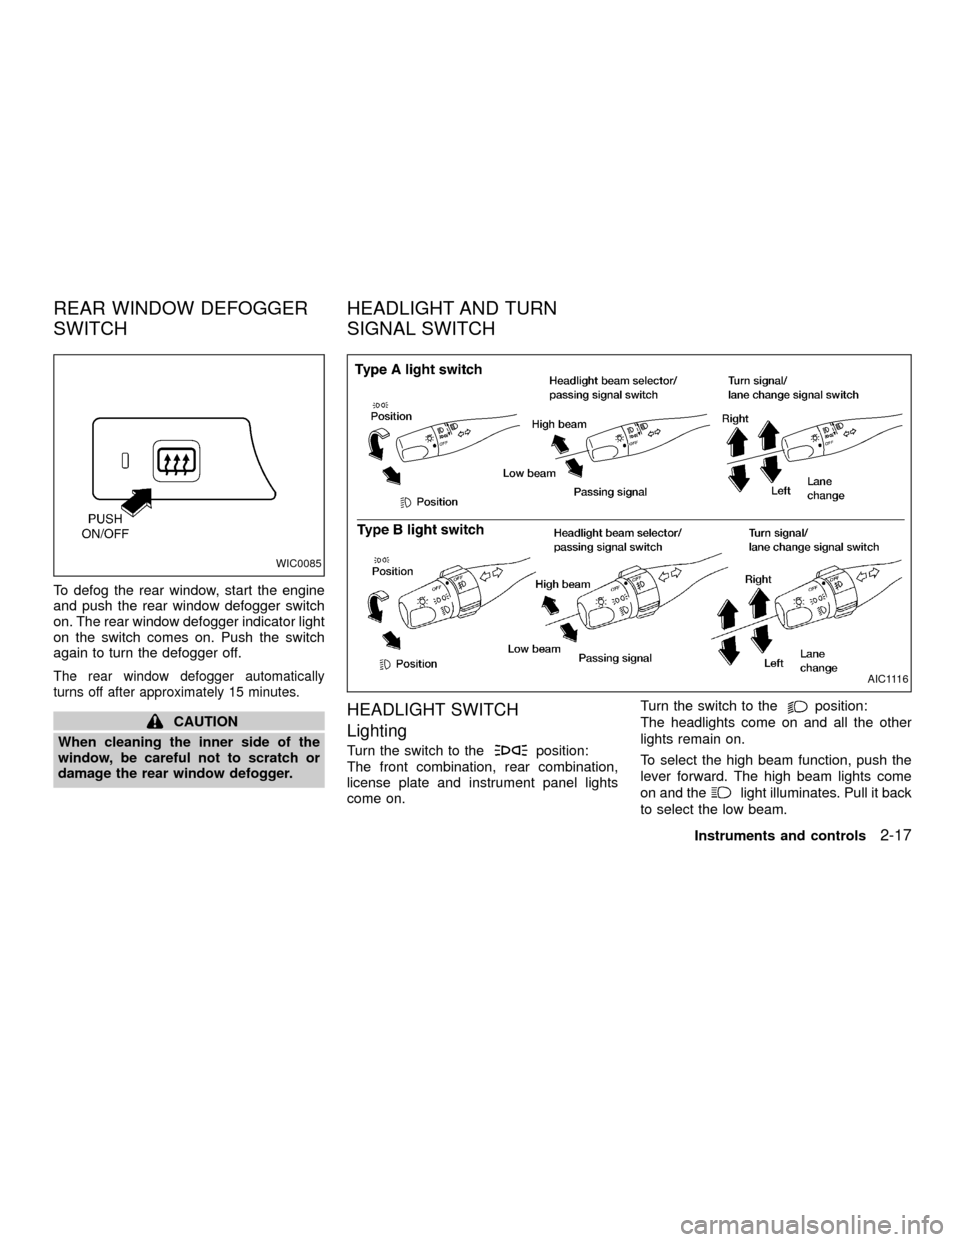
To defog the rear window, start the engine
and push the rear window defogger switch
on. The rear window defogger indicator light
on the switch comes on. Push the switch
again to turn the defogger off.
The rear window defogger automatically
turns off after approximately 15 minutes.
CAUTION
When cleaning the inner side of the
window, be careful not to scratch or
damage the rear window defogger.HEADLIGHT SWITCH
Lighting
Turn the switch to theposition:
The front combination, rear combination,
license plate and instrument panel lights
come on.Turn the switch to the
position:
The headlights come on and all the other
lights remain on.
To select the high beam function, push the
lever forward. The high beam lights come
on and the
light illuminates. Pull it back
to select the low beam.
WIC0085
AIC1116
REAR WINDOW DEFOGGER
SWITCHHEADLIGHT AND TURN
SIGNAL SWITCH
Instruments and controls2-17
ZX
Page 61 of 263
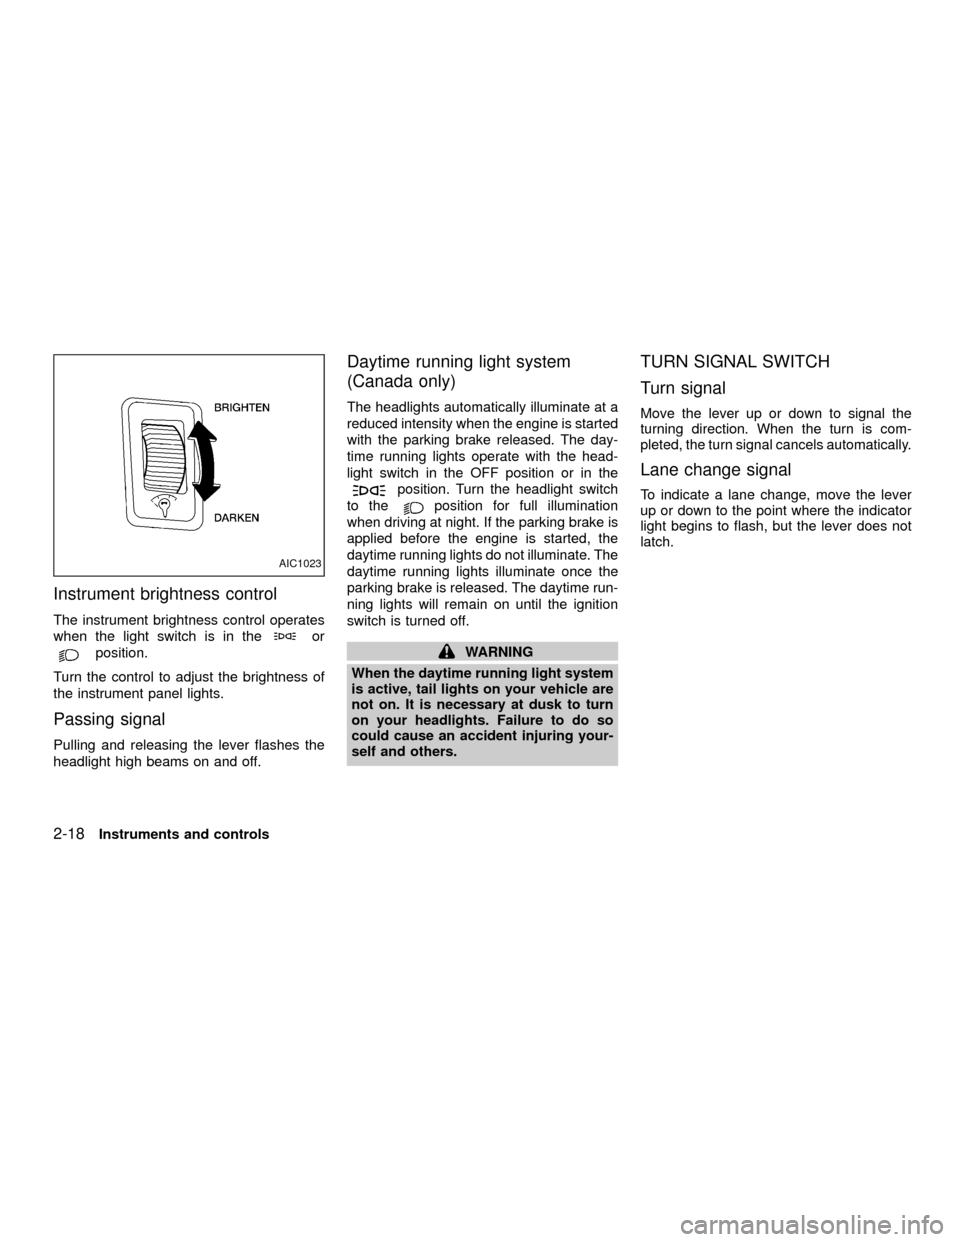
Instrument brightness control
The instrument brightness control operates
when the light switch is in the
or
position.
Turn the control to adjust the brightness of
the instrument panel lights.
Passing signal
Pulling and releasing the lever flashes the
headlight high beams on and off.
Daytime running light system
(Canada only)
The headlights automatically illuminate at a
reduced intensity when the engine is started
with the parking brake released. The day-
time running lights operate with the head-
light switch in the OFF position or in the
position. Turn the headlight switch
to the
position for full illumination
when driving at night. If the parking brake is
applied before the engine is started, the
daytime running lights do not illuminate. The
daytime running lights illuminate once the
parking brake is released. The daytime run-
ning lights will remain on until the ignition
switch is turned off.
WARNING
When the daytime running light system
is active, tail lights on your vehicle are
not on. It is necessary at dusk to turn
on your headlights. Failure to do so
could cause an accident injuring your-
self and others.
TURN SIGNAL SWITCH
Turn signal
Move the lever up or down to signal the
turning direction. When the turn is com-
pleted, the turn signal cancels automatically.
Lane change signal
To indicate a lane change, move the lever
up or down to the point where the indicator
light begins to flash, but the lever does not
latch.
AIC1023
2-18Instruments and controls
ZX
Page 64 of 263
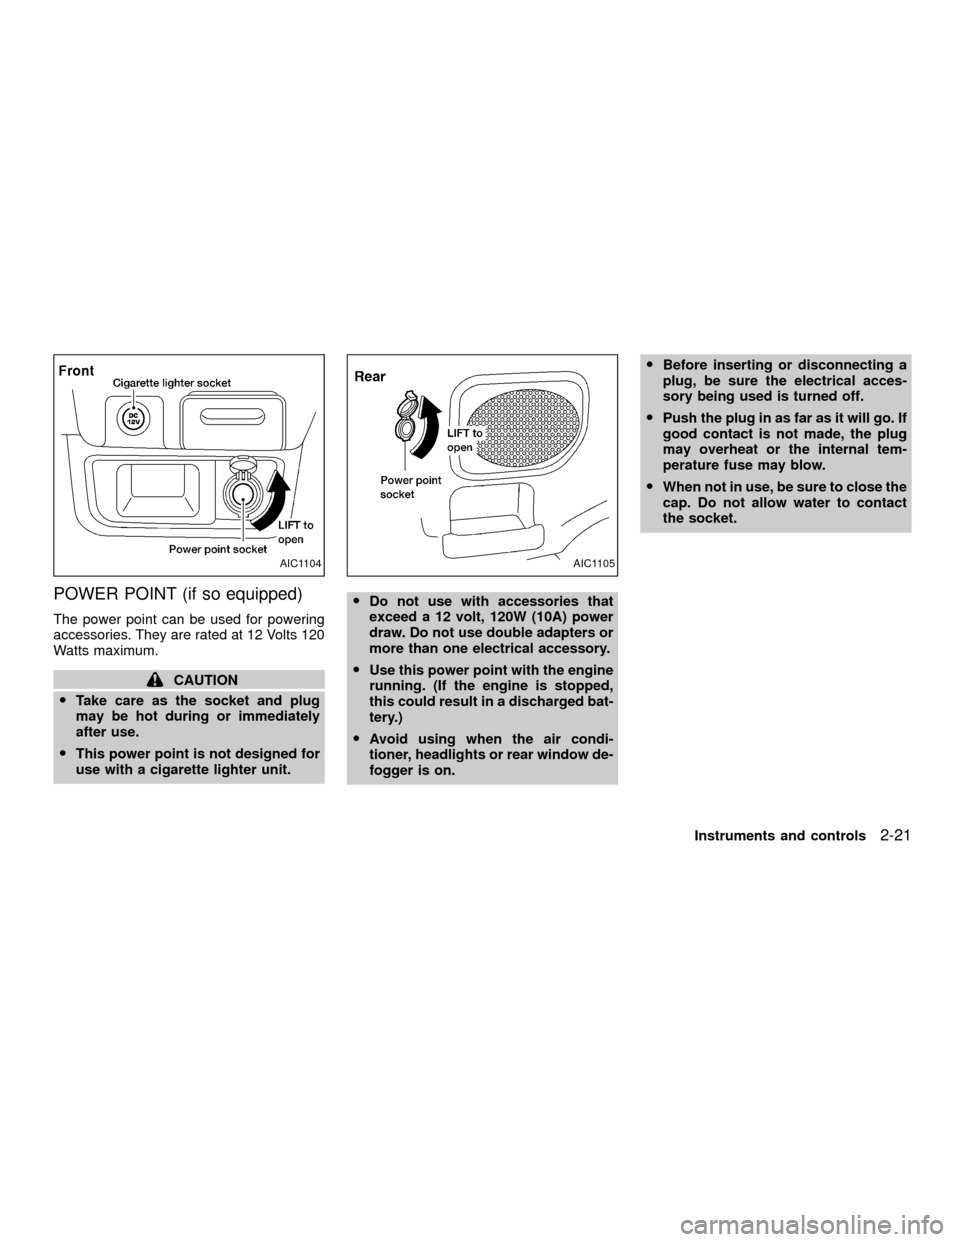
POWER POINT (if so equipped)
The power point can be used for powering
accessories. They are rated at 12 Volts 120
Watts maximum.
CAUTION
OTake care as the socket and plug
may be hot during or immediately
after use.
OThis power point is not designed for
use with a cigarette lighter unit.ODo not use with accessories that
exceed a 12 volt, 120W (10A) power
draw. Do not use double adapters or
more than one electrical accessory.
OUse this power point with the engine
running. (If the engine is stopped,
this could result in a discharged bat-
tery.)
OAvoid using when the air condi-
tioner, headlights or rear window de-
fogger is on.OBefore inserting or disconnecting a
plug, be sure the electrical acces-
sory being used is turned off.
OPush the plug in as far as it will go. If
good contact is not made, the plug
may overheat or the internal tem-
perature fuse may blow.
OWhen not in use, be sure to close the
cap. Do not allow water to contact
the socket.
AIC1104AIC1105
Instruments and controls2-21
ZX
Page 73 of 263
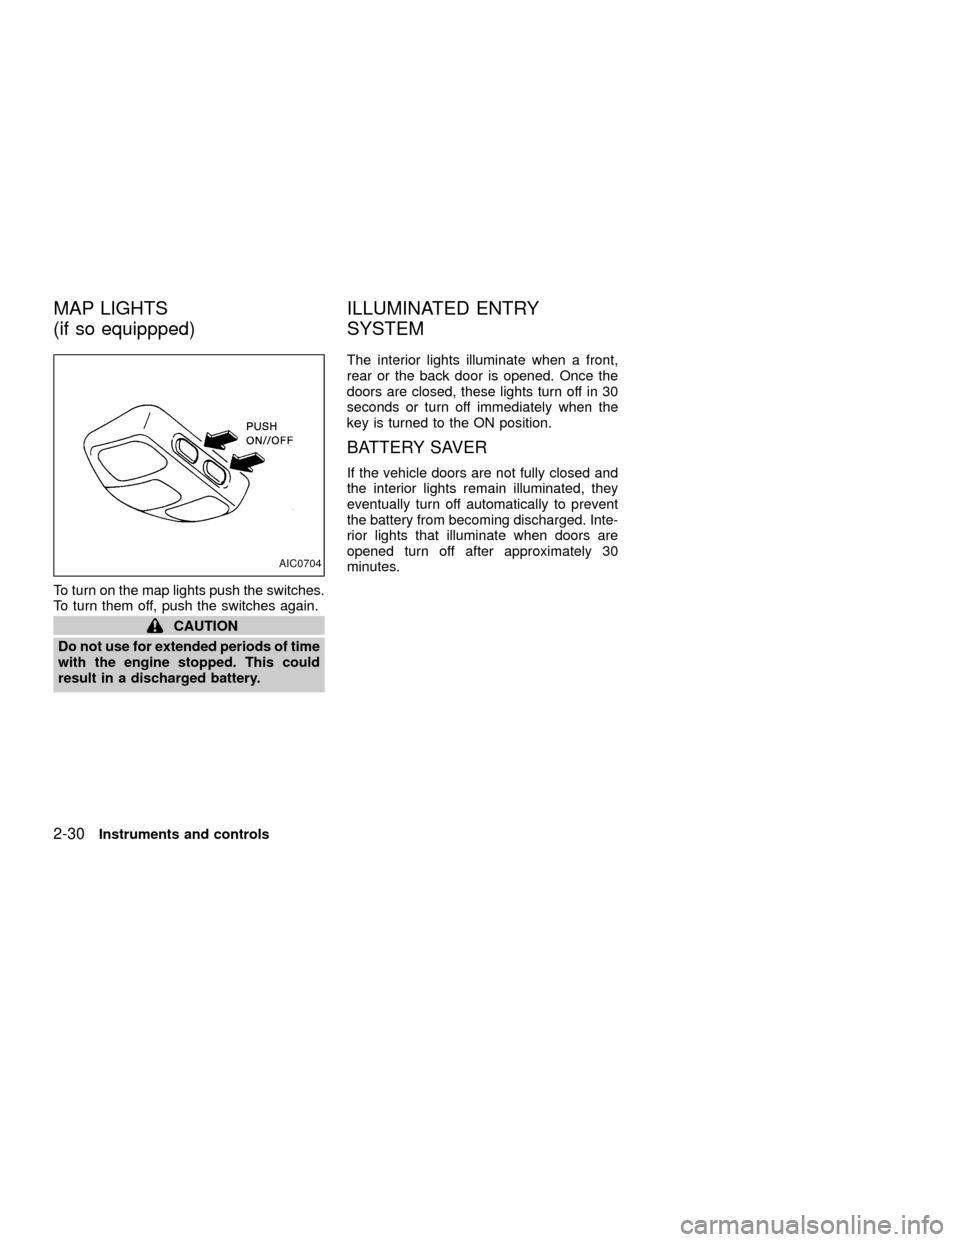
To turn on the map lights push the switches.
To turn them off, push the switches again.
CAUTION
Do not use for extended periods of time
with the engine stopped. This could
result in a discharged battery.The interior lights illuminate when a front,
rear or the back door is opened. Once the
doors are closed, these lights turn off in 30
seconds or turn off immediately when the
key is turned to the ON position.
BATTERY SAVER
If the vehicle doors are not fully closed and
the interior lights remain illuminated, they
eventually turn off automatically to prevent
the battery from becoming discharged. Inte-
rior lights that illuminate when doors are
opened turn off after approximately 30
minutes.
AIC0704
MAP LIGHTS
(if so equippped)ILLUMINATED ENTRY
SYSTEM
2-30Instruments and controls
ZX
Page 81 of 263
device must accept any interference re-
ceived including interference that may
cause undesired operation of the device.
WARNING
OMake sure the hood is completely
closed and latched before driving.
Failure to do so could cause the
hood to fly open and result in an
accident.
OIf you see steam or smoke coming
from the engine compartment, to
avoid injury do not open the hood.
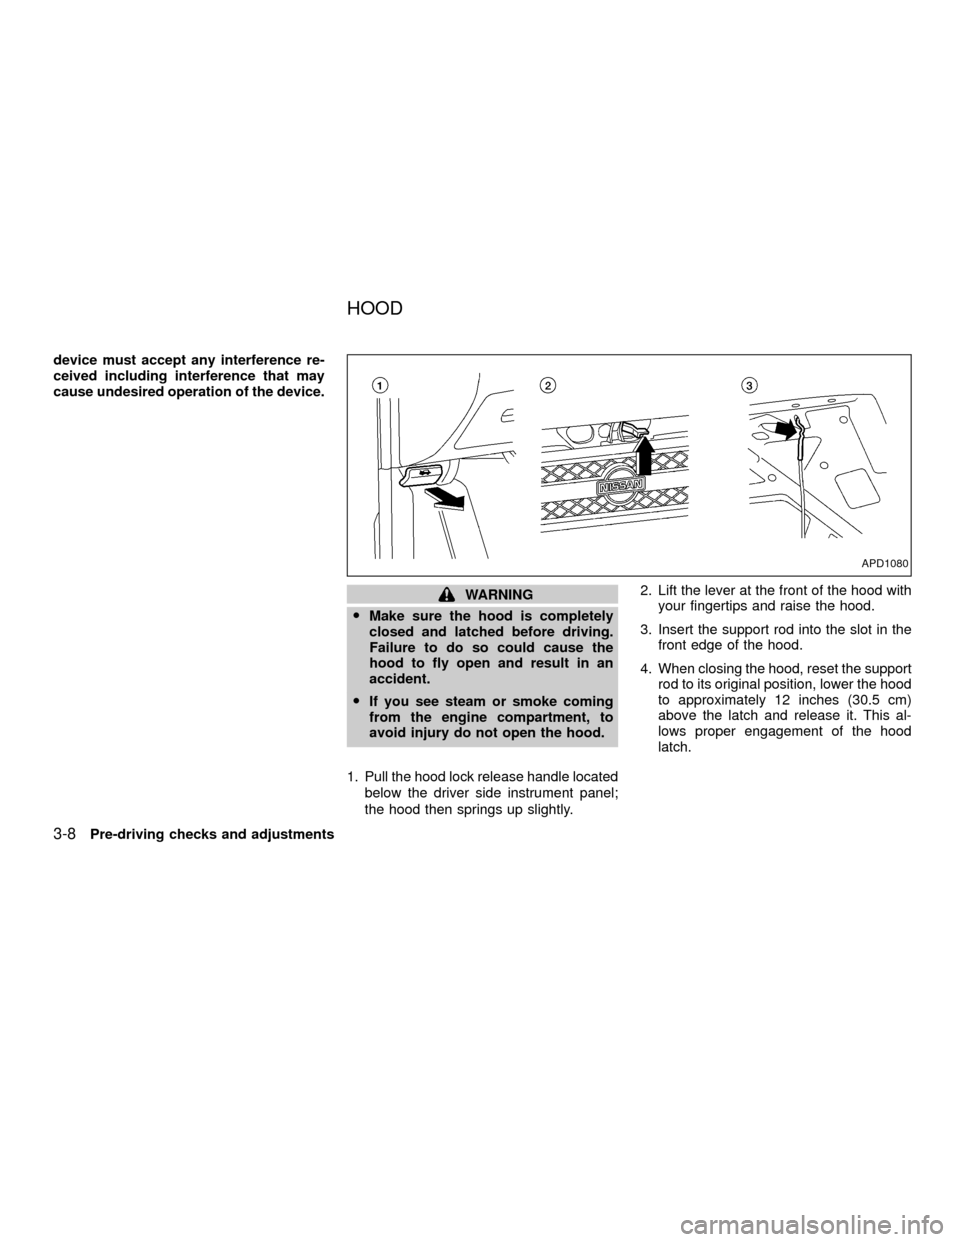
1. Pull the hood lock release handle located
below the driver side instrument panel;
the hood then springs up slightly.2. Lift the lever at the front of the hood with
your fingertips and raise the hood.
3. Insert the support rod into the slot in the
front edge of the hood.
4. When closing the hood, reset the support
rod to its original position, lower the hood
to approximately 12 inches (30.5 cm)
above the latch and release it. This al-
lows proper engagement of the hood
latch.
APD1080
HOOD
3-8Pre-driving checks and adjustments
ZX
Page 86 of 263
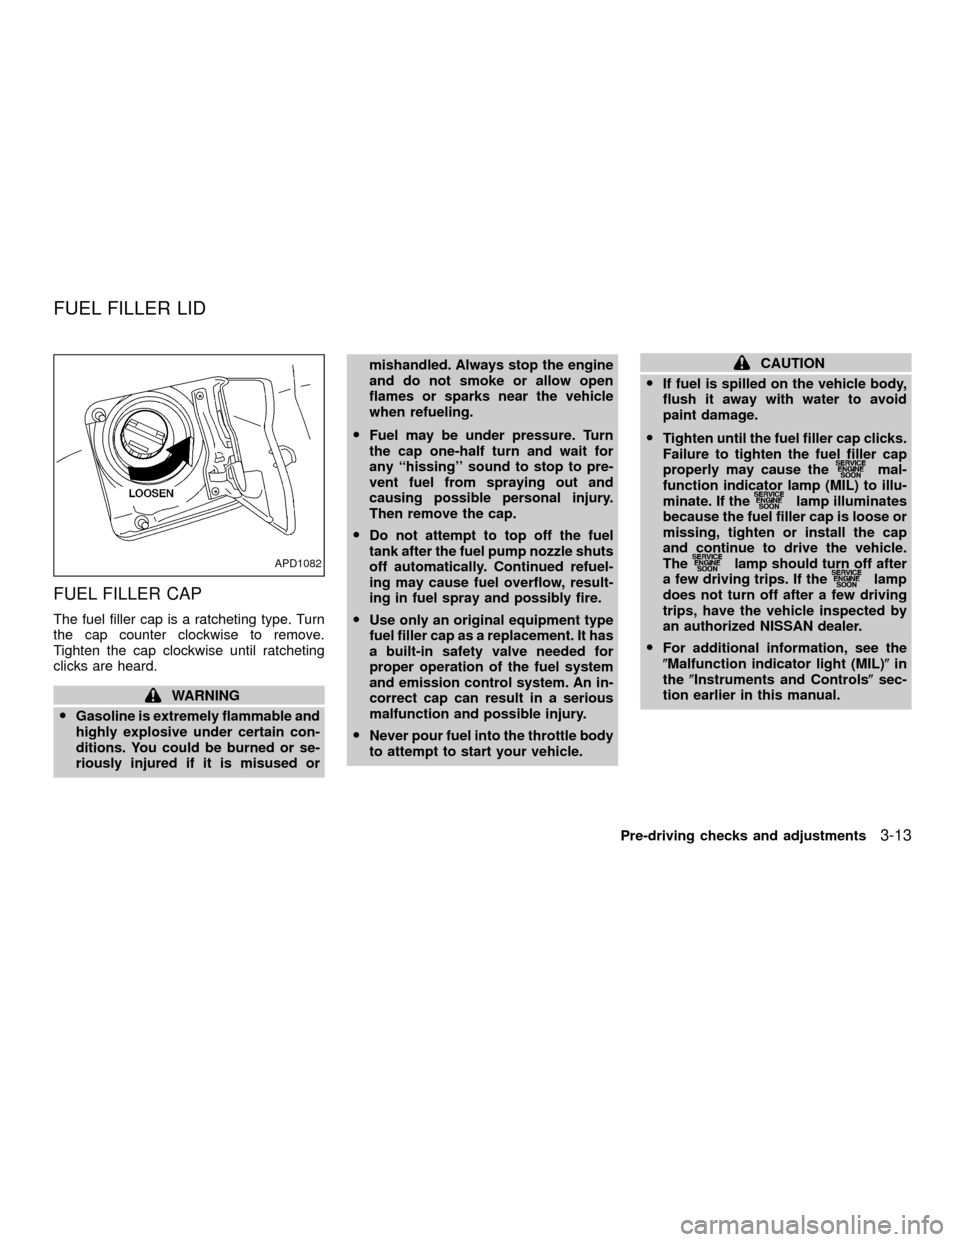
FUEL FILLER CAP
The fuel filler cap is a ratcheting type. Turn
the cap counter clockwise to remove.
Tighten the cap clockwise until ratcheting
clicks are heard.
WARNING
OGasoline is extremely flammable and
highly explosive under certain con-
ditions. You could be burned or se-
riously injured if it is misused ormishandled. Always stop the engine
and do not smoke or allow open
flames or sparks near the vehicle
when refueling.
OFuel may be under pressure. Turn
the cap one-half turn and wait for
any ``hissing'' sound to stop to pre-
vent fuel from spraying out and
causing possible personal injury.
Then remove the cap.
ODo not attempt to top off the fuel
tank after the fuel pump nozzle shuts
off automatically. Continued refuel-
ing may cause fuel overflow, result-
ing in fuel spray and possibly fire.
OUse only an original equipment type
fuel filler cap as a replacement. It has
a built-in safety valve needed for
proper operation of the fuel system
and emission control system. An in-
correct cap can result in a serious
malfunction and possible injury.
ONever pour fuel into the throttle body
to attempt to start your vehicle.
CAUTION
OIf fuel is spilled on the vehicle body,
flush it away with water to avoid
paint damage.
OTighten until the fuel filler cap clicks.
Failure to tighten the fuel filler cap
properly may cause the
mal-
function indicator lamp (MIL) to illu-
minate. If the
lamp illuminates
because the fuel filler cap is loose or
missing, tighten or install the cap
and continue to drive the vehicle.
The
lamp should turn off after
a few driving trips. If thelamp
does not turn off after a few driving
trips, have the vehicle inspected by
an authorized NISSAN dealer.
OFor additional information, see the
(Malfunction indicator light (MIL)(in
the(Instruments and Controls(sec-
tion earlier in this manual.
APD1082
FUEL FILLER LID
Pre-driving checks and adjustments3-13
ZX