Page 56 of 224
INTERIOR LAMPS
Map lamps
To turn on the map lamps, press the
control next to each lamp.
If equipped with a moon roof, the
map lamps are located on the
rearview mirror. Press the control
next to the map lamp to illuminate
the lamp.
Rear courtesy/reading lamps
The courtesy lamp lights when:
²any door is opened.
²the instrument panel dimmer
switch is held up until the
courtesy lamps come on.
²any of the remote entry controls
are pressed and the ignition is
OFF.
²the headlamp control is turned off.
With the ignition key in the ACC or ON position, the reading lamp can be
turned on by pressing the rocker control.
Controls and features
56
Page 57 of 224

MOON ROOF (IF EQUIPPED)
To open the moon roof:
²Press and hold the control
forward to raise the moon roof to
the vent position (when the glass
panel is closed).
²Press the control rearward to
fully open the moon roof.
To close the moon roof:
²Press the control forward.
²To close from the vent position,
press and hold the control
rearward.
ILLUMINATED VISOR MIRROR
To turn on the visor mirror lamps,
lift the mirror cover. Adjust the
amount of light by sliding the
control.
HOMELINKTUNIVERSAL TRANSCEIVER (IF EQUIPPED)
The HomeLinktUniversal Transceiver, located on the driver's visor,
provides a convenient way to replace up to three hand-held transmitters
with a single built-in device. This feature will learn the radio frequency
codes of most current transmitters to operate garage doors, entry gates,
security systems, entry door locks, and home or office lighting.
When programming your HomeLinktUniversal Transceiver, to a
garage door or gate be sure that people and objects are out of
the way to prevent potential harm or damage.
ROOFOPEN
Controls and features
57
Page 62 of 224

Without moon roof:
1. With the compass display turned
on, press and hold the COMP side of
the control until the zone selection
number appears in the mirror
display window.
2. Release the COMP side of the
control, then press it down again.
3. Continue to press until your zone number is shown in the mirror
display, then release.
4. The display will show all segments, then return to normal compass
mode within ten seconds.
With moon roof:
1. Press and hold the Auto-Dimming
control to toggle the Compass
display ON/OFF, then release.
2. Press and hold both map light
buttons, between 5 and 8 seconds,
until the ZONE number appears in
the display, then release. The
display should show the current
zone number.
3. Press either the right or left map
light button to change the zone
number. The display will show a compass direction after 5 seconds. The
zone is now updated.
Compass calibration adjustment
The compass may need calibration adjustment if:
²the compass ZONE is set correctly and the compass is not showing
the correct heading
²the letter ªCº is displayed in the compass window
Perform this adjustment in an open area free from steel structures and
high voltage lines.
COMP MIRROR
NW
Controls and features
62
Page 63 of 224

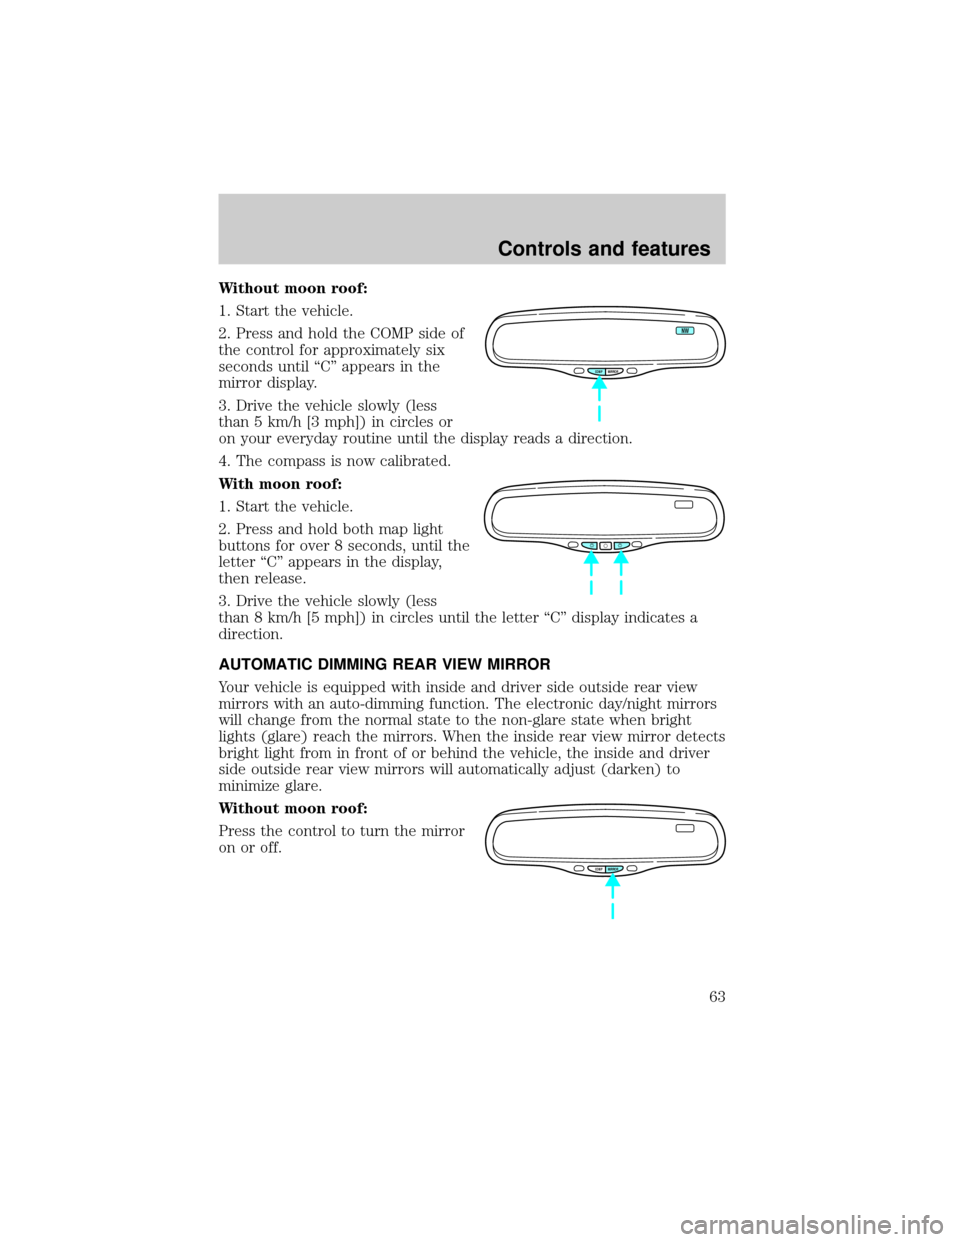
Without moon roof:
1. Start the vehicle.
2. Press and hold the COMP side of
the control for approximately six
seconds until ªCº appears in the
mirror display.
3. Drive the vehicle slowly (less
than 5 km/h [3 mph]) in circles or
on your everyday routine until the display reads a direction.
4. The compass is now calibrated.
With moon roof:
1. Start the vehicle.
2. Press and hold both map light
buttons for over 8 seconds, until the
letter ªCº appears in the display,
then release.
3. Drive the vehicle slowly (less
than 8 km/h [5 mph]) in circles until the letter ªCº display indicates a
direction.
AUTOMATIC DIMMING REAR VIEW MIRROR
Your vehicle is equipped with inside and driver side outside rear view
mirrors with an auto-dimming function. The electronic day/night mirrors
will change from the normal state to the non-glare state when bright
lights (glare) reach the mirrors. When the inside rear view mirror detects
bright light from in front of or behind the vehicle, the inside and driver
side outside rear view mirrors will automatically adjust (darken) to
minimize glare.
Without moon roof:
Press the control to turn the mirror
on or off.
COMP MIRROR
NW
COMP MIRROR
Controls and features
63
Page 64 of 224
With moon roof:
Press the control to turn the mirror
on or off.
The mirror will automatically return to the normal state whenever the
vehicle is placed in R (reverse)(when the mirror is on) to ensure a
bright clear view when backing up.
Do not clean the housing or glass of any mirror with harsh abrasives, fuel
or other petroleum-based cleaning products.
On vehicles equipped with a moonroof, the automatic rear view mirror
has two map lamps. Refer toInterior lampsfor more information.
POWER DOOR LOCKS
Press U to unlock all doors and L to
lock all doors.
Smart locks
With the key in the ignition, in any switch position, and either the
driver's or passenger's door open, the doors cannot be locked using the
front door lock switches.
U
L
Controls and features
64
Page 67 of 224

Heated outside mirrors
Both mirrors are heated
automatically to remove ice, mist
and fog when the rear window
defrost is activated.
Do not remove ice from the mirrors
with a scraper or attempt to
readjust the mirror glass if it is
frozen in place. These actions could
cause damage to the glass and
mirrors.
CHILDPROOF DOOR LOCKS
When these locks are set, the rear
doors cannot be opened from the
inside. The rear doors can be
opened from the outside when the
doors are unlocked.
The childproof locks are located on
rear edge of each rear door and
must be set separately for each
door. Setting the lock for one door
will not automatically set the lock
for both doors.
Move lock control up to engage the childproof lock. Move control down
to disengage childproof locks.
TRUNK REMOTE CONTROL
The remote trunk release control is
located on the driver's door trim
panel and can be operated at any
time.
You can render the switch
inoperable by locking the button
with your master key.
FUEL TRUNK
Controls and features
67
Page 137 of 224

Fuse/Relay
LocationFuse Amp
RatingPassenger Compartment
Fuse Panel Description
5 10A Virtual Image Instrument Cluster, Lighting
Control Module (LCM RUN/START Sense),
Autolamp Light Sensor
6 10A Virtual Image Instrument Cluster, RF
Park/Turn Lamp
7 20A Power Point
8 20A Fuel Filler Door Release Switch, Trunk Lid
Relay
9 10A Air Bag Diagnostic Monitor, EATC Module,
Blower Motor Relay
10 30A Windshield Wiper Motor, Windshield Wiper
Module
11 10A Ignition Coils, Radio Interference Capacitor,
PCM Power Relay, Passive Anti-Theft
System (PATS) Transceiver
12 10A Lighting Control Module
13 15A Lighting Control Module (LCM): RF Turn
Lamp, Right Turn Indicator (VIC), RR Side
Marker Lamps, Tail Lamps, License Lamps,
LR Stop/Turn Lamps, Clock Illumination
14 20A Cigar Lighter
15 10A ABS Evac and Fill Connector
16 30A Moonroof Switch
17 Ð Not Used
18 10A Lighting Control Module
19 10A Lighting Control Module (LCM): Left
Headlamp, DRL
20 15A Multi-Function Switch: Flash to Pass, and
Hazard Warning Input to LCM
21 Ð Not Used
22 Ð Not Used
23 10A Digital Transmission Range Sensor
24 10A Virtual Image Cluster-LF Turn Indicator, LF
Turn Signal
Roadside emergencies
137
Page 171 of 224

Pressure alert system
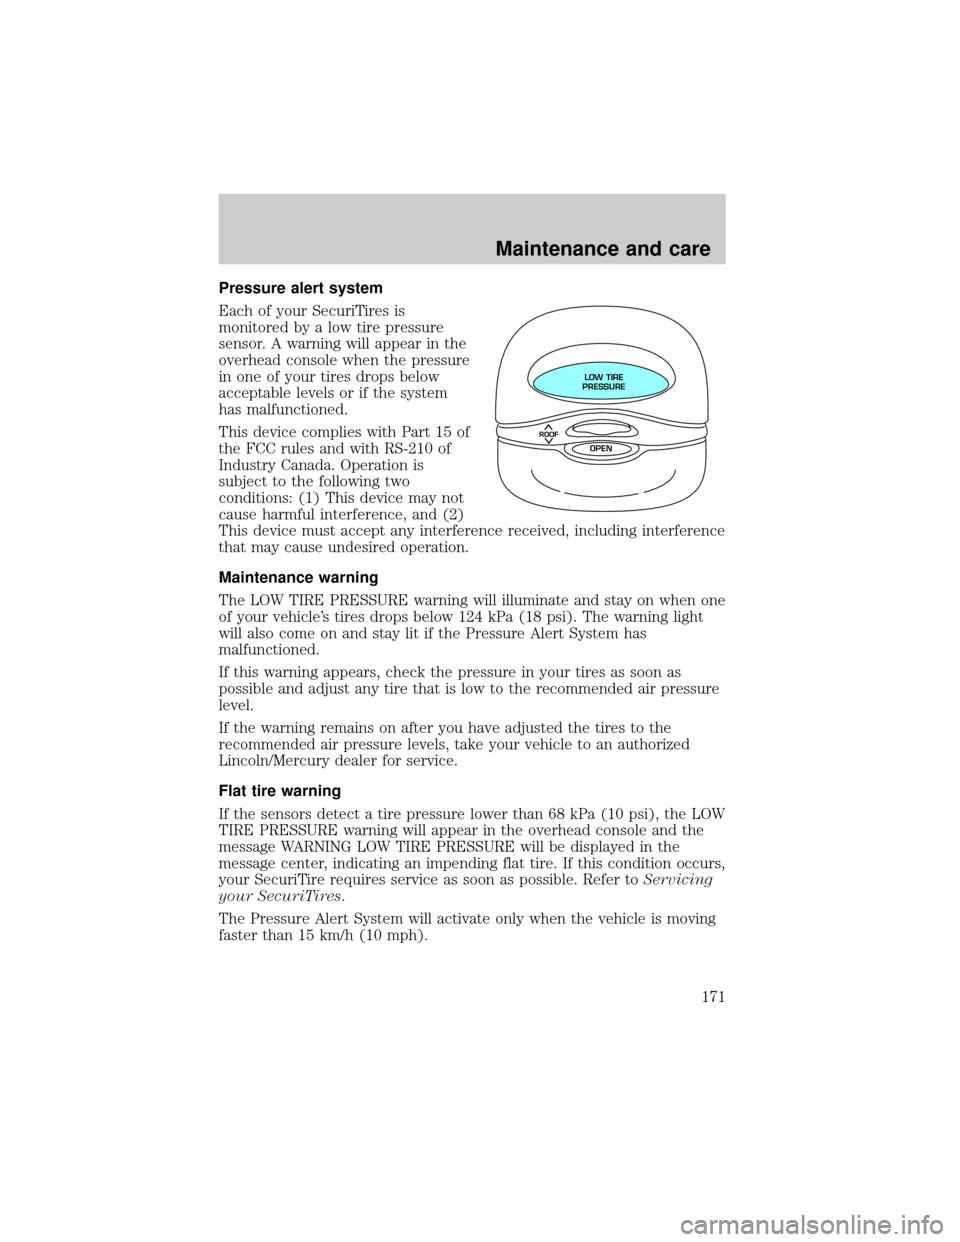
Each of your SecuriTires is
monitored by a low tire pressure
sensor. A warning will appear in the
overhead console when the pressure
in one of your tires drops below
acceptable levels or if the system
has malfunctioned.
This device complies with Part 15 of
the FCC rules and with RS-210 of
Industry Canada. Operation is
subject to the following two
conditions: (1) This device may not
cause harmful interference, and (2)
This device must accept any interference received, including interference
that may cause undesired operation.
Maintenance warning
The LOW TIRE PRESSURE warning will illuminate and stay on when one
of your vehicle's tires drops below 124 kPa (18 psi). The warning light
will also come on and stay lit if the Pressure Alert System has
malfunctioned.
If this warning appears, check the pressure in your tires as soon as
possible and adjust any tire that is low to the recommended air pressure
level.
If the warning remains on after you have adjusted the tires to the
recommended air pressure levels, take your vehicle to an authorized
Lincoln/Mercury dealer for service.
Flat tire warning
If the sensors detect a tire pressure lower than 68 kPa (10 psi), the LOW
TIRE PRESSURE warning will appear in the overhead console and the
message WARNING LOW TIRE PRESSURE will be displayed in the
message center, indicating an impending flat tire. If this condition occurs,
your SecuriTire requires service as soon as possible. Refer toServicing
your SecuriTires.
The Pressure Alert System will activate only when the vehicle is moving
faster than 15 km/h (10 mph).
ROOF
LOW TIRE
PRESSURE
OPEN
Maintenance and care
171