Page 1052 of 2395

SEF977Y
Component DescriptionNBEC0292The crankshaft position sensor (POS) is located on the oil pan
facing the gear teeth (cogs) of the signal plate (flywheel). It detects
the crankshaft position signal (1É signal).
The sensor consists of a permanent magnet, core and coil.
When engine is running, the gap between the sensor and the gear
teeth (cogs) will periodically change. Permeability near the sensor
also changes.
Due to the permeability change, the magnetic flux near the core is
changed. Therefore, the voltage signal generated in the coil is
changed.
The ECM receives the voltage signal and detects the crankshaft
position signal (1É signal).
CONSULT-II Reference Value in Data Monitor
Mode
NBEC0581Specification data are reference values.
MONITOR ITEM CONDITION SPECIFICATION
CKPS´RPM (POS)ITachometer: Connect
IRun engine and compare tachometer indication with the CONSULT-II
value.Almost the same speed as the
CONSULT-II value.
ENG SPEED
GI
MA
EM
LC
FE
AT
TF
PD
AX
SU
BR
ST
RS
BT
HA
SC
EL
IDX
DTC P1336 CRANKSHAFT POSITION SENSOR (CKPS) (POS) (COG)
Component Description
EC-517
Page 1053 of 2395
ECM Terminals and Reference Value=NBEC0677Specification data are reference values and are measured between each terminal and ground.
CAUTION:
Do not use ECM ground terminals when measuring input/output voltage. Doing so may result in dam-
age to the ECM's transistor. Use a ground other than ECM terminals, such as the ground.
TERMI-
NAL
NO.WIRE
COLORITEM CONDITION DATA (DC Voltage)
85 YCrankshaft position
sensor (POS)[Engine is running]
IIdle speedApproximately 2.4V
SEF057V
[Engine is running]
IEngine speed is 2,000 rpm.Approximately 2.3V
SEF058V
On Board Diagnosis LogicNBEC0294Malfunction is detected when chipping of the signal plate (flywheel
or drive plate) gear tooth (cog) is detected by the ECM.
Possible CauseNBEC0582IHarness or connectors
ICrankshaft position sensor (POS)
ISignal plate (Drive plate/Flywheel)
DTC P1336 CRANKSHAFT POSITION SENSOR (CKPS) (POS) (COG)
ECM Terminals and Reference Value
EC-518
Page 1054 of 2395
DTC Confirmation ProcedureNBEC0295NOTE:
If ªDTC Confirmation Procedureº has been previously conducted,
always turn ignition switch ªOFFº and wait at least 10 seconds
before conducting the next test.
TESTING CONDITION:
Before performing the following procedure, confirm that bat-
tery voltage is more than 10.5V.
SEF058Y
WITH CONSULT-IINBEC0295S011) Turn ignition switch ªONº and select ªDATA MONITORº mode
with CONSULT-II.
2) Start engine and run it for at least 70 seconds at idle speed.
3) If 1st trip DTC is detected, go to ªDiagnostic Procedureº,
EC-521.
WITH GSTNBEC0295S02Follow the procedure ªWITH CONSULT-IIº above.
GI
MA
EM
LC
FE
AT
TF
PD
AX
SU
BR
ST
RS
BT
HA
SC
EL
IDX
DTC P1336 CRANKSHAFT POSITION SENSOR (CKPS) (POS) (COG)
DTC Confirmation Procedure
EC-519
Page 1055 of 2395
Wiring DiagramNBEC0296
MEC959C
DTC P1336 CRANKSHAFT POSITION SENSOR (CKPS) (POS) (COG)
Wiring Diagram
EC-520
Page 1056 of 2395
Diagnostic ProcedureNBEC0297
1 RETIGHTEN GROUND SCERWS
1. Turn ignition switch ªOFFº.
2. Loosen and retighten engine ground screws.
SEF959Y
©GO TO 2.
2 CHECK CKPS (POS) POWER SUPPLY CIRCUIT
1. Disconnect harness connectors E132, E135.
SEF978Y
2. Check voltage between harness connector E135 terminal 6 and ground with CONSULT-II or tester.
SEF979Y
3. Also check harness for short to ground and short to power.
OK or NG
OK©GO TO 4.
NG©GO TO 3.
GI
MA
EM
LC
FE
AT
TF
PD
AX
SU
BR
ST
RS
BT
HA
SC
EL
IDX
DTC P1336 CRANKSHAFT POSITION SENSOR (CKPS) (POS) (COG)
Diagnostic Procedure
EC-521
Page 1057 of 2395

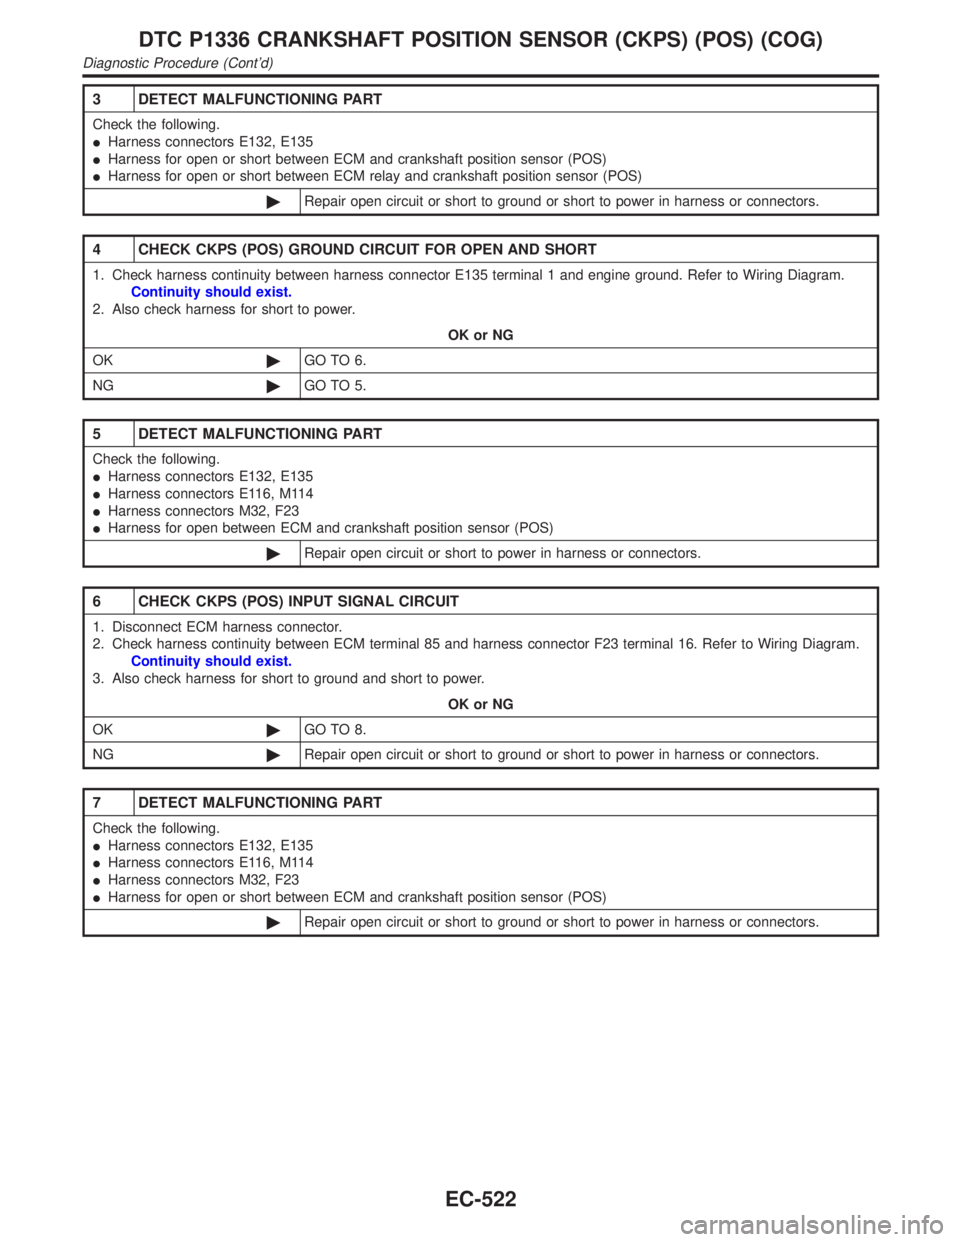
3 DETECT MALFUNCTIONING PART
Check the following.
IHarness connectors E132, E135
IHarness for open or short between ECM and crankshaft position sensor (POS)
IHarness for open or short between ECM relay and crankshaft position sensor (POS)
©Repair open circuit or short to ground or short to power in harness or connectors.
4 CHECK CKPS (POS) GROUND CIRCUIT FOR OPEN AND SHORT
1. Check harness continuity between harness connector E135 terminal 1 and engine ground. Refer to Wiring Diagram.
Continuity should exist.
2. Also check harness for short to power.
OK or NG
OK©GO TO 6.
NG©GO TO 5.
5 DETECT MALFUNCTIONING PART
Check the following.
IHarness connectors E132, E135
IHarness connectors E116, M114
IHarness connectors M32, F23
IHarness for open between ECM and crankshaft position sensor (POS)
©Repair open circuit or short to power in harness or connectors.
6 CHECK CKPS (POS) INPUT SIGNAL CIRCUIT
1. Disconnect ECM harness connector.
2. Check harness continuity between ECM terminal 85 and harness connector F23 terminal 16. Refer to Wiring Diagram.
Continuity should exist.
3. Also check harness for short to ground and short to power.
OK or NG
OK©GO TO 8.
NG©Repair open circuit or short to ground or short to power in harness or connectors.
7 DETECT MALFUNCTIONING PART
Check the following.
IHarness connectors E132, E135
IHarness connectors E116, M114
IHarness connectors M32, F23
IHarness for open or short between ECM and crankshaft position sensor (POS)
©Repair open circuit or short to ground or short to power in harness or connectors.
DTC P1336 CRANKSHAFT POSITION SENSOR (CKPS) (POS) (COG)
Diagnostic Procedure (Cont'd)
EC-522
Page 1058 of 2395
8 CHECK CKPS (POS) SUB-HARNESS CIRCUIT FOR OPEN AND SHORT
1. Disconnect CKPS (POS) harness connector.
SEF980Y
2. Check harness continuity between CKPS (POS) terminals and harness connector E132 terminals as follows.
MTBL0531
Continuity should exist.
3. Also check harness for short to ground and short to power.
OK or NG
OK©GO TO 9.
NG©Repair open circuit or short to ground or short to power in harness or connectors.
9 CHECK IMPROPER INSTALLATION
1. Loosen and retighten the fixing bolt of the crankshaft position sensor (POS).
2. Reconnect harness connectors disconnected.
3. Perform ªDTC Confirmation Procedureº, EC-519 again.
Is a 1st trip DTC P1336 detected?
Ye s©GO TO 10.
No©INSPECTION END
GI
MA
EM
LC
FE
AT
TF
PD
AX
SU
BR
ST
RS
BT
HA
SC
EL
IDX
DTC P1336 CRANKSHAFT POSITION SENSOR (CKPS) (POS) (COG)
Diagnostic Procedure (Cont'd)
EC-523
Page 1059 of 2395

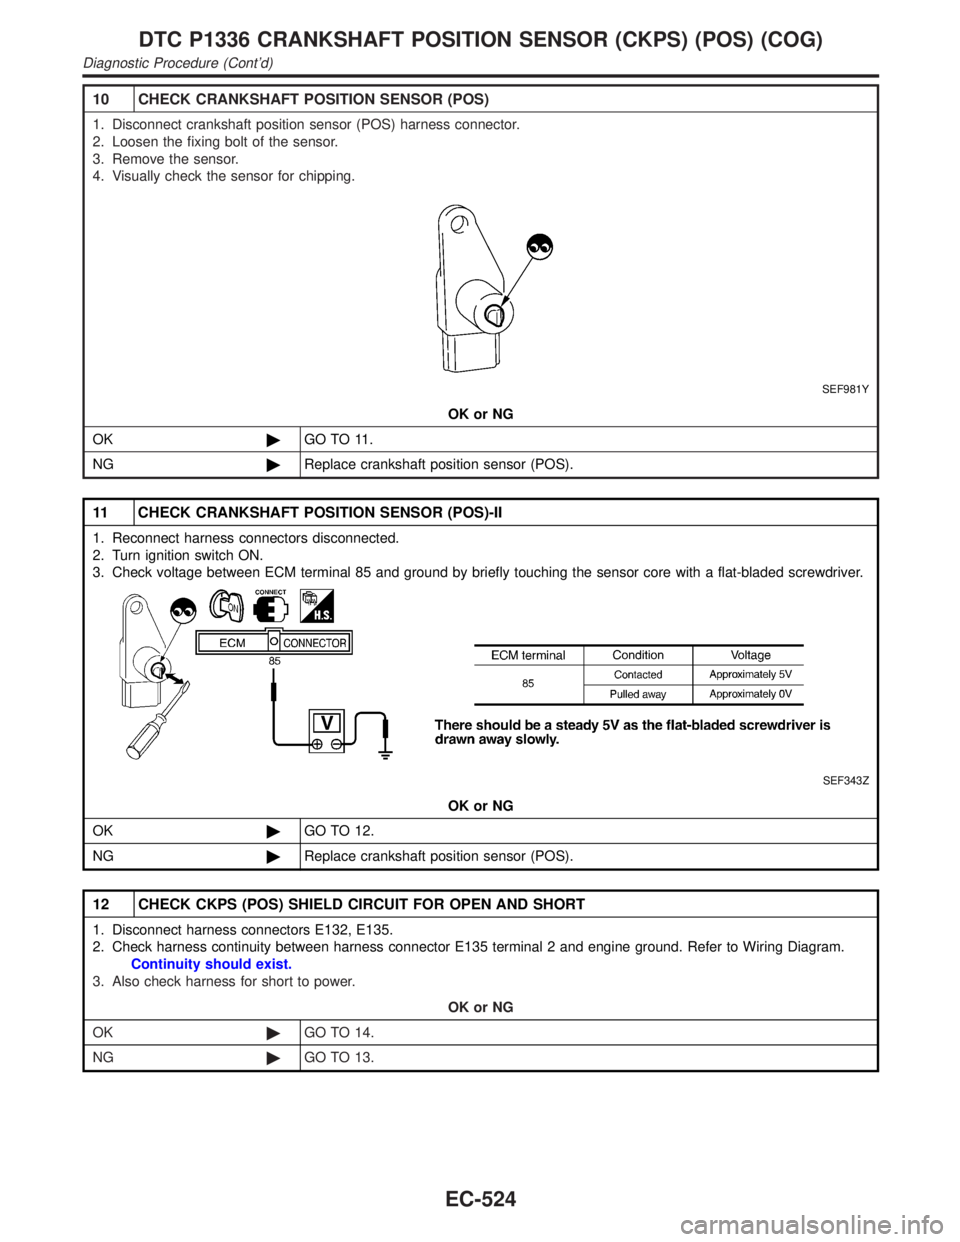
10 CHECK CRANKSHAFT POSITION SENSOR (POS)
1. Disconnect crankshaft position sensor (POS) harness connector.
2. Loosen the fixing bolt of the sensor.
3. Remove the sensor.
4. Visually check the sensor for chipping.
SEF981Y
OK or NG
OK©GO TO 11.
NG©Replace crankshaft position sensor (POS).
11 CHECK CRANKSHAFT POSITION SENSOR (POS)-II
1. Reconnect harness connectors disconnected.
2. Turn ignition switch ON.
3. Check voltage between ECM terminal 85 and ground by briefly touching the sensor core with a flat-bladed screwdriver.
SEF343Z
OK or NG
OK©GO TO 12.
NG©Replace crankshaft position sensor (POS).
12 CHECK CKPS (POS) SHIELD CIRCUIT FOR OPEN AND SHORT
1. Disconnect harness connectors E132, E135.
2. Check harness continuity between harness connector E135 terminal 2 and engine ground. Refer to Wiring Diagram.
Continuity should exist.
3. Also check harness for short to power.
OK or NG
OK©GO TO 14.
NG©GO TO 13.
DTC P1336 CRANKSHAFT POSITION SENSOR (CKPS) (POS) (COG)
Diagnostic Procedure (Cont'd)
EC-524