Page 192 of 363

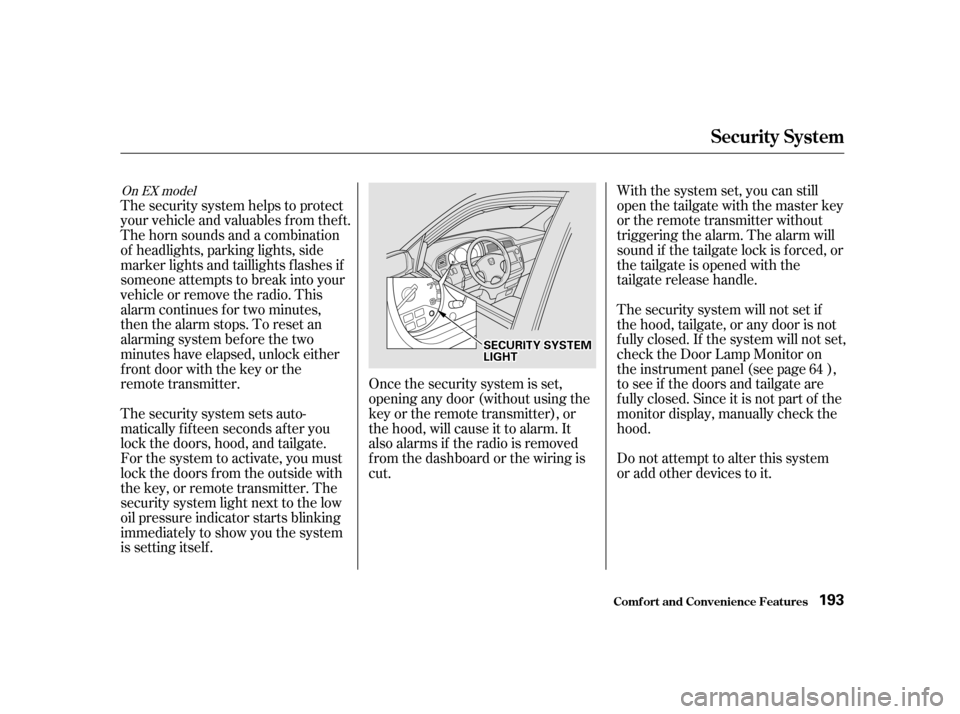
Once the security system is set,
opening any door (without using the
key or the remote transmitter), or
the hood, will cause it to alarm. It
also alarms if the radio is removed
f rom the dashboard or the wiring is
cut.Do not attempt to alter this system
or add other devices to it.
The security system helps to protect
your vehicle and valuables f rom thef t.
The horn sounds and a combination
of headlights, parking lights, side
marker lights and taillights f lashes if
someone attempts to break into your
vehicleorremovetheradio.This
alarm continues f or two minutes,
then the alarm stops. To reset an
alarming system before the two
minutes have elapsed, unlock either
f ront door with the key or the
remote transmitter.
The security system sets auto-
matically fifteen seconds after you
lock the doors, hood, and tailgate.
For the system to activate, you must
lock the doors f rom the outside with
the key, or remote transmitter. The
security system light next to the low
oil pressure indicator starts blinking
immediately to show you the system
is setting itself . With the system set, you can still
open the tailgate with the master key
or the remote transmitter without
triggering the alarm. The alarm will
sound if the tailgate lock is f orced, or
the tailgate is opened with the
tailgate release handle.
The security system will not set if
the hood, tailgate, or any door is not
f ully closed. If the system will not set,
check the Door Lamp Monitor on
the instrument panel (see page ),
to see if the doors and tailgate are
f ully closed. Since it is not part of the
monitor display, manually check thehood.
64
On EX model
Security System
Comf ort and Convenience Feat ures
193
SSEECCUURRIITTYYSSYYSSTTEEMMLLIIGGHHTT
Page 194 of 363
Bef ore you begin driving your Honda,
youshouldknowwhatgasolineto
use, and how to check the levels of
important f luids. You also need to
know how to properly store luggage
or packages. The inf ormation in this
section will help you. If you plan to
add any accessories to your vehicle,
please read the inf ormation in this
section f irst..............................
Break-in Period . 196
.........................................
Gasoline . 196
.........
Service Station Procedures . 197
................
Filling the Fuel Tank . 197
....................
Opening the Hood . 198
...............................
Oil Check . 200
.........
Engine Coolant Check . 201
...............................
Fuel Economy . 202
.....................
Vehicle Condition . 202
...........................
Driving Habits . 202
...
Accessories and Modif ications . 203
.............................
Carrying Cargo . 205
Bef ore Driving
Bef ore Driving 195
Page 197 of 363

Remove the f uel f ill cap slowly.
You may hear a hissing sound as
pressure inside the tank escapes.
Place the cap in the holder on the
fuel fill door.
Stop f illing the tank af ter the f uel
nozzle automatically clicks of f . Do
not try to ‘‘top off’’ the tank, leave
some room f or the f uel to expand
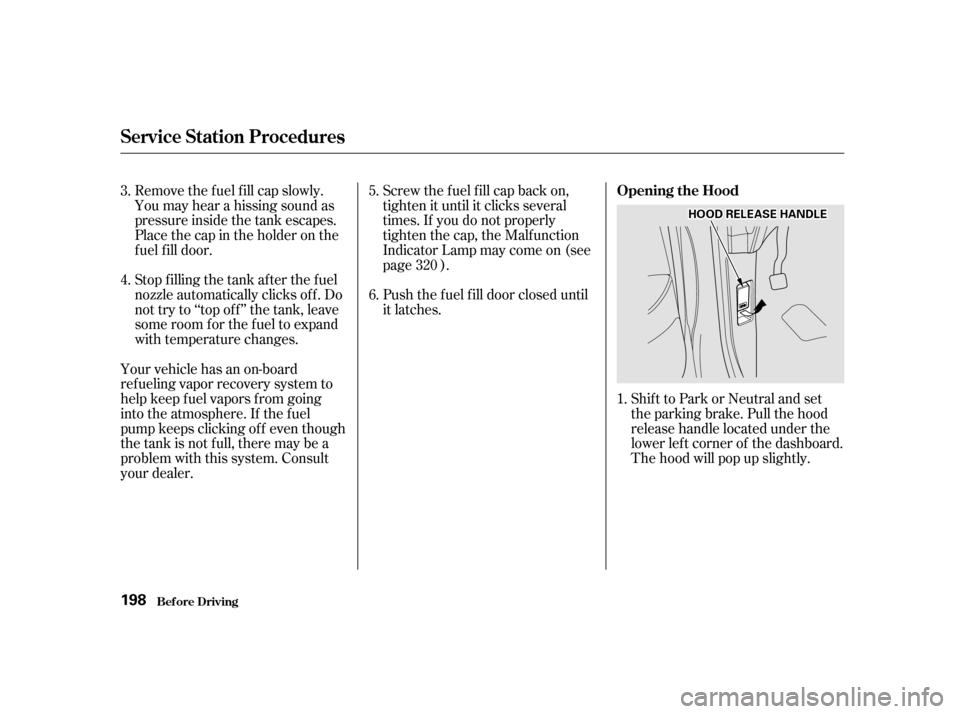
with temperature changes.Shift to Park or Neutral and set
the parking brake. Pull the hood
release handle located under the
lower lef t corner of the dashboard.
The hood will pop up slightly.
Screw the f uel f ill cap back on,
tighten it until it clicks several
times. If you do not properly
tighten the cap, the Malfunction
Indicator Lamp may come on (see
page ).
Push the f uel f ill door closed until
it latches.
Your vehicle has an on-board
ref ueling vapor recovery system to
help keep f uel vapors f rom going
into the atmosphere. If the fuel
pump keeps clicking of f even though
the tank is not full, there may be a
problem with this system. Consult
your dealer. 1.
3. 4.
5. 6.
320
Service Station Procedures
Bef ore Driving Opening the Hood
198
HHOOOODDRREELLEEAASSEEHHAANNDDLLEE
Page 198 of 363
CONT INUED
Pull the support rod out of its clip
and insert the end into the hole on
the driver’s side of the hood.
If you can open the hood without
lifting the hood latch handle, or the
hood latch handle moves stif f ly or
does not spring back as bef ore, the
mechanism should be cleaned and
lubricated (see page ).
Standing in f ront of the vehicle,
put your f ingers under the f ront
edge of the hood. The hood latch
handle is above the ‘‘H’’ logo. Pull
up on this handle until it releases
the hood. Lif t the hood. 3.
264
2.
Service Station Procedures
Bef ore Driving 199
SSUUPPPPOORRTTRROODD
LLAATTCCHH
Page 250 of 363

Your Honda does not need any oil
additives. Purchasing additives f or
the engine or transmission will not
increase your vehicle’s perf ormance
or longevity. It only increases the
cost of operating your vehicle.Always change the oil and f ilter
accordingtothetimeanddistance
(miles/kilometers) recommenda-
tions in the maintenance schedule.
The oil and f ilter collect contami-
nants that can damage your engine if
they are not removed regularly.
Changing the oil and f ilter requires
special tools and access f rom
underneath the vehicle. The vehicle
should be raised on a service station-
type hydraulic lif t f or this service.
Unless you have the knowledge and
proper equipment, you should have
this maintenance done by a skilled
mechanic.
Run the engine until it reaches
normal operating temperature,
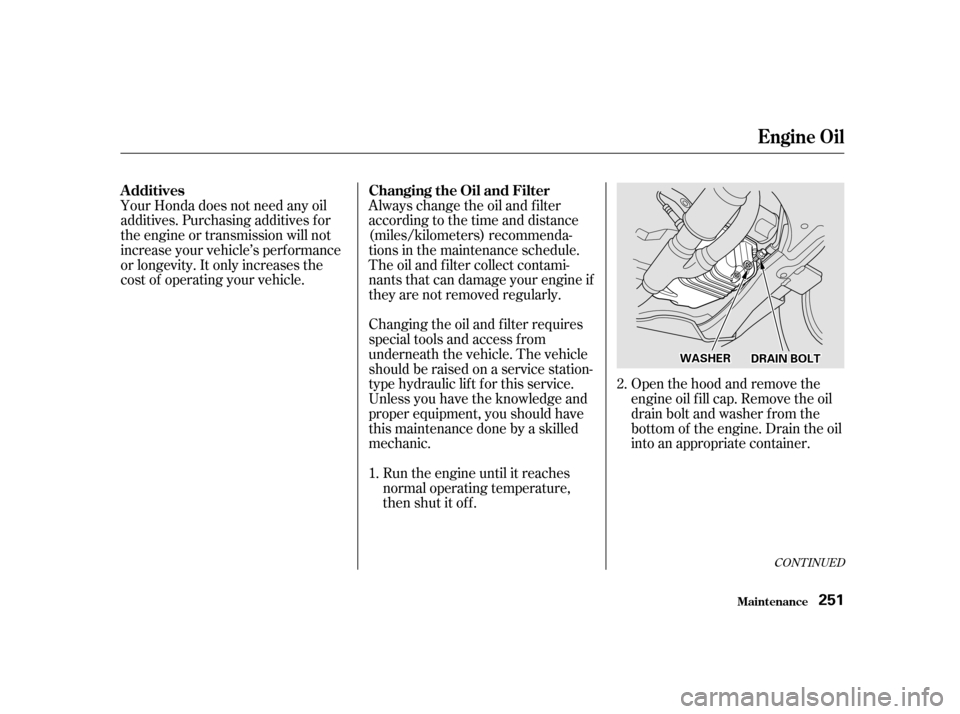
then shut it off. Open the hood and remove the
engine oil f ill cap. Remove the oil
drain bolt and washer f rom the
bottom of the engine. Drain the oil
into an appropriate container.
1. 2.
CONT INUED
Additives Changing the Oil and Filter
Engine Oil
Maint enance
251
DDRRAAIINNBBOOLLTTWWAASSHHEERR
Page 254 of 363
CONT INUED
Loosen the drain plug on the
bottom of the radiator. The
coolant will drain through the
splash guard. Loosen the drain
bolt.
Turn the ignition ON (II). Turn
the heater temperature control
dial f ully clockwise. Turn the
ignition of f .
Openthehood.Makesurethe
engine and radiator are cool to the
touch.
Remove the radiator cap.
Thecoolingsystemshouldbe
completely drained and ref illed with
new coolant according to the time
and distance recommendations in
the maintenance schedule. Only use
Honda All Season Antif reeze/
Coolant Type 2.
This coolant is a mixture of 50
percent anti-f reeze and 50 percent
water. Premixing in not required.
Draining the coolant requires access
to the underside of the vehicle.
Unless you have the tools and
knowledge, you should have this
maintenance done by a skilled
mechanic.
1.
3.
2.
Replacing Engine Coolant
Cooling Syst em
Maint enance
255
DDRRAAIINNBBOOLLTT
DDRRAAIINNPPLLUUGG
Page 281 of 363

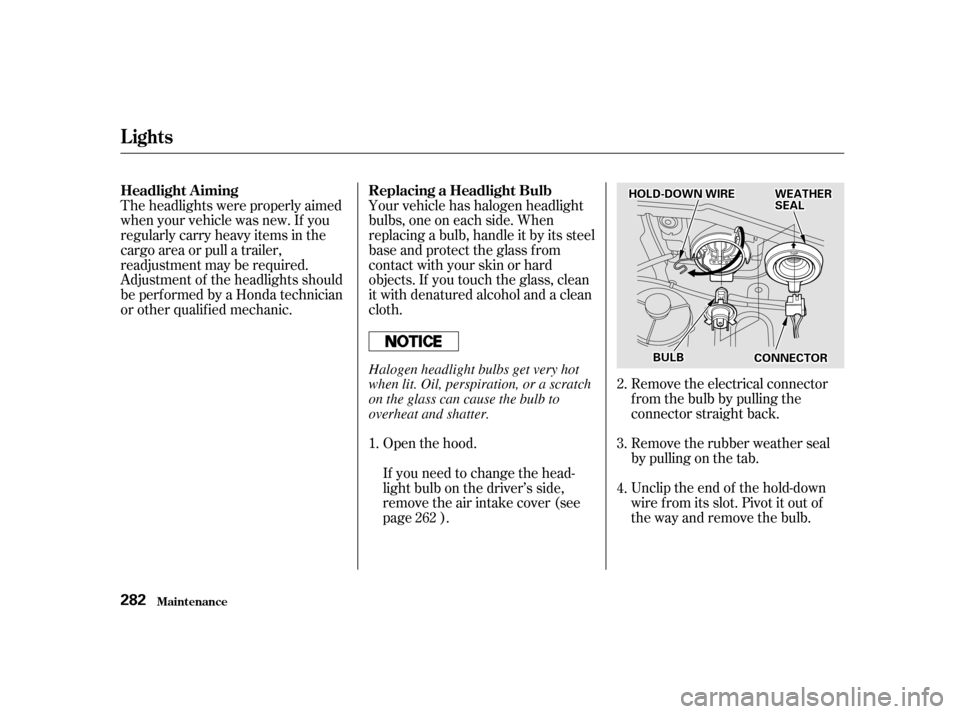
Unclip the end of the hold-down
wire f rom its slot. Pivot it out of
the way and remove the bulb.
Remove the rubber weather seal
by pulling on the tab.
Remove the electrical connector
f rom the bulb by pulling the
connector straight back.
Your vehicle has halogen headlight
bulbs, one on each side. When
replacing a bulb, handle it by its steel
base and protect the glass from
contactwithyourskinorhard
objects. If you touch the glass, clean
it with denatured alcohol and a clean
cloth.
Open the hood.
If you need to change the head-
light bulb on the driver’s side,
remove the air intake cover (see
page ).
Theheadlightswereproperlyaimed
when your vehicle was new. If you
regularly carry heavy items in the
cargo area or pull a trailer,
readjustment may be required.
Adjustment of the headlights should
be perf ormed by a Honda technician
or other qualif ied mechanic.
1.2. 3. 4.
262
Lights
Maint enance Replacing a Headlight Bulb
Headlight A iming 282
HHOOLLDD--DDOOWWNNWWIIRREEWWEEAATTHHEERRSSEEAALL
CCOONNNNEECCTTOORRBBUULLBB
Halogen headlight bulbs get very hot
when lit. Oil, perspiration, or a scratch
on the glass can cause the bulb to
overheat and shatter.
Page 312 of 363

To jump start your vehicle, f ollow
these directions closely:
If your vehicle’s battery has run
down, you may be able to start the
engine by using a booster battery.
Although this seems like a simple
procedure, you should take several
precautions.
Put the transmission in Neutral or
Park and set the parking brake.
In this case, the starter motor’s
speed sounds normal, or even f aster
than normal, when you turn the
ignition switch to START (III), but
the engine does not run.
Open the hood and check the
physical condition of the battery
(see page ). In very cold
weather, check the condition of
the electrolyte. If it seems slushy
or like ice, do not try jump starting
until it thaws.
You cannot start a Honda by pushing
or pulling it.
Are you using the proper starting
procedure? Ref er to
on page .
Do you have f uel? Turn the
ignition switch to ON (II) for a
minute and watch the f uel gauge.
The low f uel level warning light
may not be working, so you were
not reminded to f ill the tank.
There may be an electrical
problem, such as no power to the
f uel pump. Check all the f uses
(see page ). Turn of f all the electrical acces-
sories: heater, A/C, climate
control, stereo system, lights, etc.
If youfindnothingwrong,youwill
need a qualif ied technician to f ind
the problem. See on page . 1. 2.
211
323 329 267
CONT INUED
T he Starter Operates Normally Jump Starting
Starting the
Engine
Emergency
Towing
If Your Engine Won’t Start, Jump Starting
T aking Care of t he Unexpect ed 313
A battery can explode if you do
not follow the correct procedure,
seriously injuring anyonenearby.
Keep all sparks, open flames,
and smoking materials away
from the battery.
If a battery sits in extreme cold, the
electrolyte inside can f reeze.
Attempting to jump start with a f rozen
battery can cause it to rupture.