2001 FORD WINDSTAR display
[x] Cancel search: displayPage 15 of 288
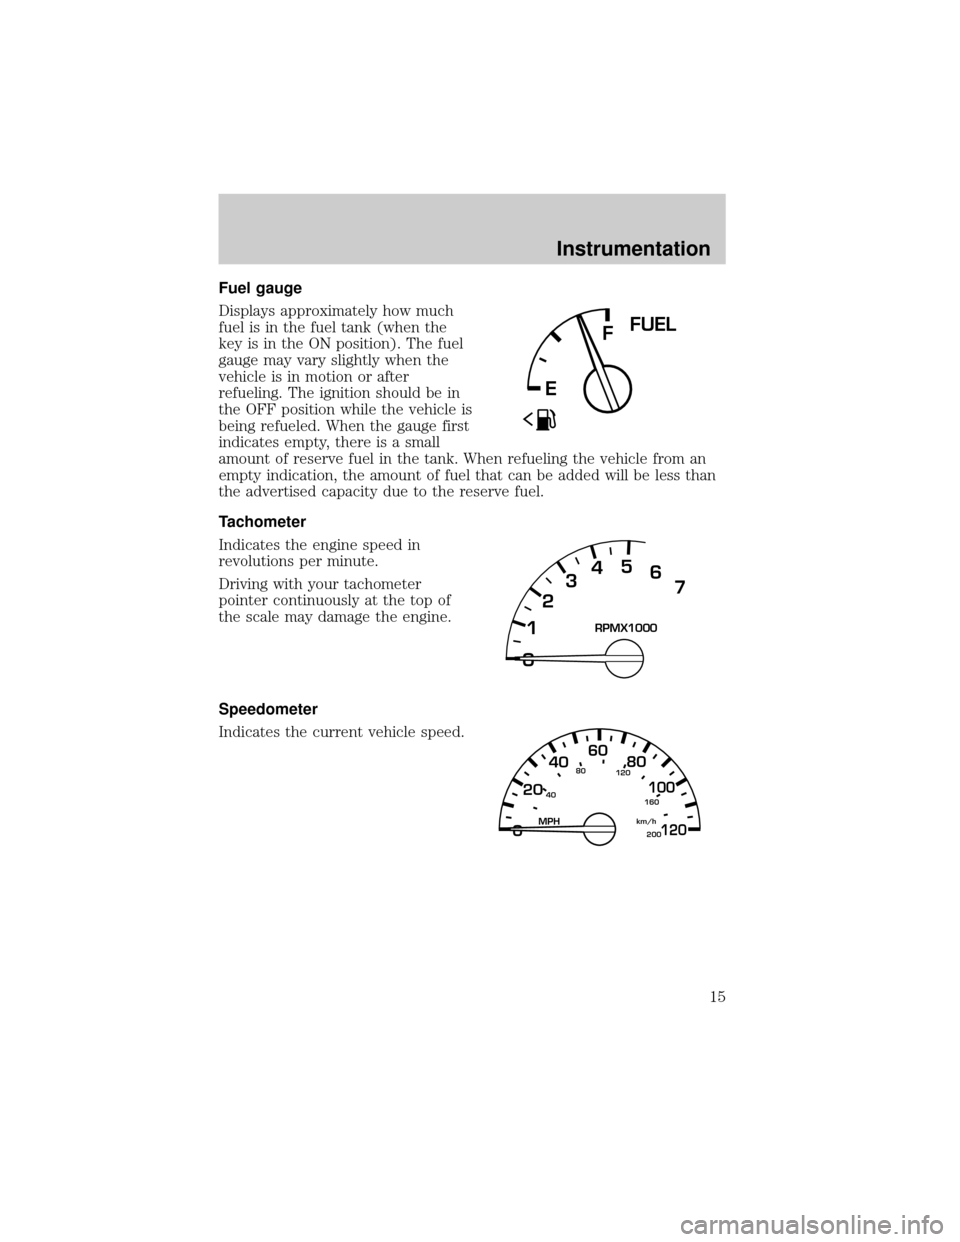
Fuel gauge
Displays approximately how much
fuel is in the fuel tank (when the
key is in the ON position). The fuel
gauge may vary slightly when the
vehicle is in motion or after
refueling. The ignition should be in
the OFF position while the vehicle is
being refueled. When the gauge first
indicates empty, there is a small
amount of reserve fuel in the tank. When refueling the vehicle from an
empty indication, the amount of fuel that can be added will be less than
the advertised capacity due to the reserve fuel.
Tachometer
Indicates the engine speed in
revolutions per minute.
Driving with your tachometer
pointer continuously at the top of
the scale may damage the engine.
Speedometer
Indicates the current vehicle speed.
FFUEL
E
12345
6
7RPMX1000
40
4080
120
160
2002060
80100
120MPHkm/h
Instrumentation
15
Page 16 of 288
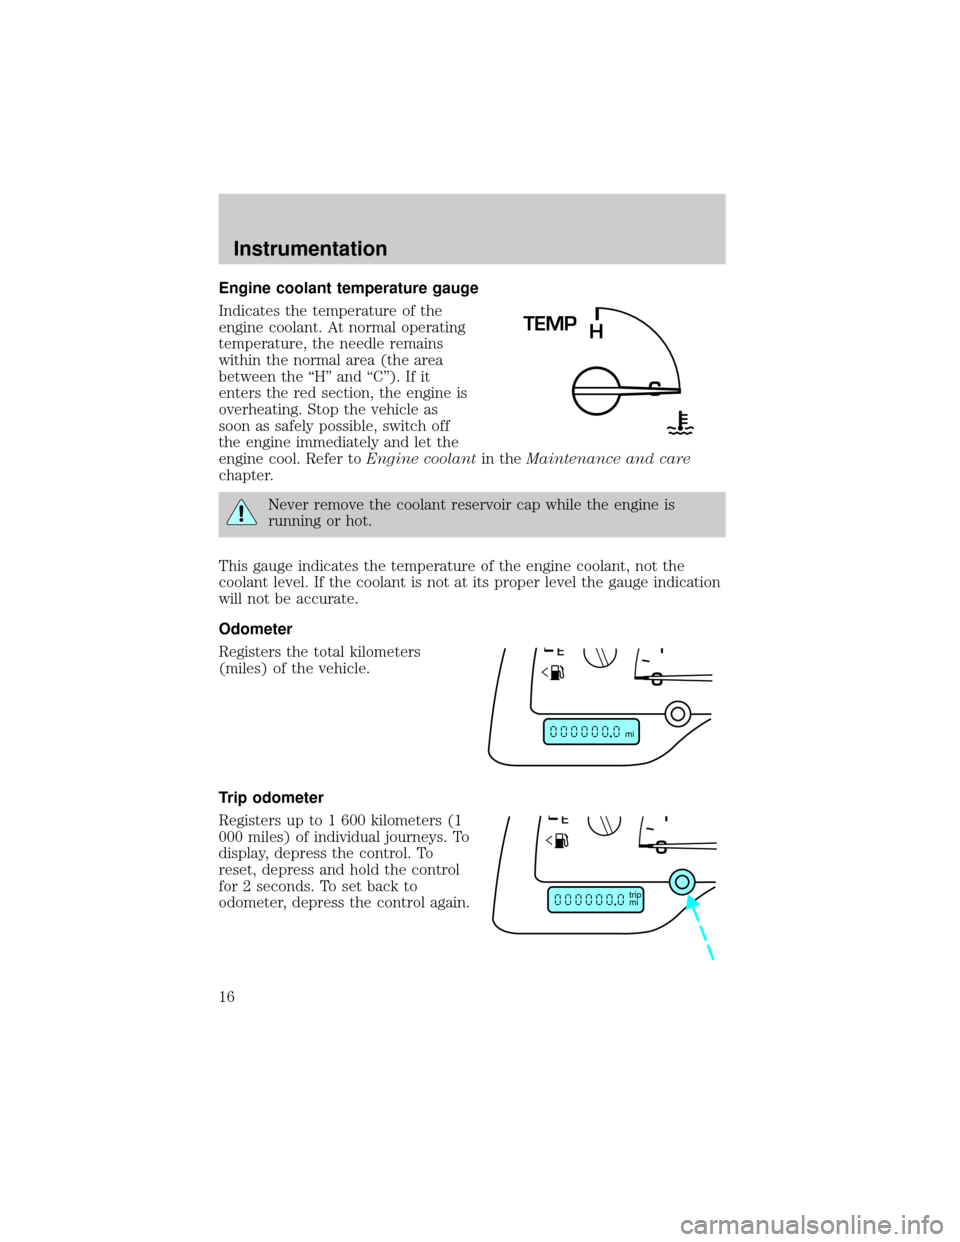
Engine coolant temperature gauge
Indicates the temperature of the
engine coolant. At normal operating
temperature, the needle remains
within the normal area (the area
between the ªHº and ªCº). If it
enters the red section, the engine is
overheating. Stop the vehicle as
soon as safely possible, switch off
the engine immediately and let the
engine cool. Refer toEngine coolantin theMaintenance and care
chapter.
Never remove the coolant reservoir cap while the engine is
running or hot.
This gauge indicates the temperature of the engine coolant, not the
coolant level. If the coolant is not at its proper level the gauge indication
will not be accurate.
Odometer
Registers the total kilometers
(miles) of the vehicle.
Trip odometer
Registers up to 1 600 kilometers (1
000 miles) of individual journeys. To
display, depress the control. To
reset, depress and hold the control
for 2 seconds. To set back to
odometer, depress the control again.
TEMP
H
mi
mi trip
Instrumentation
16
Page 17 of 288
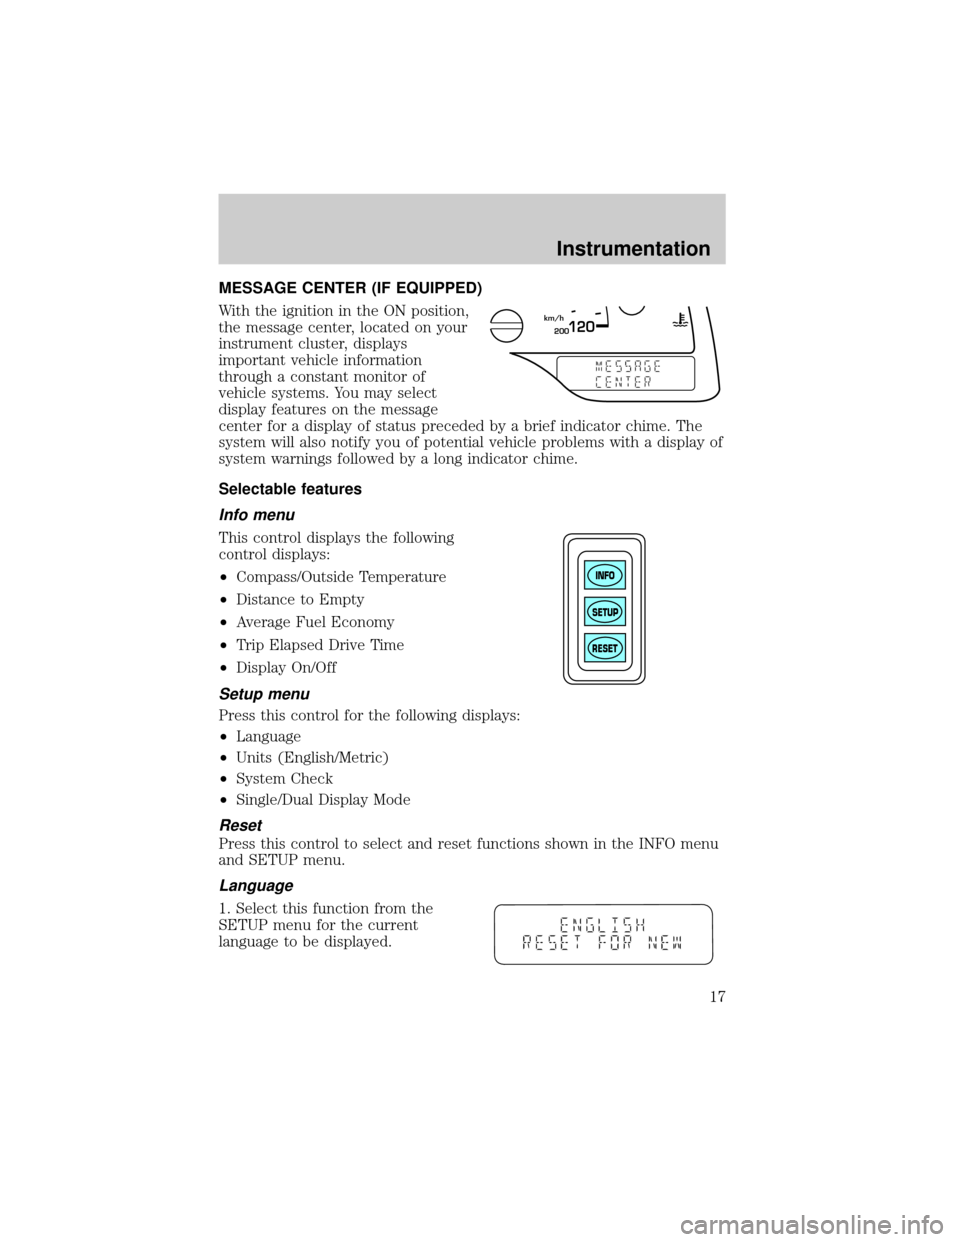
MESSAGE CENTER (IF EQUIPPED)
With the ignition in the ON position,
the message center, located on your
instrument cluster, displays
important vehicle information
through a constant monitor of
vehicle systems. You may select
display features on the message
center for a display of status preceded by a brief indicator chime. The
system will also notify you of potential vehicle problems with a display of
system warnings followed by a long indicator chime.
Selectable features
Info menu
This control displays the following
control displays:
²Compass/Outside Temperature
²Distance to Empty
²Average Fuel Economy
²Trip Elapsed Drive Time
²Display On/Off
Setup menu
Press this control for the following displays:
²Language
²Units (English/Metric)
²System Check
²Single/Dual Display Mode
Reset
Press this control to select and reset functions shown in the INFO menu
and SETUP menu.
Language
1. Select this function from the
SETUP menu for the current
language to be displayed.
200120km/h
INFO
SETUP
RESET
Instrumentation
17
Page 18 of 288
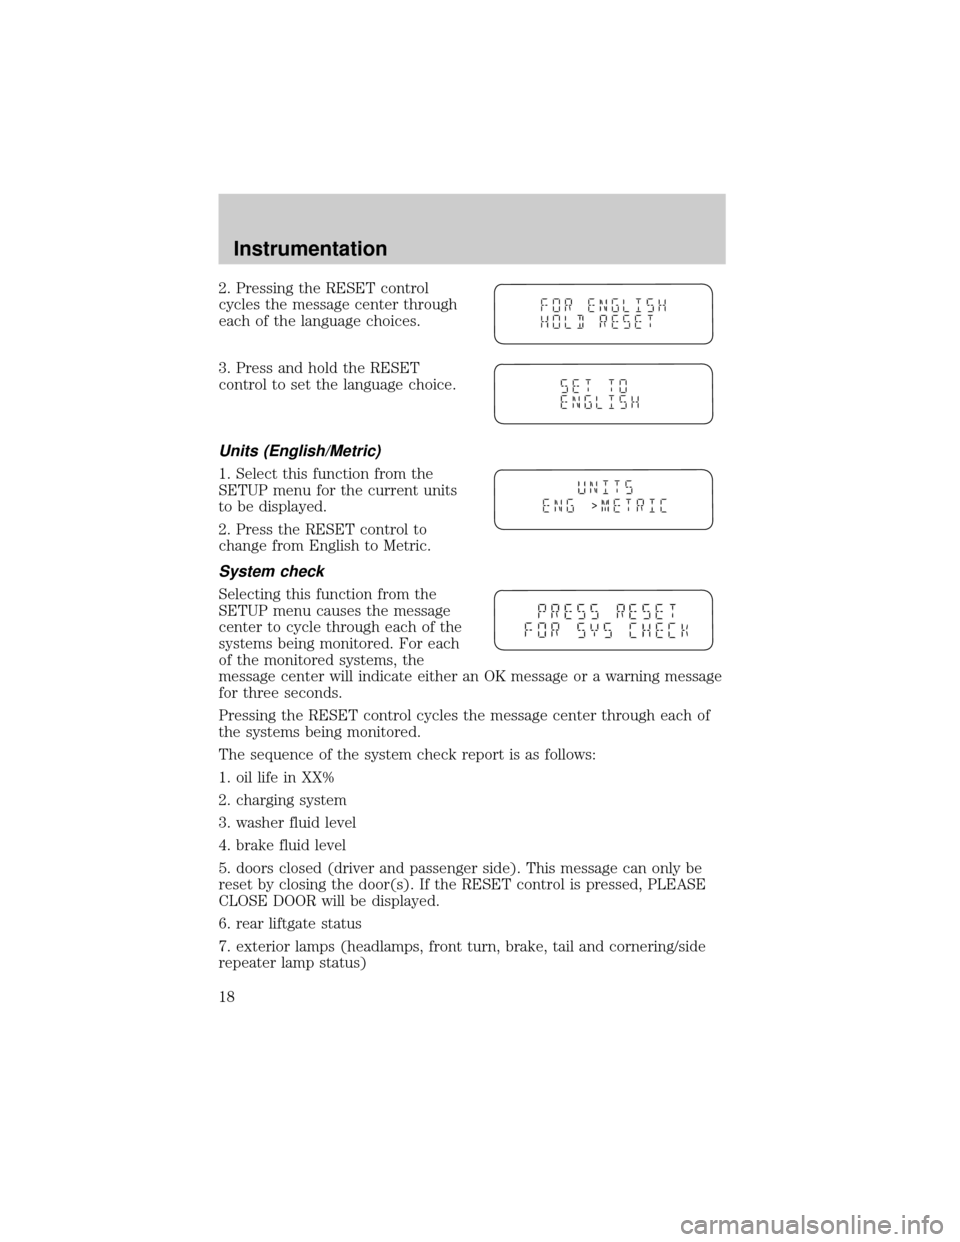
2. Pressing the RESET control
cycles the message center through
each of the language choices.
3. Press and hold the RESET
control to set the language choice.
Units (English/Metric)
1. Select this function from the
SETUP menu for the current units
to be displayed.
2. Press the RESET control to
change from English to Metric.
System check
Selecting this function from the
SETUP menu causes the message
center to cycle through each of the
systems being monitored. For each
of the monitored systems, the
message center will indicate either an OK message or a warning message
for three seconds.
Pressing the RESET control cycles the message center through each of
the systems being monitored.
The sequence of the system check report is as follows:
1. oil life in XX%
2. charging system
3. washer fluid level
4. brake fluid level
5. doors closed (driver and passenger side). This message can only be
reset by closing the door(s). If the RESET control is pressed, PLEASE
CLOSE DOOR will be displayed.
6. rear liftgate status
7. exterior lamps (headlamps, front turn, brake, tail and cornering/side
repeater lamp status)
>
Instrumentation
18
Page 19 of 288
8. Traction Controlyor AdvanceTracy(if equipped)
9. fuel level
10. distance to empty
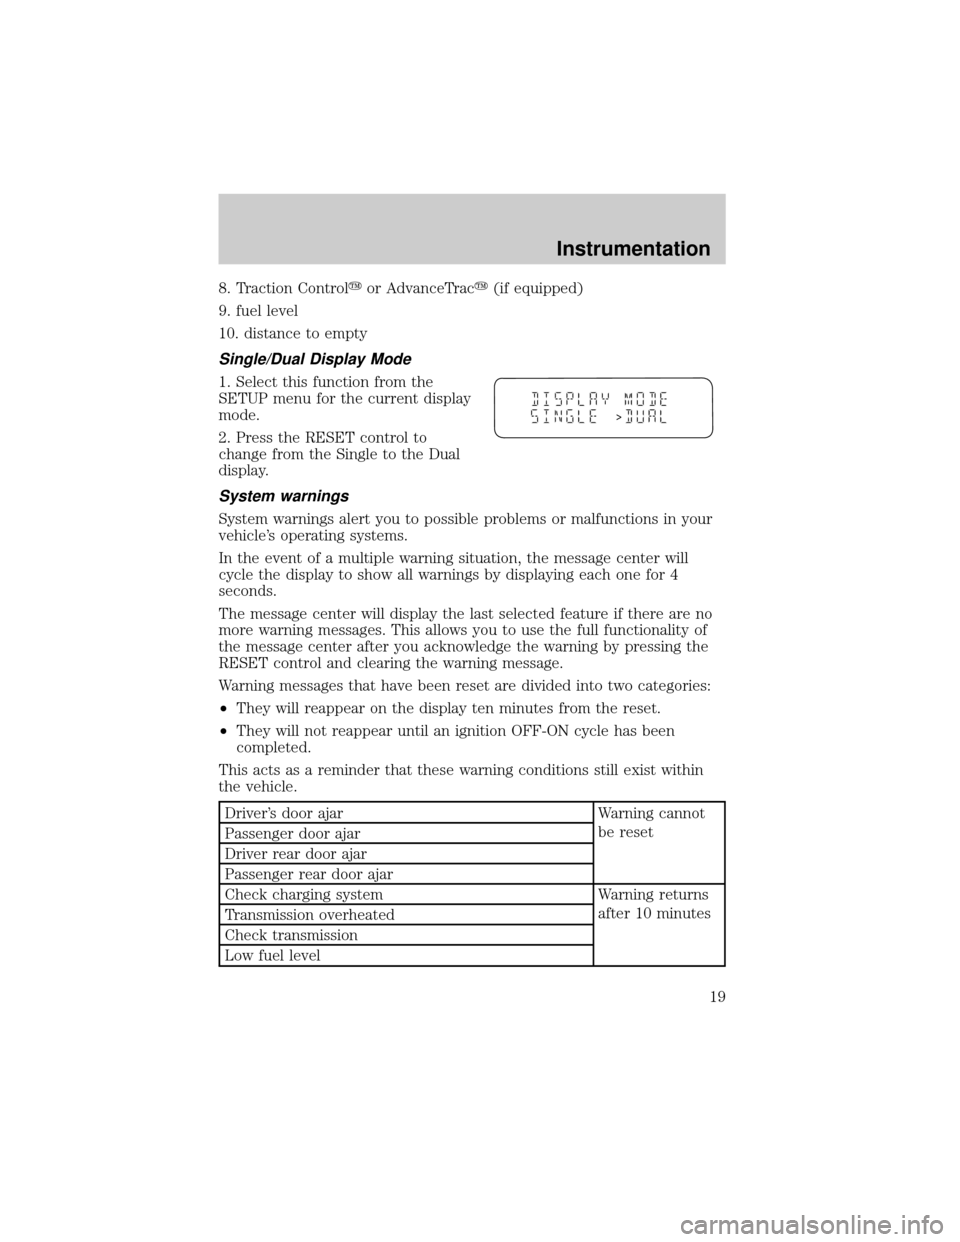
Single/Dual Display Mode
1. Select this function from the
SETUP menu for the current display
mode.
2. Press the RESET control to
change from the Single to the Dual
display.
System warnings
System warnings alert you to possible problems or malfunctions in your
vehicle's operating systems.
In the event of a multiple warning situation, the message center will
cycle the display to show all warnings by displaying each one for 4
seconds.
The message center will display the last selected feature if there are no
more warning messages. This allows you to use the full functionality of
the message center after you acknowledge the warning by pressing the
RESET control and clearing the warning message.
Warning messages that have been reset are divided into two categories:
²They will reappear on the display ten minutes from the reset.
²They will not reappear until an ignition OFF-ON cycle has been
completed.
This acts as a reminder that these warning conditions still exist within
the vehicle.
Driver's door ajar Warning cannot
be reset
Passenger door ajar
Driver rear door ajar
Passenger rear door ajar
Check charging system Warning returns
after 10 minutes
Transmission overheated
Check transmission
Low fuel level
>
Instrumentation
19
Page 20 of 288
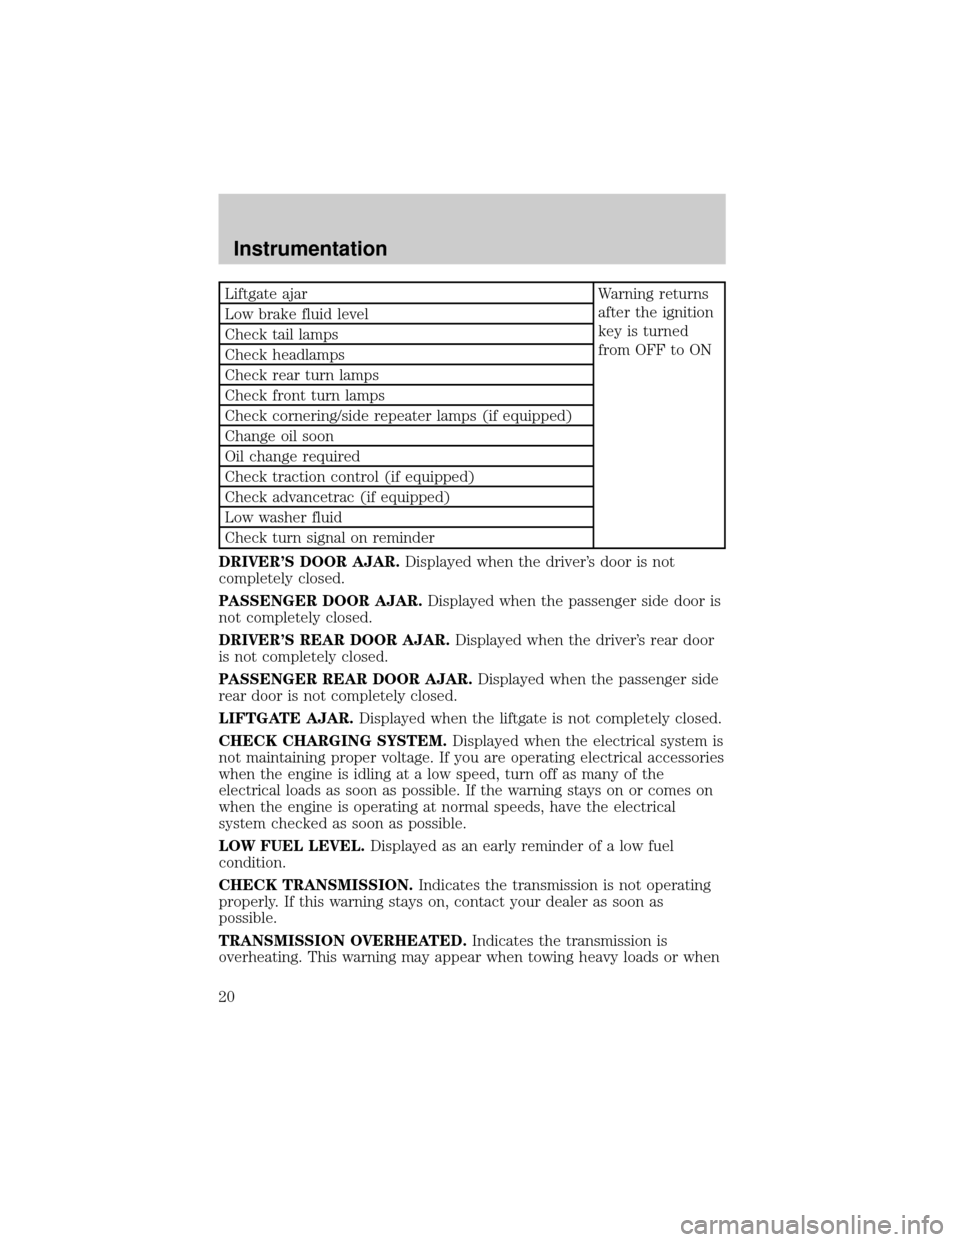
Liftgate ajar Warning returns
after the ignition
key is turned
from OFF to ON Low brake fluid level
Check tail lamps
Check headlamps
Check rear turn lamps
Check front turn lamps
Check cornering/side repeater lamps (if equipped)
Change oil soon
Oil change required
Check traction control (if equipped)
Check advancetrac (if equipped)
Low washer fluid
Check turn signal on reminder
DRIVER'S DOOR AJAR.Displayed when the driver's door is not
completely closed.
PASSENGER DOOR AJAR.Displayed when the passenger side door is
not completely closed.
DRIVER'S REAR DOOR AJAR.Displayed when the driver's rear door
is not completely closed.
PASSENGER REAR DOOR AJAR.Displayed when the passenger side
rear door is not completely closed.
LIFTGATE AJAR.Displayed when the liftgate is not completely closed.
CHECK CHARGING SYSTEM.Displayed when the electrical system is
not maintaining proper voltage. If you are operating electrical accessories
when the engine is idling at a low speed, turn off as many of the
electrical loads as soon as possible. If the warning stays on or comes on
when the engine is operating at normal speeds, have the electrical
system checked as soon as possible.
LOW FUEL LEVEL.Displayed as an early reminder of a low fuel
condition.
CHECK TRANSMISSION.Indicates the transmission is not operating
properly. If this warning stays on, contact your dealer as soon as
possible.
TRANSMISSION OVERHEATED.Indicates the transmission is
overheating. This warning may appear when towing heavy loads or when
Instrumentation
20
Page 21 of 288

driving in a low gear at a high speed for an extended period of time.
Stop the vehicle as soon as safely possible, turn off the engine and let it
cool. Check the transmission fluid and level. Refer toTransmission
fluidin theMaintenance and carechapter. If the warning stays on or
continues to come on, contact your dealer for transmission service as
soon as possible.
CHECK BRAKE LAMPS. Displayed when the brake lamps are
activated and at least one is burned out. Check the lamps as soon as
possible and have the burned out lamp replaced. The center high-mount
brakelamp is not monitored.
CHECK HEADLAMPS. Displayed when the headlamps are activated
and at least one is burned out. Check the lamps as soon as possible and
have the burned out lamp replaced. Refer toReplacing headlamp bulbs
in theMaintenance and carechapter.
CHECK TAIL LAMPS.Displayed when the tail lamps are activated and
at least one is burned out. Check the lamps as soon as possible and have
the burned out lamp replaced.
CHECK FRONT TURN LAMPS.Displayed when the turn signals are
activated and at least one is burned out. Check the lamps as soon as
safely possible and have the burned out lamp replaced.
CHECK REAR TURN LAMPS.Displayed when the turn signals are
activated and at least one is burned out. Check the lamps as soon as
possible and have the burned out lamp replaced.
CHECK SIDE REPEATER LAMPS (if equipped).Displayed when
the turn signals are activated and at least one is burned out. Check the
lamps as soon as possible and have the burned out lamp replaced.
TURN SIGNAL ON REMINDER.Displayed when the turn signal is
activated and the vehicle is driven more that 0.8 km (1/2 mile).
LOW WASHER FLUID.Indicates the washer fluid reservoir is less than
one quarter full. Check the washer fluid level. Refer toWindshield
washer fluidin theMaintenance and carechapter.
CHECK TRACTION CONTROL (if equipped).Displayed when the
Traction Controlysystem is not operating properly. If this warning stays
on, contact your dealer for service as soon as possible. For further
information, refer toTraction controlyin theDrivingchapter.
CHECK ADVANCETRAC (if equipped).Displayed when the
AdvanceTracysystem is not operating properly. If this message is
displayed on the message center the AdvanceTracysystem might be
Instrumentation
21
Page 22 of 288
partially operable. If this warning stays on while the engine is running,
contact your dealer for service as soon as possible. For further
information, refer toAdvanceTracystability enhancement systemin
theDrivingchapter.
CHANGE OIL SOON/OIL CHANGE REQUIRED.Displayed when the
engine oil life remaining is 5 percent or less. When oil life left is between
5% and 0%, the CHANGE OIL SOON message will be displayed. When oil
life left reaches 0%, the OIL CHANGE REQUIRED message will be
displayed.
An oil change is required whenever indicated by the message center.
USE ONLY RECOMMENDED ENGINE OILS.
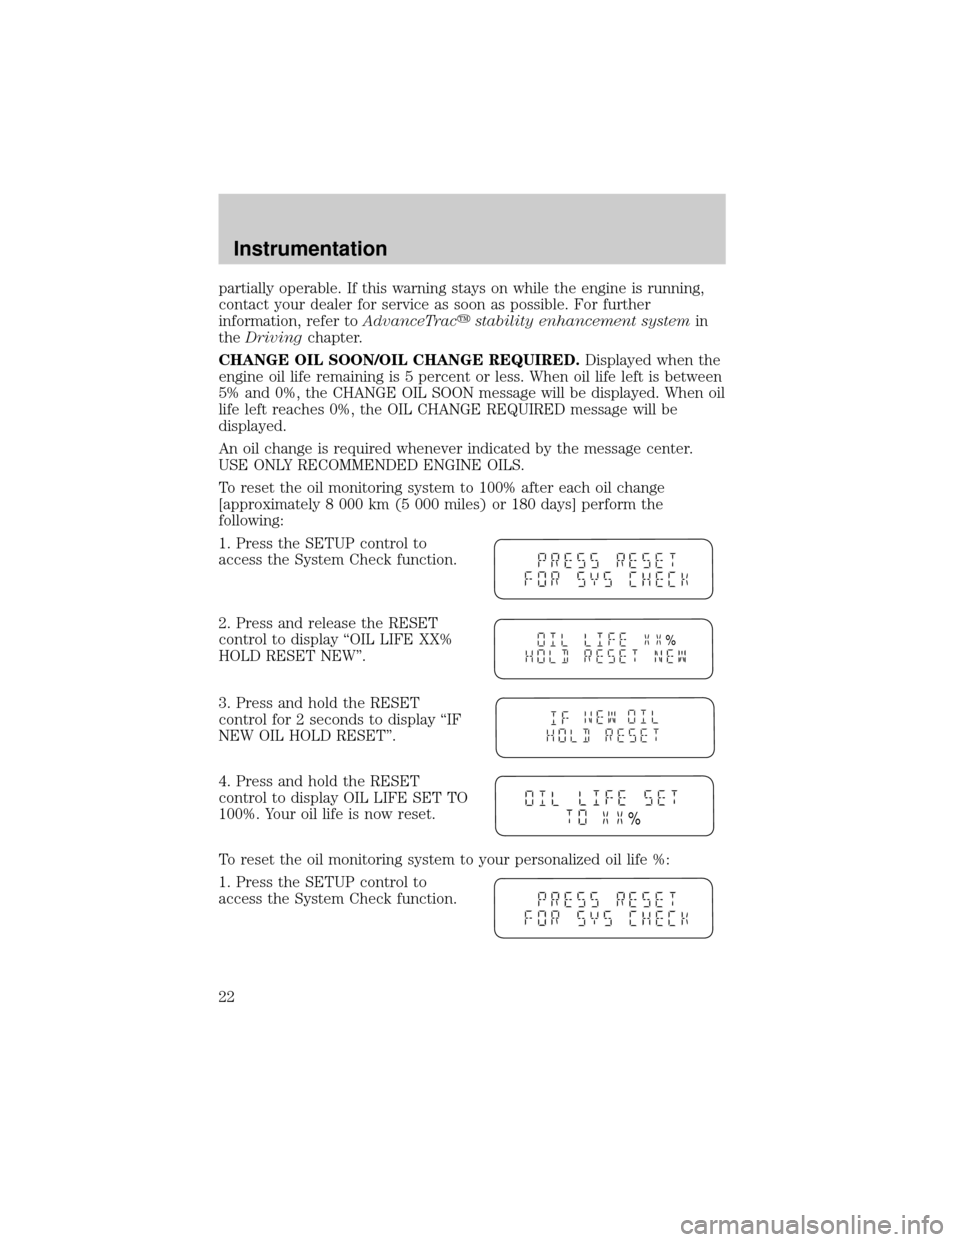
To reset the oil monitoring system to 100% after each oil change
[approximately 8 000 km (5 000 miles) or 180 days] perform the
following:
1. Press the SETUP control to
access the System Check function.
2. Press and release the RESET
control to display ªOIL LIFE XX%
HOLD RESET NEW''.
3. Press and hold the RESET
control for 2 seconds to display ªIF
NEW OIL HOLD RESET''.
4. Press and hold the RESET
control to display OIL LIFE SET TO
100%. Your oil life is now reset.
To reset the oil monitoring system to your personalized oil life %:
1. Press the SETUP control to
access the System Check function.
%
%
Instrumentation
22