Page 123 of 240

²Payload:Combined maximum allowable weight of
cargo, passengers and optional equipment. The
payload equals the gross vehicle weight rating
minus base curb weight.
²GVW (Gross Vehicle Weight):Base curb weight
plus payload weight. The GVW is not a limit or a
specification.
²GVWR (Gross Vehicle Weight Rating):
Maximum total weight of the base vehicle,
passengers, optional equipment and cargo. The
GVWR is specific to each vehicle and is listed on
the Safety Certification Label on the driver's door
pillar.
²GAWR (Gross Axle Weight Rating):Carrying
capacity for each axle system. The GAWR is
specific to each vehicle and is listed on the Safety
Certification Label on the driver's door pillar.
²GCW (Gross Combined Weight):The
combined weight of the towing vehicle (including
passengers and cargo) and the trailer.
²GCWR (Gross Combined Weight Rating):
Maximum combined weight of towing vehicle
(including passengers and cargo) and the trailer.
The GCWR indicates the maximum loaded weight
that the vehicle is designed to tow.
²Maximum Trailer Weight Rating:Maximum
weight of a trailer the vehicle is permitted to tow.
The maximum trailer weight rating is determined
by subtracting the vehicle curb weight for each
engine/transmission combination, any required
option weight for trailer towing and the weight of
the driver from the GCWR for the towing vehicle.
²Maximum Trailer Weight:Maximum weight of a
trailer the loaded vehicle (including passengers
and cargo) is permitted to tow. It is determined
by subtracting the weight of the loaded trailer
towing vehicle from the GCWR for the towing
vehicle.
Driving
123
Page 126 of 240

Do not connect a trailer's hydraulic brake
system directly to your vehicle's brake
system. Your vehicle may not have enough braking
power and your chances of having a collision
greatly increase.
The braking system of the tow vehicle is rated for
operation at the GVWR not GCWR.
Trailer lamps
Trailer lamps are required on most towed vehicles.
Make sure your trailer lamps conform to local and
Federal regulations. See your dealer or trailer rental
agency for proper instructions and equipment for
hooking up trailer lamps.
Driving while you tow
When towing a trailer:
²Ensure that you turn off your speed control. The
speed control may shut off automatically when
you are towing on long, steep grades.
²Consult your local motor vehicle speed regulations
for towing a trailer.
²Use a lower gear when towing up or down steep
hills. This will eliminate excessive downshifting
and upshifting for optimum fuel economy and
transmission cooling.
²Anticipate stops and brake gradually.
Exceeding the GCWR rating may cause internal
transmission damage and void your warranty
coverage.
Servicing after towing
If you tow a trailer for long distances, your vehicle
will require more frequent service intervals. Refer to
your scheduled maintenance guide for more
information.
Driving
126
Page 127 of 240

Trailer towing tips
²Practice turning, stopping and backing up before
starting on a trip to get the feel of the vehicle
trailer combination. When turning, make wider
turns so the trailer wheels will clear curbs and
other obstacles.
²Allow more distance for stopping with a trailer
attached.
²The trailer tongue weight should be 10% of the
loaded trailer weight.
²After you have traveled 80 km (50 miles),
thoroughly check your hitch, electrical
connections and trailer wheel lug nuts.
²When stopped in traffic for long periods of time in
hot weather, place the gearshift in P (Park) and
increase idle speed. This aids engine cooling and
air conditioner efficiency.
²Vehicles with trailers should not be parked on a
grade. If you must park on a grade, place wheel
chocks under the trailer's wheels.
Recreational towing (all wheels on the ground)
Follow these guidelines for your specific powertrain
combination to tow your vehicle with all four wheels
on the ground (such as behind a recreational vehicle).
These guidelines are designed to ensure that your
transmission is not damaged due to insufficient
lubrication.
All Rear Wheel Drive (RWD) vehicles
This applies to all cars and 4x2 trucks/sport utilities
with rear wheel drive capability.
An example of recreational towing is towing your
vehicle behind a Motorhome. The following
recreational towing guidelines are designed to
ensure that your transmission is not damaged.
²Place the transmission in N (Neutral).
²Maximum speed is 56 km/h (35 mph).
²Maximum distance is 80 km (50 miles).
Driving
127
Page 128 of 240

If a distance of 80 km (50 miles) or a speed of 56
km/h (35 mph) must be exceeded, you must
disconnect the driveshaft. Ford recommends the
driveshaft be removed/installed only by a qualified
technician. See your local dealer for driveshaft
removal/installation.
Improper removal/installation of the driveshaft
can cause transmission fluid loss, damage to
the driveshaft and internal transmission
components.
DRIVING THROUGH WATER
Do not drive quickly through standing water,
especially if the depth is unknown. Traction or brake
capability may be limited and if the ignition system
gets wet, your engine may stall. Water may also
enter your engine's air intake and severely damage
your engine.
If driving through deep or standing water is
unavoidable, proceed very slowly. Never drive
through water that is higher than the bottom of the
hubs (for trucks) or the bottom of the wheel rims
(for cars).
Once through the water, always try the brakes. Wet
brakes do not stop the vehicle as effectively as dry
brakes. Drying can be improved by moving your
vehicle slowly while applying light pressure on the
brake pedal.
Driving through deep water where the
transmission vent tube is submerged may allow
water into the transmission and cause internal
transmission damage.
Driving
128
Page 138 of 240

If you use the temporary spare tire
continuously or do not follow these
precautions, the tire could fail, causing you to lose
control of the vehicle, possibly injuring yourself or
others.
When driving with the temporary spare tiredo not:
²exceed 80 km/h (50 mph) under any
circumstances
²load the vehicle beyond maximum vehicle load
rating listed on the Safety Compliance Label
²tow a trailer
²use tire chains
²drive through an automatic car wash, because of
the vehicle's reduced ground clearance
²try to repair the temporary spare tire or remove it
from its wheel
²use the wheel for any other type of vehicle
Tire change procedure
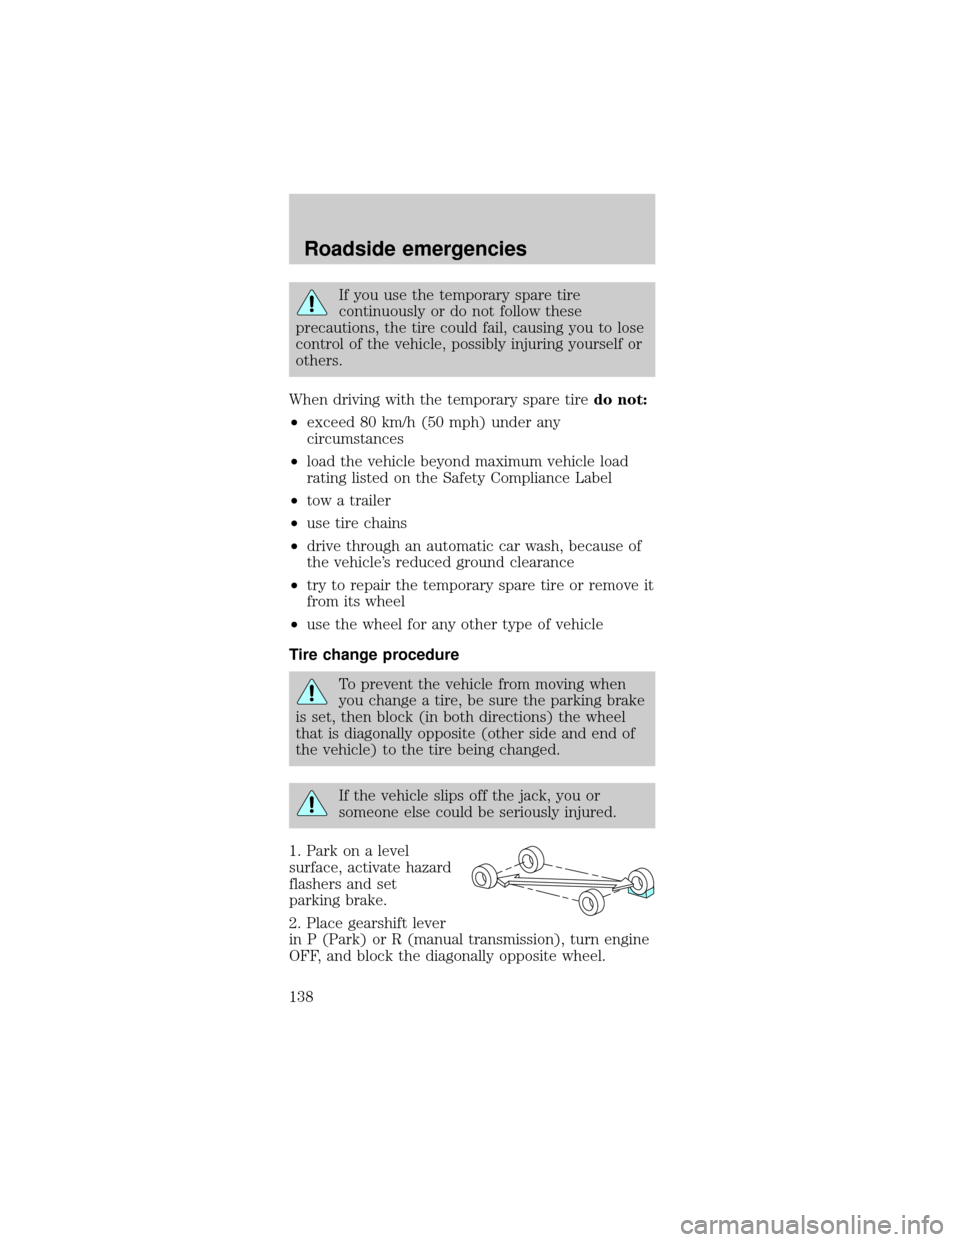
To prevent the vehicle from moving when
you change a tire, be sure the parking brake
is set, then block (in both directions) the wheel
that is diagonally opposite (other side and end of
the vehicle) to the tire being changed.
If the vehicle slips off the jack, you or
someone else could be seriously injured.
1. Park on a level
surface, activate hazard
flashers and set
parking brake.
2. Place gearshift lever
in P (Park) or R (manual transmission), turn engine
OFF, and block the diagonally opposite wheel.
Roadside emergencies
138
Page 141 of 240

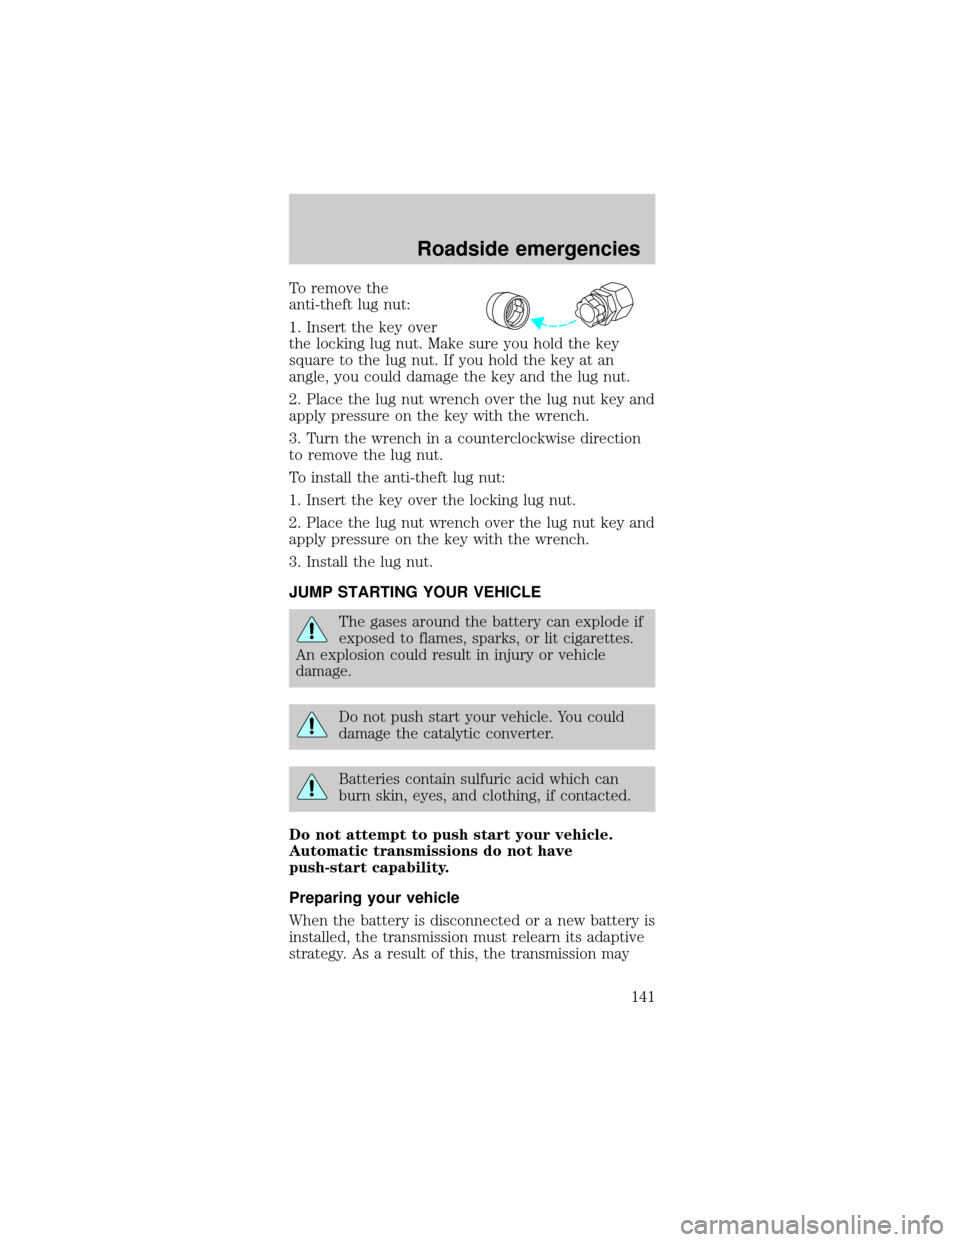
To remove the
anti-theft lug nut:
1. Insert the key over
the locking lug nut. Make sure you hold the key
square to the lug nut. If you hold the key at an
angle, you could damage the key and the lug nut.
2. Place the lug nut wrench over the lug nut key and
apply pressure on the key with the wrench.
3. Turn the wrench in a counterclockwise direction
to remove the lug nut.
To install the anti-theft lug nut:
1. Insert the key over the locking lug nut.
2. Place the lug nut wrench over the lug nut key and
apply pressure on the key with the wrench.
3. Install the lug nut.
JUMP STARTING YOUR VEHICLE
The gases around the battery can explode if
exposed to flames, sparks, or lit cigarettes.
An explosion could result in injury or vehicle
damage.
Do not push start your vehicle. You could
damage the catalytic converter.
Batteries contain sulfuric acid which can
burn skin, eyes, and clothing, if contacted.
Do not attempt to push start your vehicle.
Automatic transmissions do not have
push-start capability.
Preparing your vehicle
When the battery is disconnected or a new battery is
installed, the transmission must relearn its adaptive
strategy. As a result of this, the transmission may
Roadside emergencies
141
Page 142 of 240

shift firmly. This operation is considered normal and
will not effect function or durability of the
transmission. Over time, the adaptive learning
process will fully update transmission operation to
its optimum shift feel.
1.Use only a 12±volt supply to start your
vehicle.
2. Do not disconnect the battery of the disabled
vehicle as this could damage the vehicle's electrical
system.
3. Park the booster vehicle close to the hood of the
disabled vehicle making sure the two vehiclesdo
nottouch. Set the parking brake on both vehicles
and stay clear of the engine cooling fan and other
moving parts.
4. Check all battery terminals and remove any
excessive corrosion before you attach the battery
cables.
5. Turn the heater fan on in both vehicles to protect
any electrical surges. Turn all other accessories off.
Connecting the jumper cables
1. Connect the positive (+) booster cable to the
positive (+) terminal of the discharged battery.
Note:In the illustrations,lightning boltsare used
to designate the assisting (boosting) battery.
+–+–
Roadside emergencies
142
Page 145 of 240
2. Remove the jumper cable on the negative (-)
connection of the booster vehicle's battery.
3. Remove the jumper cable from the positive (+)
terminal of the booster vehicle's battery.
4. Remove the jumper cable from the positive (+)
terminal of the disabled vehicle's battery.
After the disabled vehicle has been started and the
jumper cables removed, allow it to idle for several
minutes so the engine computer canrelearnits idle
conditions.
When the battery is disconnected or a new battery is
installed, the transmission must relearn its adaptive
strategy. As a result of this, the transmission may
shift firmly. This operation is considered normal and
+–+–
+–+–
+–+–
Roadside emergencies
145