2001 FORD MUSTANG key
[x] Cancel search: keyPage 121 of 240

4. Turn the ignition key
to position 3 (OFF).
Do not park your vehicle in Neutral, it may
move unexpectedly and injure someone. Use
1 (First) gear and set the parking brake fully.
Reverse
You must be at a complete stop to shift into R
(Reverse). You can shift into R (Reverse) only by
moving the gearshift lever through the neutral plane.
R (Reverse) can not be engaged directly from 5 (5th
gear). This is a feature that protects the
transmission from accidentally shifting into R
(Reverse) when you downshift from 5 (Fifth).
Make sure that your vehicle is at a complete
stop before you shift into R (Reverse). Failure
to do so may damage the transmission.
To shift into R
(Reverse):
1. Bring your vehicle to
a complete stop.
2. Hold the brake pedal
down.
3. Hold the clutch
pedal down.
4. Move the gearshift
lever all the way to the
right and pull it back
into R ( Reverse).
5. Release the brake
pedal.
3
2
1
5
4
1
24R3
5
Driving
121
Page 122 of 240

6. Slowly release the clutch pedal.
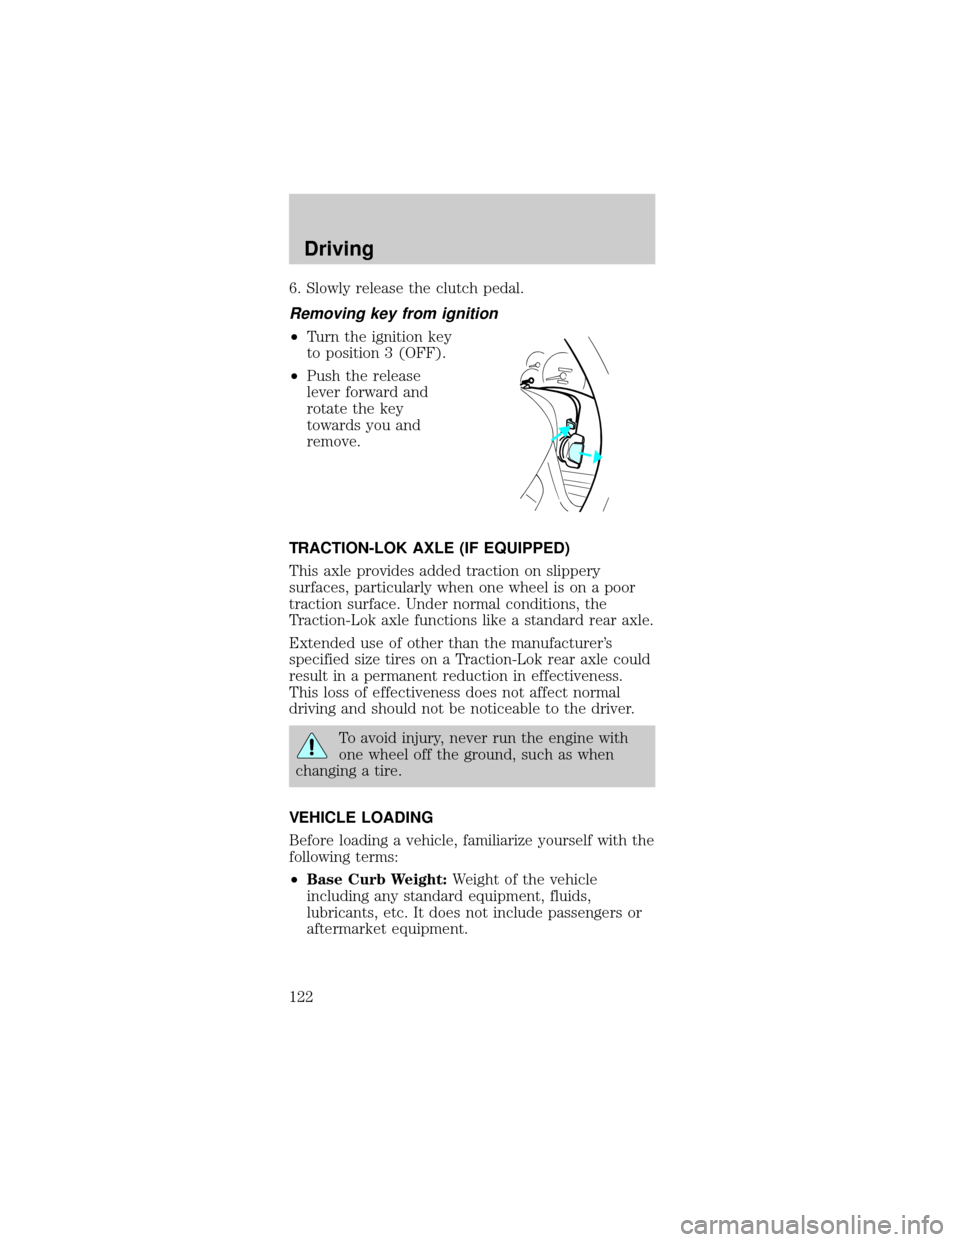
Removing key from ignition
²Turn the ignition key
to position 3 (OFF).
²Push the release
lever forward and
rotate the key
towards you and
remove.
TRACTION-LOK AXLE (IF EQUIPPED)
This axle provides added traction on slippery
surfaces, particularly when one wheel is on a poor
traction surface. Under normal conditions, the
Traction-Lok axle functions like a standard rear axle.
Extended use of other than the manufacturer's
specified size tires on a Traction-Lok rear axle could
result in a permanent reduction in effectiveness.
This loss of effectiveness does not affect normal
driving and should not be noticeable to the driver.
To avoid injury, never run the engine with
one wheel off the ground, such as when
changing a tire.
VEHICLE LOADING
Before loading a vehicle, familiarize yourself with the
following terms:
²Base Curb Weight:Weight of the vehicle
including any standard equipment, fluids,
lubricants, etc. It does not include passengers or
aftermarket equipment.
Driving
122
Page 131 of 240

After a collision, if the engine cranks but does not
start, the fuel pump shut-off switch may have been
activated.
The fuel pump shut-off
switch is located on
the left side of the
trunk behind teh left
rear tail light and the
trunk liner.
Use the following procedure to reset the fuel pump
shut-off switch.
1. Turn the ignition to the OFF position.
2. Check the fuel system for leaks.
3. If no fuel leak is apparent, reset the fuel pump
shut-off switch by pushing in on the reset button.
4. Turn the ignition to the ON position. Pause for a
few seconds and return the key to the OFF position.
5. Make a further check for leaks in the fuel system.
FUSES AND RELAYS
Fuses
If electrical
components in the
vehicle are not
working, a fuse may
have blown. Blown
fuses are identified by a broken wire within the fuse.
15
Roadside emergencies
131
Page 140 of 240

To lessen the risk of personal injury, do not
put any part of your body under the vehicle
while changing a tire. Do not start the engine
when your vehicle is on the jack. The jack is only
meant for changing the tire.
6. Remove the lug nuts with the lug wrench.
7.
Replace the flat tire with the spare tire, making
sure the valve stem is facing outward. Reinstall lug
nuts until the wheel is snug against the hub. Do not
fully tighten the lug nuts until the wheel has been
lowered.
If you are using the temporary tire, the lug nut
washers will not appear to be flush with the rim. This
is normal only when using the temporary spare tire.
8. Lower the wheel by turning the jack handle
counterclockwise.
9. Remove the jack and
fully tighten the lug
nuts in the order
shown.
10. Put flat tire, jack
and lug wrench away.
Make sure jack is
fastened so it does not rattle when you drive.
11. Unblock the wheels.
Anti-theft lug nuts (if equipped)
If your vehicle is equipped with this feature, one of
the lug nuts on each wheel must be removed and
replaced with a special key. The key and registration
card are attached to the lug wrench and stored with
the spare tire. If you lose the key, send the
registration card to the manufacturer (not the dealer)
to get a replacement key. If the lug wrench/lug nut
key assembly is lost, see your nearest Ford or
Lincoln/Mercury dealer who has access to the master
set of keys.Do not use an impact wrench with
the anti-theft key.
1
4 3
2 5
Roadside emergencies
140
Page 141 of 240

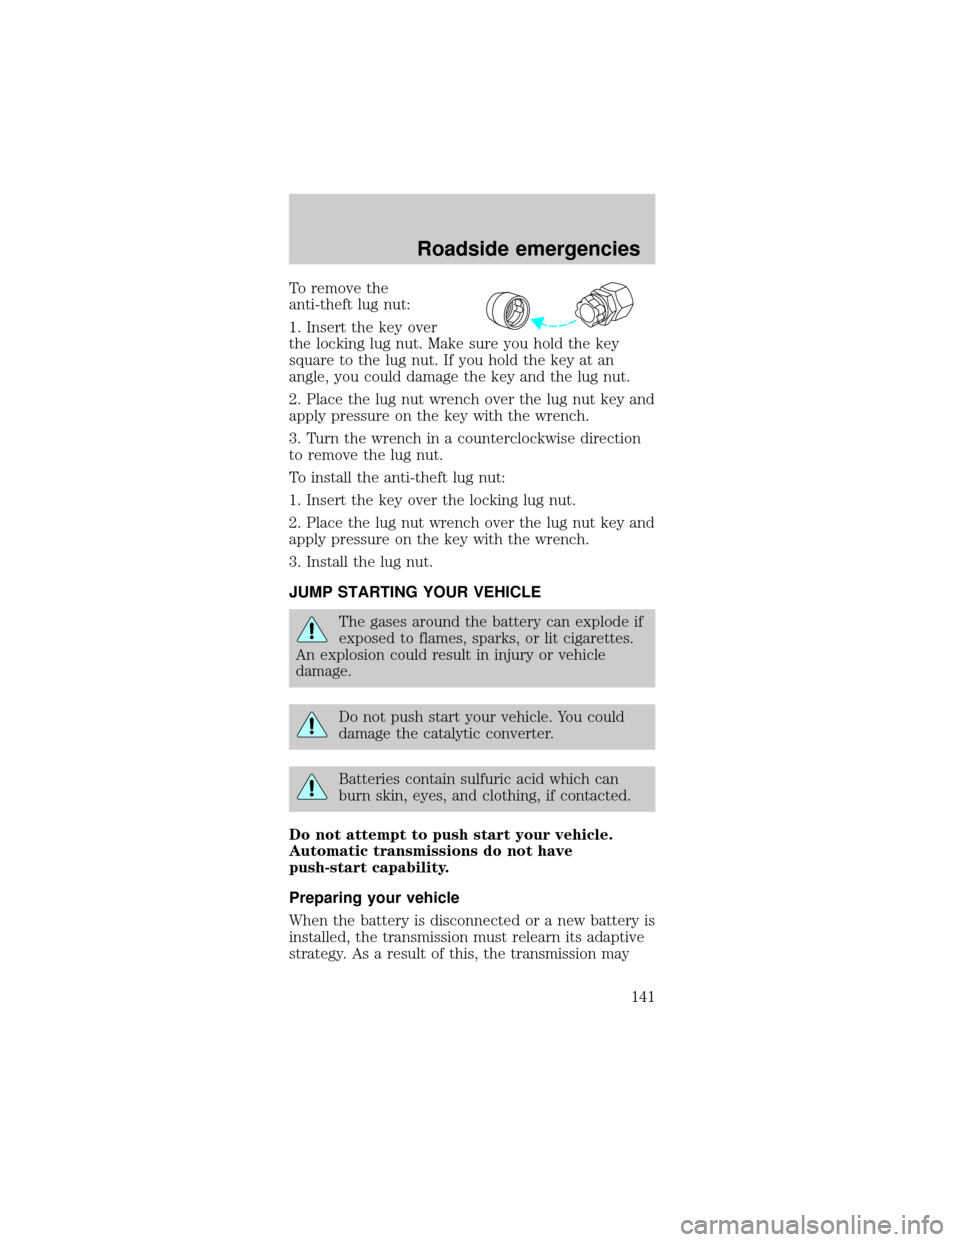
To remove the
anti-theft lug nut:
1. Insert the key over
the locking lug nut. Make sure you hold the key
square to the lug nut. If you hold the key at an
angle, you could damage the key and the lug nut.
2. Place the lug nut wrench over the lug nut key and
apply pressure on the key with the wrench.
3. Turn the wrench in a counterclockwise direction
to remove the lug nut.
To install the anti-theft lug nut:
1. Insert the key over the locking lug nut.
2. Place the lug nut wrench over the lug nut key and
apply pressure on the key with the wrench.
3. Install the lug nut.
JUMP STARTING YOUR VEHICLE
The gases around the battery can explode if
exposed to flames, sparks, or lit cigarettes.
An explosion could result in injury or vehicle
damage.
Do not push start your vehicle. You could
damage the catalytic converter.
Batteries contain sulfuric acid which can
burn skin, eyes, and clothing, if contacted.
Do not attempt to push start your vehicle.
Automatic transmissions do not have
push-start capability.
Preparing your vehicle
When the battery is disconnected or a new battery is
installed, the transmission must relearn its adaptive
strategy. As a result of this, the transmission may
Roadside emergencies
141
Page 148 of 240

2. Turn off the engine and remove the key.
3. Block the wheels to prevent the vehicle from
moving unexpectedly.
²Manual transmission:
1. Set the parking brake.
2. Depress the clutch and place the gearshift in 1
(First).
3. Turn off the engine and remove the key.
4. Block the wheels to prevent the vehicle from
moving unexpectedly.
Working with the engine on
²Automatic transmission:
1. Set the parking brake and ensure the gearshift is
securely latched in P (Park).
2. Block the wheels to prevent the vehicle from
moving unexpectedly.
Do not start your engine with the air cleaner
removed and do not remove it while the
engine is running.
²Manual transmission:
1. Set the parking brake, depress the clutch and
place the gearshift in neutral.
2. Block the wheels to prevent the vehicle from
moving unexpectedly.
Do not start your engine with the air cleaner
removed and do not remove it while the
engine is running.
The cooling fan is automatic and may come
on at any time. Always disconnect the
negative terminal of the battery before working
near the fan.
Maintenance and care
148
Page 231 of 240

fuel pump shut-off
switch .................... 130
gauge ....................... 14
improving fuel
economy ................ 186
low fuel warning
light .......................... 11
octane
rating ..... 184, 209±210
quality .................... 184
running out of
fuel ......................... 185
safety information
relating to automotive
fuels ....................... 180
Fuses ................ 131±132
G
Gas cap (see
Fuel cap) ........... 11, 182
Gas mileage (see Fuel
economy) ................. 186
Gauges ....................... 14
battery voltage
gauge ....................... 17
engine coolant
temperature
gauge ....................... 15
engine oil pressure
gauge ....................... 17
fuel gauge ................ 14
odometer ................. 16
speedometer ........... 15
tachometer .............. 16
trip odometer .......... 17
GAWR (Gross Axle
Weight Rating) ........ 122
definition ............... 122driving with a heavy
load ........................ 122
location .................. 122
GVWR (Gross Vehicle
Weight Rating) ........ 122
calculating ............. 122
definition ............... 122
driving with a heavy
load ........................ 122
location .................. 122
H
Hazard flashers ....... 130
Head restraints ......... 73
Headlamps ................. 18
aiming .................... 198
bulb specifications 197
daytime running
lights ........................ 18
flash to pass ............ 51
high beam ........... 8, 18
replacing bulbs ..... 193
turning on and off .. 18
warning chime ........ 13
Heating ...................... 20
heating and air
conditioning
system ..................... 20
Hood ........................ 149
I
Ignition ....... 52, 209±210
removing the key .. 122
Infant seats (see Safety
seats) ......................... 95
Inspection/maintenance
(I/M) testing ............ 191
Index
231
Page 232 of 240

Instrument panel
cleaning ................. 204
cluster ................ 8, 204
lighting up panel and
interior ..................... 19
location of
components ............... 8
J
Jack .......................... 137
positioning ............. 137
storage ................... 137
Jump-starting your
vehicle ...................... 141
K
Keys ..................... 67±69
key in ignition
chime ....................... 13
positions of the
ignition .................... 52
removing from the
ignition .................. 122
L
Lamps
bulb replacement
specifications
chart ...................... 197
cargo lamps ............. 19
daytime running
light .......................... 18
fog lamps ................. 19
headlamps ....... 18, 193
headlamps, flash to
pass .......................... 51
instrument panel,
dimming ................... 19interior
lamps ............... 56, 197
replacing
bulbs .............. 192±196
Lane change indicator
(see Turn signal) ...... 51
Lights, warning and
indicator ...................... 8
air bag ........................ 9
anti-lock brakes
(ABS) .............. 12, 109
anti-theft ................... 9
brake ........................ 13
charging system ........ 9
fuel cap light ........... 11
high beam ................. 8
low fuel .................... 11
overdrive off ............ 12
safety belt ................. 9
service engine soon .. 9
traction control
active ....................... 12
turn signal
indicator .................... 8
Load limits ............... 122
GAWR .................... 122
GVWR .................... 122
trailer towing ........ 122
Locks
doors ........................ 57
Lubricant
specifications ... 208±209
Lug nuts,
anti-theft .................. 140
Lumbar support,
seats ........................... 75
Index
232