Page 12 of 240

O/D off (if equipped)
Illuminates when the
Transmission Control
Switch (TCS), refer to
Overdrive controlin
theControls and Featureschapter, has been
pushed turning the transmission overdrive function
OFF. When the light is on, the transmission does not
operate in the overdrive mode, refer to theDriving
chapter for transmission function and operation.
The light may also flash steadily if a transmission
malfunction is detected. If the light does not come
on when the Transmission Control Switch is
depressed or if the light flashes steadily, have your
vehicle serviced as soon as possible, damage to the
transmission could occur.
Traction ControlYactive
For more information,
refer to theDriver
controlschapter.
Momentarily illuminates when the ignition is turned
to ON. It also illuminates when the Traction
Controlysystem begins applying and releasing the
brakes and adjusting the engine characteristics to
limit a wheelspin condition. It will be lit for a
minimum of four seconds or for the duration of the
Traction Controlyevent.
For more information, refer to theDrivingchapter.
Anti-lock brake system (ABS)
Momentarily illuminates
when the ignition is
turned to the ON
position to indicate a
system check. If the light remains on, continues to
flash or fails to illuminate, have the system serviced
immediately. With the ABS light on, the anti-lock
brake system is disabled and normal braking is still
effective unless the brake warning light also remains
illuminated with the parking brake released.
O/D
OFF
ABS
Instrumentation
12
Page 13 of 240

Brake system warning
Momentarily illuminates
when the ignition is
turned to the ON
position to ensure the
circuit is functional. Also illuminates if the parking
brake is engaged. If brake warning lamp does not
illuminate at these times, seek service immediately.
Illumination after releasing the parking brake
indicates low brake fluid level and the brake system
should be inspected immediately.
Safety belt warning chime
Sounds to remind you to fasten your safety belts.
For information on the safety belt warning chime,
refer to theSeating and safety restraintschapter.
Belt minder chime
Sounds intermittently to remind you to fasten your
safety belts.
For information on the safety belt minder chime,
refer to theSeating and safety restraintschapter.
Supplemental restraint system (SRS) warning
chime
For information on the SRS warning chime, refer to
theSeating and safety restraintschapter.
Key-in-ignition warning chime
Sounds when the key is left in the ignition in the
OFF/LOCK or ACC position and the driver's door is
opened.
Headlamps on warning chime
Sounds when the headlamps or parking lamps are
on, the ignition is off (and the key is not in the
ignition) and the driver's door is opened.
P!
BRAKE
Instrumentation
13
Page 18 of 240
HEADLAMP CONTROL
²Pull the headlamp
control toward you
to the first position
to turn on the
parking lamps, tail
lamps, license plate
lamps and marker
lamps.
²Pull the headlamp control toward you to the outer
position to turn on the headlamps (in addition to
the previous lamps).
Daytime running lamps (DRL) (if equipped)
Turns the headlamps on with a reduced output. To
activate:
²the ignition must be turned on
²the headlamp control is in the OFF or Parking
lamps position
²the high beam headlamps must be turned off
²the parking brake is released
Always remember to turn on your
headlamps at dusk or during inclement
weather. The Daytime Running Light (DRL)
System does not activate your tail lamps and
generally may not provide adequate lighting during
these conditions. Failure to activate your
headlamps under these conditions may result in a
collision.
High beams
Push forward to
activate.
Pull toward you to
deactivate.
OFFHI
LO
Controls and features
18
Page 61 of 240

CONVERTIBLE (IF EQUIPPED)
Do not store articles behind rear seat. Articles
stored in the convertible top stowage compartment
may break the rear glass window when the top is
lowered.
Lowering the convertible top
The convertible top can be lowered with the side
windows either up or down.
The convertible top will not operate unless the
parking brake is engaged. Do not lower the top while
the vehicle is moving because the top may be
severely damaged. Also, do not lower the top when
the top material is wet.
To lower the convertible top:
1. Bring vehicle to a complete stop. Engage the
parking brake. Key must be in the ON position.
2. Check the convertible top stowage compartment
behind the rear seat to be sure it is empty and ready
to receive the top.
3. Unclamp the top from the windshield header at
both the right and left sides by pulling each clamp
rearward until the hook in the windshield header is
free. The clamps are flush with the header when in
the closed position.
4. Close the windshield header clamps immediately
after disengagement, to avoid cutting the top
material and to permit installation of the vinyl boot.
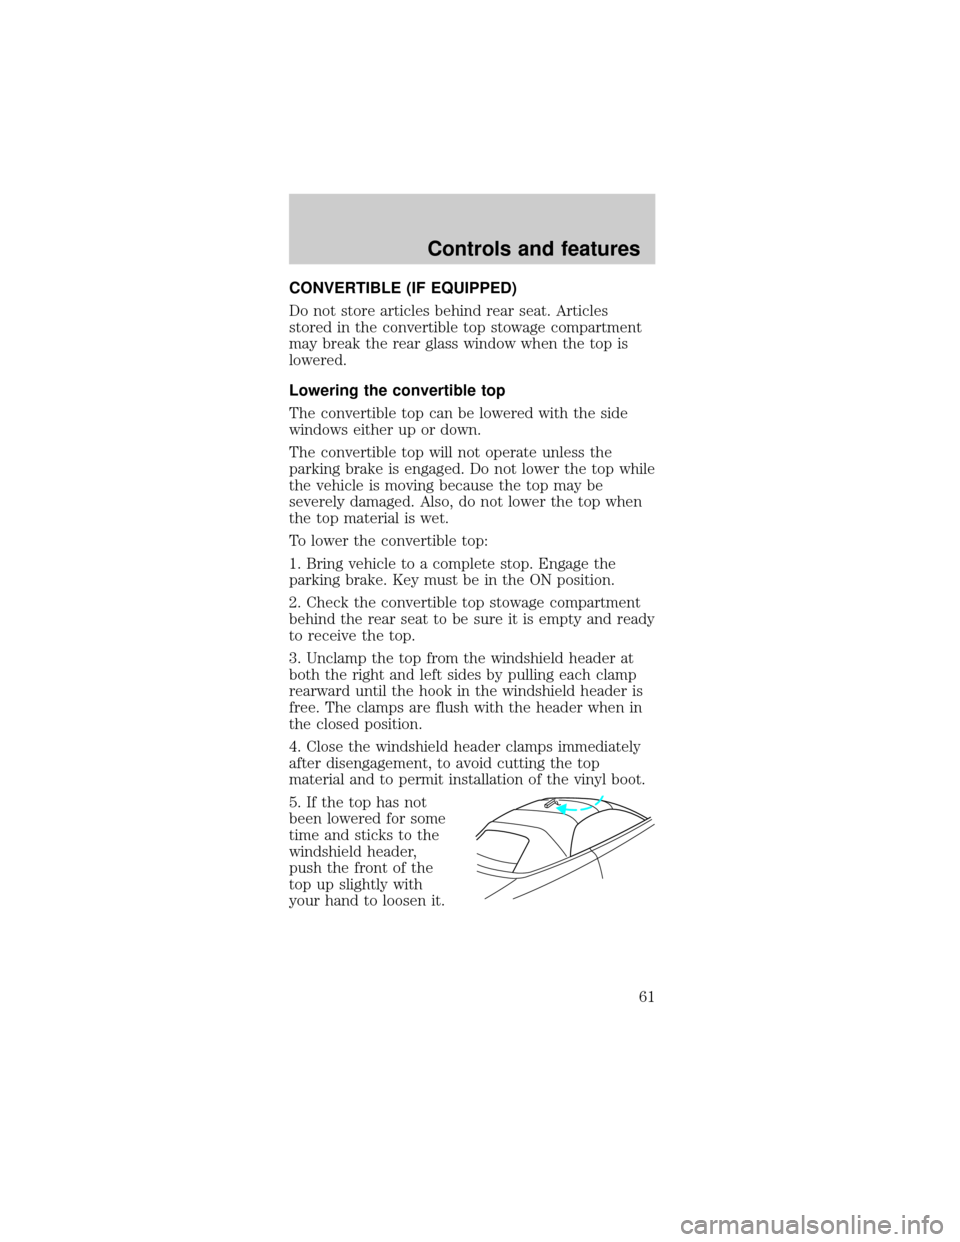
5. If the top has not
been lowered for some
time and sticks to the
windshield header,
push the front of the
top up slightly with
your hand to loosen it.
Controls and features
61
Page 62 of 240
6. Push the convertible
top switch on the
console in front of the
armrest and hold until
the top is completely
stored.
7. Disengage the
parking brake.
Installation of the boot
8. Push boot rearward
and engage boot under
the body molding at
the rear and sides.
9. Fasten snap on boot
to quarter trim panel
on both sides of the
vehicle.
10. Insert boot tongue
into groove located on
rear of seat.
SETPARKBRAKE
Controls and features
62
Page 63 of 240

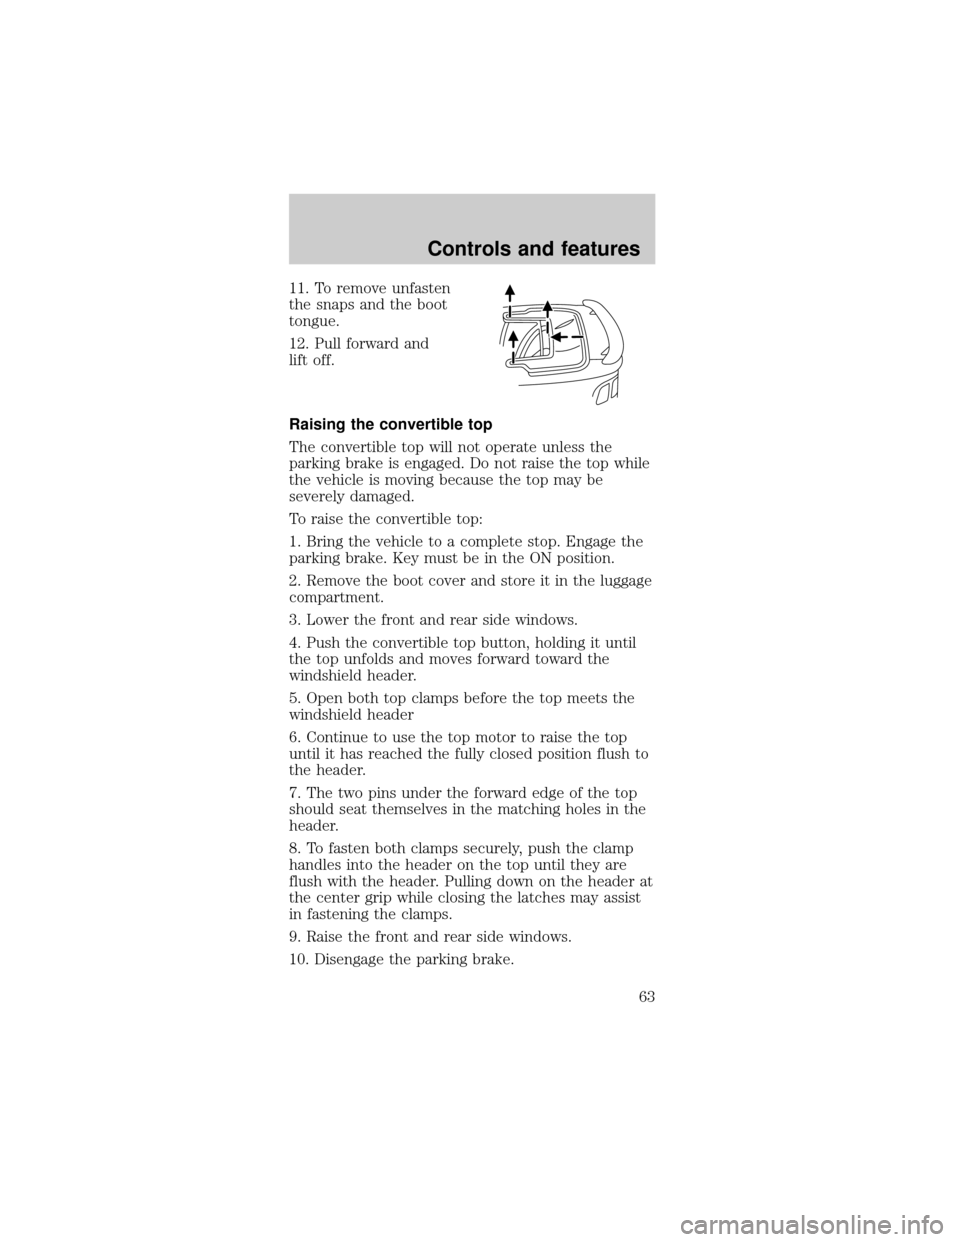
11. To remove unfasten
the snaps and the boot
tongue.
12. Pull forward and
lift off.
Raising the convertible top
The convertible top will not operate unless the
parking brake is engaged. Do not raise the top while
the vehicle is moving because the top may be
severely damaged.
To raise the convertible top:
1. Bring the vehicle to a complete stop. Engage the
parking brake. Key must be in the ON position.
2. Remove the boot cover and store it in the luggage
compartment.
3. Lower the front and rear side windows.
4. Push the convertible top button, holding it until
the top unfolds and moves forward toward the
windshield header.
5. Open both top clamps before the top meets the
windshield header
6. Continue to use the top motor to raise the top
until it has reached the fully closed position flush to
the header.
7. The two pins under the forward edge of the top
should seat themselves in the matching holes in the
header.
8. To fasten both clamps securely, push the clamp
handles into the header on the top until they are
flush with the header. Pulling down on the header at
the center grip while closing the latches may assist
in fastening the clamps.
9. Raise the front and rear side windows.
10. Disengage the parking brake.
Controls and features
63
Page 85 of 240

Do not sit on top of a buckled safety belt to
avoid the Belt Minder chime. Sitting on the
safety belt will increase the risk of injury in an
accident. To disable (one-time) or deactivate the
Belt Minder feature please follow the directions
stated below.
One time disable
Anytime the safety belt is buckled and then
unbuckled during an ignition ON cycle, Belt Minder
will be disabled for that ignition cycle only.
Deactivating/activating the belt minder feature
Read steps1-9thoroughly before proceeding
with the deactivation/activation programming
procedure.
The Belt Minder feature can be deactivated/activated
by performing the following procedure:
Before following the procedure, make sure that:
²the parking brake is set
²the gearshift is in P (Park) (automatic
transmission) or the neutral position (manual
transmission)
²the ignition switch is in the OFF position
²all vehicle doors are closed
²the driver's safety belt is unbuckled
²the parklamps/headlamps are in OFF position (If
vehicle is equipped with Autolamps, this will not
affect the procedure.)
To reduce the risk of injury, do not
deactivate/activate the Belt Minder feature
while driving the vehicle.
1. Turn the ignition switch to the RUN (or ON)
position. (DO NOT START THE ENGINE)
Seating and safety restraints
85
Page 104 of 240
Important safety precautions
A computer system controls the engine's idle
revolutions per minute (RPM). When the engine
starts, the idle RPM runs faster to warm the engine.
If the engine idle speed does not slow down
automatically, have the vehicle checked. Do not
allow the vehicle to idle for more than 10 minutes at
high engine RPM.
Before starting the vehicle:
1. Make sure all vehicle occupants have buckled
their safety belts. For more information on safety
belts and their proper usage, refer to theSeating
and safety restraintschapter.
2. Make sure the headlamps and vehicle accessories
are off.
If starting a vehicle with an automatic transmission:
²Make sure the
parking brake is set.
²Make sure the gearshift is in P (Park).
If starting a vehicle with a manual transmission:
²Make sure the parking brake is set.
²Push the clutch
pedal to the floor.
Starting
104