2001 FORD MUSTANG stop start
[x] Cancel search: stop startPage 38 of 240

4. Press and hold a memory preset control. The
playing media will mute momentarily. When the
sound returns, the station is held in memory on the
control you selected. The display will read SAVED.
Autostore
Autostore allows you to set the strongest local radio
stations without losing your original manually set
preset stations. This feature is helpful on trips when
you travel between cities with different radio stations.
Starting autostore
1. Press and momentarily hold the AM/FM control.
2. AUTOSET will flash
in the display as the
frequency band is
scrolled through.
3. When the six strongest stations are filled, the
station stored in memory preset control 1 will start
playing.
If there are less than six strong stations available on
the frequency band, the remaining memory preset
controls will all store the last strong station available.
To deactivate autoset and return to your audio
system's manually set memory stations, press the
AM/FM control again.
CD select
CD mode may be
entered by pressing
the CD control and the
LOAD control. Load
the CD into the audio system. The first track of the
disc will begin playing. After that, CD play will begin
where it stopped last.
Controls and features
38
Page 107 of 240

To prevent electrical shock, do not use your
heater with ungrounded electrical systems
or two-pronged (cheater) adapters.
Guarding against exhaust fumes
Although odorless and colorless, carbon monoxide is
present in exhaust fumes. Take precautions to avoid
its dangerous effects.
If you ever smell exhaust fumes of any kind
inside your vehicle, have your dealer inspect
and fix your vehicle immediately. Do not drive if
you smell exhaust fumes. These fumes are harmful
and could kill you.
Have the exhaust and body ventilation systems
checked whenever:
²the vehicle is raised for service.
²the sound of the exhaust system changes.
²the vehicle has been damaged in a collision.
WARNING:Engine exhaust, some of its
constituents, and certain vehicle components
contain or emit chemicals known to the State of
California to cause cancer and birth defects or
other reproductive harm. In addition, certain fluids
contained in vehicles and certain products of
component wear contain or emit chemicals known
to the State of California to cause cancer and birth
defects or other reproductive harm.
Important ventilating information
If the engine is idling while the vehicle is stopped in
an open area for long periods of time, open the
windows at least 2.5 cm (one inch).
Adjust the heating or air conditioning (if equipped)
to bring in fresh air.
Improve vehicle ventilation by keeping all air inlet
vents clear of snow, leaves and other debris.
Starting
107
Page 109 of 240

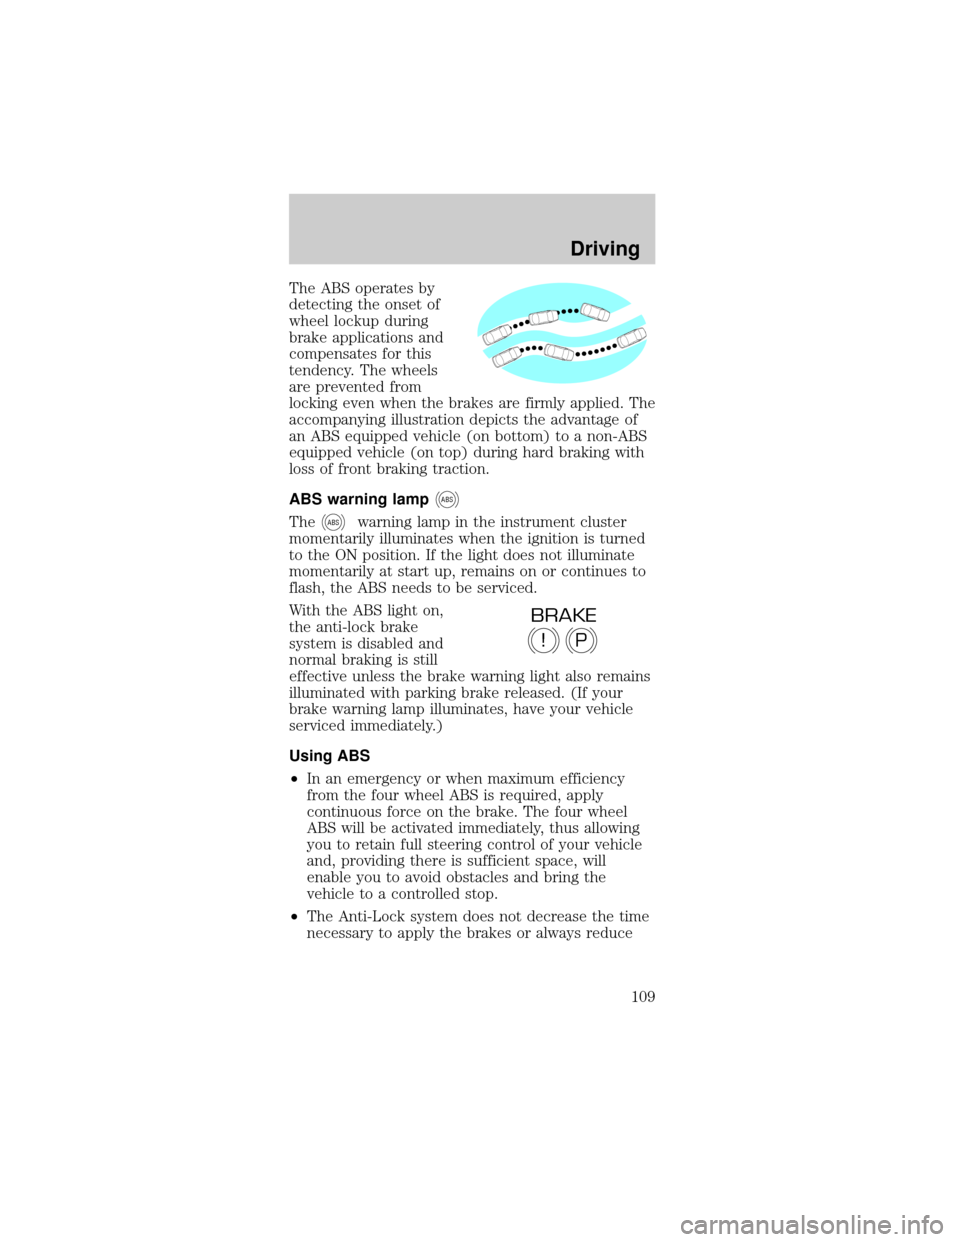
The ABS operates by
detecting the onset of
wheel lockup during
brake applications and
compensates for this
tendency. The wheels
are prevented from
locking even when the brakes are firmly applied. The
accompanying illustration depicts the advantage of
an ABS equipped vehicle (on bottom) to a non-ABS
equipped vehicle (on top) during hard braking with
loss of front braking traction.
ABS warning lamp
ABS
TheABSwarning lamp in the instrument cluster
momentarily illuminates when the ignition is turned
to the ON position. If the light does not illuminate
momentarily at start up, remains on or continues to
flash, the ABS needs to be serviced.
With the ABS light on,
the anti-lock brake
system is disabled and
normal braking is still
effective unless the brake warning light also remains
illuminated with parking brake released. (If your
brake warning lamp illuminates, have your vehicle
serviced immediately.)
Using ABS
²In an emergency or when maximum efficiency
from the four wheel ABS is required, apply
continuous force on the brake. The four wheel
ABS will be activated immediately, thus allowing
you to retain full steering control of your vehicle
and, providing there is sufficient space, will
enable you to avoid obstacles and bring the
vehicle to a controlled stop.
²The Anti-Lock system does not decrease the time
necessary to apply the brakes or always reduce
P!
BRAKE
Driving
109
Page 114 of 240

2. Insert the key and turn it to OFF. Apply the brake
pedal and shift to N (Neutral).
3. Start the vehicle.
If it is necessary to use the above procedure to
move the gearshift lever, it is possible that a fuse
has blown or the vehicle's brakelamps are not
operating properly. Refer toFuses and relaysin the
Roadside emergencieschapter.
Do not drive your vehicle until you verify
that the brakelamps are working.
If your vehicle gets stuck in mud or snow it may be
rocked out by shifting from forward and reverse
gears, stopping between shifts, in a steady pattern.
Press lightly on the accelerator in each gear.
Do not rock the vehicle if the engine is not at
normal operating temperature or damage to
the transmission may occur.
Do not rock the vehicle for more than a few
minutes or damage to the transmission and
tires may occur or the engine may overheat.
Always set the parking brake fully and make
sure the gearshift is latched in P (Park).
Turn off the ignition whenever you leave your
vehicle.
If the parking brake is fully released, but the
brake warning lamp remains illuminated, the
brakes may not be working properly. See your
dealer or a qualified service technician.
Driving
114
Page 116 of 240

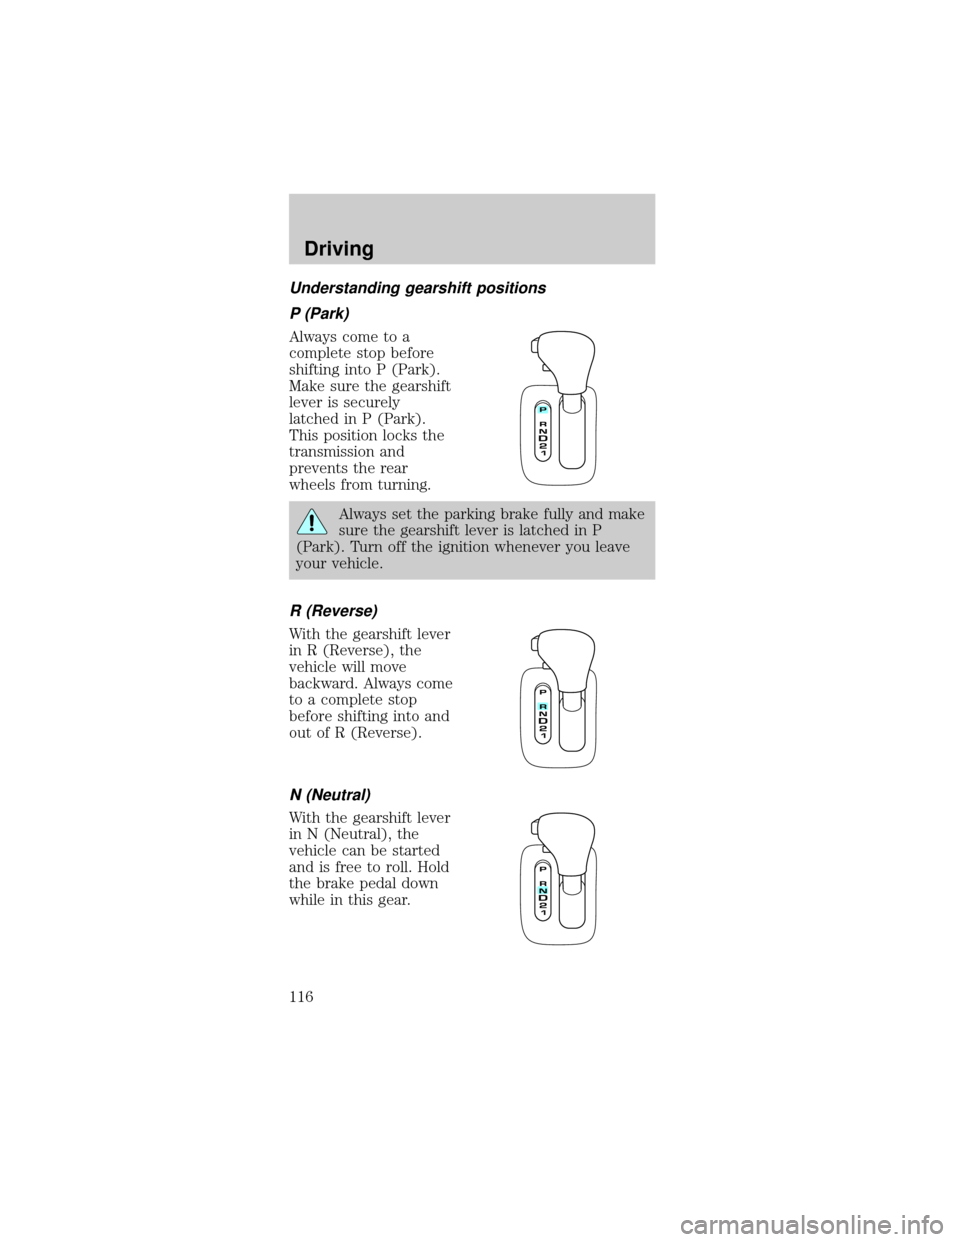
Understanding gearshift positions
P (Park)
Always come to a
complete stop before
shifting into P (Park).
Make sure the gearshift
lever is securely
latched in P (Park).
This position locks the
transmission and
prevents the rear
wheels from turning.
Always set the parking brake fully and make
sure the gearshift lever is latched in P
(Park). Turn off the ignition whenever you leave
your vehicle.
R (Reverse)
With the gearshift lever
in R (Reverse), the
vehicle will move
backward. Always come
to a complete stop
before shifting into and
out of R (Reverse).
N (Neutral)
With the gearshift lever
in N (Neutral), the
vehicle can be started
and is free to roll. Hold
the brake pedal down
while in this gear.
Driving
116
Page 127 of 240

Trailer towing tips
²Practice turning, stopping and backing up before
starting on a trip to get the feel of the vehicle
trailer combination. When turning, make wider
turns so the trailer wheels will clear curbs and
other obstacles.
²Allow more distance for stopping with a trailer
attached.
²The trailer tongue weight should be 10% of the
loaded trailer weight.
²After you have traveled 80 km (50 miles),
thoroughly check your hitch, electrical
connections and trailer wheel lug nuts.
²When stopped in traffic for long periods of time in
hot weather, place the gearshift in P (Park) and
increase idle speed. This aids engine cooling and
air conditioner efficiency.
²Vehicles with trailers should not be parked on a
grade. If you must park on a grade, place wheel
chocks under the trailer's wheels.
Recreational towing (all wheels on the ground)
Follow these guidelines for your specific powertrain
combination to tow your vehicle with all four wheels
on the ground (such as behind a recreational vehicle).
These guidelines are designed to ensure that your
transmission is not damaged due to insufficient
lubrication.
All Rear Wheel Drive (RWD) vehicles
This applies to all cars and 4x2 trucks/sport utilities
with rear wheel drive capability.
An example of recreational towing is towing your
vehicle behind a Motorhome. The following
recreational towing guidelines are designed to
ensure that your transmission is not damaged.
²Place the transmission in N (Neutral).
²Maximum speed is 56 km/h (35 mph).
²Maximum distance is 80 km (50 miles).
Driving
127
Page 192 of 240

If the vehicle's powertrain system or its battery has
just been serviced, the on-board diagnostics system
is reset to a ªnot ready for I/M testº condition. To
ready the on-board diagnostics system for I/M
testing, a minimum of 30 minutes of city and
highway driving is necessary as described below:
²First, at least 10 minutes of driving on an
expressway or highway.
²Next, at least 20 minutes driving in stop-and-go,
city-type traffic with at least four idle periods.
Allow the vehicle to sit for at least eight hours
without starting the engine. Then, start the engine
and complete the above driving cycle. The engine
must warm up to its normal operating temperature.
Once started, do not turn off the engine until the
above driving cycle is complete.
BULBS
Replacing exterior bulbs
Check the operation of the following lamps
frequently:
²Headlamps
²Tail lamps
²Brakelamps
²High-mount brakelamp
²Turn signals
²Backup lamps
²License plate lamp
Do not remove lamp bulbs unless they will be
replaced immediately. If a bulb is removed for an
extended period of time, contaminants may enter
the lamp housings and affect performance.
Maintenance and care
192