Page 5 of 240
Vehicle Symbol Glossary
Child Safety Door
Lock/Unlock
Interior Luggage
Compartment Release
Symbol
Panic AlarmEngine Oil
Engine CoolantEngine Coolant
Temperature
Do Not Open When HotBattery
Avoid Smoking, Flames,
or SparksBattery Acid
Explosive GasFan Warning
Power Steering FluidMaintain Correct Fluid
LevelMAX
MIN
Emission SystemEngine Air Filter
Passenger Compartment
Air FilterJack
Check fuel cap
Introduction
5
Page 16 of 240

Range inhibit
Illuminates when the transmission is
not engaged in the selected gear.
The warning light will go off when
the gearshift lever is adjusted in to
the appropriate gear.
Refer to the Transmission Operator's Manual for more information.
Key-in-ignition warning chime
Sounds when the ignition key is left in the ignition in the OFF/LOCK or
ACC position and the driver's door is opened.
Headlamps on warning chime
Sounds when the headlamps or parking lamps are on, the ignition is off
(and the key is not in the ignition) and the driver's door is opened.
Safety belt warning chime
Sounds to remind you to fasten your safety belts.
For information on the safety belt warning chime, refer to theSeating
and safety restraintschapter.
Safety belt minder chime
Sounds to remind you to fasten your safety belts.
For information on the safety belt minder chime, refer to theSeating
and safety restraintschapter.
Parking brake warning chime Ð F650 SuperCrewzer Only
Sounds when the yellow parking brake knob is pulled and the parking
brake is not functioning properly.
For information on the praking brake warning chime, refer to the
Praking brake (SuperCrewzer Only)in theHydraulic brakessection
in theDrivingchapter.
RANGE
INHIBIT
Instrumentation
16
Page 27 of 240

windows open. This will force most of the hot, stale air out of the
vehicle. Once the vehicle has been ªaired outº, operate the climate
control system as desired.
²Do not put objects under the front seat that will interfere with the
airflow to the rear seats (if equipped).
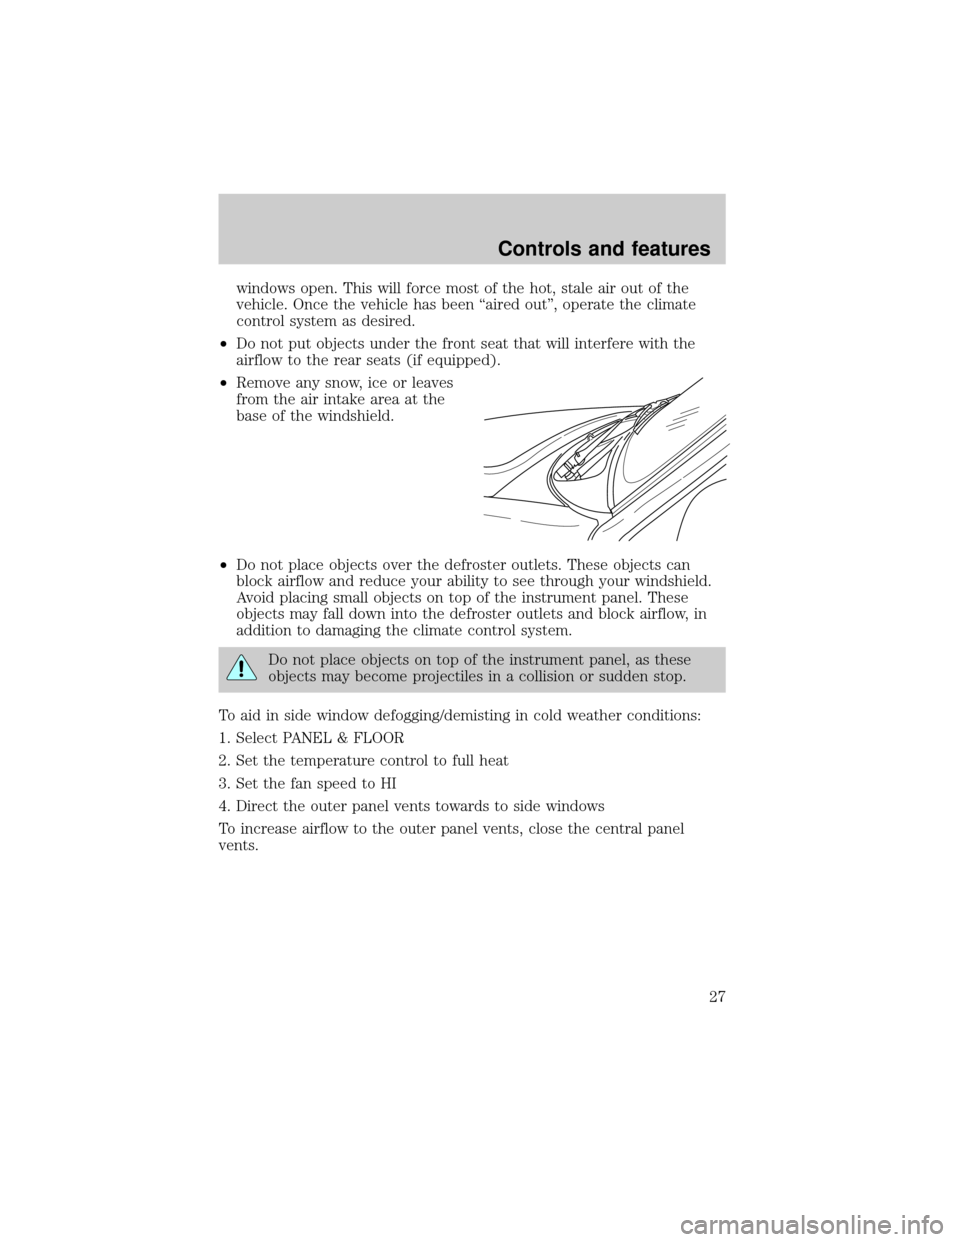
²Remove any snow, ice or leaves
from the air intake area at the
base of the windshield.
²Do not place objects over the defroster outlets. These objects can
block airflow and reduce your ability to see through your windshield.
Avoid placing small objects on top of the instrument panel. These
objects may fall down into the defroster outlets and block airflow, in
addition to damaging the climate control system.
Do not place objects on top of the instrument panel, as these
objects may become projectiles in a collision or sudden stop.
To aid in side window defogging/demisting in cold weather conditions:
1. Select PANEL & FLOOR
2. Set the temperature control to full heat
3. Set the fan speed to HI
4. Direct the outer panel vents towards to side windows
To increase airflow to the outer panel vents, close the central panel
vents.
Controls and features
27
Page 54 of 240

CD select
CD mode may be entered by
pressing the CD control and the
LOAD control. Load the CD into the
audio system. The first track of the
disc will begin playing. After that,
CD play will begin where it stopped last.
If an alternative CD is desired, press the corresponding preset control
(1±6) of a loaded CD, or press the TUNE control to access the other
loaded CDs.
NO CD will display if the CD control is activated when there is not a CD
present in the audio system.
NO CD will illuminate in the display if the CD control and a present
number (that is currently empty) are pressed. The system will play the
next available disc.
If your vehicle is equipped with a CD changer, pressing the CD control
again will allow you to toggle between accessing the multi disc system
and the CD changer. The display will read CD or CDDJ.
Do not insert any promotional (odd shaped or sized) discs, or
discs with removable labels into the CD player as jamming may
occur.
Display description
Six circles are always lit in the digital display. These signify the six CD
slots in the audio system. When a disc is loaded into a particular slot
(1±6), the number inside that specific circle lights. If the circle is empty,
there is no CD in that particular slot.
Load
The load feature allows you to load
single CDs into the player internal
to the radio.
This six disc CD player is equipped with a CD door. Compact
discs should only be inserted into the player after the door has
been opened by the player. Do not attempt to force the door
open. Compact discs should only be loaded by pressing the LOAD
control.
CD AM
FM
LOAD
Controls and features
54
Page 55 of 240

Press the LOAD control. (You can choose which slot will be loaded by
pressing the desired preset number. If you do not choose a slot, the system
will choose the next available one.) Wait until the CD door opens. Load the
CD into the player. LOADING CD# is displayed. When the CD has been
loaded, the door will close and the CD will begin to play. For example, to
load a CD into slot #2, press the LOAD control and then press preset #2.
Auto load
This feature allows you to autoload
up to 6 discs into the multi disc CD
player internal to the radio.
Press and hold the LOAD control until AUTOLOAD # is displayed. The
CD door will open. Load the desired disc, one at a time. The CD is
loaded into position and the audio system will display CD#. Each time
the CD door opens, INSERT CD# is displayed. The door will close and
the player will move to the next slot after each disc has been loaded.
The process is repeated until all 6 slots are full. The audio system plays
the last CD loaded and the display is updated. If some slots are already
full and autoload is activated, the system will fill all empty slots.
Eject
Press the EJ control to stop and
eject a CD. You can choose which
CD will be ejected by pressing the
EJ control and the desired preset
number (1±6). For example, to eject CD#2, press the EJ control and
then press the preset #2 control. If you do not choose a specific CD, the
player will eject the current CD.
If a CD is ejected and not removed from the door of the CD player, the
player will automatically reload the CD. This feature may be used when
the ignition is ON or OFF.
Auto eject
Press and momentarily hold the EJ
control to engage auto eject. All CDs
which are present in the player will
be ejected one at a time. If a CD is
ejected and not removed from the door of the CD player, the player will
automatically reload the CD. This feature may be used when the ignition
is ON or OFF.
LOAD
EJ
EJ
Controls and features
55
Page 73 of 240

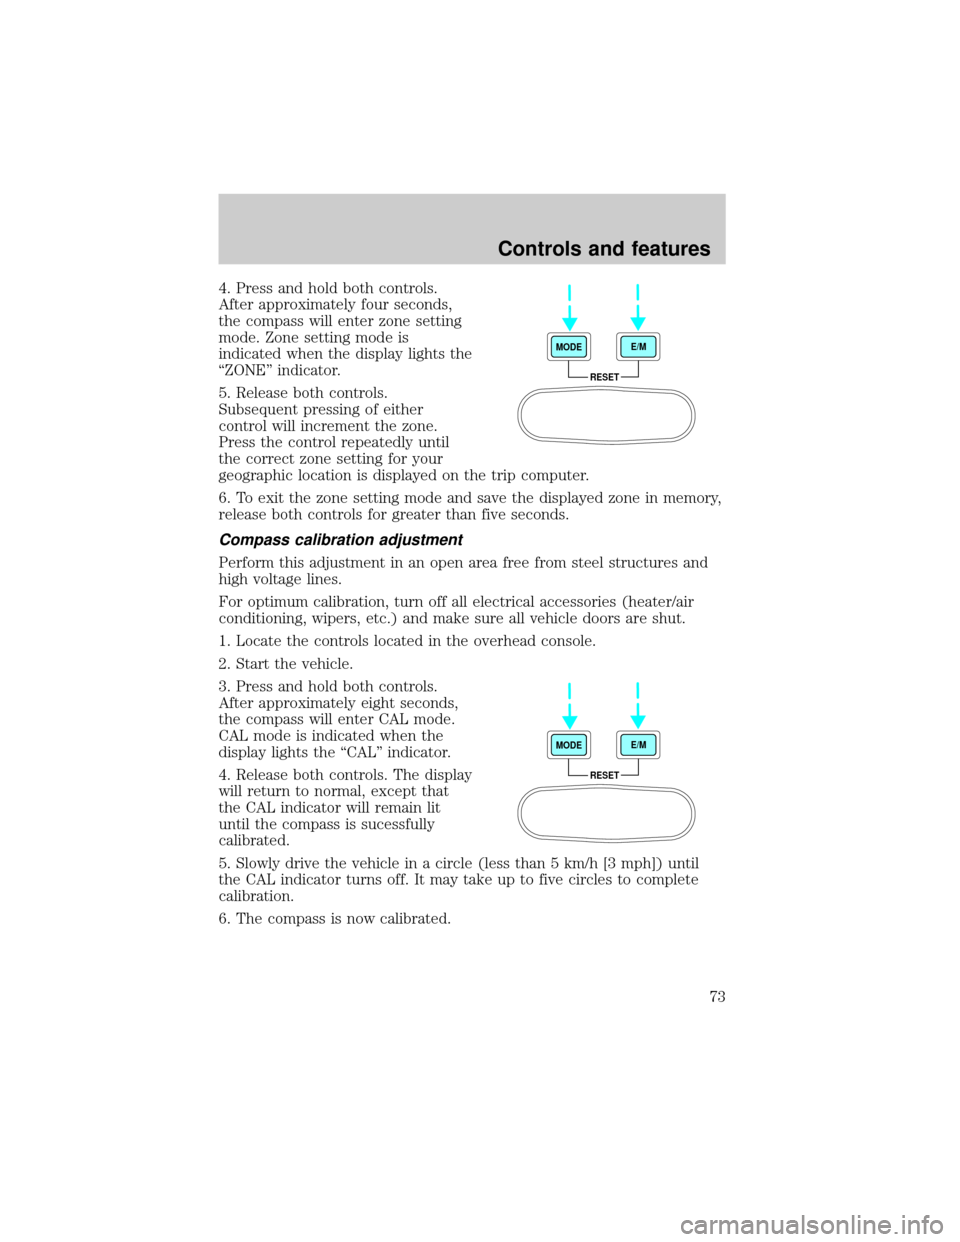
4. Press and hold both controls.
After approximately four seconds,
the compass will enter zone setting
mode. Zone setting mode is
indicated when the display lights the
ªZONEº indicator.
5. Release both controls.
Subsequent pressing of either
control will increment the zone.
Press the control repeatedly until
the correct zone setting for your
geographic location is displayed on the trip computer.
6. To exit the zone setting mode and save the displayed zone in memory,
release both controls for greater than five seconds.
Compass calibration adjustment
Perform this adjustment in an open area free from steel structures and
high voltage lines.
For optimum calibration, turn off all electrical accessories (heater/air
conditioning, wipers, etc.) and make sure all vehicle doors are shut.
1. Locate the controls located in the overhead console.
2. Start the vehicle.
3. Press and hold both controls.
After approximately eight seconds,
the compass will enter CAL mode.
CAL mode is indicated when the
display lights the ªCALº indicator.
4. Release both controls. The display
will return to normal, except that
the CAL indicator will remain lit
until the compass is sucessfully
calibrated.
5. Slowly drive the vehicle in a circle (less than 5 km/h [3 mph]) until
the CAL indicator turns off. It may take up to five circles to complete
calibration.
6. The compass is now calibrated.
RESET MODEE/M
RESET MODEE/M
Controls and features
73
Page 75 of 240
POWER WINDOWS (IF EQUIPPED)
Press and hold the rocker switches to open and close windows.
²Press the top portion of the
rocker switch to close.
²Press the bottom portion of the
rocker switch to open.
One touch down
²Press AUTO completely down and
release quickly. The driver's
window will open fully. Depress
again to stop window operation.
AUTO
AUTO
Controls and features
75
Page 79 of 240

Sounding a panic alarm
Press both controls to activate the
alarm. The horn will sound and the
lights will flash.
To deactivate the alarm, press both
controls again or turn the ignition to
ACC or ON.
This device complies with part 15 of
the FCC rules and with RS-210 of
Industry Canada. Operation is
subject to the following two
conditions: (1) This device may not cause harmful interference, and (2)
This device must accept any interference received, including interference
that may cause undesired operation.
Changes or modifications not expressly approved by the party
responsible for compliance could void the user's authority to
operate the equipment.
Illuminated entry
The illuminated entry system will turn on the interior lights when the
remote transmitter unlock control is pressed.
The illuminated entry system will turn off the interior lights if the
ignition switch is turned to the ON position, or if the remote transmitter
lock control is pressed, or after 25 seconds of illumination.
The inside lights will not turn off if:
²they have been turned on with the dimmer control or
²any door is open.
The battery save feature will turn off the interior lights 45 minutes after
the last door is closed, even if the dimmer control is on.
Controls and features
79