Page 2 of 256
The following warning may be required by California law:
CALIFORNIA Proposition 65 Warning
WARNING:Engine exhaust, some of its constituents, and
certain vehicle components contain or emit chemicals known to
the State of California to cause cancer and birth defects or other
reproductive harm. In addition, certain fluids contained in vehicles and
certain products of component wear contain or emit chemicals known
to the State of California to cause cancer and birth defects or other
reproductive harm.
ICONS
Indicates a safety alert. Read the
following section onWarnings.
Indicates vehicle information related
to recycling and other
environmental concerns will follow.
Correct vehicle usage and the
authorized disposal of waste
cleaning and lubrication materials are significant steps towards
protecting the environment.
Introduction
2
Page 10 of 256

WARNING LIGHTS AND CHIMES
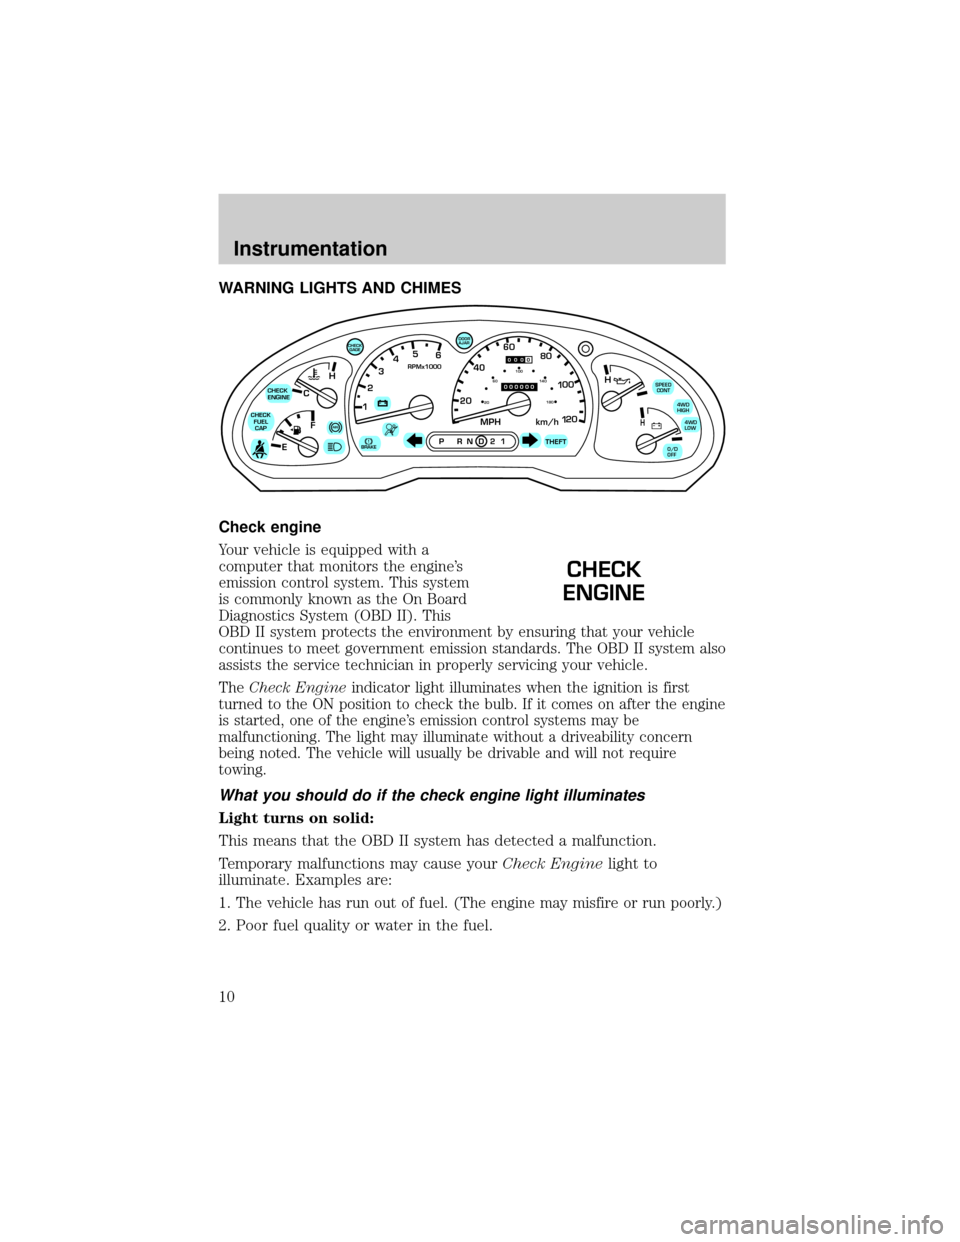
Check engine
Your vehicle is equipped with a
computer that monitors the engine's
emission control system. This system
is commonly known as the On Board
Diagnostics System (OBD II). This
OBD II system protects the environment by ensuring that your vehicle
continues to meet government emission standards. The OBD II system also
assists the service technician in properly servicing your vehicle.
TheCheck Engineindicator light illuminates when the ignition is first
turned to the ON position to check the bulb. If it comes on after the engine
is started, one of the engine's emission control systems may be
malfunctioning. The light may illuminate without a driveability concern
being noted. The vehicle will usually be drivable and will not require
towing.
What you should do if the check engine light illuminates
Light turns on solid:
This means that the OBD II system has detected a malfunction.
Temporary malfunctions may cause yourCheck Enginelight to
illuminate. Examples are:
1.
The vehicle has run out of fuel. (The engine may misfire or run poorly.)
2. Poor fuel quality or water in the fuel.
C12345
6
RPMx1000
ABS
CHECK
ENGINE
CHECK
FUEL
CAP
EFH
H
H
PRN D 2 1THEFT
SPEED
CONT
4WD
HIGH
4WD
LOW
O/D
OFF
MPH 2060
4080
km/h
00
1
20
160100
140
180
20
DOOR
AJAR
CHECK
GAGE
!BRAKE
CHECK
ENGINE
Instrumentation
10
Page 21 of 256
High beams
²Push forward to activate.
²Pull toward you to deactivate.
Flash to pass
Pull toward you to activate and
release to deactivate.
PANEL DIMMER CONTROL
Use to adjust the brightness of the
instrument panel during headlamp
and parklamp operation.
²Rotate up to brighten.
²Rotate down to dim.
²Rotate to full up position (past
detent) to turn on interior lamps.
²Rotate to full down position (past
detent) to prevent interior lamps from illuminating when the doors are
opened.
DIM
Controls and features
21
Page 25 of 256
To aid in side defogging/demisting in cold weather.
1. Select
2. Set the temperature control to full heat
3. Set the fan speed to HI
4. Direct the outer panel vents towards to side windows
To increase airflow to the outer panel vents, close the central panel
vents.
Do not place objects on top of the instrument panel, as these
objects may become projectiles in a collision or sudden stop.
Rear console climate controls (if equipped)
Depending on the equipment
package of your vehicle, the rear
console may be equipped with rear
console audio/climate controls.
The instrument panel climate controls must be on in order for the rear
console climate controls to work.
Turn the air distribution control to the desired airflow position.
Turn the fan speed control to the
desired position.
- VOLUME +
MODE
SEEK MEMORY
1 2 3
- VOLUME +
MODE
SEEK MEMORY
1 2 3
Controls and features
25
Page 55 of 256

Radio frequency information
The Federal Communications Commission (FCC) and the Canadian Radio
and Telecommunications Commission(CRTC) establish the frequencies
AM and FM stations may use for their broadcasts. Allowable frequencies
are:
AM 530, 540±1600, 1610 kHz
FM 87.7, 87.9±107.7, 107.9 MHz
Not all frequencies are used in a given area.
Radio reception factors
Three factors can affect radio reception:
²Distance/strength.The further an FM signal travels, the weaker it is.
The listenable range of the average FM station is approximately 40 km
(24 miles). This range can be affected by ªsignal modulation.º Signal
modulation is a process radio stations use to increase their
strength/volume relative to other stations.
²Terrain.Hills, mountains and tall buildings between your vehicle's
antenna and the radio station signal can cause FM reception problems.
Static can be caused on AM stations by power lines, electric fences,
traffic lights and thunderstorms. Moving away from an interfering
structure (out of its ªshadowº) returns your reception to normal.
²Station overload.Weak signals are sometimes captured by stronger
signals when you pass a broadcast tower. A stronger signal may
temporarily overtake a weaker signal and play while the weak station
frequency is displayed.
The audio system automatically switches to single channel reception if it
will improve the reception of a station normally received in stereo.
Audio system warranties and service
Refer to theWarranty Guidefor audio system warranty information.
If service is necessary, see your dealer or a qualified technician.
Controls and features
55
Page 62 of 256
TILT STEERING WHEEL (IF EQUIPPED)
Pull the tilt steering control toward
you to move the steering wheel up
or down. Hold the control while
adjusting the wheel to the desired
position, then release the control to
lock the steering wheel in position.
Never adjust the steering wheel when the vehicle is moving.
HAZARD FLASHER
For information on the hazard flasher control, refer toHazard flasherin
theRoadside emergencieschapter.
WINDSHIELD WIPER/WASHER CONTROLS
Rotate the windshield wiper control
to the desired interval, low or high
speed position.
The bars of varying length are for
intermittent wipers. When in this
position rotate the control upward
for fast intervals and downward for
slow intervals.
Controls and features
62
Page 65 of 256

²Place the provided height
adaptors onto the back of the
GARAGE control as needed.
²Press the GARAGE control to
activate the transmitter.
Moon roof (if equipped)
You can move the glass panel of the moon roof back to open or tilt up to
ventilate the vehicle.
To open the moon roof:
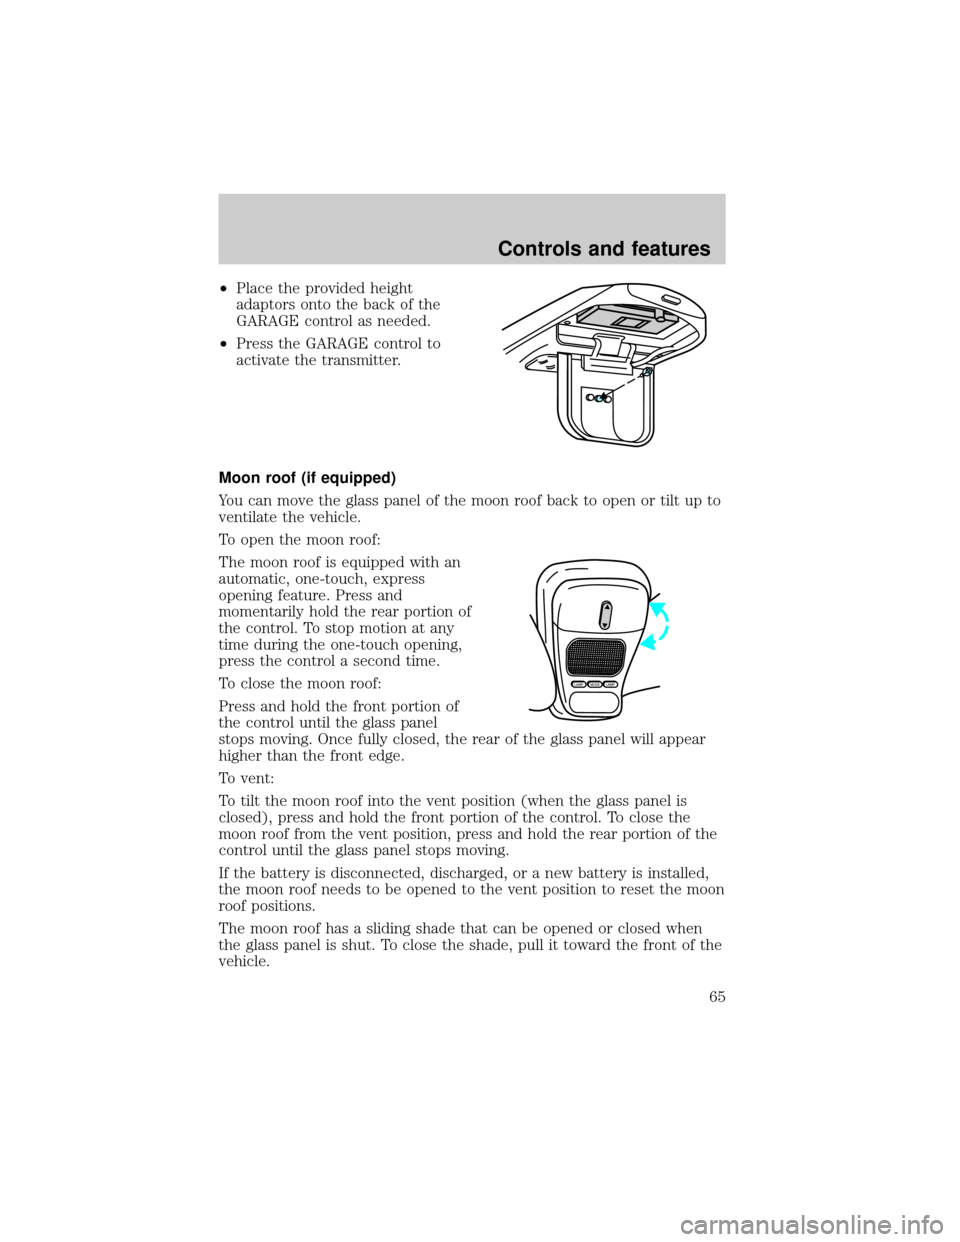
The moon roof is equipped with an
automatic, one-touch, express
opening feature. Press and
momentarily hold the rear portion of
the control. To stop motion at any
time during the one-touch opening,
press the control a second time.
To close the moon roof:
Press and hold the front portion of
the control until the glass panel
stops moving. Once fully closed, the rear of the glass panel will appear
higher than the front edge.
To vent:
To tilt the moon roof into the vent position (when the glass panel is
closed), press and hold the front portion of the control. To close the
moon roof from the vent position, press and hold the rear portion of the
control until the glass panel stops moving.
If the battery is disconnected, discharged, or a new battery is installed,
the moon roof needs to be opened to the vent position to reset the moon
roof positions.
The moon roof has a sliding shade that can be opened or closed when
the glass panel is shut. To close the shade, pull it toward the front of the
vehicle.
MODELAMPLAMP
Controls and features
65
Page 74 of 256

CARGO COVER (IF EQUIPPED)
Your vehicle may be equipped with a cargo area shade that covers the
luggage compartment of your vehicle.
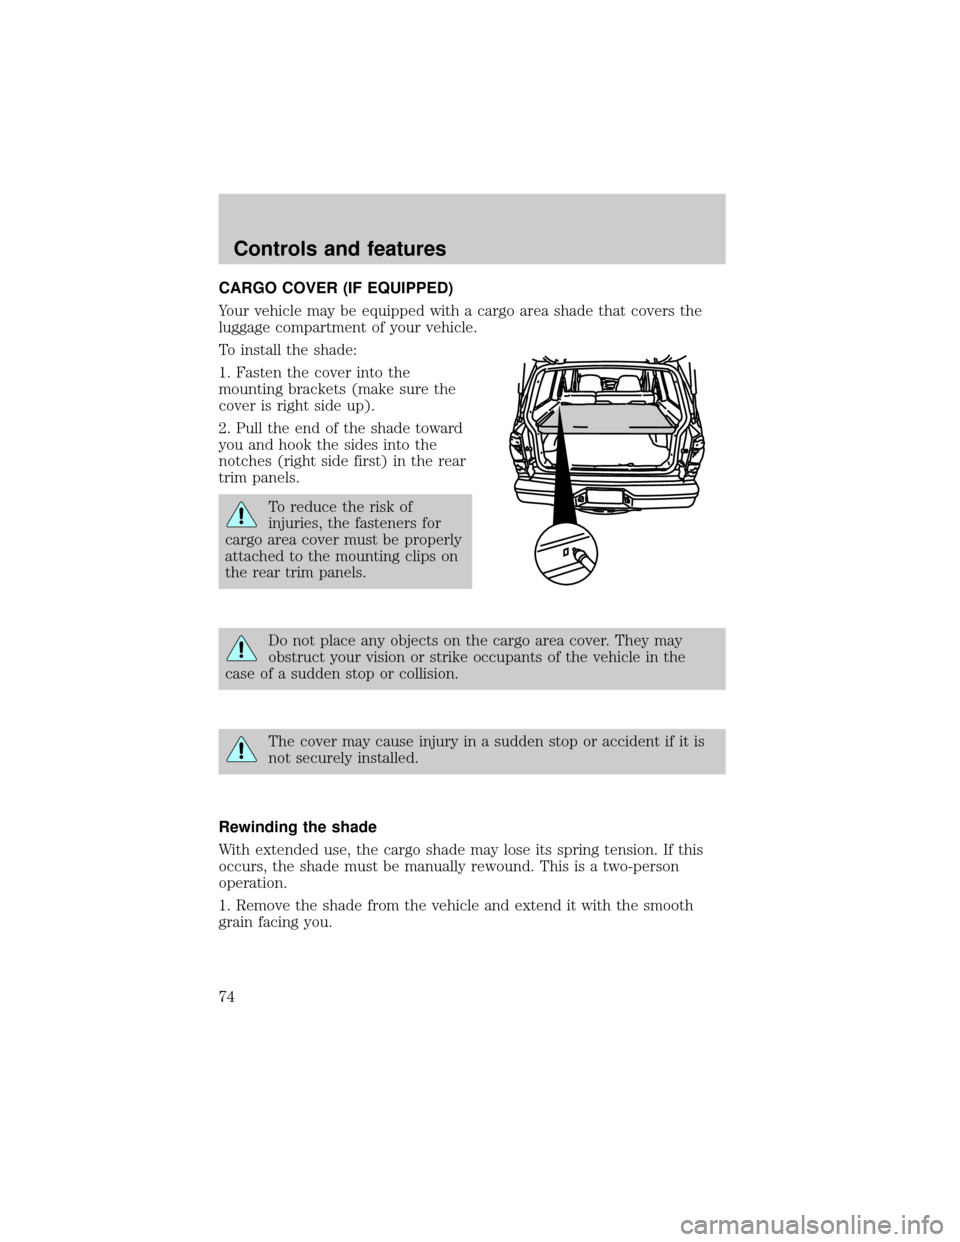
To install the shade:
1. Fasten the cover into the
mounting brackets (make sure the
cover is right side up).
2. Pull the end of the shade toward
you and hook the sides into the
notches (right side first) in the rear
trim panels.
To reduce the risk of
injuries, the fasteners for
cargo area cover must be properly
attached to the mounting clips on
the rear trim panels.
Do not place any objects on the cargo area cover. They may
obstruct your vision or strike occupants of the vehicle in the
case of a sudden stop or collision.
The cover may cause injury in a sudden stop or accident if it is
not securely installed.
Rewinding the shade
With extended use, the cargo shade may lose its spring tension. If this
occurs, the shade must be manually rewound. This is a two-person
operation.
1. Remove the shade from the vehicle and extend it with the smooth
grain facing you.
Controls and features
74