Page 19 of 171

19n
IndexDataTechnologyRepairsCar careControlsOverview
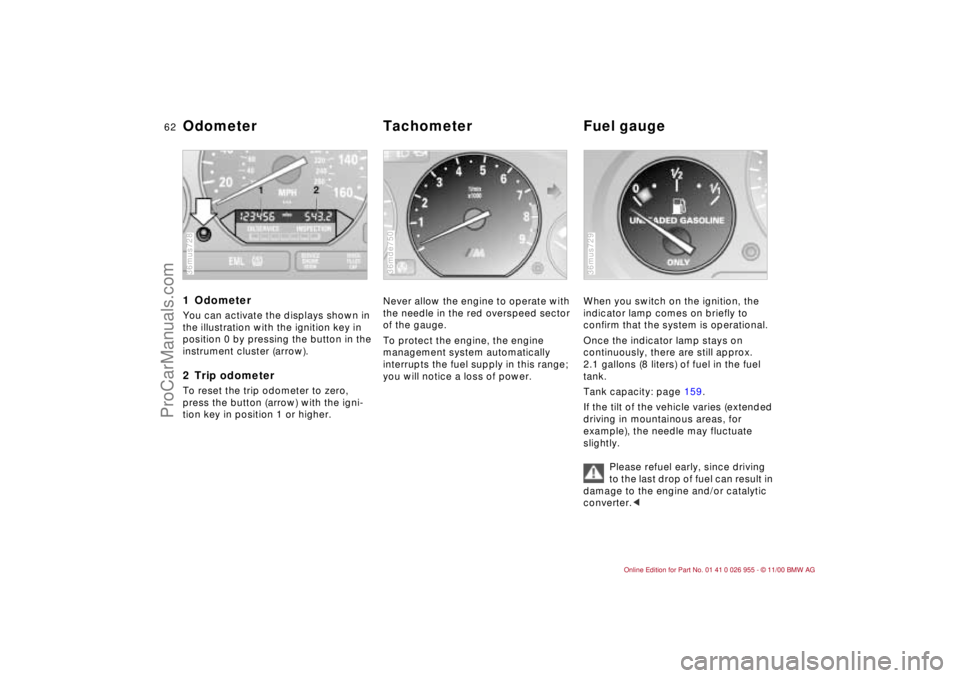
Instrument cluster
1 Fuel gauge with indicator lamp
for reserve range62
2 Indicator lamp for turn signals23
3 Speedometer
4 Indicator and warning lamps for:
>
Battery charge current20
>
High beams23
>
Engine oil pressure20
5 Tachometer62
6 Coolant temperature gauge63
Also refer to Engine oil temperature
gauge on page63
7 Indicator and warning lamps for:
>
Brake pad wear22
>
Brake hydraulic
system/Cornering Brake Control
(CBC)20, 21
>
Parking brake21
>
Airbags21
8 Indicator and warning lamps for:
>
Service Engine Soon22
>
Check Filler Cap22
>
Safety belts21
>
Engine oil level22
>
Antilock Brake System (ABS)22
9 Indicator lamp for Dynamic Stability
Control (DSC)21, 2210 Trip odometer62
11 Service Interval Display64, 114
12 Odometer62
13 Indicator and warning lamps for:
>
Engine electronics22
>
Tire Pressure Warning
(RDW)21, 22
14 Trip odometer reset button62
The illustration shows the instrument
cluster in the US version. In the Cana-
dian models, some of the indicator and
warning lamps have a different appear-
ance. Refer to pages 20 to 23.
ProCarManuals.com
Page 62 of 171

62n
1 OdometerYou can activate the displays shown in
the illustration with the ignition key in
position 0 by pressing the button in the
instrument cluster (arrow).2 Trip odometerTo reset the trip odometer to zero,
press the button (arrow) with the igni-
tion key in position 1 or higher.36mus728
Never allow the engine to operate with
the needle in the red overspeed sector
of the gauge.
To protect the engine, the engine
management system automatically
interrupts the fuel supply in this range;
you will notice a loss of power.36mde750
When you switch on the ignition, the
indicator lamp comes on briefly to
confirm that the system is operational.
Once the indicator lamp stays on
continuously, there are still approx.
2.1 gallons (8 liters) of fuel in the fuel
tank.
Tank capacity: page 159.
If the tilt of the vehicle varies (extended
driving in mountainous areas, for
example), the needle may fluctuate
slightly.
Please refuel early, since driving
to the last drop of fuel can result in
damage to the engine and/or catalytic
converter.< 36mus729
Odometer Tachometer Fuel gauge
ProCarManuals.com
Page 68 of 171

68n
Tire Pressure Warning (RDW)Activating/deactivating the
systemThe system is automatically active in
ignition key position 2 and is therefore
always on during driving.
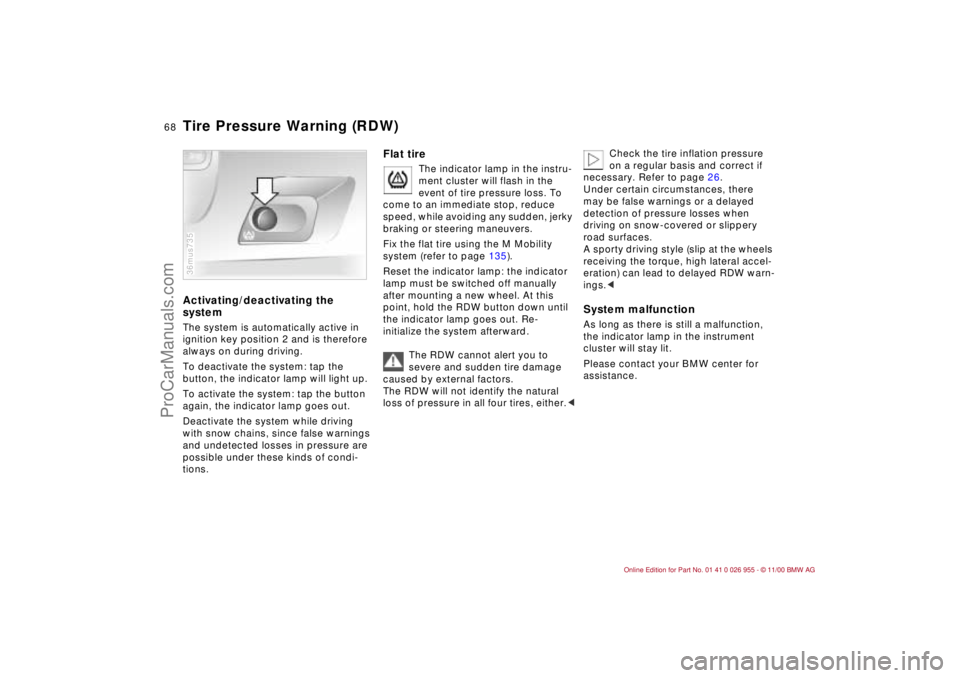
To deactivate the system: tap the
button, the indicator lamp will light up.
To activate the system: tap the button
again, the indicator lamp goes out.
Deactivate the system while driving
with snow chains, since false warnings
and undetected losses in pressure are
possible under these kinds of condi-
tions. 36mus735
Flat tire
The indicator lamp in the instru-
ment cluster will flash in the
event of tire pressure loss. To
come to an immediate stop, reduce
speed, while avoiding any sudden, jerky
braking or steering maneuvers.
Fix the flat tire using the M Mobility
system (refer to page 135).
Reset the indicator lamp: the indicator
lamp must be switched off manually
after mounting a new wheel. At this
point, hold the RDW button down until
the indicator lamp goes out. Re-
initialize the system afterward.
The RDW cannot alert you to
severe and sudden tire damage
caused by external factors.
The RDW will not identify the natural
loss of pressure in all four tires, either.<
Check the tire inflation pressure
on a regular basis and correct if
necessary. Refer to page 26.
Under certain circumstances, there
may be false warnings or a delayed
detection of pressure losses when
driving on snow-covered or slippery
road surfaces.
A sporty driving style (slip at the wheels
receiving the torque, high lateral accel-
eration) can lead to delayed RDW warn-
ings.<
System malfunctionAs long as there is still a malfunction,
the indicator lamp in the instrument
cluster will stay lit.
Please contact your BMW center for
assistance.
ProCarManuals.com
Page 138 of 171

138n
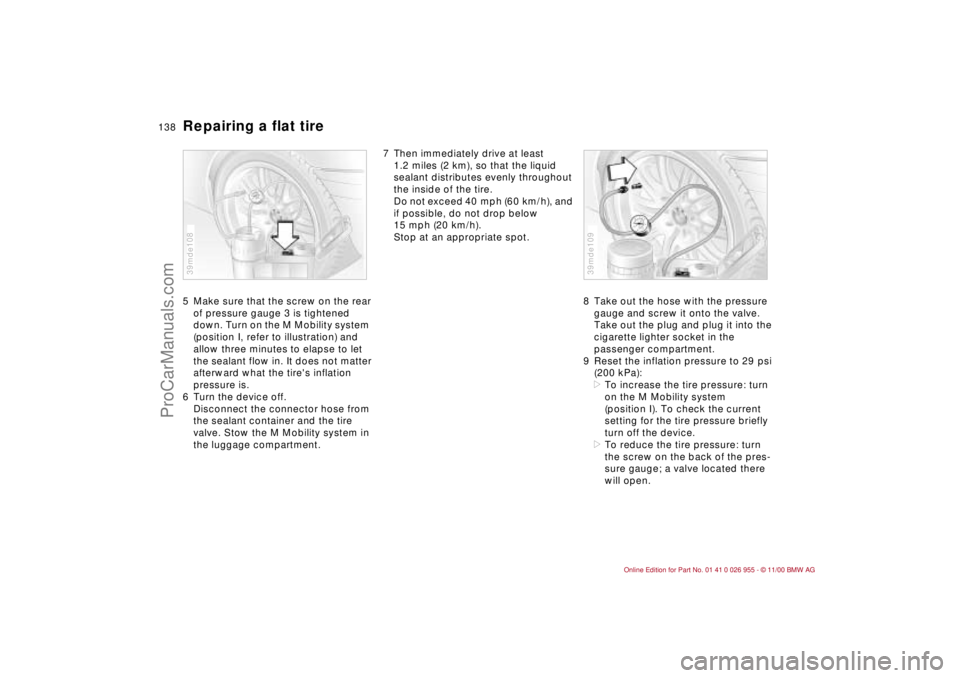
Repairing a flat tire5 Make sure that the screw on the rear
of pressure gauge 3 is tightened
down. Turn on the M Mobility system
(position I, refer to illustration) and
allow three minutes to elapse to let
the sealant flow in. It does not matter
afterward what the tire's inflation
pressure is.
6 Turn the device off.
Disconnect the connector hose from
the sealant container and the tire
valve. Stow the M Mobility system in
the luggage compartment.39mde108
7 Then immediately drive at least
1.2 miles (2 km), so that the liquid
sealant distributes evenly throughout
the inside of the tire.
Do not exceed 40 mph (60 km/h), and
if possible, do not drop below
15 mph (20 km/h).
Stop at an appropriate spot.
8 Take out the hose with the pressure
gauge and screw it onto the valve.
Take out the plug and plug it into the
cigarette lighter socket in the
passenger compartment.
9 Reset the inflation pressure to 29 psi
(200 kPa):
>To increase the tire pressure: turn
on the M Mobility system
(position I). To check the current
setting for the tire pressure briefly
turn off the device.
>To reduce the tire pressure: turn
the screw on the back of the pres-
sure gauge; a valve located there
will open.
39mde109
ProCarManuals.com