2000 YAMAHA XV1600A seat adjustment
[x] Cancel search: seat adjustmentPage 45 of 95

6-1
6
EAU00462
6-PERIODIC MAINTENANCE AND MINOR REPAIR
EAU00464
Periodic inspection, adjustment and lu-
brication will keep your motorcycle in
the safest and most efficient condition
possible. Safety is an obligation of the
motorcycle owner. The maintenance
and lubrication schedule chart should
be considered strictly as a guide to
general maintenance and lubrication
intervals. YOU MUST TAKE INTO
CONSIDERATION THAT WEATHER,
TERRAIN, GEOGRAPHICAL LOCA-
TIONS, AND A VARIETY OF INDIVID-
UAL USES ALL TEND TO DEMAND
THAT EACH OWNER ALTER THIS
TIME SCHEDULE TO SHORTER IN-
TERVALS TO MATCH THE ENVI-RONMENT. The most important points
of motorcycle inspection, adjustment,
and lubrication are explained in the fol-
lowing pages.
EW000060
WARNING
@ If you are not familiar with motor-
cycle service, this work should be
done by a Yamaha dealer. @
EAU01826
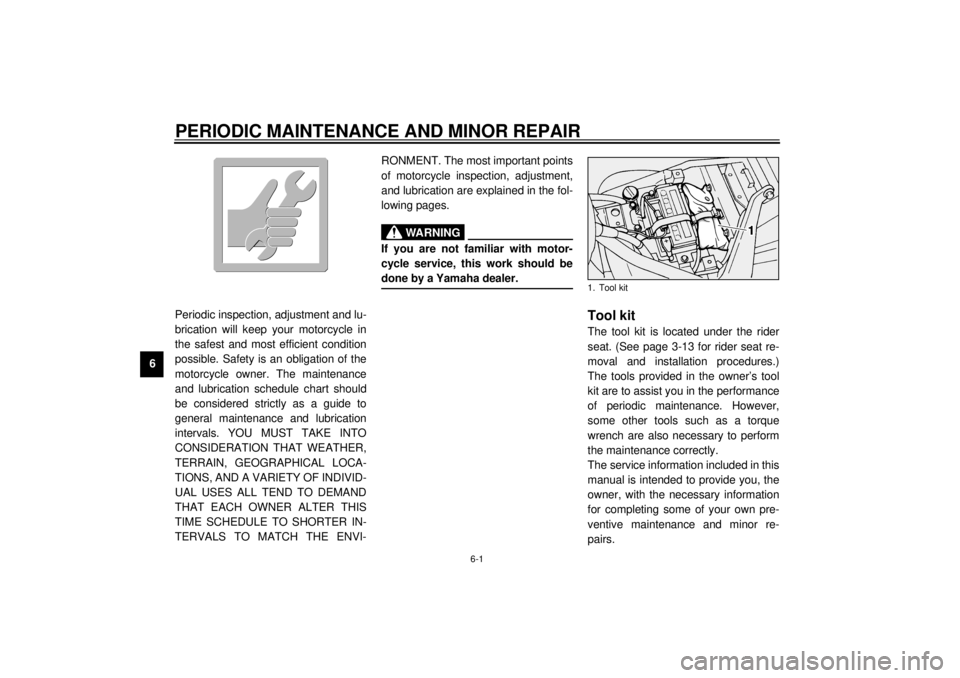
Tool kitThe tool kit is located under the rider
seat. (See page 3-13 for rider seat re-
moval and installation procedures.)
The tools provided in the owner’s tool
kit are to assist you in the performance
of periodic maintenance. However,
some other tools such as a torque
wrench are also necessary to perform
the maintenance correctly.
The service information included in this
manual is intended to provide you, the
owner, with the necessary information
for completing some of your own pre-
ventive maintenance and minor re-
pairs.1. Tool kit
E_5ja_Periodic.fm Page 1 Saturday, October 16, 1999 10:12 AM
Page 57 of 95

PERIODIC MAINTENANCE AND MINOR REPAIR
6-13
6
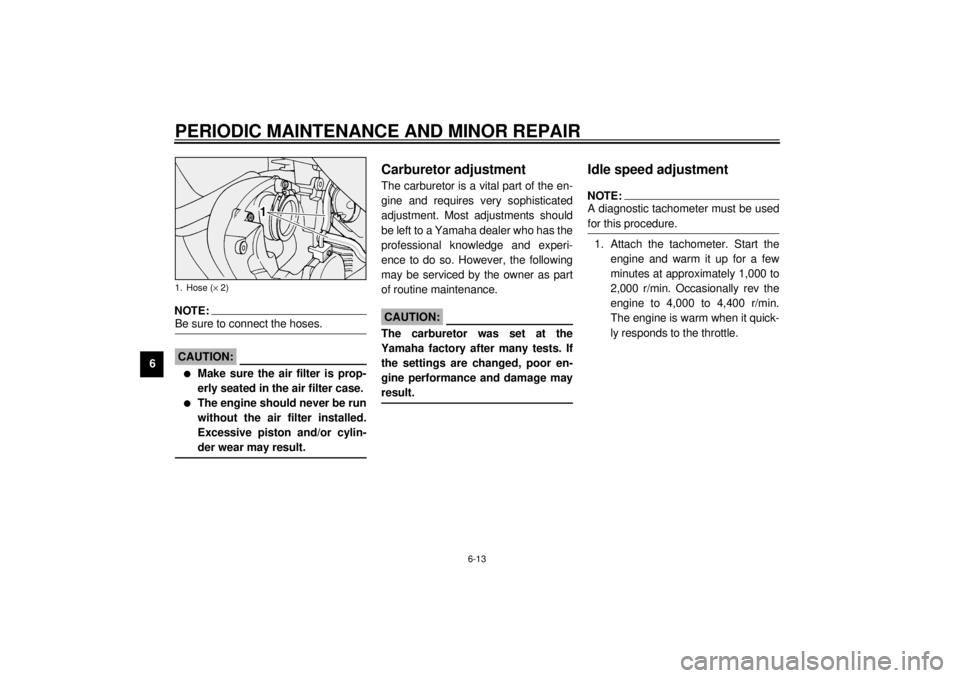
NOTE:@ Be sure to connect the hoses. @
EC000082
CAUTION:@ l
Make sure the air filter is prop-
erly seated in the air filter case.
l
The engine should never be run
without the air filter installed.
Excessive piston and/or cylin-
der wear may result.
@
EAU00629
Carburetor adjustmentThe carburetor is a vital part of the en-
gine and requires very sophisticated
adjustment. Most adjustments should
be left to a Yamaha dealer who has the
professional knowledge and experi-
ence to do so. However, the following
may be serviced by the owner as part
of routine maintenance.
EC000094
CAUTION:@ The carburetor was set at the
Yamaha factory after many tests. If
the settings are changed, poor en-
gine performance and damage may
result. @
EAU01168*
Idle speed adjustmentNOTE:@ A diagnostic tachometer must be used
for this procedure. @1. Attach the tachometer. Start the
engine and warm it up for a few
minutes at approximately 1,000 to
2,000 r/min. Occasionally rev the
engine to 4,000 to 4,400 r/min.
The engine is warm when it quick-
ly responds to the throttle.
1. Hose (´ 2)E_5ja_Periodic.fm Page 13 Saturday, October 16, 1999 10:12 AM
Page 93 of 95

10-INDEXAAdjusting rear shock absorber
preload ................................................ 3-14
Air filter .................................................. 6-11
Antitheft alarm (optional) ..........................3-4BBattery ................................................... 6-27
Brake and clutch lever lubrication........... 6-25
Brake and shift pedal lubrication ............ 6-24
Brake fluid replacement ......................... 6-22
Brake light switch adjustment ................. 6-19CCarburetor adjustment ........................... 6-13
Care.........................................................7-1
Checking the front and rear brake
pads .................................................... 6-20
Clutch lever ..............................................3-7
Clutch lever free play adjustment ........... 6-17
Controls/Instruments ................................2-3DDiagnosis device......................................3-4
Digital clock..............................................3-5
Dimmer switch .........................................3-6
Drive belt slack adjustment .................... 6-23
Drive belt slack check ............................ 6-22EEngine break-in........................................5-5
Engine oil .................................................6-7
Engine stop switch ...................................3-6
Engine trouble indicator light ....................3-2
FFront brake lever ..................................... 3-8
Front brake lever free play
adjustment .......................................... 6-18
Front fork inspection .............................. 6-26
Fuel ......................................................... 3-9
Fuel cock ............................................... 3-11
Fuel gauge .............................................. 3-4
Fuel level indicator light ........................... 3-2
Fuel tank breather hose ......................... 3-10
Fuel tank cap ........................................... 3-9
Fuse replacement.................................. 6-28GGive safety the right of way ..................... 1-1HHandlebar switches ................................. 3-6
Dimmer switch ................................... 3-6
Engine stop switch ............................. 3-6
Horn switch ........................................ 3-6
Lights switch ...................................... 3-6
Pass switch ........................................ 3-6
Start switch ........................................ 3-7
Turn signal switch .............................. 3-6
Headlight bulb replacement ................... 6-29
Helmet holder ........................................ 3-13
High beam indicator light ......................... 3-2
Horn switch ............................................. 3-6IIdentification number records................... 9-1
Idle speed adjustment ........................... 6-13
Indicator lights ..........................................3-2
Engine trouble indicator light ...............3-2
Fuel level indicator light ......................3-2
High beam indicator light ....................3-2
Neutral indicator light ..........................3-2
Turn indicator light ..............................3-2
Inspecting the brake fluid level ...............6-21KKey identification number .........................9-1LLeft view...................................................2-1
Lights switch ............................................3-6MMain switch/steering lock .........................3-1
Model label ..............................................9-2NNeutral indicator light ...............................3-2PParking.....................................................5-6
Pass switch ..............................................3-6
Periodic maintenance and lubrication .......6-3
Pre-operation check list ............................4-1RRear brake pedal .....................................3-8
Rear brake pedal height adjustment.......6-19
Recommended shift points
(for Switzerland only) .............................5-5
Rider seat ..............................................3-13
Right view ................................................2-2
E_5jaIX.fm Page 1 Saturday, October 16, 1999 10:19 AM