Page 247 of 402

5-4
2. Get the vehicles close enough so the jumper cables
can reach, but be sure the vehicles aren't touching
each other. If they are, it could cause a ground
connection you don't want. You wouldn't be able to
start your vehicle, and the bad grounding could
damage the electrical systems.
To avoid the possibility of the vehicles rolling, set
the parking brake firmly on both vehicles involved in
the jump start procedure. Put your automatic
transaxle in PARK (P).
3. Turn off the ignition on both vehicles. Unplug
unnecessary accessories plugged into the cigarette
lighter. Turn off all lamps that aren't needed as well
as radios. This will avoid sparks and help save both
batteries. In addition, it could save your radio!
NOTICE:
If you leave your radio on, it could be badly
damaged. The repairs wouldn't be covered by
your warranty.
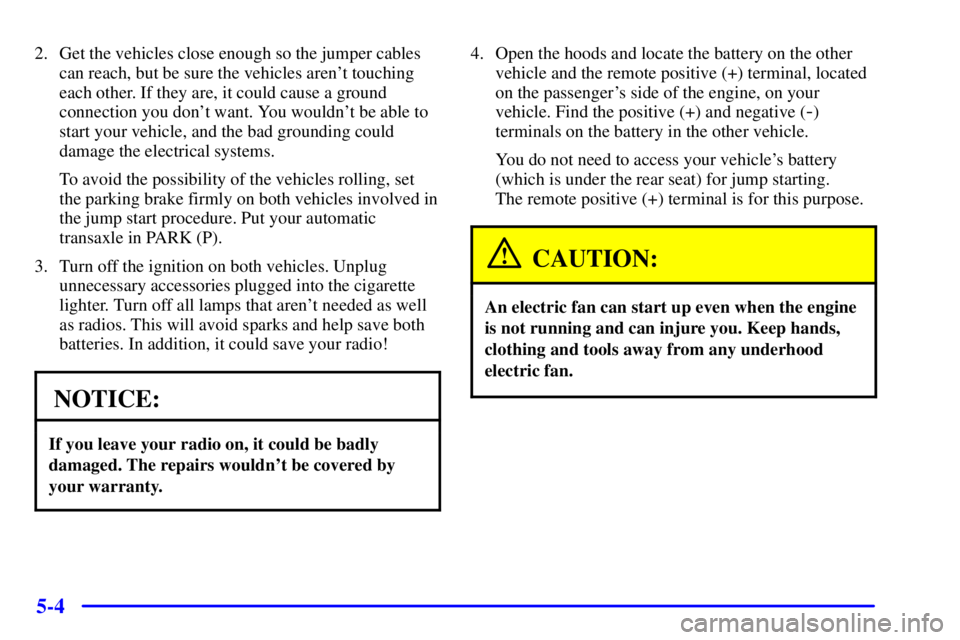
4. Open the hoods and locate the battery on the other
vehicle and the remote positive (+) terminal, located
on the passenger's side of the engine, on your
vehicle. Find the positive (+) and negative (
-)
terminals on the battery in the other vehicle.
You do not need to access your vehicle's battery
(which is under the rear seat) for jump starting.
The remote positive (+) terminal is for this purpose.
CAUTION:
An electric fan can start up even when the engine
is not running and can injure you. Keep hands,
clothing and tools away from any underhood
electric fan.
Page 248 of 402
5-5
Start by lifting and
moving the red
positive (+) remote
terminal cover
away from the
relay center.
CAUTION:
Using a match near a battery can cause battery
gas to explode. People have been hurt doing this,
and some have been blinded. Use a flashlight if
you need more light.
Be sure the battery has enough water. You don't
need to add water to the ACDelco� battery
installed in every new GM vehicle. But if a
battery has filler caps, be sure the right amount
of fluid is there. If it is low, add water to take care
of that first. If you don't, explosive gas could
be present.
Battery fluid contains acid that can burn you.
Don't get it on you. If you accidentally get it in
your eyes or on your skin, flush the place with
water and get medical help immediately.
Page 249 of 402
5-6
5. Check that the jumper cables don't have loose or
missing insulation. If they do, you could get a shock.
The vehicles could also be damaged.
Before you connect the cables, here are some basic
things you should know. Positive (+) will go to
positive (+) and negative (
-) will go to a heavy,
unpainted metal engine part or a body metal surface.
Don't connect positive (+) to negative (
-) or you'll
get a short that would damage the battery and maybe
other parts, too. Also, don't connect the negative (
-)
cable to the negative (
-) terminal on the dead battery.
CAUTION:
Fans or other moving engine parts can injure you
badly. Keep your hands away from moving parts
once the engine is running.
6. Connect the red positive
(+) cable to the remote
positive (+) terminal of
the vehicle with the
dead battery.
Page 250 of 402
5-7
7. Don't let the other end
of the cable touch metal.
Connect it to the
positive (+) terminal of
the good battery. Use a
remote positive (+)
terminal if the vehicle
has one.8. Now connect the black
negative (
-) cable to
the good battery's
negative (
-) terminal.
Don't let the other end touch anything until the next
step. The other end of the negative (
-) cable doesn't
go to the dead battery.
Page 251 of 402
5-8
It goes to a heavy,
unpainted metal engine
part on the vehicle with
the dead battery.
9. Now start the vehicle with the good battery and run
the engine for a while.
10. Try to start the vehicle with the dead battery.
If it won't start after a few tries, it probably
needs service.
11. Remove the cables in reverse order to prevent
electrical shorting. Take care that they don't touch
each other or any other metal. Replace the red
positive (+) remote terminal cover to its
original position.
Removal Procedure
A. Remote Positive (+) Terminal
B. Good Battery
C. Windshield Washer Bottle Stud (not shown in
picture
-- located on the passenger's side corner
of the engine compartment)
Page 276 of 402

6-
6-1
Section 6 Service and Appearance Care
Here you will find information about the care of your vehicle. This section begins with service and fuel information,
and then it shows how to check important fluid and lubricant levels. There is also technical information about your
vehicle, and a part devoted to its appearance care.
6
-2 Service
6
-3 Fuel
6
-5 Fuels in Foreign Countries
6
-5 Filling Your Tank
6
-8 Filling a Portable Fuel Container
6
-8 Checking Things Under the Hood
6
-11 Supercharged Engine (If Equipped)
6
-11 Engine Oil
6
-16 Engine Air Cleaner/Filter
6
-18 Supercharger Oil
6
-19 Automatic Transaxle Fluid
6
-22 Engine Coolant
6
-24 Radiator Pressure Cap
6
-25 Power Steering Fluid
6
-25 Windshield Washer Fluid
6
-27 Brakes
6
-30 Battery6
-32 Bulb Replacement
6
-41 Windshield Wiper Blade Replacement
6
-42 Tires
6
-51 Appearance Care
6
-52 Cleaning the Inside of Your Vehicle
6
-54 Care of Safety Belts
6
-55 Cleaning the Outside of Your Vehicle
6
-57 Cleaning Aluminum or Chrome-Plated
Wheels (If Equipped)
6
-57 Sheet Metal Damage
6
-59 GM Vehicle Care/Appearance Materials
6
-60 Vehicle Identification Number (VIN)
6
-60 Electrical System
6
-64 Removing the Rear Seat Cushion
6
-69 Replacement Bulbs
6
-69 Capacities and Specifications
6
-70 Normal Maintenance Replacement Parts
Page 305 of 402

6-30 Replacing Brake System Parts
The braking system on a vehicle is complex. Its many
parts have to be of top quality and work well together if
the vehicle is to have really good braking. Your vehicle
was designed and tested with top
-quality GM brake
parts. When you replace parts of your braking
system
-- for example, when your brake linings wear
down and you have to have new ones put in
-- be sure
you get new approved GM replacement parts. If you
don't, your brakes may no longer work properly.
For example, if someone puts in brake linings that are
wrong for your vehicle, the balance between your front
and rear brakes can change
-- for the worse. The
braking performance you've come to expect can change
in many other ways if someone puts in the wrong
replacement brake parts.
Battery
Your new vehicle comes with a maintenance free
ACDelco� battery. When it's time for a new battery,
get one that has the replacement number shown on
the original battery's label. We recommend an
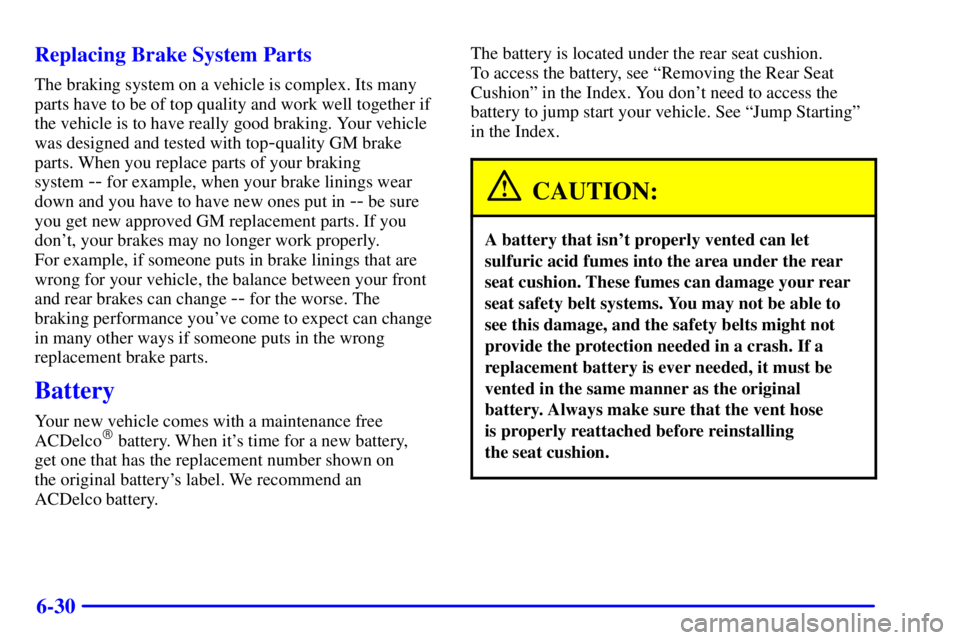
ACDelco battery.The battery is located under the rear seat cushion.
To access the battery, see ªRemoving the Rear Seat
Cushionº in the Index. You don't need to access the
battery to jump start your vehicle. See ªJump Startingº
in the Index.
CAUTION:
A battery that isn't properly vented can let
sulfuric acid fumes into the area under the rear
seat cushion. These fumes can damage your rear
seat safety belt systems. You may not be able to
see this damage, and the safety belts might not
provide the protection needed in a crash. If a
replacement battery is ever needed, it must be
vented in the same manner as the original
battery. Always make sure that the vent hose
is properly reattached before reinstalling
the seat cushion.
Page 306 of 402
6-31
To be sure the vent hose (A) is properly attached, the vent
hose connectors (B) must be securely reattached to the vent
outlets (C) on each side of the battery, and the vent assembly
grommet (D) must be secured to the floor pan (E).
Vehicle Storage
If you're not going to drive your vehicle for 25 days or
more, remove the black, negative (
-) cable from the battery.
This will help keep your battery from running down.
CAUTION:
Batteries have acid that can burn you and gas
that can explode. You can be badly hurt if you
aren't careful. See ªJump Startingº in the Index
for tips on working around a battery without
getting hurt.
Contact your dealer to learn how to prepare your vehicle
for longer storage periods.
Also, for your audio system, see ªTheft
-Deterrent
Featureº in the Index.