2000 NISSAN XTERRA stop start
[x] Cancel search: stop startPage 4 of 263

Welcome To The World Of NISSAN
Your new NISSAN is the result of our dedication
to produce the finest in safe, reliable and eco-
nomical transportation. Your vehicle is the prod-
uct of a successful worldwide company that
manufactures cars and trucks in over 17 coun-
tries and distributes them in 170 nations.
NISSAN vehicles are designed and manufac-
tured by Nissan Motor Co., Ltd. which was
founded in Tokyo, Japan in 1933, and NISSAN
affiliates world wide, collectively growing to be-
come the fifth largest automaker in the world. In
addition to cars and trucks, NISSAN also makes
textile machinery, fork-lift trucks, marine engines,
boats and other products.
NISSAN has made a substantial and growing
investment in North America, starting with the
opening of Nissan Motor Corporation U.S.A. in
1960, and continuing with the production of somecars and trucks at one of the world's most
modern manufacturing facilities, Nissan Motor
Manufacturing Corporation U.S.A. in Smyrna,
Tennessee, vehicle styling at Nissan Design In-
ternational in San Diego, California, and engi-
neering at Nissan Research and Development in
Farmington Hills, Michigan.
NISSAN and its dealers indirectly employ about
60,000 Americans.
NISSAN is also a substantial contributor to the
Canadian economy. Nissan Canada Inc., its sup-
pliers and over 140 dealers employ approxi-
mately 4,500 people. These include company
employees and the staffs of NISSAN dealers all
across Canada. In addition, many Canadians
work for companies that supply NISSAN and
NISSAN dealers with materials and services
ranging from operation of port facilities and trans-portation services to the supply of lubricants,
parts and accessories.
NISSAN pioneered the use of electronics and
computers in automobiles, and has led the indus-
try in improving both performance and fuel effi-
ciency through new engine designs and the use
of synthetic materials to reduce vehicle weight.
The company has also developed ways to build
quality into its vehicles at each stage of the
production process, both through extensive use
of automation and Ð most importantly Ð
through an awareness thatpeopleare the cen-
tral element in quality control.
From the time the parts arrived from our suppli-
ers until you took delivery of your new NISSAN,
dozens of checks were made to ensure that only
the best job was being done in producing and
delivering your vehicle. NISSAN also takes great
care to ensure that when you take your NISSAN
to your dealer for maintenance, the service tech-
nician will perform his work according to the
quality standards that have been established by
the factory.
Safety has also been built into your NISSAN. As
you know, seat belts are an integral part of the
safety systems that will help protect you and your
passengers in the event of a sudden stop or an
accident. We urge you to use the seat belts every
time you drive the vehicle.
The NISSAN story of growth and achievement
reflects our major goal: to provide you, our
customer, with a vehicle that is built with quality
and craftsmanship Ð a product that we can be
proud to build and you can be proud to own.
AFW0001
ZX
Page 51 of 263
Turn signal/hazard indicator
lights
These lights flash when the turn signal
switch or hazard switch is turned on.
orBrake warning
light
This light functions for both the parking
brake and the foot brake systems.
When the ignition key is in the ON position,
the light comes on when the parking brake
is applied and also warns of a low brake
fluid level. If the light comes on while the
engine is running with the parking brake not
applied, stop the vehicle and perform the
following.
1.
Check the brake fluid level. Add brake fluid
as necessary. See ``Brake and clutch fluid''
in the ``Do-it-yourself'' section of this
manual.
2. If the brake fluid level is correct, have the
warning system checked by an autho-
rized NISSAN dealer.
WARNING
OYour brake system may not be work-
ing properly if the warning light is
on. Driving could be dangerous. If
you judge it to be safe, drive care-
fully to the nearest service station
for repairs. Otherwise have your ve-
hicle towed because driving it could
be dangerous.
OPressing the brake pedal with the
engine stopped and/or low brake
fluid level may increase your stop-
ping distance and require greater
pedal effort as well as pedal travel.
OIf the brake fluid level is below the
MINIMUM or MIN mark on the brake
fluid reservoir, do not drive until the
brake system has been checked at
an authorized NISSAN dealer.
High beam indicator light
This blue light comes on when the headlight
high beams are on and goes out when the
low beams are selected.
The high beam indicator light also comes on
when the passing signal is activated.
Seat belt warning light and
chime
The light and chime remind you to fasten
your seat belts. If the driver's seat belt is
NOT securely fastened when the ignition
key is turned to ON or START, the chime
sounds five times and the light illuminates.
If the driver's seat belt is fastened before the
ignition key is turned to the ON postion, the
light will not come on briefly and then
go off.
Supplemental air bag
warning light
When the ignition key is in the ON or START
position, the supplemental air bag warning
light illuminates for about 7 seconds and
then turns off. This means the system is
operational.
If any of the following conditions occur, the
supplemental restraint system needs ser-
vicing and your vehicle must be taken to an
authorized authorized NISSAN dealer.
OThe supplemental air bag warning light
remains on after approximately 7 sec-
onds.
2-8Instruments and controls
ZX
Page 56 of 263

intermittently. In addition, the starter mo-
tor does not operate.
OThe alarm automatically turns off after 2
to 3 minutes. However, the alarm reacti-
vates if the vehicle is tampered with
again. The alarm can be shut off by
unlocking a door with the key or by
pressing the
buttonon the multi-
remote controller.
The alarm is activated by:
Oopening a door without using the key
(even if the door is unlocked by releasing
the inside lock knob).
Oopening the hood.
How to stop the alarm
The alarm stops only by unlocking a door with
the key or by pressing thebuttonon the
multi-remote controller.The alarm does not
stop if the ignition switch is turned to ACC or
ON position.
Silencing the horn beep feature
If desired, the horn beep feature can be
deactivated using the multi-remote controller.
To deactivate:Press and hold theandbuttonsfor at least two
seconds.
The hazard lights will quickly flash three
times to confirm that the horn beep feature
has been deactivated.
To activate:Press and hold the
andbuttonsfor at least two seconds
once more.The hazard lights will quickly flash three
times to confirm that the horn beep feature
has been reactivated.
Deactivating the horn beep feature does not
silence the horn if the alarm is triggered.
If the system does not operate as de-
scribed above, have it checked by an
authorized NISSAN dealer.
AIC1037
Instruments and controls2-13
ZX
Page 61 of 263
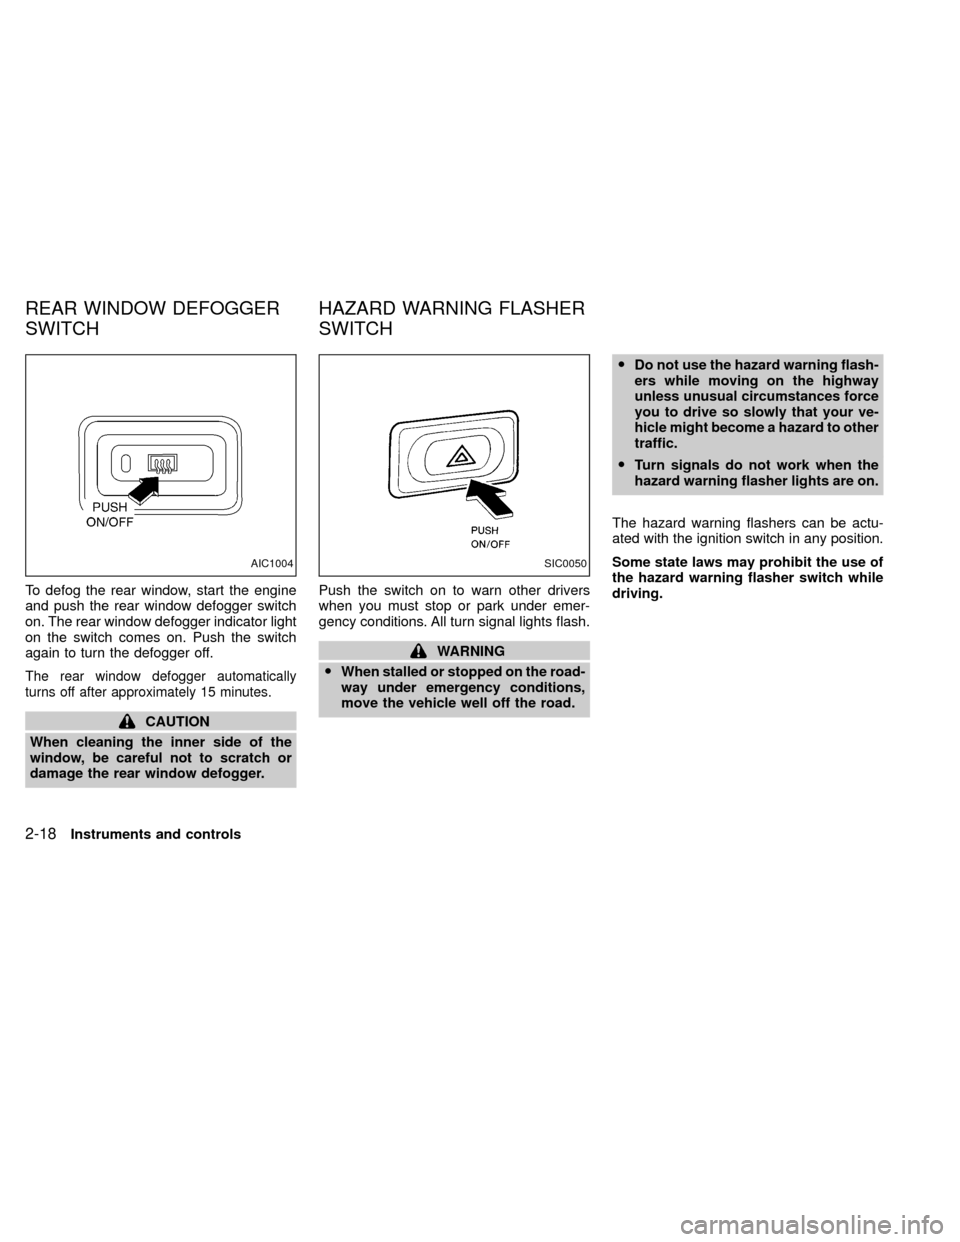
To defog the rear window, start the engine
and push the rear window defogger switch
on. The rear window defogger indicator light
on the switch comes on. Push the switch
again to turn the defogger off.
The rear window defogger automatically
turns off after approximately 15 minutes.
CAUTION
When cleaning the inner side of the
window, be careful not to scratch or
damage the rear window defogger.Push the switch on to warn other drivers
when you must stop or park under emer-
gency conditions. All turn signal lights flash.
WARNING
OWhen stalled or stopped on the road-
way under emergency conditions,
move the vehicle well off the road.ODo not use the hazard warning flash-
ers while moving on the highway
unless unusual circumstances force
you to drive so slowly that your ve-
hicle might become a hazard to other
traffic.
OTurn signals do not work when the
hazard warning flasher lights are on.
The hazard warning flashers can be actu-
ated with the ignition switch in any position.
Some state laws may prohibit the use of
the hazard warning flasher switch while
driving.
AIC1004SIC0050
REAR WINDOW DEFOGGER
SWITCHHAZARD WARNING FLASHER
SWITCH
2-18Instruments and controls
ZX
Page 65 of 263
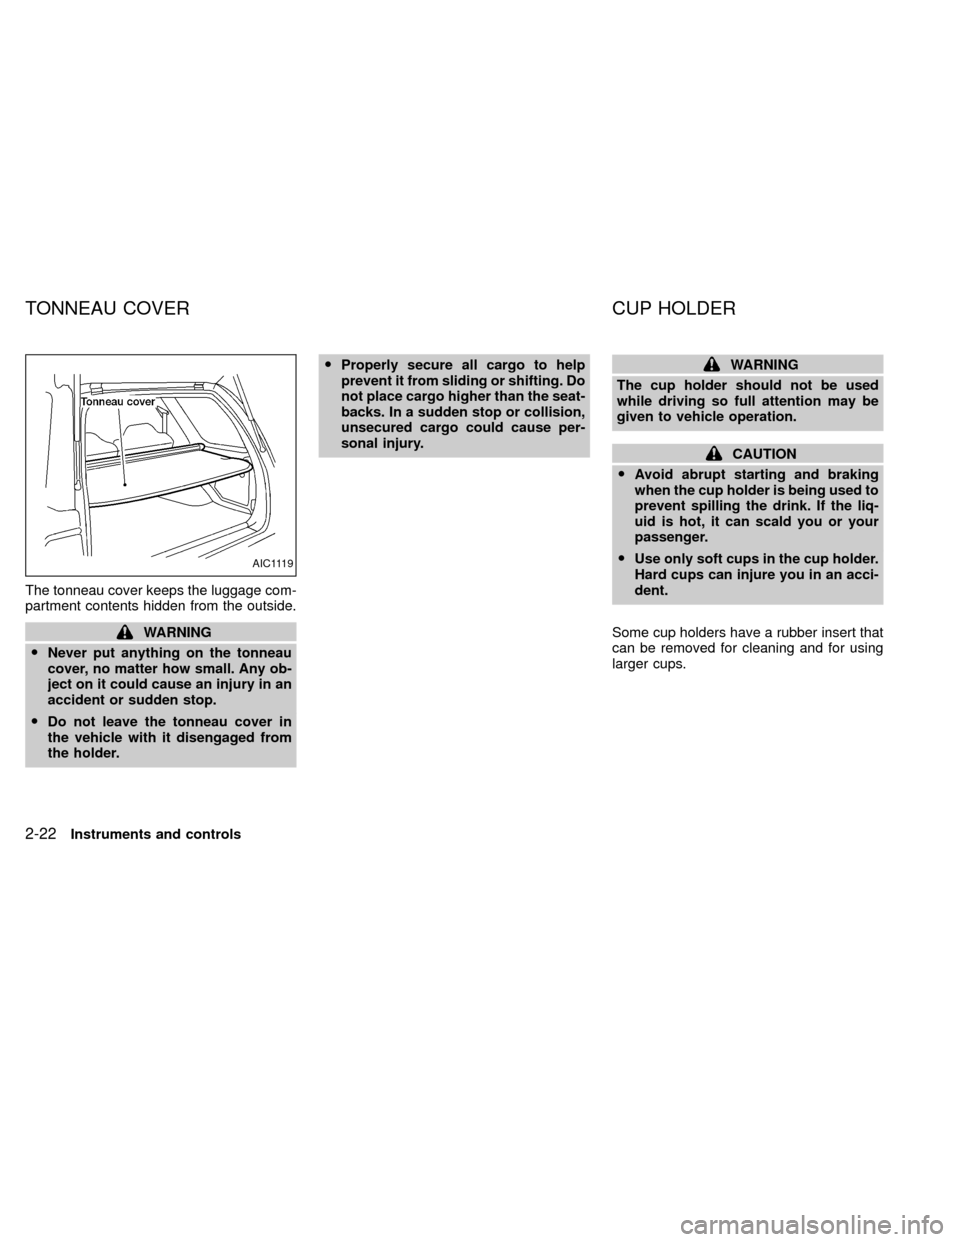
The tonneau cover keeps the luggage com-
partment contents hidden from the outside.
WARNING
ONever put anything on the tonneau
cover, no matter how small. Any ob-
ject on it could cause an injury in an
accident or sudden stop.
ODo not leave the tonneau cover in
the vehicle with it disengaged from
the holder.OProperly secure all cargo to help
prevent it from sliding or shifting. Do
not place cargo higher than the seat-
backs. In a sudden stop or collision,
unsecured cargo could cause per-
sonal injury.
WARNING
The cup holder should not be used
while driving so full attention may be
given to vehicle operation.
CAUTION
OAvoid abrupt starting and braking
when the cup holder is being used to
prevent spilling the drink. If the liq-
uid is hot, it can scald you or your
passenger.
OUse only soft cups in the cup holder.
Hard cups can injure you in an acci-
dent.
Some cup holders have a rubber insert that
can be removed for cleaning and for using
larger cups.
AIC1119
TONNEAU COVER CUP HOLDER
2-22Instruments and controls
ZX
Page 85 of 263
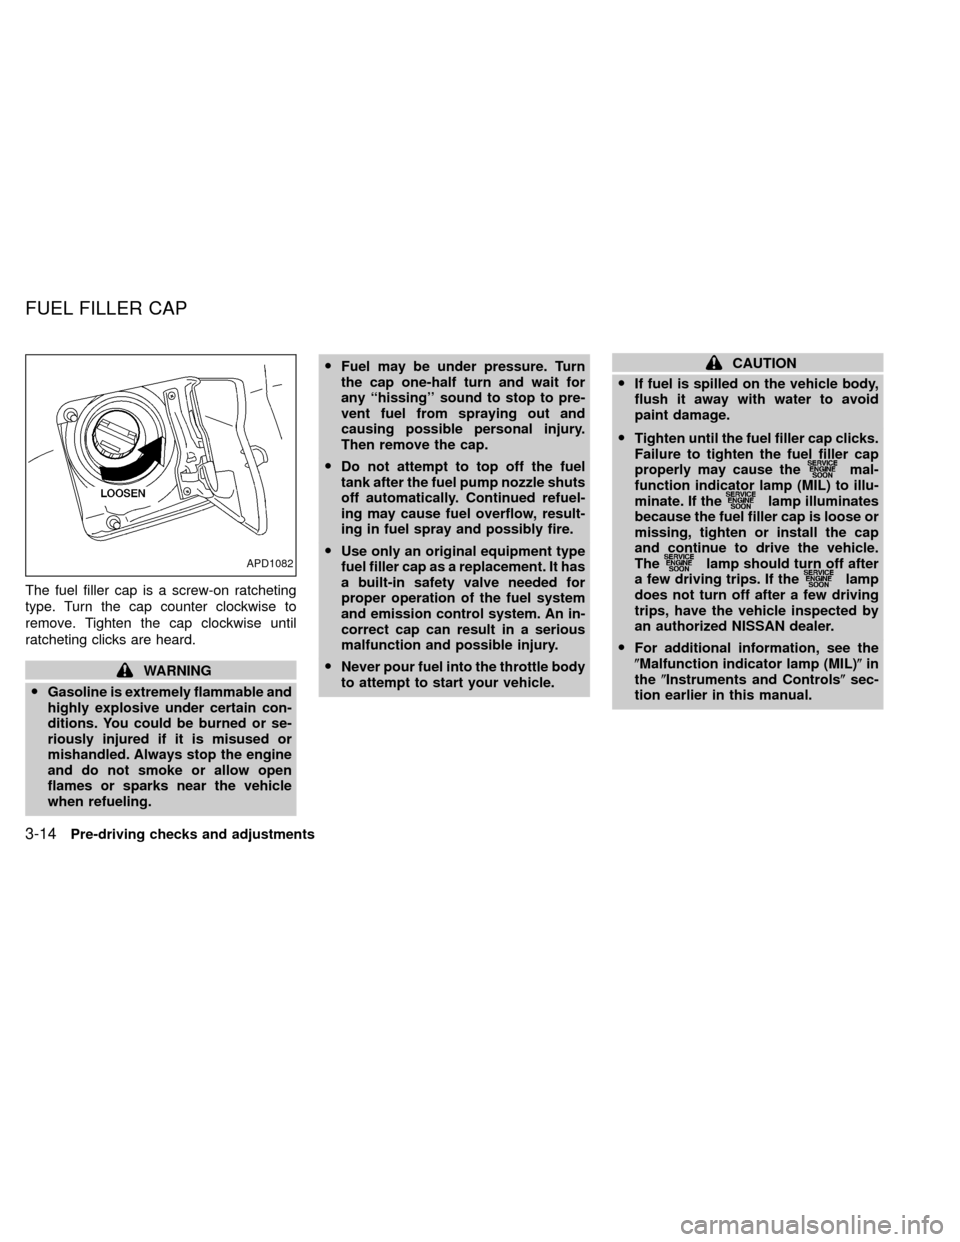
The fuel filler cap is a screw-on ratcheting
type. Turn the cap counter clockwise to
remove. Tighten the cap clockwise until
ratcheting clicks are heard.
WARNING
OGasoline is extremely flammable and
highly explosive under certain con-
ditions. You could be burned or se-
riously injured if it is misused or
mishandled. Always stop the engine
and do not smoke or allow open
flames or sparks near the vehicle
when refueling.OFuel may be under pressure. Turn
the cap one-half turn and wait for
any ``hissing'' sound to stop to pre-
vent fuel from spraying out and
causing possible personal injury.
Then remove the cap.
ODo not attempt to top off the fuel
tank after the fuel pump nozzle shuts
off automatically. Continued refuel-
ing may cause fuel overflow, result-
ing in fuel spray and possibly fire.
OUse only an original equipment type
fuel filler cap as a replacement. It has
a built-in safety valve needed for
proper operation of the fuel system
and emission control system. An in-
correct cap can result in a serious
malfunction and possible injury.
ONever pour fuel into the throttle body
to attempt to start your vehicle.
CAUTION
OIf fuel is spilled on the vehicle body,
flush it away with water to avoid
paint damage.
OTighten until the fuel filler cap clicks.
Failure to tighten the fuel filler cap
properly may cause the
mal-
function indicator lamp (MIL) to illu-
minate. If the
lamp illuminates
because the fuel filler cap is loose or
missing, tighten or install the cap
and continue to drive the vehicle.
The
lamp should turn off after
a few driving trips. If thelamp
does not turn off after a few driving
trips, have the vehicle inspected by
an authorized NISSAN dealer.
OFor additional information, see the
(Malfunction indicator lamp (MIL)(in
the(Instruments and Controls(sec-
tion earlier in this manual.
APD1082
FUEL FILLER CAP
3-14Pre-driving checks and adjustments
ZX
Page 108 of 263
SCAN tuning
Push the SEEK/SCAN tuning button
or
for more than 1.5 seconds. SCAN ap-
pears in the display window. SCAN tuning
begins from high to low frequencies or low
to high frequencies, depending on which
button is pressed. SCAN tuning stops at
each broadcasting station for five seconds.
Pushing the button again during this five
second period stops SCAN tuning and the
radio remains tuned to that station.
Station memory operations
Six stations can be set for the AM band. 12
stations can be set for the FM band (six for
FM1, six for FM2).
1. Push band select button (FM/AM) to se-
lect AM, FM1, or FM2. The selected band
illuminates in the display.
2. Tune to the desired station.
3. Push the desired station select button for
more than 1.5 seconds. The radio mutes
when the select button is pushed.
4. The indicator, ch2, then illuminates in the
display and the sound resumes. Memo-
rizing is now complete.5. Other station select buttons can be set in
the same manner.If the battery cable is disconnected, or if the
radio fuse opens, the radio memory is can-
celled. In that case, reset the desired stations.
COMPACT DISC (CD) player op-
eration
Turn the ignition key to the ACC or ON
position, and carefully insert the compact
disc into the slot with the label side up. The
compact disc is automatically pulled into the
slot and starts to play.
If the radio is already operating, it automati-
cally turns off and the compact disc begins
to play.
CAUTION
Do not force the compact disc into the
slot. This could damage the player.
CD button
When this button is pushed with the compact
disc loaded and the radio playing, the radio
turns off and the compact disc starts to play.
When power/volume control knob is pushed
while the compact disc is playing, the com-
pact disc stops playing.
FF (Fast forward), REW (Rewind)
When the
orbutton is pushed
while the compact disc is playing, the com-
pact disc plays at an increased speed while
fast forwarding or rewinding. When the but-
ton is released, the compact disc returns to
normal play speed.
APS (Automatic Program Search) FF,
APS REW
When the
button is pushed while the
compact disc is playing, the selection fol-
Heater, air conditioner and audio systems
4-19
ZX
Page 109 of 263

lowing the present one starts to play from
the beginning. Push or hold thebut-
ton several times to skip several selections.
Each time the button is pushed, the CD
advances one selection. (When the last
selection on the compact disc is skipped,
the first selection is played.)
When thebutton is pushed, the selec-
tion being played returns to the beginning.
Push or hold the
button several
times to skip back several selections. Each
time the button is pushed, the CD moves
back one selection.
RPT (Repeat)
When the
repeat button is pushed
while the compact disc is playing, the play
pattern changes as follows.
1: The current selection is repeated.
MIX: Selections are played at random, not
following the sequence on the compact
disc. The same program may be repeated
twice.
Normal(no symbol): All selections are
played in sequence, and the compact disc
stops when the last selection is finished.When a new compact disc is inserted,
the play pattern automatically changes
to the ``Normal'' play pattern.
CD EJECT
When the
button is pushed with a com-
pact disc loaded, the compact disc ejects.
When the
button is pushed while the
compact disc is playing, the compact disc
ejects and the system turns off.
If the compact disc ejects and is not
removed within 10 seconds, it is pulled
back into the slot.
DISC indicator light
CD IN appears on the display when a CD is
loaded with the system ON.
CD CARE AND CLEANING
OHandle a CD by its edges. Never touch
the surface of the disc.
OTo clean a disc, wipe the surface from the
center to the outer edge using a clean,
soft cloth. Do not wipe the disc using a
circular motion.
Do not use a conventional record cleaner
or alcohol intended for industrial use.
OA new disc may be rough on the inner
and outer edges. Remove the rough
edges by rubbing the inner and outer
edges with the side of a pen or pencil as
illustrated.
LHA0049
4-20Heater, air conditioner and audio systems
ZX