Page 53 of 263

WARNING
OWhen parking always make sure the
transfer control lever is in the 2H, 4H
or 4L position and the parking brake
is applied.
OFailure to engage the transfer con-
trol lever in 2H, 4H or 4L could result
in the vehicle moving unexpectedly,
which could cause serious personal
injury or property damage.
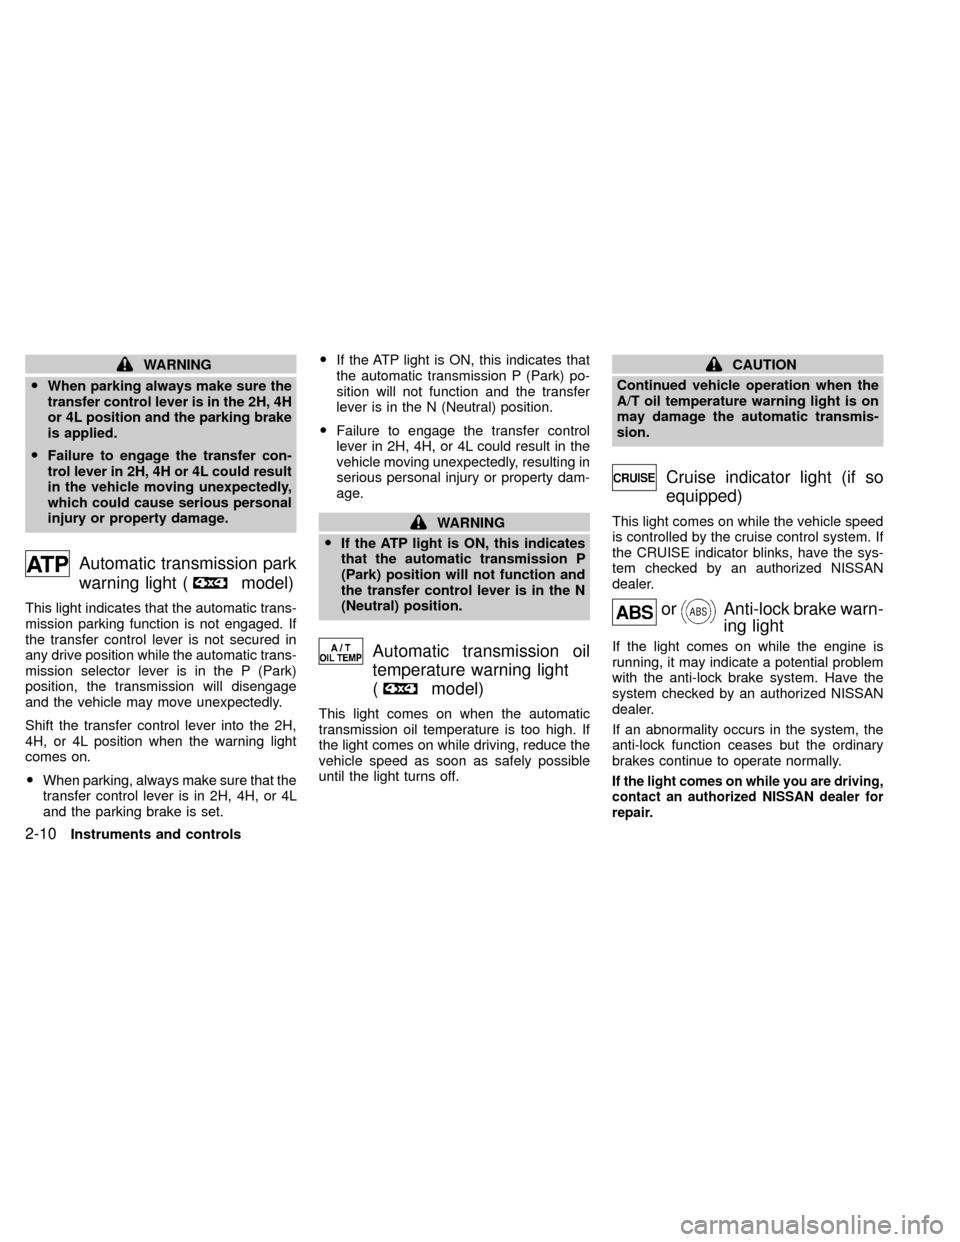
Automatic transmission park
warning light (
model)
This light indicates that the automatic trans-
mission parking function is not engaged. If
the transfer control lever is not secured in
any drive position while the automatic trans-
mission selector lever is in the P (Park)
position, the transmission will disengage
and the vehicle may move unexpectedly.
Shift the transfer control lever into the 2H,
4H, or 4L position when the warning light
comes on.
OWhen parking, always make sure that the
transfer control lever is in 2H, 4H, or 4L
and the parking brake is set.OIf the ATP light is ON, this indicates that
the automatic transmission P (Park) po-
sition will not function and the transfer
lever is in the N (Neutral) position.
OFailure to engage the transfer control
lever in 2H, 4H, or 4L could result in the
vehicle moving unexpectedly, resulting in
serious personal injury or property dam-
age.
WARNING
OIf the ATP light is ON, this indicates
that the automatic transmission P
(Park) position will not function and
the transfer control lever is in the N
(Neutral) position.
Automatic transmission oil
temperature warning light
(
model)
This light comes on when the automatic
transmission oil temperature is too high. If
the light comes on while driving, reduce the
vehicle speed as soon as safely possible
until the light turns off.
CAUTION
Continued vehicle operation when the
A/T oil temperature warning light is on
may damage the automatic transmis-
sion.
Cruise indicator light (if so
equipped)
This light comes on while the vehicle speed
is controlled by the cruise control system. If
the CRUISE indicator blinks, have the sys-
tem checked by an authorized NISSAN
dealer.
orAnti-lock brake warn-
ing light
If the light comes on while the engine is
running, it may indicate a potential problem
with the anti-lock brake system. Have the
system checked by an authorized NISSAN
dealer.
If an abnormality occurs in the system, the
anti-lock function ceases but the ordinary
brakes continue to operate normally.
If the light comes on while you are driving,
contact an authorized NISSAN dealer for
repair.
2-10Instruments and controls
ZX
Page 55 of 263

The theft warning system provides visual
and audio alarm signals if parts of the
vehicle are disturbed.
How to activate the theft warning
system
1. Close all windows.
2. Remove the key from the ignition switch.
3. Close the hood and all the doors.
4. Push the
button on the multi-remote
controller. All doors lock. The hazard
lights flash twice and the horn beeps
once to indicate all doors are locked.OWhen the
button is pushed with all
doors locked, the hazard lights flash
twice and the horn beeps once as a
reminder that the doors are already
locked. The horn may or may not beep
once. Refer to ``silencing the horn beep
feature'' later in this section.
OIf a door is open and you push the
button the doors lock but the horn
does not chirp and the hazard lights do
not flash.
The system can be activated even if the
windows are open.
5.
Confirm that the SECURITY indicator
light comes on. The SECURITY light
glows for about 30 seconds and then
begins to flash once every three seconds.
The system is now activated. If, during
this 30 second time period, a door is
unlocked by the key or the multi-remote
controller, or the ignition key is turned to
ACC or ON, the system will not activate.
OIf the key is turned slowly when lock-
ing the door, the system may not acti-
vate. Furthermore, if the key is turned
excessively to the unlock position, the
system may be deactivated when thekey is removed. If the indicator light
fails to glow for 30 seconds, unlock
the door once and lock it again.
OEven when the driver and/or passen-
gers are in the vehicle, the system will
activate with all doors and hood
closed and locked and with the igni-
tion key in the OFF position. Turn the
ignition key to ACC or ON to turn the
system off.
The theft warning system is NOT activated if
one of the following occurs:
OA door is unlocked or the ignition key is
turned to the ACC or ON position during
the 30 seconds in which the SECURITY
light stays on.
OThe SECURITY light blinks at a steady
1/2 second on - 1/2 second off rate (a
door, or the hood is open and the key is
not in the ACC or ON position). When the
ignition key is turned to the ACC or ON
position, the SECURITY light turns off.
Theft warning system operation
The theft warning system emits the follow-
ing alarm:
OThe headlights blink and the horn sounds
IC0005
THEFT WARNING
(if so equipped)
2-12Instruments and controls
ZX
Page 64 of 263
The tie down hooks can be used to secure
cargo with ropes or other types of straps.
WARNING
OProperly secure all cargo to help
prevent it from sliding or shifting. Do
not place cargo higher than the seat-
backs. In a sudden stop or collision,
unsecured cargo could cause per-
sonal injury.
OUse suitable ropes and hooks to se-
cure cargo.
ONever allow anyone to ride in the
luggage area. It is extremely danger-
ous to ride in a cargo area inside of a
vehicle. In a collision, people riding
in these areas are more likely to be
seriously injured or killed.
ODo not allow people to ride in any
area of your vehicle that is not
equipped with seats and seat belts.
OBe sure everyone in your vehicle is
in a seat and using a seat belt prop-
erly.Do not apply a total load of more than 33
lbs (15kg) to a single hook when secur-
ing cargo.
AIC1106AIC1107
TIE DOWN HOOKS
Instruments and controls2-21
ZX
Page 65 of 263

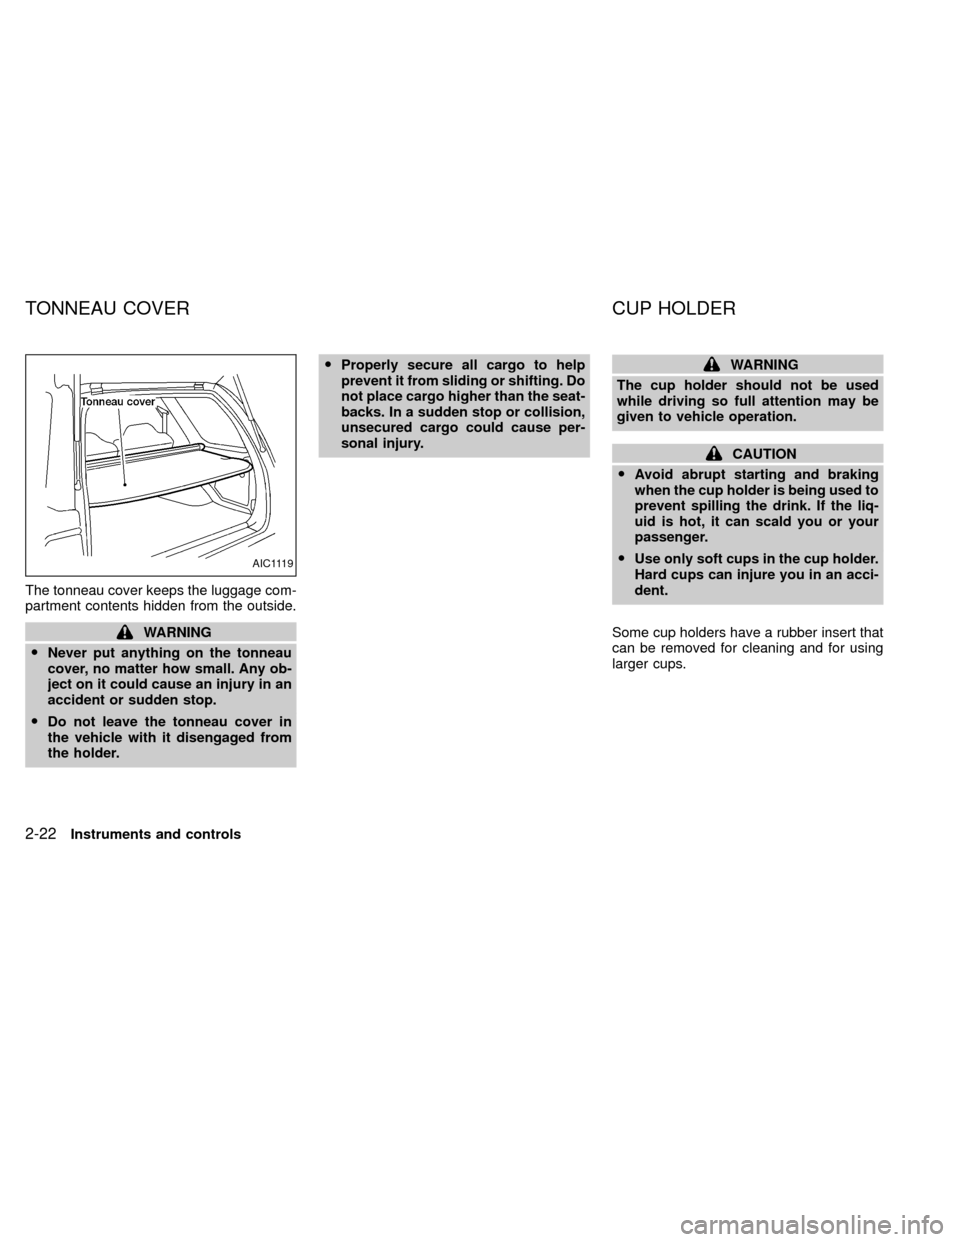
The tonneau cover keeps the luggage com-
partment contents hidden from the outside.
WARNING
ONever put anything on the tonneau
cover, no matter how small. Any ob-
ject on it could cause an injury in an
accident or sudden stop.
ODo not leave the tonneau cover in
the vehicle with it disengaged from
the holder.OProperly secure all cargo to help
prevent it from sliding or shifting. Do
not place cargo higher than the seat-
backs. In a sudden stop or collision,
unsecured cargo could cause per-
sonal injury.
WARNING
The cup holder should not be used
while driving so full attention may be
given to vehicle operation.
CAUTION
OAvoid abrupt starting and braking
when the cup holder is being used to
prevent spilling the drink. If the liq-
uid is hot, it can scald you or your
passenger.
OUse only soft cups in the cup holder.
Hard cups can injure you in an acci-
dent.
Some cup holders have a rubber insert that
can be removed for cleaning and for using
larger cups.
AIC1119
TONNEAU COVER CUP HOLDER
2-22Instruments and controls
ZX
Page 71 of 263
Closing
Pull the handle forward to unlock, then push
the handle up completely to lock the skyroof
closed.
WARNING
Do not remove or install the sun shade
while driving so full attention may be
given to vehicle operation.
Removing the sun shade
1. Turn each lock bolt counterclockwise
while supporting the sun shade.
2. Slide the shade backward to remove it.
Installing the sun shade
1. Insert the two hooks on the front edge of
sun shade into holders on the sunroof.
2. Align the two lock bolts on the rear edge
of sun shade with the lock nuts. Turn
each lock bolt clockwise to securely lock
the sun shade in place.
AIC1112AIC1083
2-28Instruments and controls
ZX
Page 78 of 263

Replace the battery in the multi-remote con-
troller as follows:
1. Open the lid using a coin.
2. Replace the battery with a new one.
Recommended battery: Sanyo CR2025or equivalent.
3. Close the lid securely.
4. Press the
button, then thebutton
two or three times to check the multi-
remote controller operation.
If the battery is removed for any reason
other than replacement, perform step 4
above.
OAn improperly disposed battery can
hurt the environment. Always confirm
local regulations for battery disposal.
OThe multi-remote controller is water-
resistant; however, if it does get wet,
immediately wipe completely dry.
OThe operational range of the multi-
remote controller extends to approxi-
mately 33 ft (10 m) from the vehicle.
This range may vary with conditions.
FCC Notice:
Changes or modifications not expressly
approved by the manufacturer for com-
pliance could void the user's authority to
operate the equipment.
This device complies with part 15 of the
FCC Rules and RSS-210 of Industry
Canada.
Operation is subject to the following two
conditions: (1) This device may not
cause harmful interference, and (2) this
APD1087
BATTERY REPLACEMENT
Pre-driving checks and adjustments3-7
ZX
Page 81 of 263
To unlock the back door turn the key clock-
wise. To open the back door lift up on the
door handle and lift the door up. To close,
lower and push the door down securely. To
lock the back door, turn the key counter-
clockwise.
WARNING
OAlways be sure the back door has
been closed securely to prevent it
from opening while driving.O
Do not drive with the back door open.
This could allow dangerous exhaust
gases to be drawn into the vehicle.
See ªPrecautions when starting and
drivingº in the ªStarting and drivingº
section for exhaust gas.
APD1081
BACK DOOR LOCK
3-10Pre-driving checks and adjustments
ZX
Page 82 of 263
Always evenly distribute cargo on the roof
rack.The maximum total load is 125 lb
(57 kg) evenly distributed, including gear
basket.Be careful that your vehicle does
not exceed the Gross Vehicle Weight Rating
(GVWR) or the Gross Axle Weight Ratings(GAWR front and rear). The GVWR and
GAWR are located on the Safety Compli-
ance Certification Label (located on the
driver's side door jamb pillar). For more
information regarding GVWR and GAWR,
refer to the ªTechnical and customer infor-mationº section of this manual.
WARNING
Properly secure all cargo with ropes or
straps to help prevent it from sliding or
shifting. In a sudden stop or collision,
unsecured cargo could cause personal
injury.
CAUTION
Use care when placing or removing
items from the roof rack or gear basket.
If you cannot comfortably lift the items
onto the roof rack or gear basket from
the ground, use a ladder or stool.
AIC1109
ROOF RACK WITH GEAR
BASKET (if so equipped)
Pre-driving checks and adjustments3-11
ZX