2000 NISSAN SENTRA display
[x] Cancel search: displayPage 23 of 240

SUPPLEMENTAL AIR BAG
WARNING LABELS
Warning labels about the supplemental air
bag systems are placed in the vehicle as
shown in the illustration.
SUPPLEMENTAL AIR BAG
WARNING LIGHT
The supplemental air bag warning light,
displayingin the instrument panel,
monitors the circuits of the supplemental air
bag system and supplemental side air bag
(if so equipped) system. The circuits moni-
tored by the supplemental air bag warning
light are the diagnosis sensor unit, supple-
mental air bag modules and all related
wiring.
WRS0004WRS0033
1-16Seats, restraints and supplemental air bag systems
ZX
Page 47 of 240

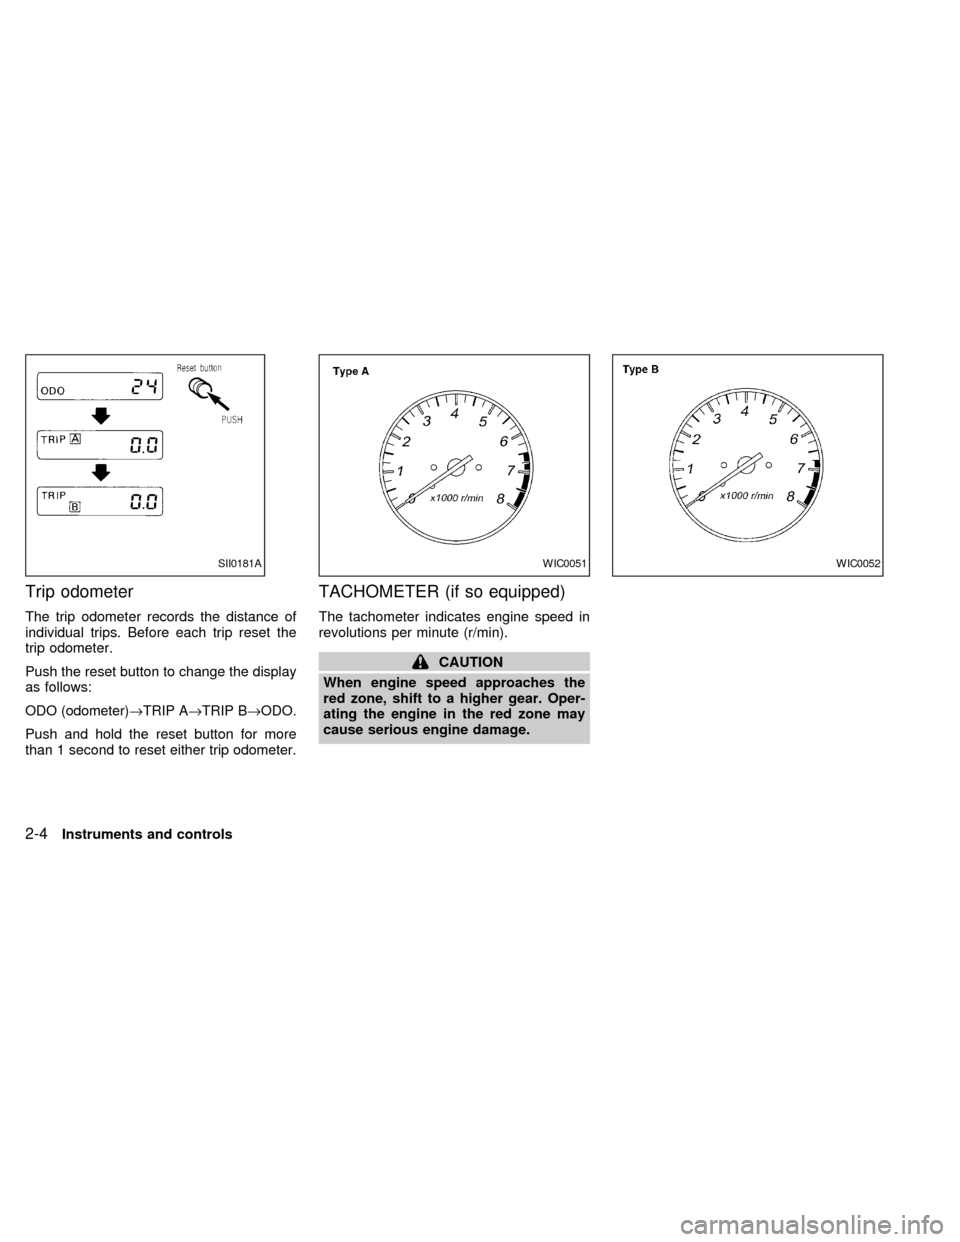
Trip odometer
The trip odometer records the distance of
individual trips. Before each trip reset the
trip odometer.
Push the reset button to change the display
as follows:
ODO (odometer)®TRIP A®TRIP B®ODO.
Push and hold the reset button for more
than 1 second to reset either trip odometer.
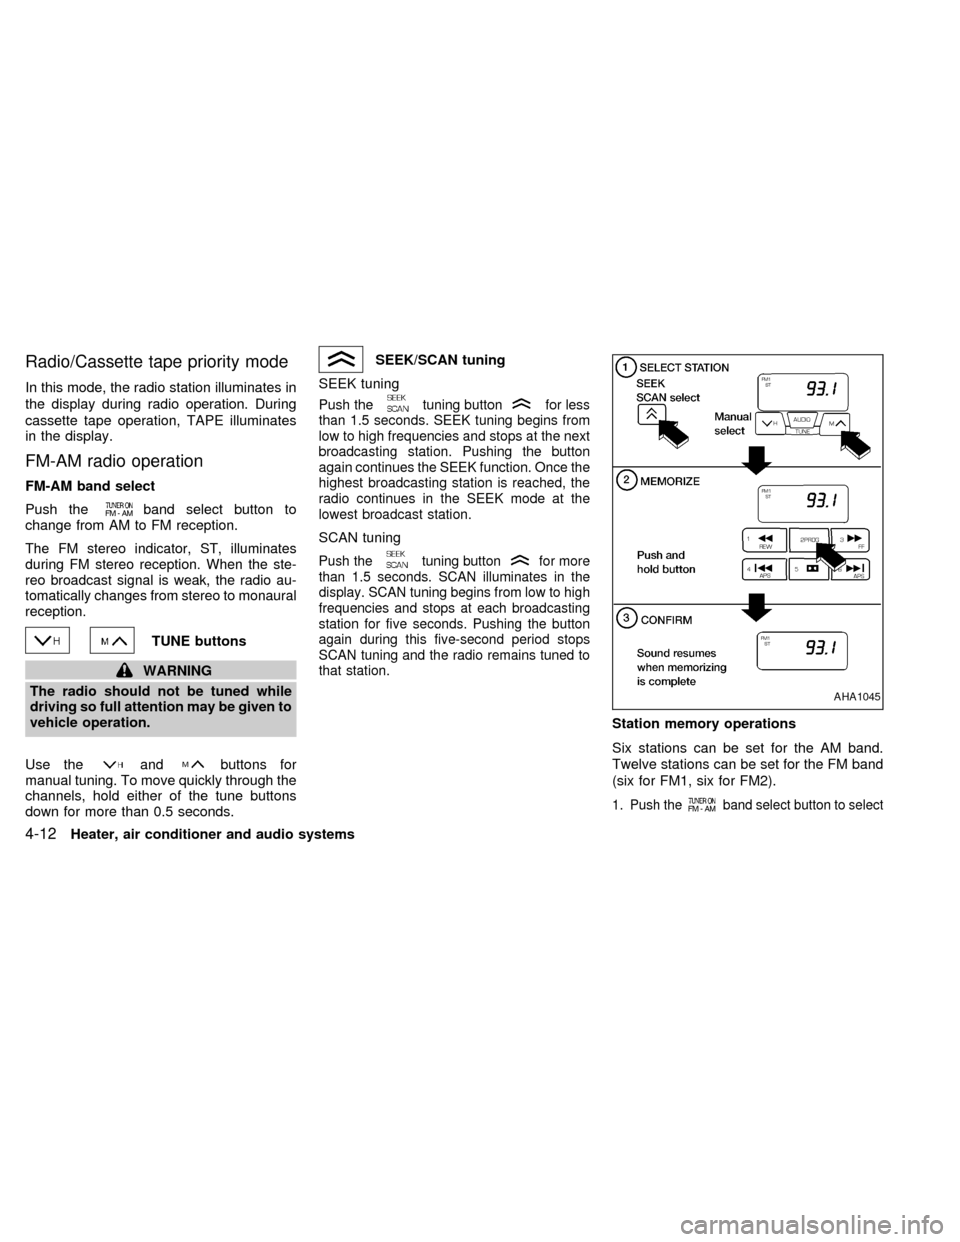
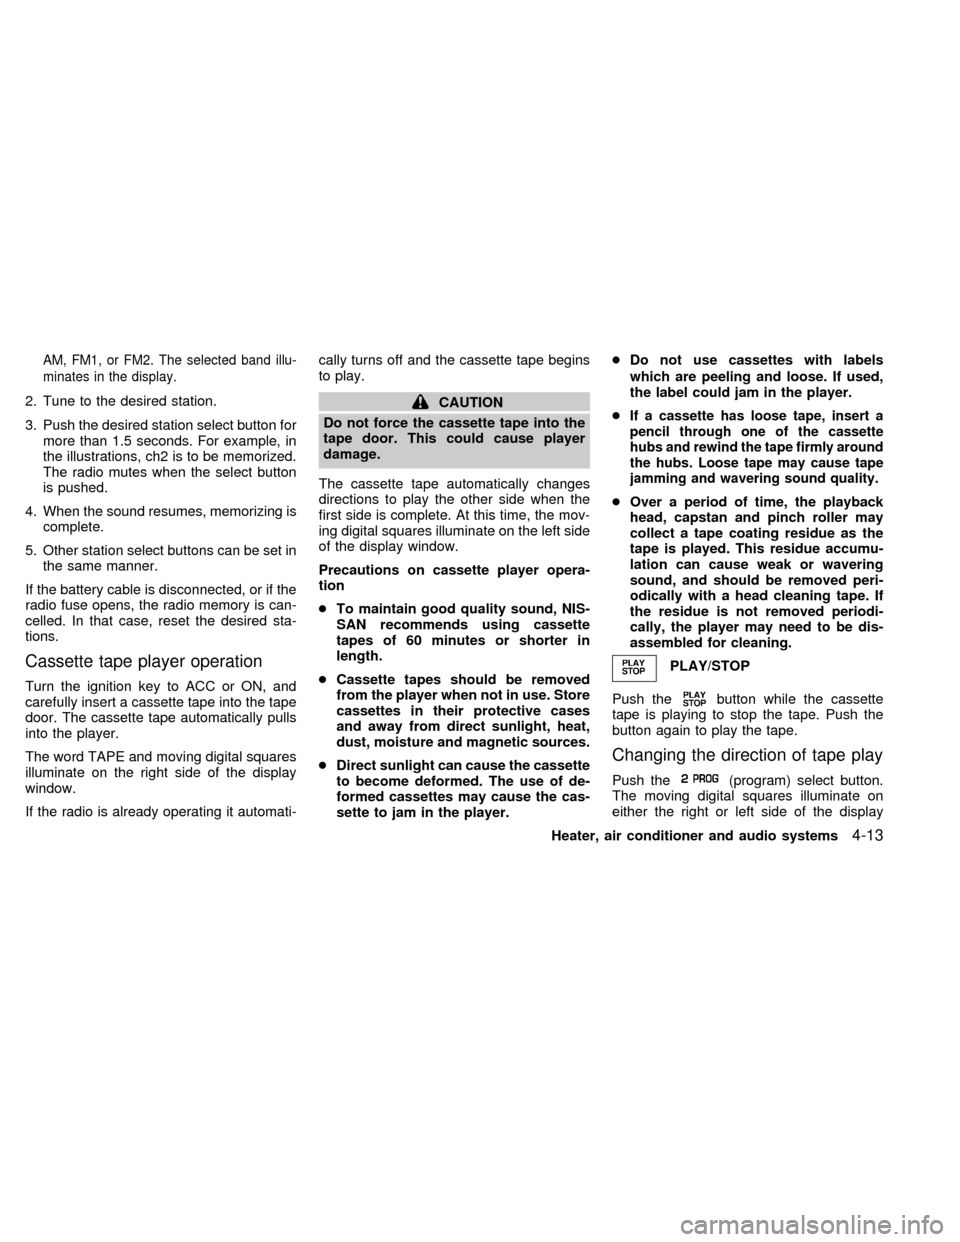
TACHOMETER (if so equipped)
The tachometer indicates engine speed in
revolutions per minute (r/min).
CAUTION
When engine speed approaches the
red zone, shift to a higher gear. Oper-
ating the engine in the red zone may
cause serious engine damage.
SII0181AWIC0051WIC0052
2-4Instruments and controls
ZX
Page 100 of 240

Turn the ONzOFF/VOL control knob to ad-
just the volume.
Adjusting tone quality and speaker bal-
ance
To adjust BASSzTREBzFADERzBAL (Bass,
Treble, Fader, Balance), press the AUDIO
button until the desired mode (BAS, TRE,
FAD or BAL) appears in the display.
Press the
orbutton to adjust
Bass (BAS) and Treble (TRE) to the desired
level. Use the
orbutton to ad-
just Fader or Balance modes. Fader adjusts
the sound level between the front and rear
speakers and Balance (BAL) adjusts the
sound level between the right and left
speakers.After 10 seconds, the radio or cassette tape
display reappears. Once the sound quality
is set to the desired level, press the AUDIO
button repeatedly until the radio or cassette
tape display appears.
Clock operation
Pressing the CLOCK button alternates the
clock and the radio/cassette tape options in
the display.
Clock set
Depressing the CLOCK and thebuttons
together sets hours. Depressing the CLOCK
and
buttons together sets minutes.
Clock priority mode
In this mode the clock is shown in the
display. If any radio or cassette tape func-
tions are activated, the radio (or cassette
tape) display illuminates for 10 seconds
then returns to the clock mode.
NOTE:
After clock adjustment, the radio is in the
clock priority mode.
AHA1027
Heater, air conditioner and audio systems4-11
ZX
Page 101 of 240

Radio/Cassette tape priority mode
In this mode, the radio station illuminates in
the display during radio operation. During
cassette tape operation, TAPE illuminates
in the display.
FM-AM radio operation
FM-AM band select
Push the
band select button to
change from AM to FM reception.
The FM stereo indicator, ST, illuminates
during FM stereo reception. When the ste-
reo broadcast signal is weak, the radio au-
tomatically changes from stereo to monaural
reception.
TUNE buttons
WARNING
The radio should not be tuned while
driving so full attention may be given to
vehicle operation.
Use the
andbuttons for
manual tuning. To move quickly through the
channels, hold either of the tune buttons
down for more than 0.5 seconds.
SEEK/SCAN tuning
SEEK tuning
Push thetuning buttonfor less
than 1.5 seconds. SEEK tuning begins from
low to high frequencies and stops at the next
broadcasting station. Pushing the button
again continues the SEEK function. Once the
highest broadcasting station is reached, the
radio continues in the SEEK mode at the
lowest broadcast station.
SCAN tuning
Push thetuning buttonfor more
than 1.5 seconds. SCAN illuminates in the
display. SCAN tuning begins from low to high
frequencies and stops at each broadcasting
station for five seconds. Pushing the button
again during this five-second period stops
SCAN tuning and the radio remains tuned to
that station.
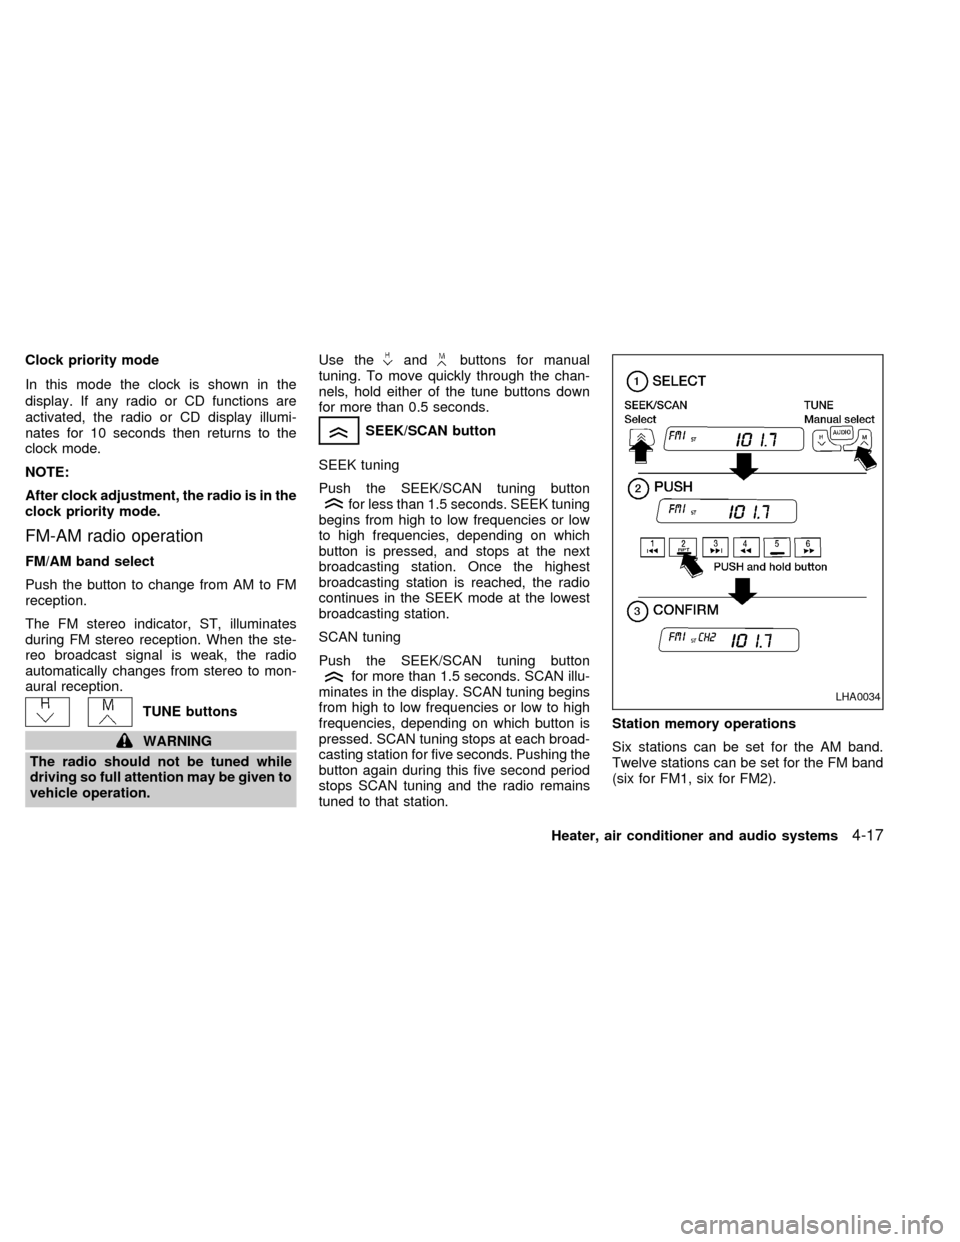
Station memory operations
Six stations can be set for the AM band.
Twelve stations can be set for the FM band
(six for FM1, six for FM2).
1. Push theband select button to select
AHA1045
4-12Heater, air conditioner and audio systems
ZX
Page 102 of 240

AM, FM1, or FM2. The selected band illu-
minates in the display.
2. Tune to the desired station.
3. Push the desired station select button for
more than 1.5 seconds. For example, in
the illustrations, ch2 is to be memorized.
The radio mutes when the select button
is pushed.
4. When the sound resumes, memorizing is
complete.
5. Other station select buttons can be set in
the same manner.
If the battery cable is disconnected, or if the
radio fuse opens, the radio memory is can-
celled. In that case, reset the desired sta-
tions.
Cassette tape player operation
Turn the ignition key to ACC or ON, and
carefully insert a cassette tape into the tape
door. The cassette tape automatically pulls
into the player.
The word TAPE and moving digital squares
illuminate on the right side of the display
window.
If the radio is already operating it automati-cally turns off and the cassette tape begins
to play.
CAUTION
Do not force the cassette tape into the
tape door. This could cause player
damage.
The cassette tape automatically changes
directions to play the other side when the
first side is complete. At this time, the mov-
ing digital squares illuminate on the left side
of the display window.
Precautions on cassette player opera-
tion
cTo maintain good quality sound, NIS-
SAN recommends using cassette
tapes of 60 minutes or shorter in
length.
cCassette tapes should be removed
from the player when not in use. Store
cassettes in their protective cases
and away from direct sunlight, heat,
dust, moisture and magnetic sources.
cDirect sunlight can cause the cassette
to become deformed. The use of de-
formed cassettes may cause the cas-
sette to jam in the player.cDo not use cassettes with labels
which are peeling and loose. If used,
the label could jam in the player.
cIf a cassette has loose tape, insert a
pencil through one of the cassette
hubs and rewind the tape firmly around
the hubs. Loose tape may cause tape
jamming and wavering sound quality.
cOver a period of time, the playback
head, capstan and pinch roller may
collect a tape coating residue as the
tape is played. This residue accumu-
lation can cause weak or wavering
sound, and should be removed peri-
odically with a head cleaning tape. If
the residue is not removed periodi-
cally, the player may need to be dis-
assembled for cleaning.
PLAY/STOP
Push the
button while the cassette
tape is playing to stop the tape. Push the
button again to play the tape.
Changing the direction of tape play
Push the(program) select button.
The moving digital squares illuminate on
either the right or left side of the display
Heater, air conditioner and audio systems
4-13
ZX
Page 103 of 240

window to indicate the side of program play.
FF (Fast Forward), REW
(Rewind)
Push either the
orbutton for the
desired direction.
The FF or REW symbol illuminates in the
display.
To stop the FF or REW function, press the
oragain, or thebutton.
APS (Automatic Pro-
gram Search) FF, APS
REW
Push either the
orbutton while
the cassette tape is playing. The tape runs
quickly, stops, then plays the next selection
from the beginning. Either the FF or REW
symbol flashes in the display while search-
ing for the selection.
This system searches for the blank intervals
between selections. If there is a blank inter-
val within one selection or there is no inter-
val between selections, the system may not
stop in the desired or expected location.Dolby NR (noise reduction)
Push the
button for Dolby NR en-
coded tapes to reduce high frequency tape
noise. The
symbol illuminates in the
display.
If the display is in the clock priority mode
when the
button is pressed,and TAPE illuminate in the display
window for about 10 seconds. The clock
mode then returns to the display window.
Dolby NR is manufactured under license
from Dolby Laboratories Licensing Corpora-
tion. DOLBY NR and the double-D symbol
are trademarks of Dolby Laboratories Li-
censing Corporation.
Metal or chrome tape usage
The cassette player is automatically set to
high performance play when playing a metal
or chrome cassette tape.
Tape Eject
Push the
button. The cassette tape
automatically comes out.
4-14Heater, air conditioner and audio systems
ZX
Page 105 of 240

Turn the ONzOFF/VOL control knob to ad-
just the volume.
Adjusting tone quality and speaker bal-
ance
To adjust BAS/TRE or FAD/BAL
(Bass/Treble or Fader/Balance), press the
AUDIO button until the desired mode (BAS,
TRE, FAD, or BAL) appears in the display.
Press the
orbutton to adjust Bass
(BAS) and Treble (TRE) to the desired level.
Use the
orbutton also to adjust
Fader (FAD) or Balance (BAL) modes.
Fader (FAD) adjusts the sound level be-
tween the front and rear speakers and Bal-
ance (BAL) adjusts the sound between the
right and left speakers.
Clock operation
Pressing the clock button alternates the
clock and the radio/CD player options in the
display.
Clock set
Depressing the clock and
buttons to-
gether sets hours. Depressing the clock and
buttons together sets minutes.
LHA0033
4-16Heater, air conditioner and audio systems
ZX
Page 106 of 240

Clock priority mode
In this mode the clock is shown in the
display. If any radio or CD functions are
activated, the radio or CD display illumi-
nates for 10 seconds then returns to the
clock mode.
NOTE:
After clock adjustment, the radio is in the
clock priority mode.
FM-AM radio operation
FM/AM band select
Push the button to change from AM to FM
reception.
The FM stereo indicator, ST, illuminates
during FM stereo reception. When the ste-
reo broadcast signal is weak, the radio
automatically changes from stereo to mon-
aural reception.
TUNE buttons
WARNING
The radio should not be tuned while
driving so full attention may be given to
vehicle operation.Use the
andbuttons for manual
tuning. To move quickly through the chan-
nels, hold either of the tune buttons down
for more than 0.5 seconds.
SEEK/SCAN button
SEEK tuning
Push the SEEK/SCAN tuning button
for less than 1.5 seconds. SEEK tuning
begins from high to low frequencies or low
to high frequencies, depending on which
button is pressed, and stops at the next
broadcasting station. Once the highest
broadcasting station is reached, the radio
continues in the SEEK mode at the lowest
broadcasting station.
SCAN tuning
Push the SEEK/SCAN tuning button
for more than 1.5 seconds. SCAN illu-
minates in the display. SCAN tuning begins
from high to low frequencies or low to high
frequencies, depending on which button is
pressed. SCAN tuning stops at each broad-
casting station for five seconds. Pushing the
button again during this five second period
stops SCAN tuning and the radio remains
tuned to that station.Station memory operations
Six stations can be set for the AM band.
Twelve stations can be set for the FM band
(six for FM1, six for FM2).
LHA0034
Heater, air conditioner and audio systems4-17
ZX